Nothing beats the meditative practice of cutting out paper and Studio Flos‘ Claire Cassidy has it down to a fine, carefully cut art. With Christmas and all its consumerist ways around the corner, we’ve teamed up with our pals at Fiskars (the leader in all things scissors) along with Claire – a multidisciplinary artist and illustrator from Sydney who is no stranger to a good snip session – to create this 100% easy, 100% cute papercut art card!
Print out the template, cut up a storm and create a piece of papercut art in whatever creative configuration you choose.
So put your phone down, channel your inner artist (we all have one!) and express yourself by whipping one up for friends or family (or, ahem, self) and place under the me-made tree.
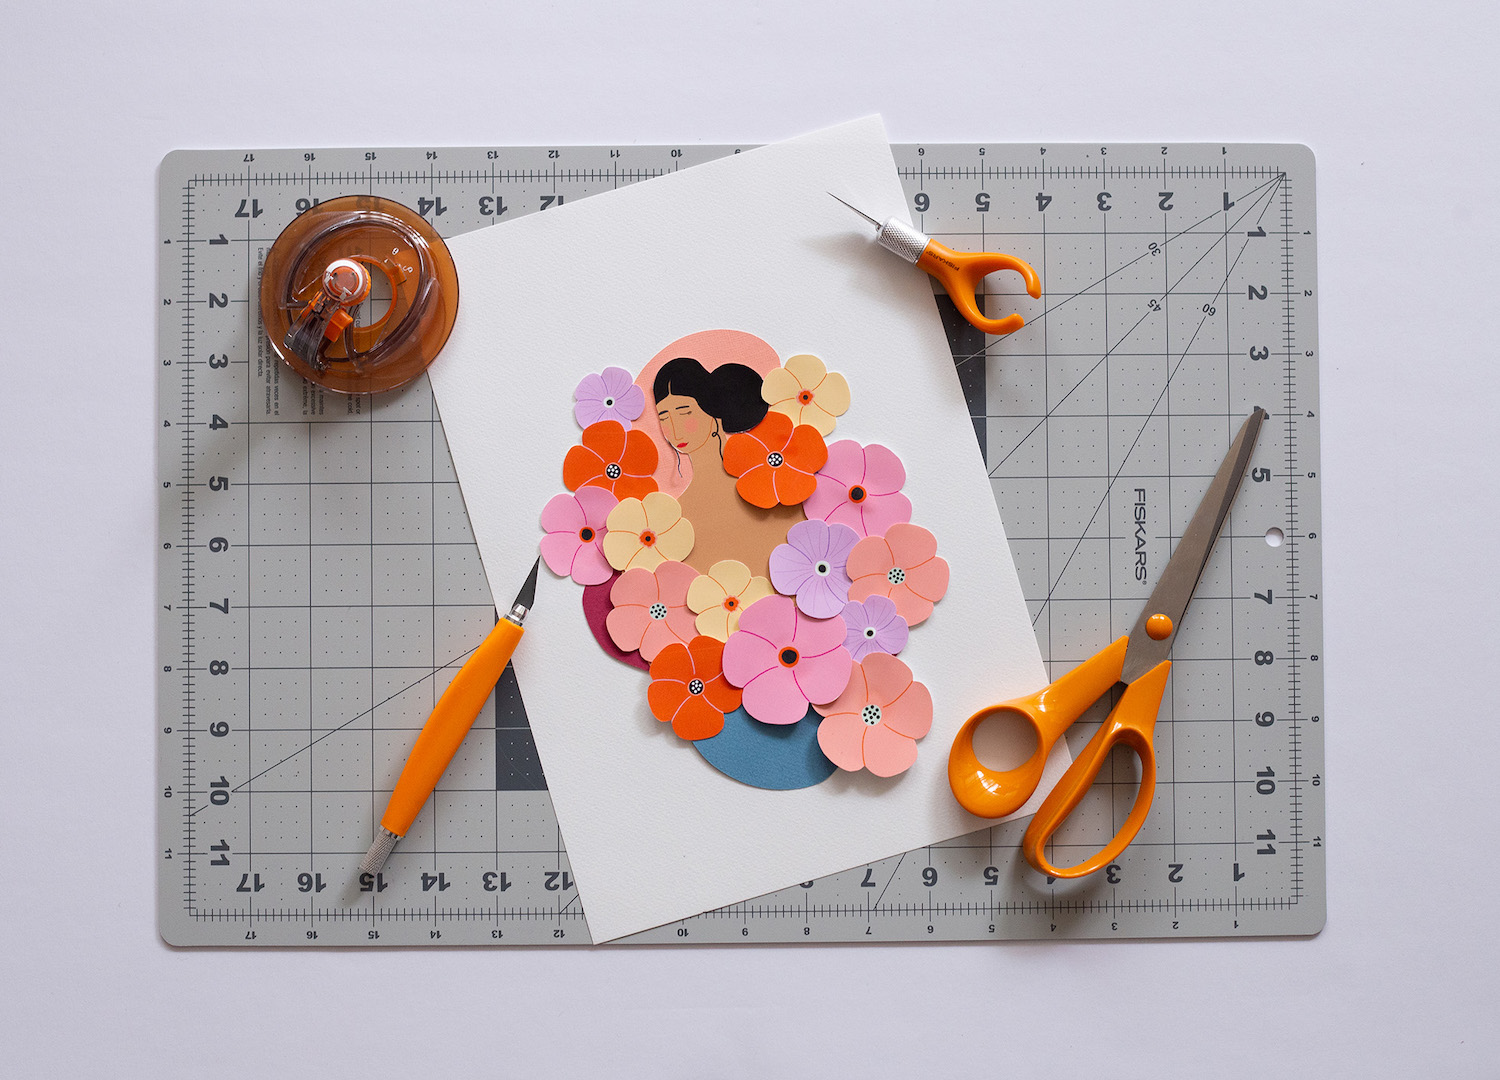
THINGS YOU’LL NEED
Fiskars cutting tools (we used the Craft Knife, Scissors, Shape Cutter and Fingertip Knife)
Studio Flos printable
Sheet of white A4 card
Small pieces of coloured card
Pencil
Paper glue
DOWNLOAD STUDIO FLOS PRINTABLE!
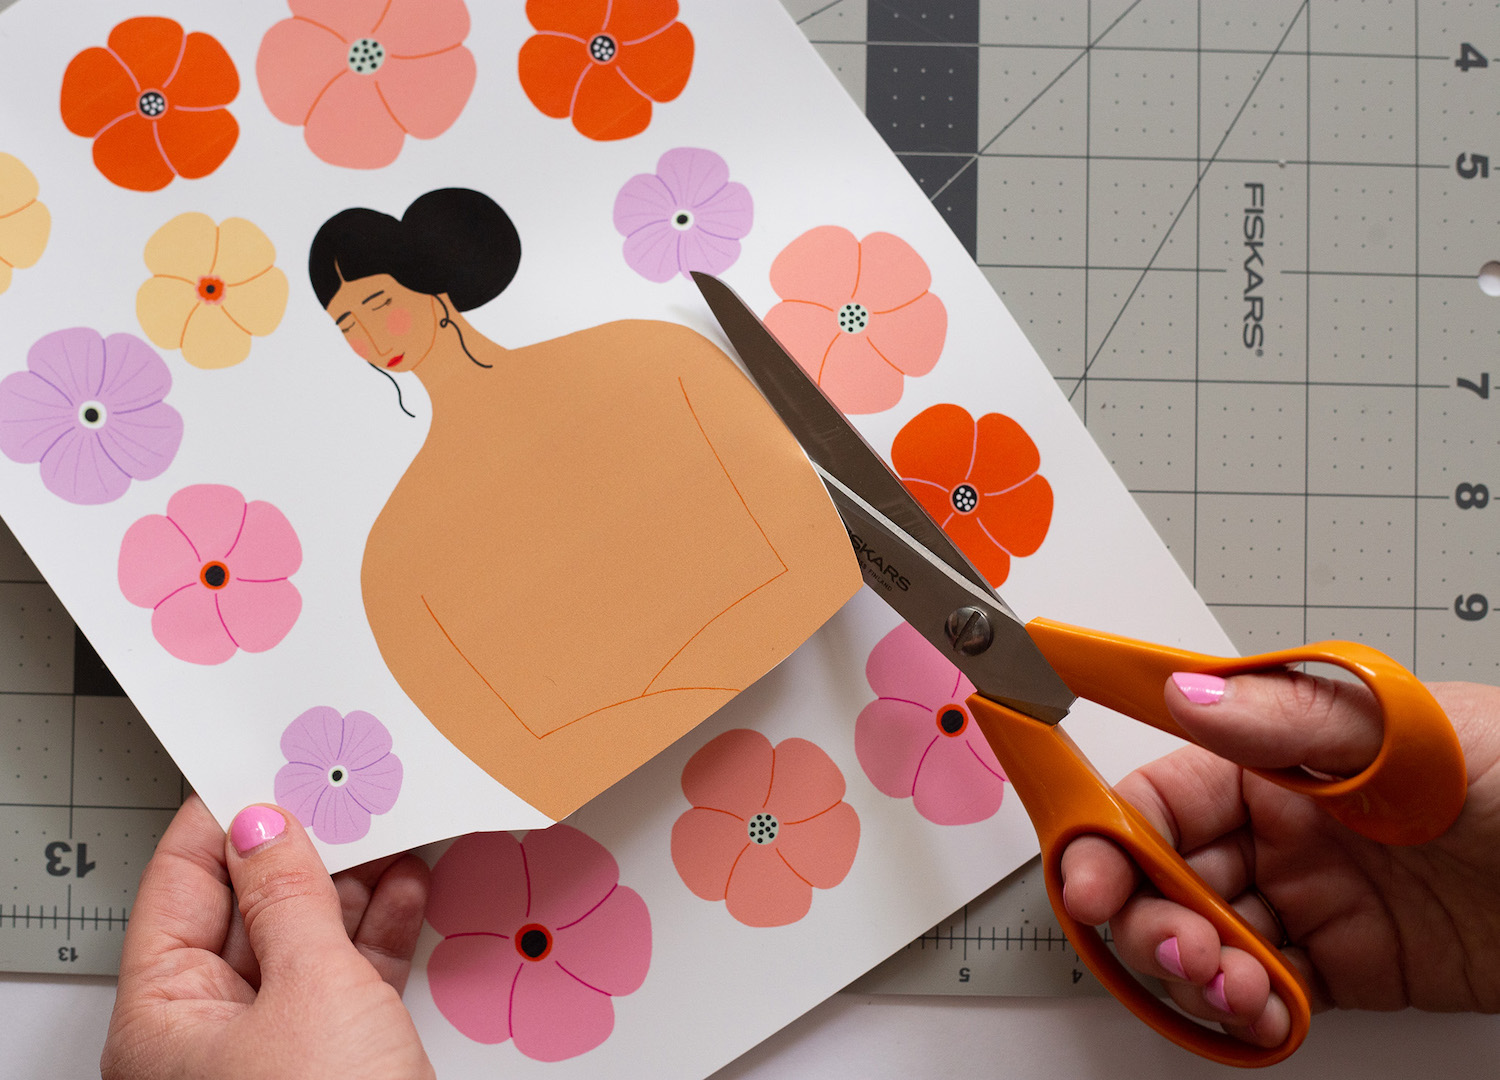
STEP ONE // Using scissors, cut out the large outlines of the woman on the printable. Cut roughly around her hair and face.
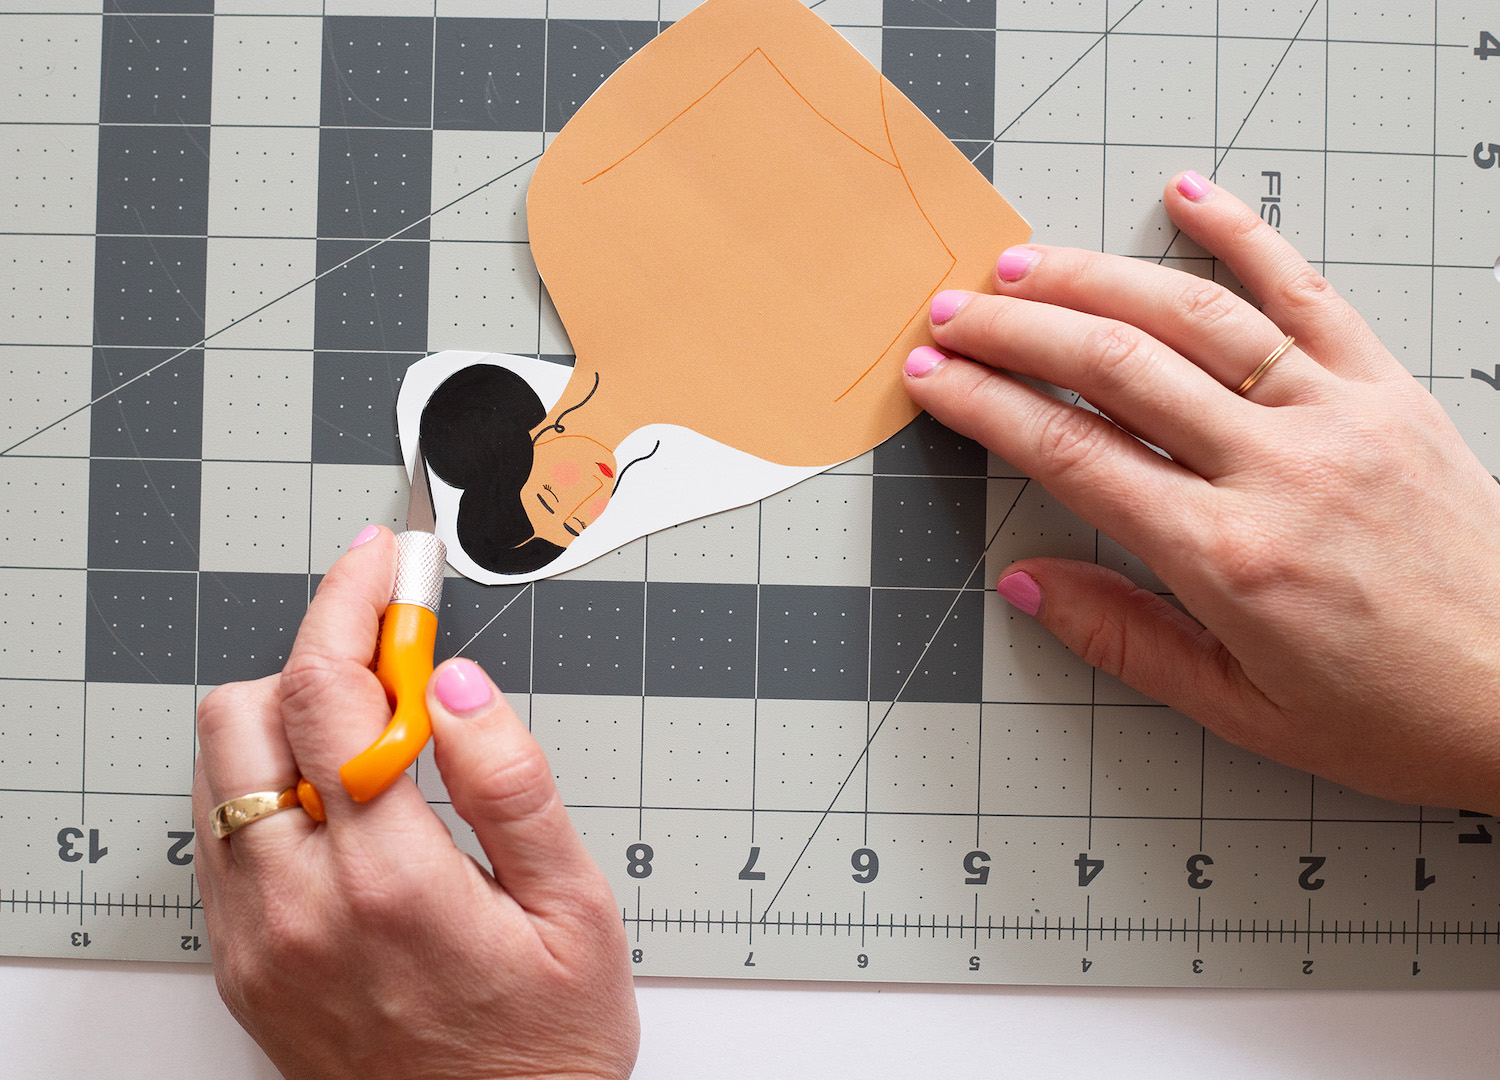
STEP TWO // Use the Fiskars Fingertip Detail Knife and Cutting Mat to carefully cut around the hair, neck and face, and put the piece aside.
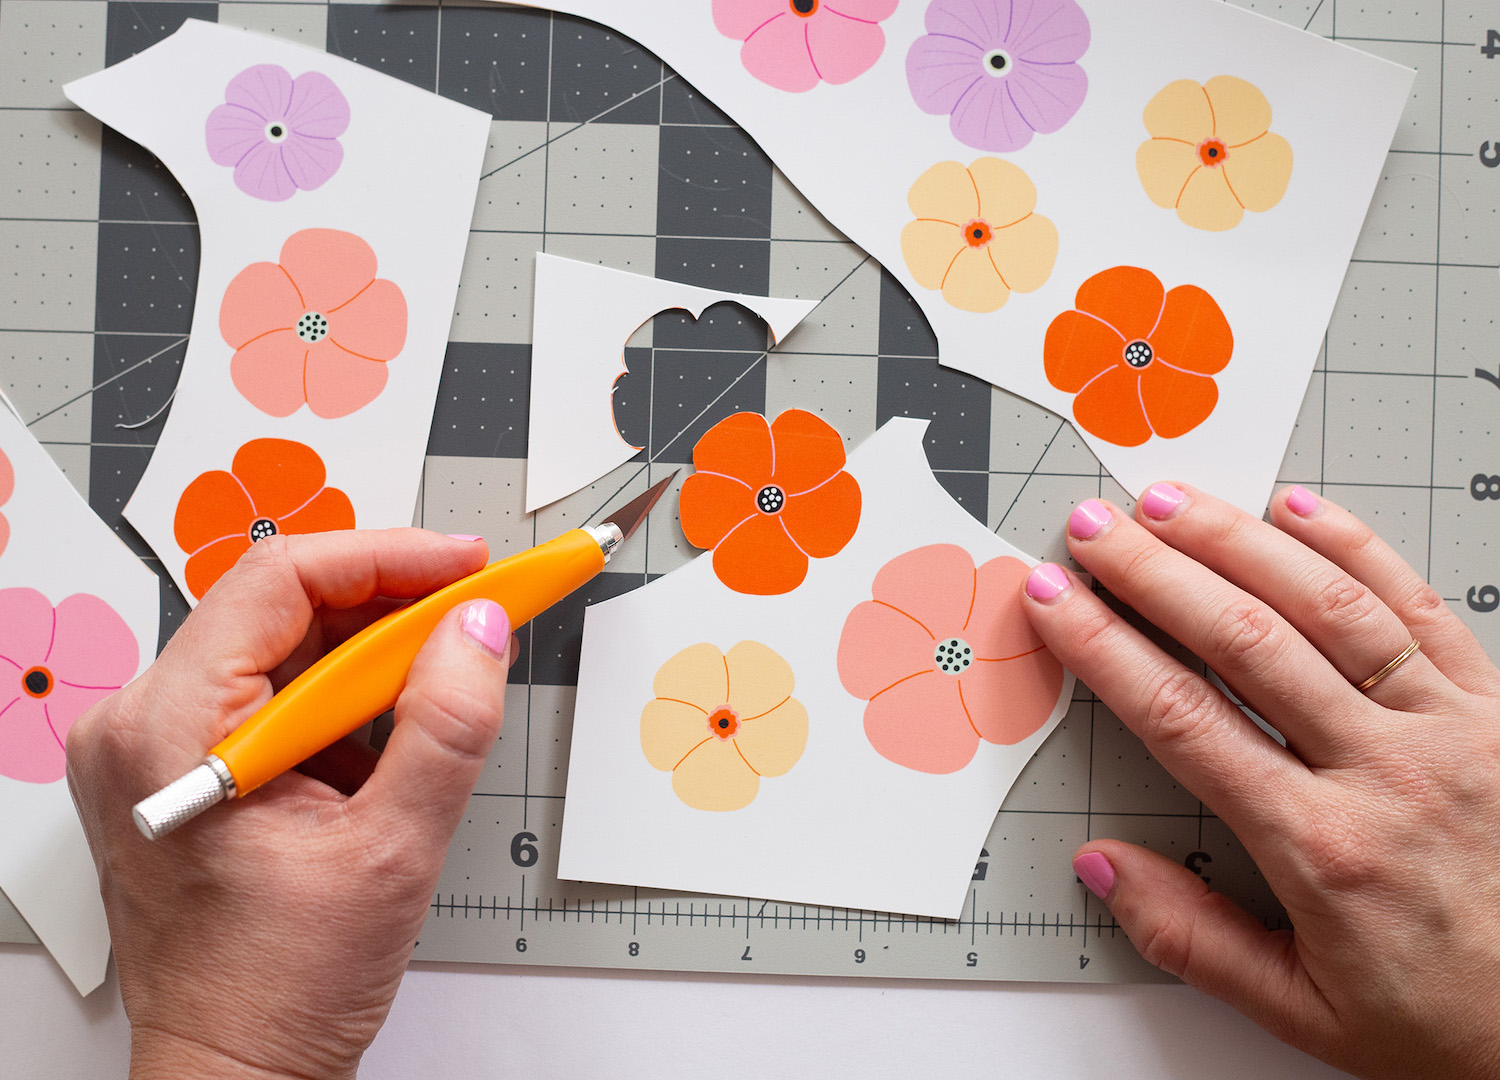
STEP THREE // Use the Fiskars Soft Grip Detail Knife and Cutting Mat to cut out each of the flowers.
Cutting Tip: Cut slightly inside the lines to avoid a white line around your pieces.
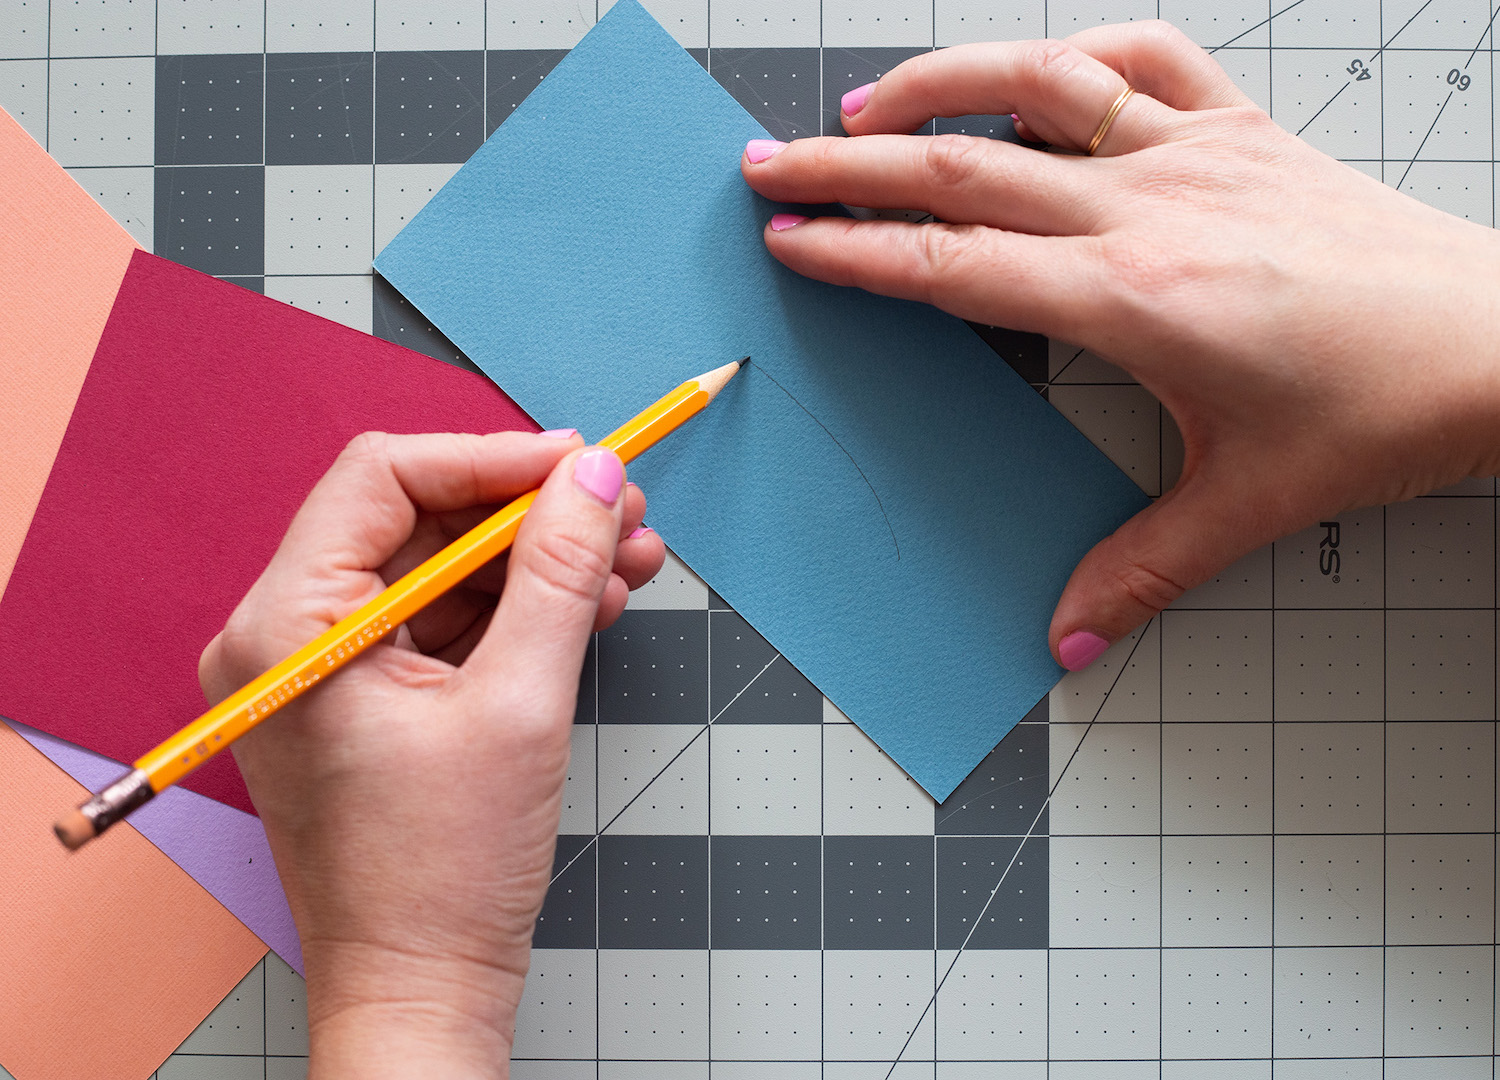
STEP FOUR // Draw some curved shapes on the coloured card; these can be leaf shapes, curves to resemble hills and mountains or abstract shapes – time to get creative!
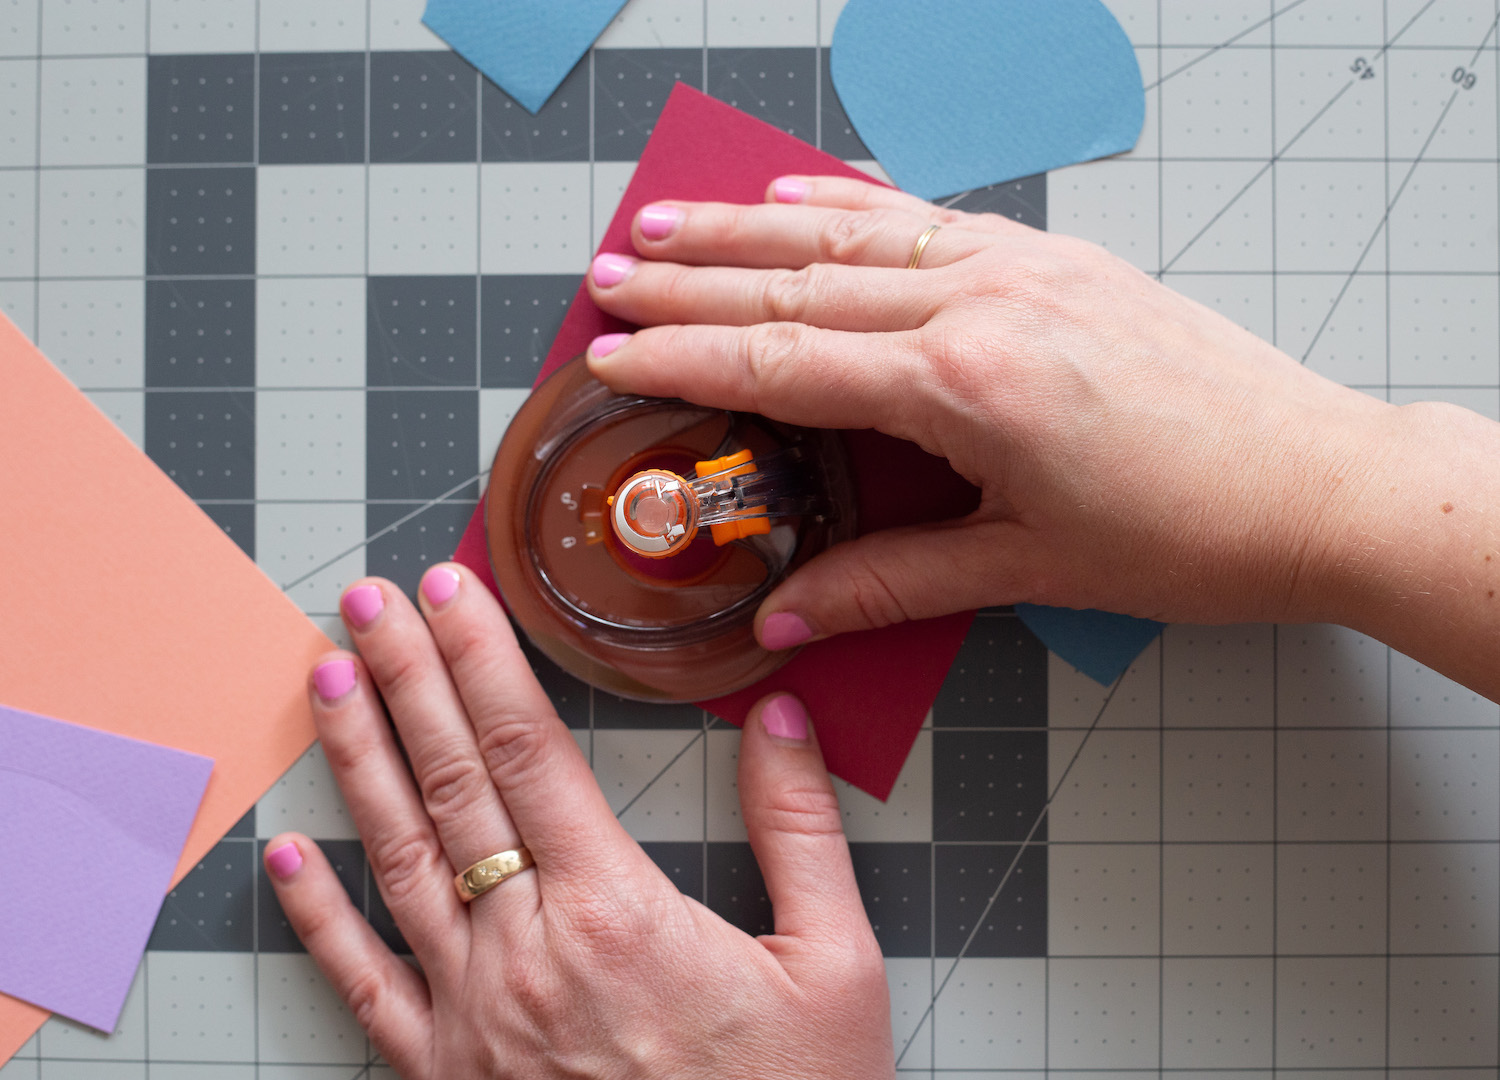
STEP FIVE // Use the Fiskars ShapeCutter and Cutting Mat to cut out the shapes, or you could even freehand this part.
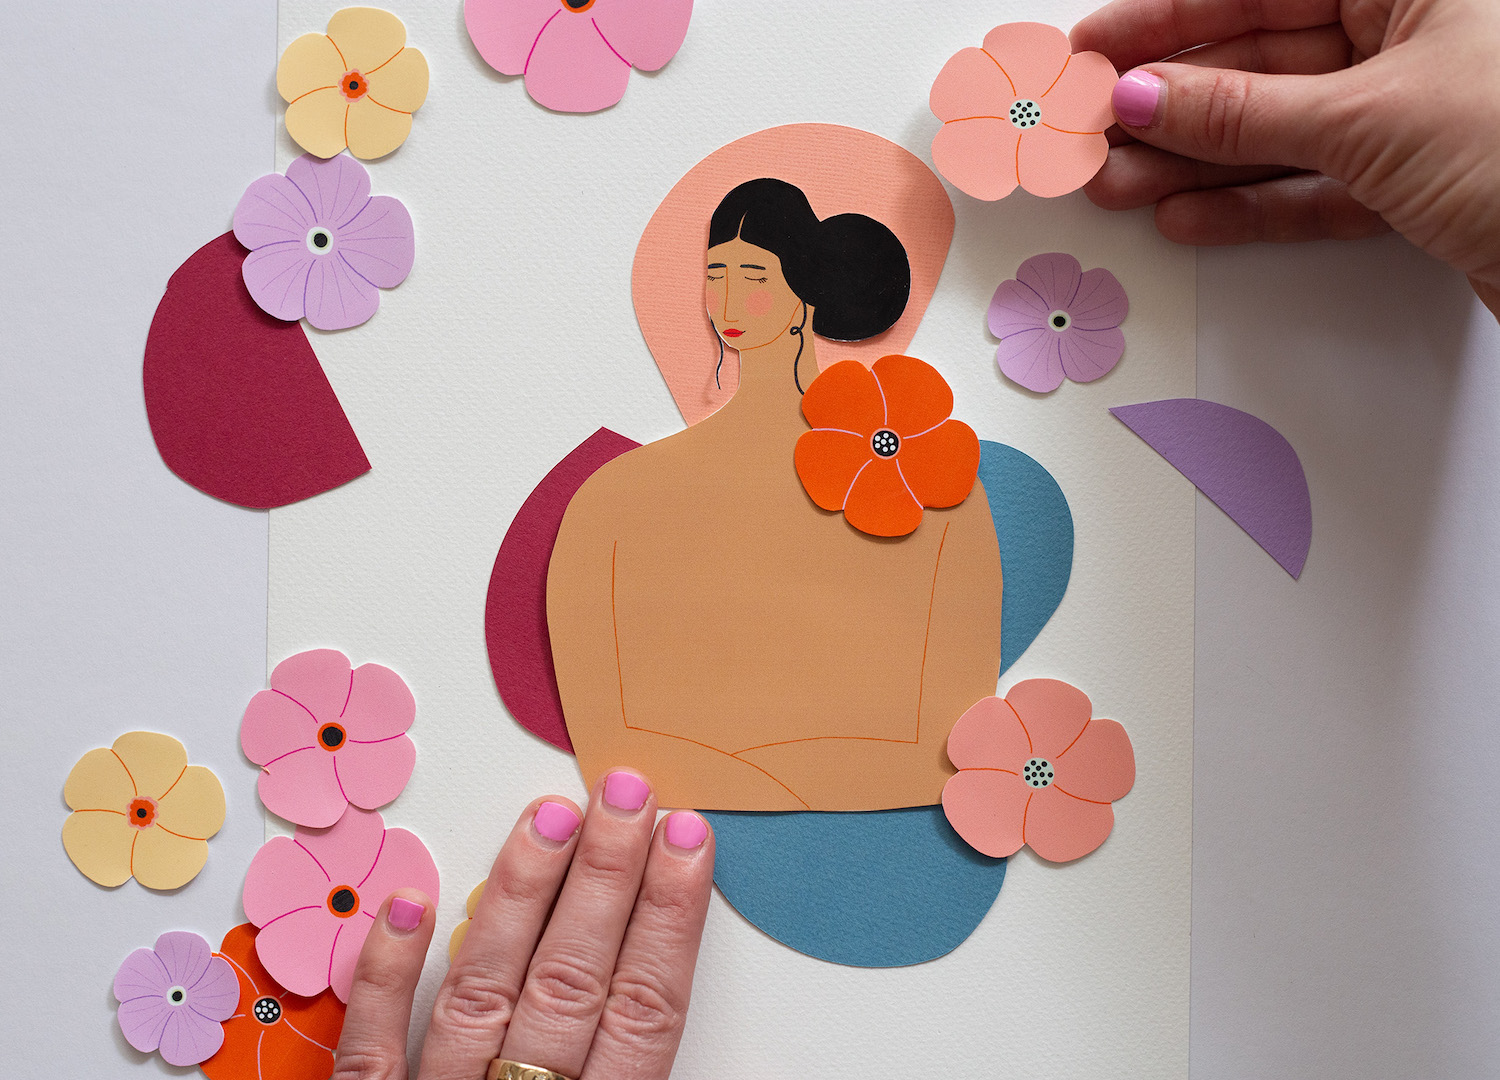
STEP SIX // Play around with the cutouts on your piece of A4 card. Try layering them, spreading them out, using just some or all of the flowers until you are happy with your layout.
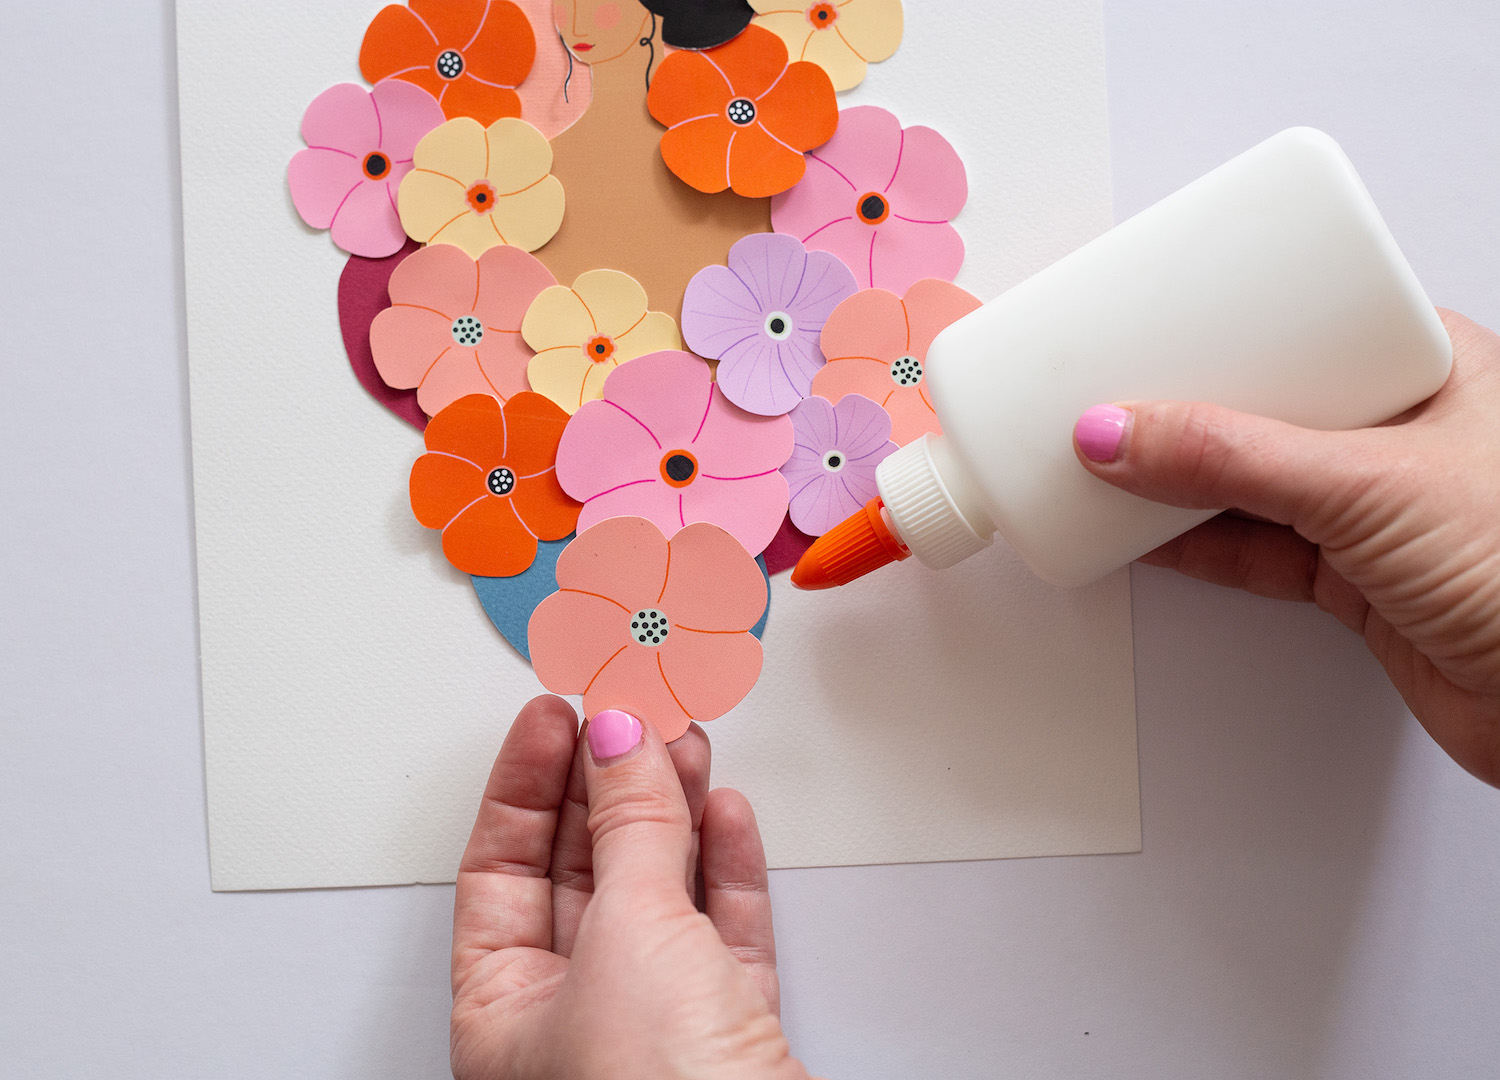
STEP SEVEN // Use small blobs of paper glue to glue each piece down.
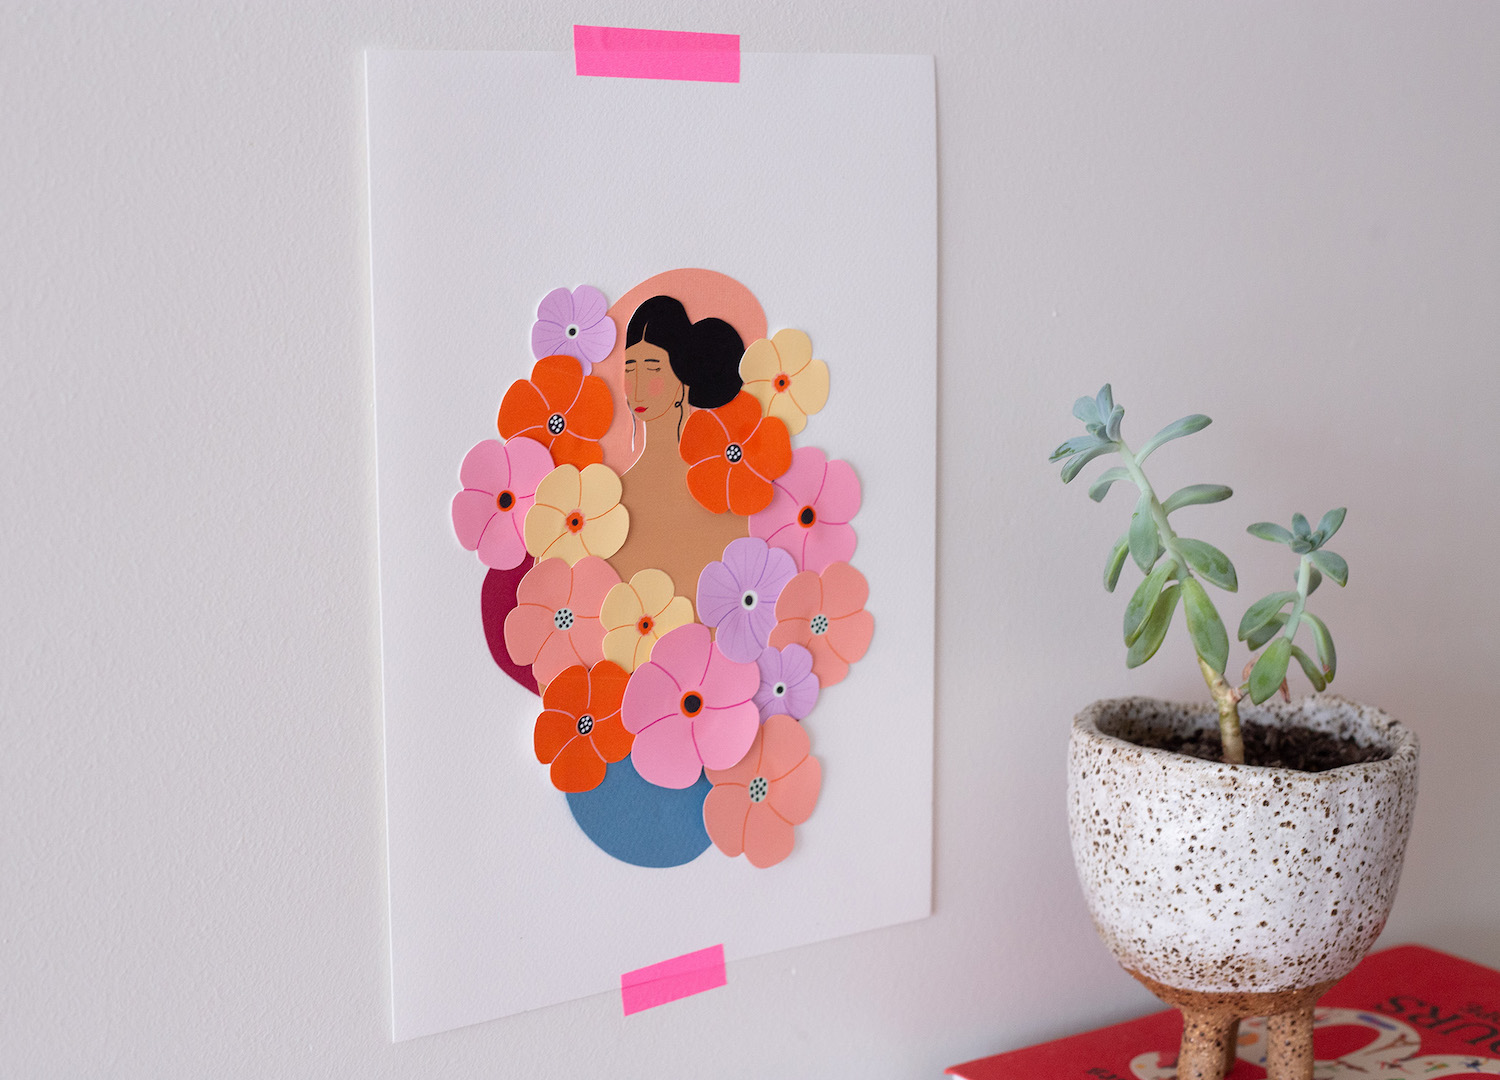
Glue Tip: Stick the background pieces (woman and shapes) down almost to the edges to create a flat surface for the flowers. When gluing the flowers, use a small blow-on glue in the middle only, allowing the petals to sit slightly up from the paper to create texture.
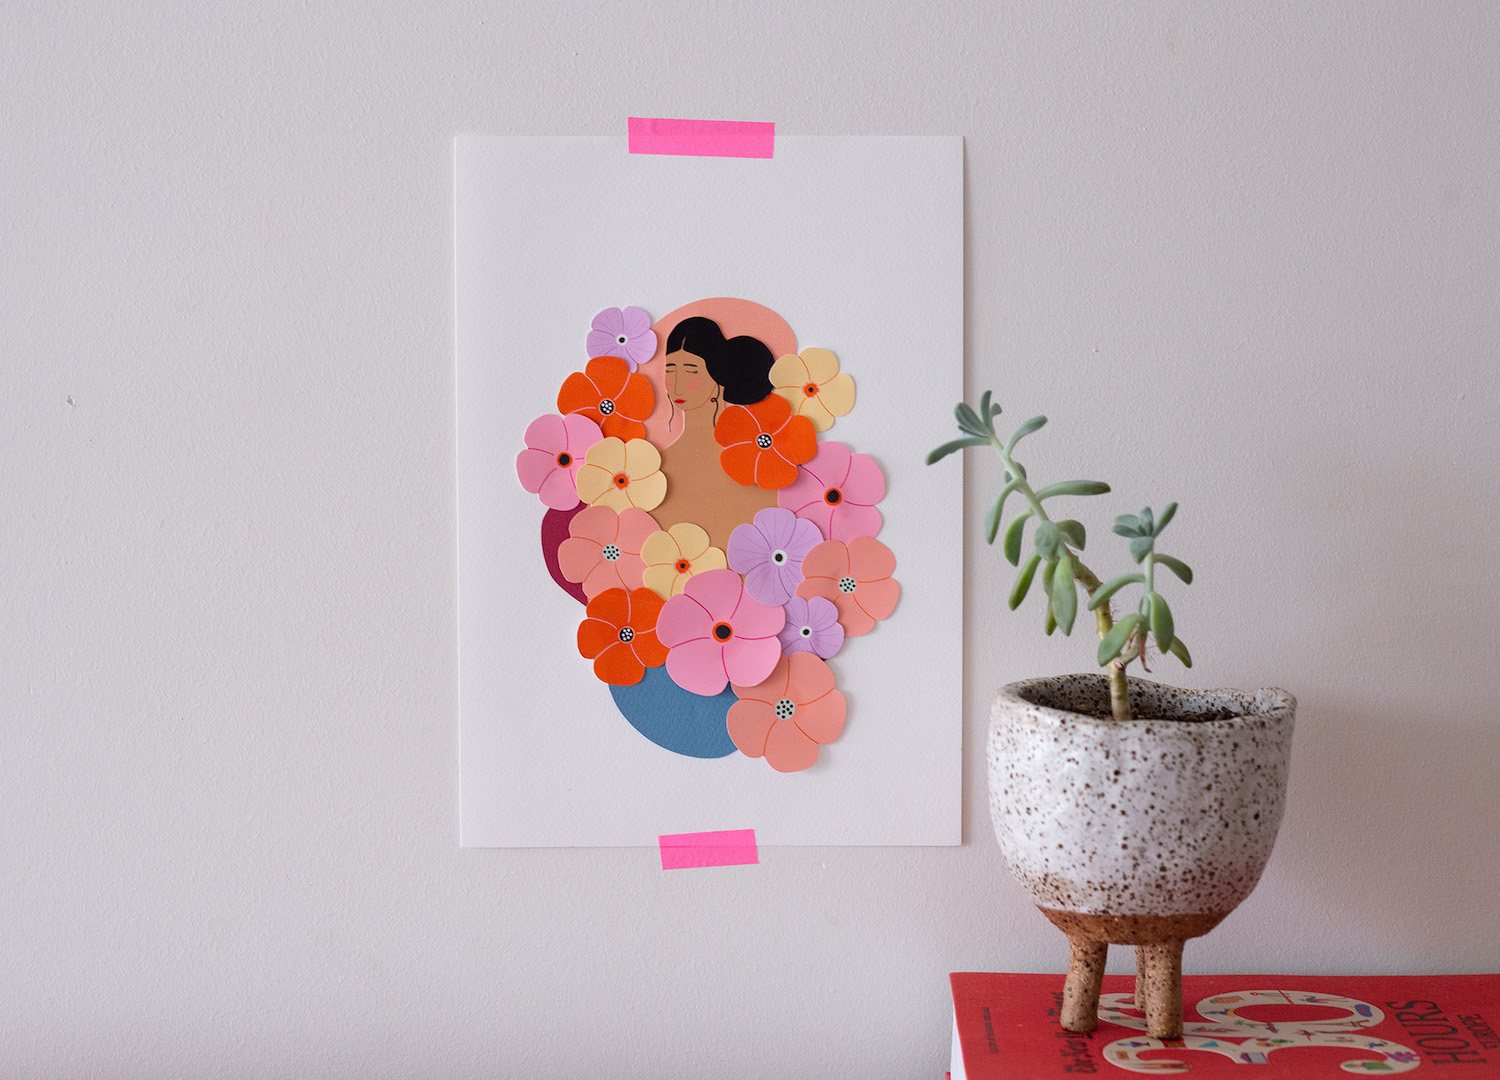
STEP EIGHT // Hang your beautiful artwork!
photos and instructions CLAIRE CASSIDY
THIS DIY PROJECT WAS CREATED IN PARTNERSHIP WITH OUR FRIENDS AT FISKARS, SCISSOR CHAMPS WHO ARE ALL ABOUT HELPING EACH OF US EXPRESS OUR INNER-ARTISTS WHILE CREATING 100% HAPPINESS AND PHONE-FREE ZONES.