Picture this… You finish a fabulous sewing project and you bought just the right amount of material. All that’s left are scraps – not large enough to make another big ticket item out of, but also not small enough for you to throw away without qualm. You put them away, perhaps in a nice box or a special drawer, sure you will find the perfect use for those little guys someday. Then you move on to your next project. Then the next. Suddenly you look around and you are beset by a mighty horde of fabric scraps, inundated and overrun, at risk of drowning in the sea of scraps that assails you. You have to bust these scraps, fast before they bust you.
Sound familiar? Ok, that might be a tad dramatic, but we are always looking for cute and clever ways to use up the very last scrappiest scraps of our fabric, and assuage ourselves of the guilt of contributing to Australia’s significant textile wastage.
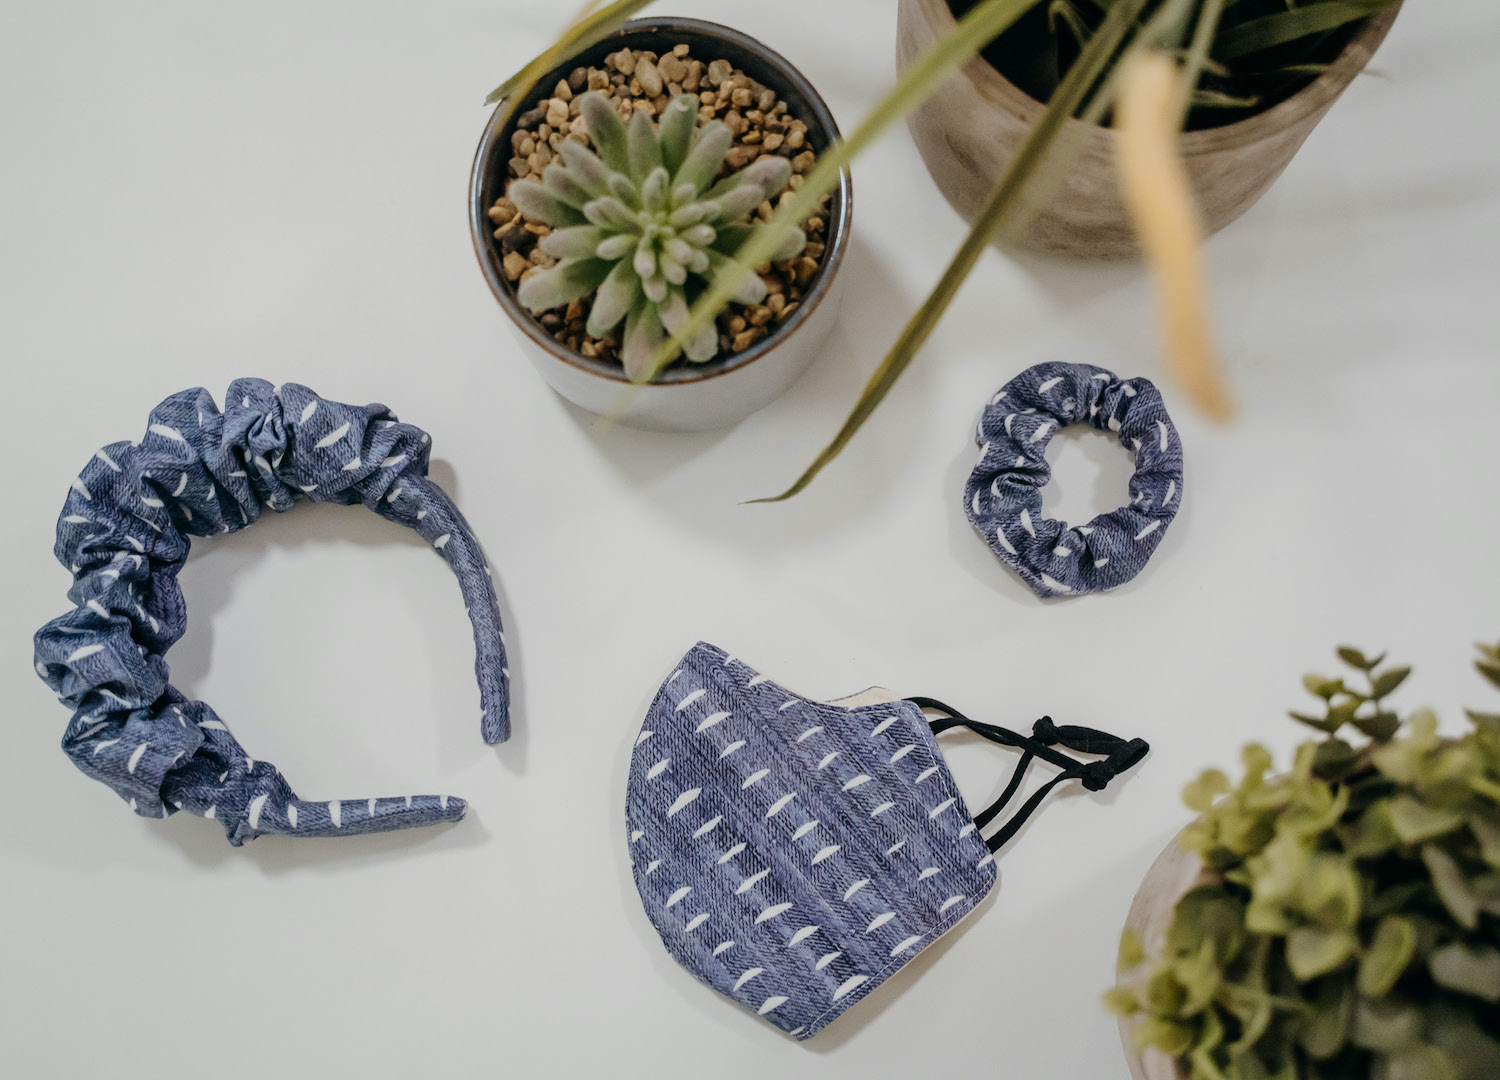
With a little help from our friends at Singer, we’ve compiled a few simple scrap buster projects you can take to your pile with a smile and clear out your horde – while creating some cute accessories to boot!
Scrunchie
Making a scrunchie is an easy and adorable way to use up the last remnants of groovy fabric. This method is particularly easy because you don’t even need to buy elastic. All you need is a trusty hair tie.
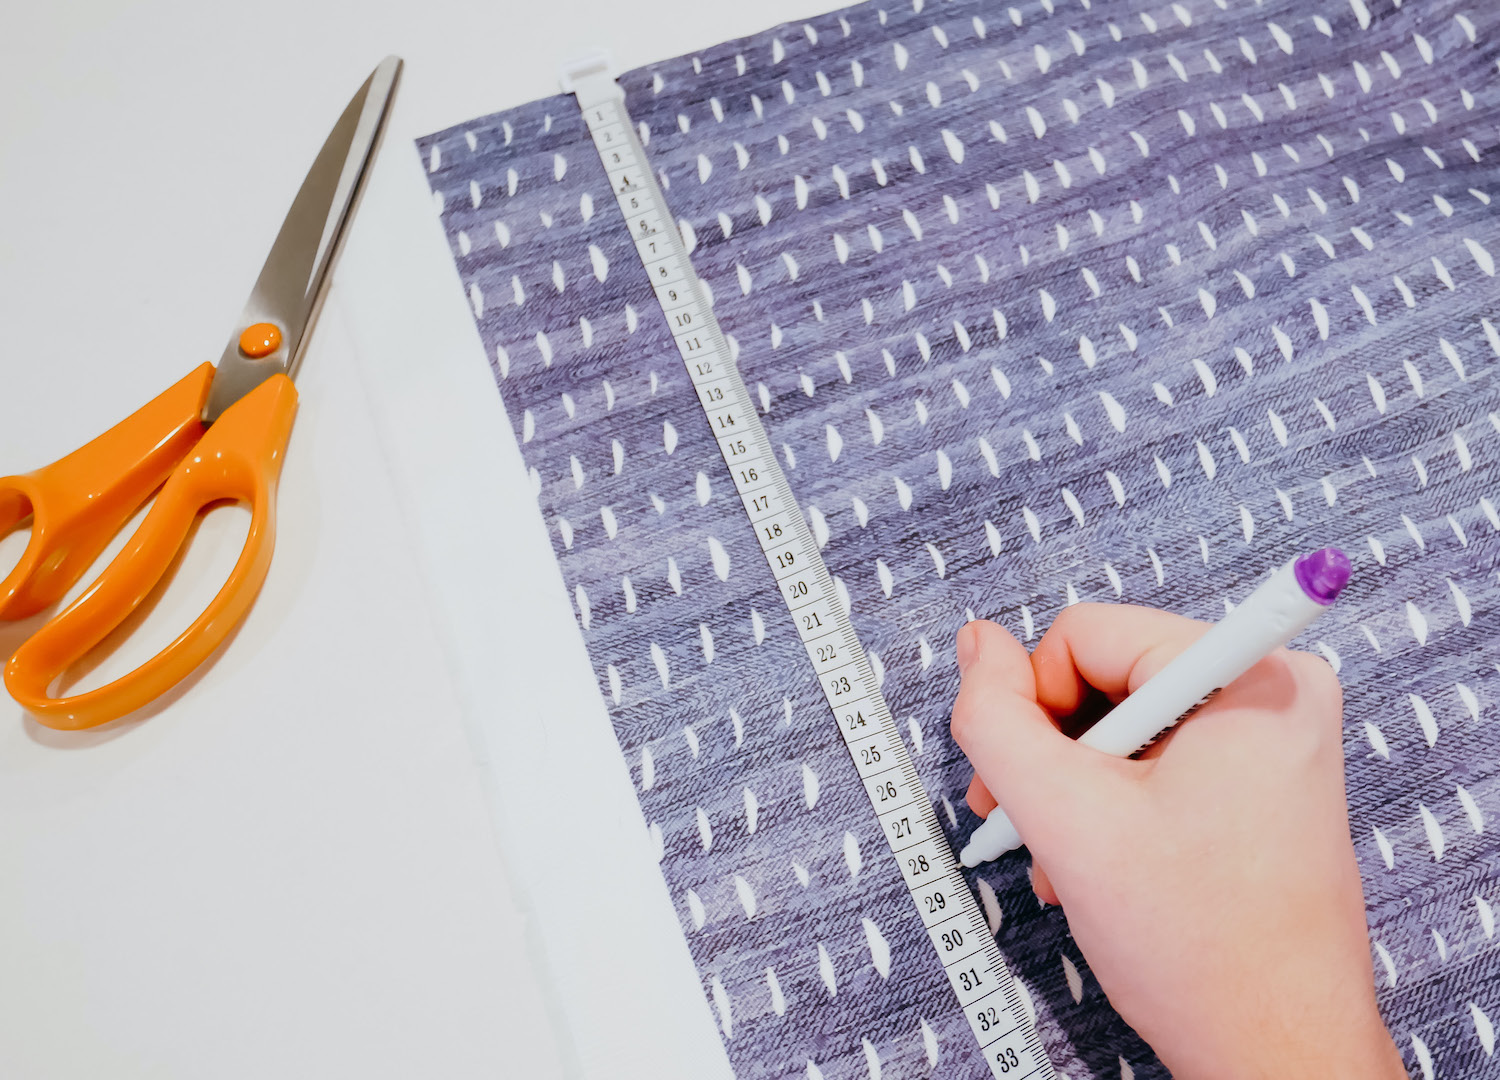
STEP ONE // Cut a rectangle out of your fabric. The longer your rectangle the more scrunched up your scrunchie will be. The wider your rectangle the bigger your scrunchie will be. Either way you should accommodate 2cm in both the length and width for seam allowance. This scrunchie was made with a 7cm x 28cm rectangle.
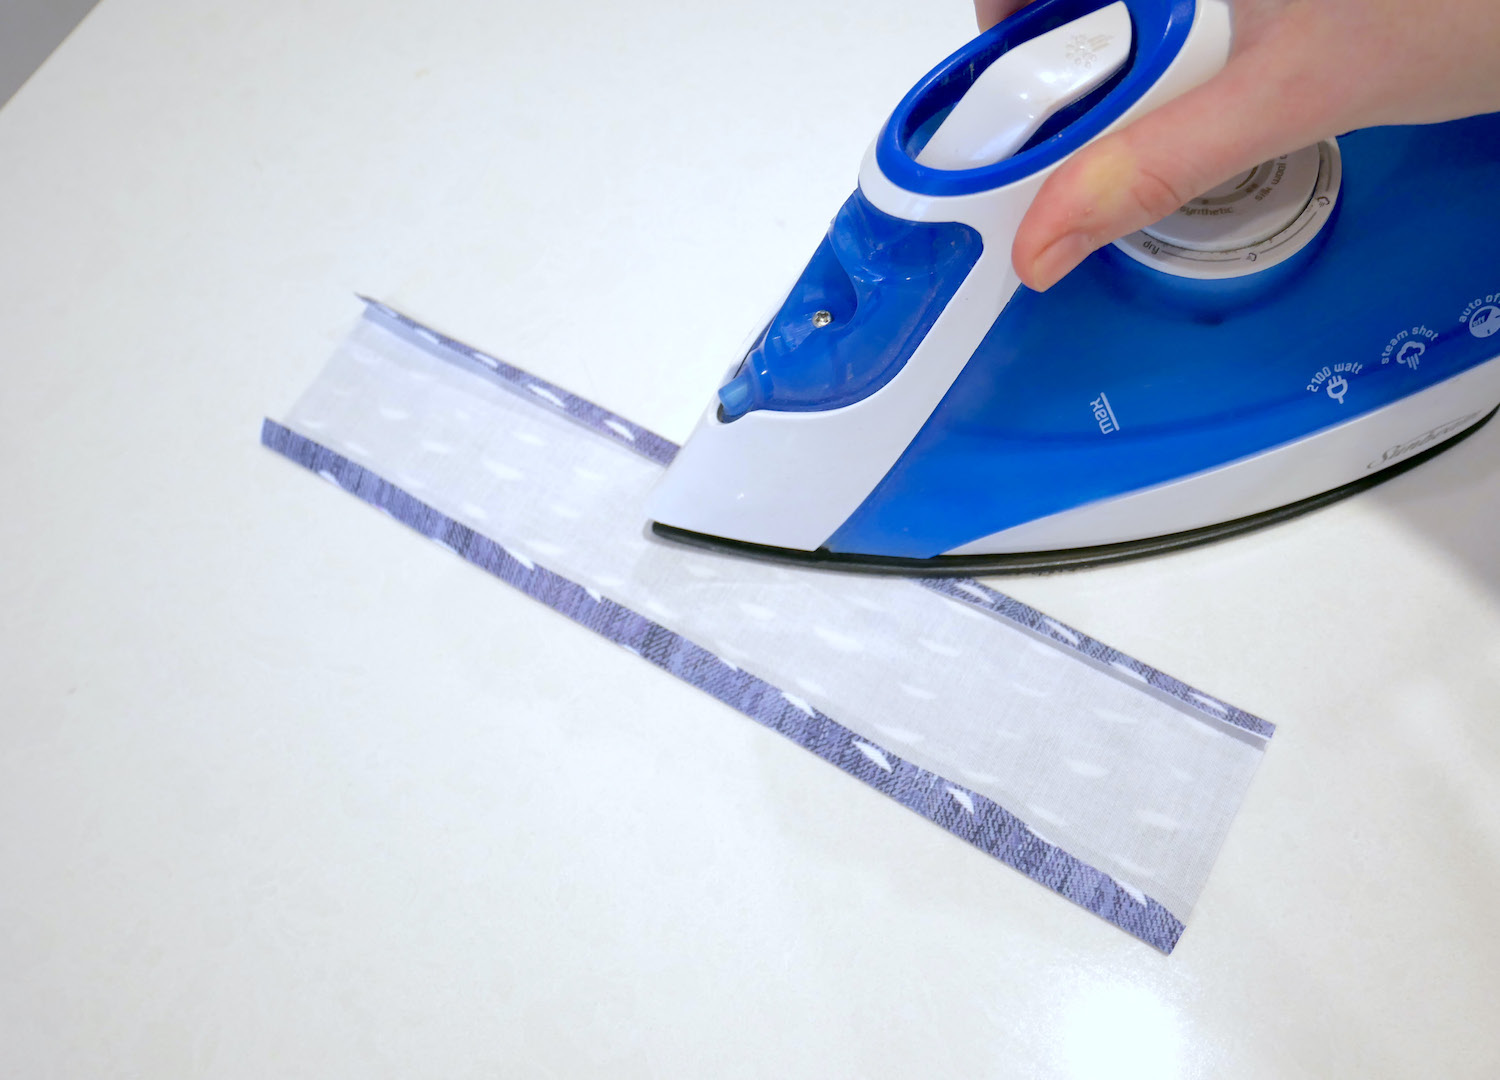
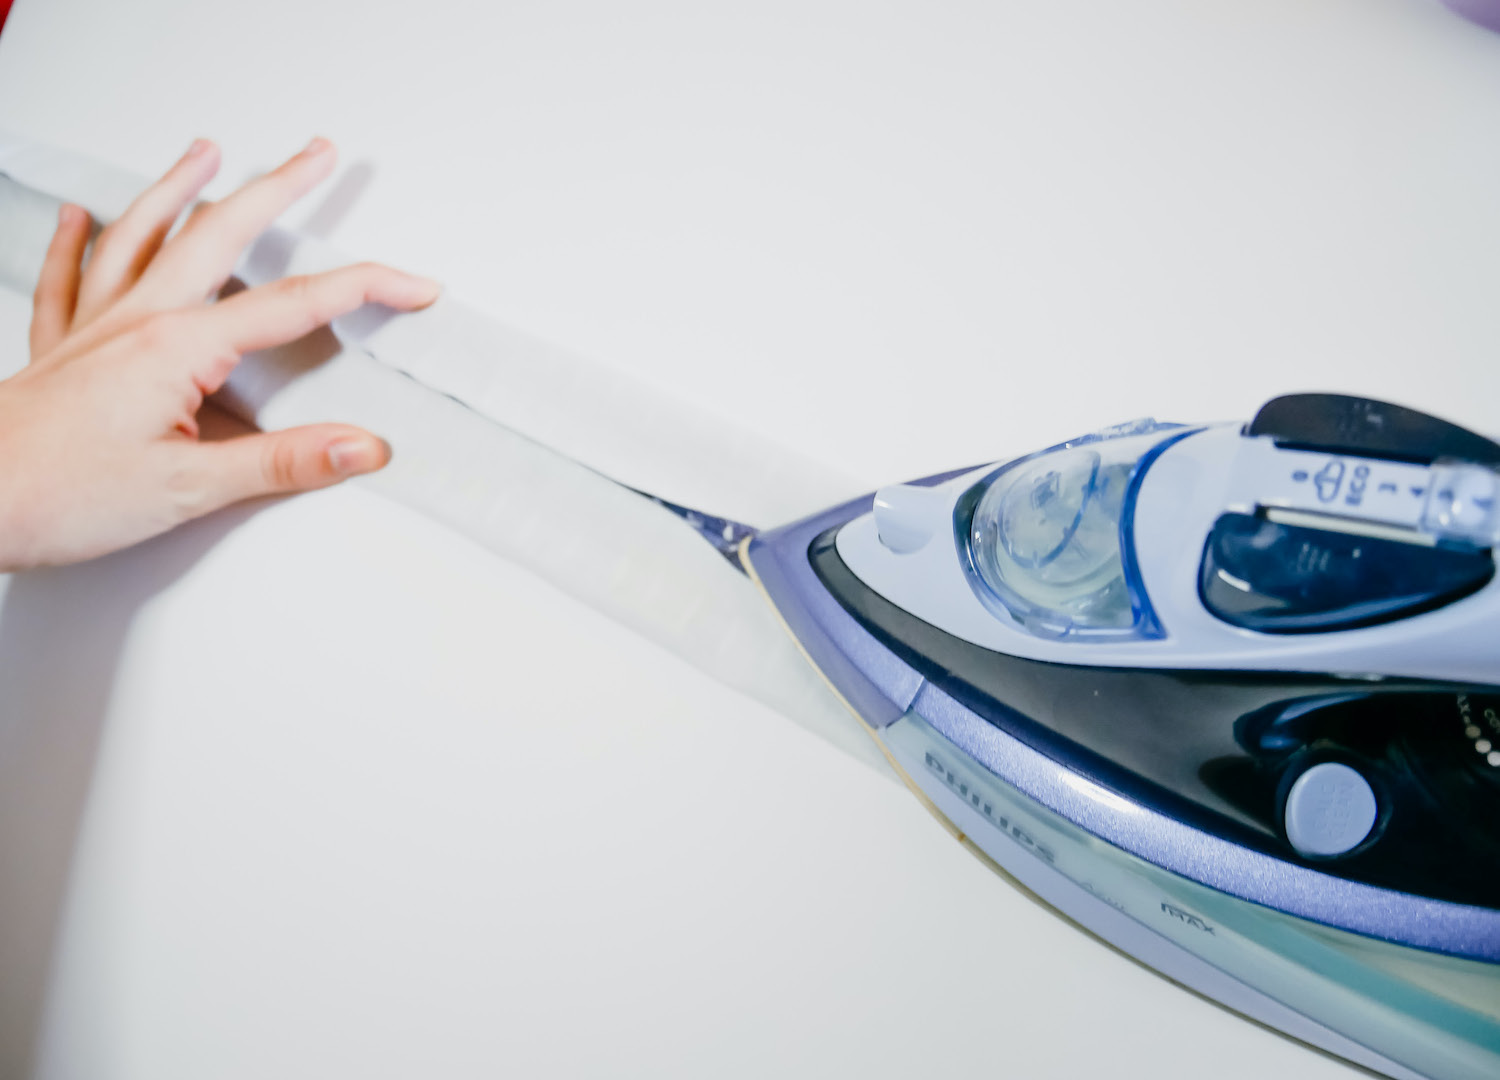
STEP TWO // Fold in 1cm on either side of the rectangle, lengthways, and iron them down. You want those bad boys to be crisp.
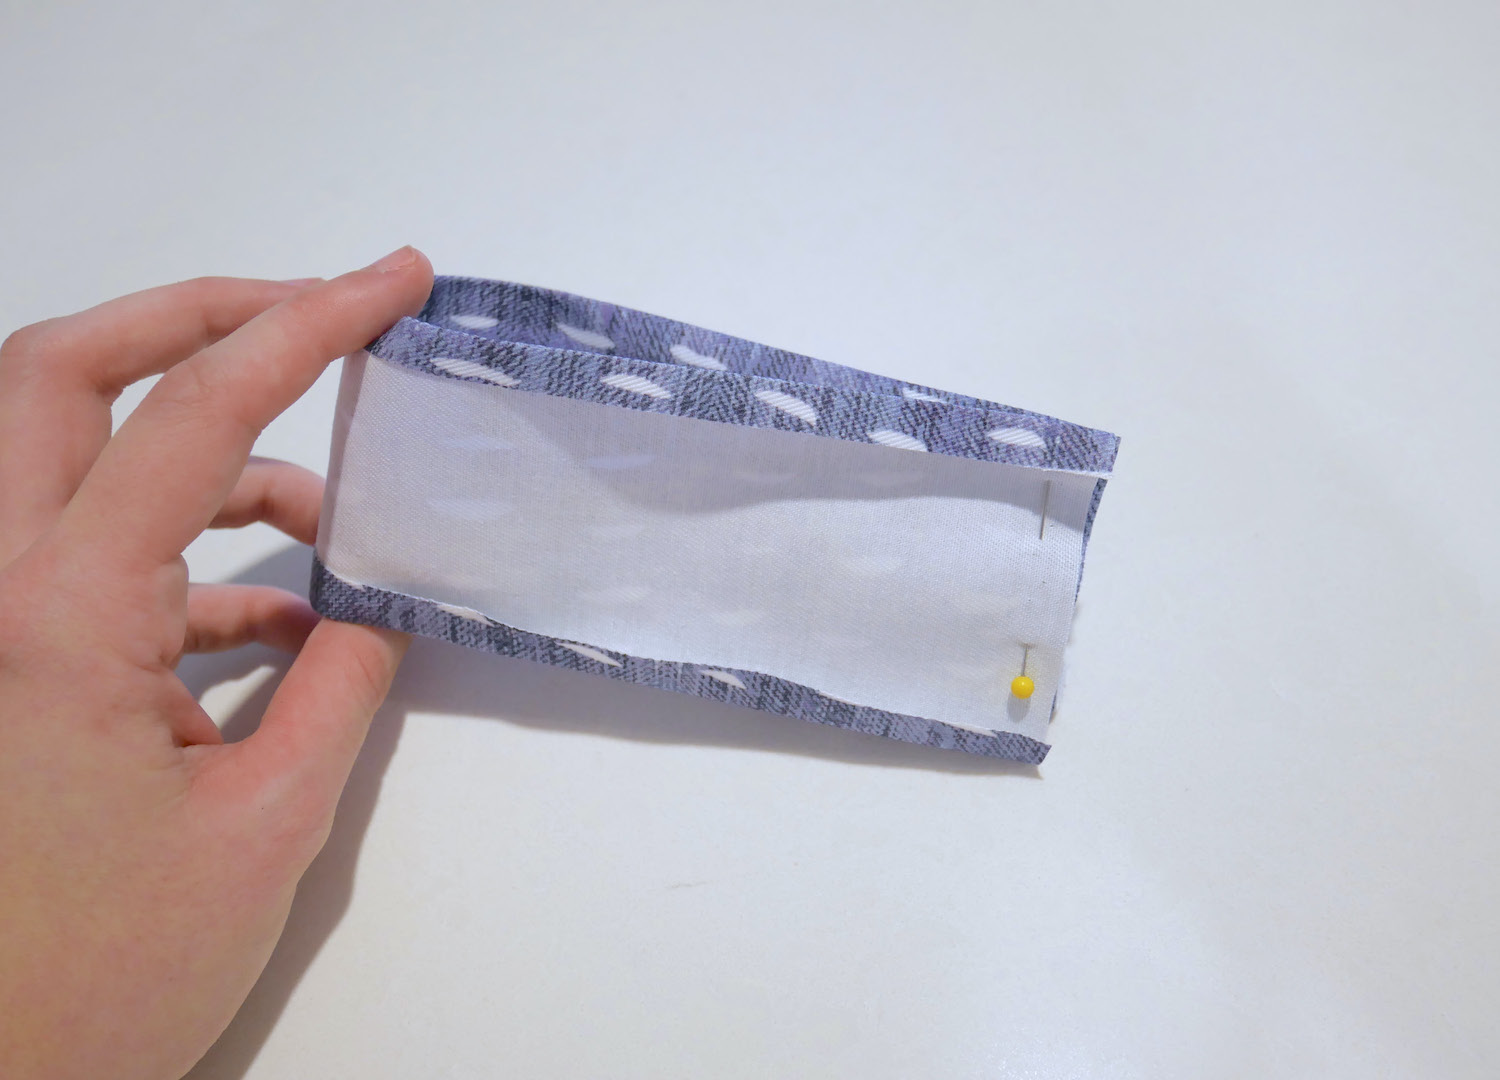
STEP THREE // Pin the short ends right sides together and sew. Press seams. You should now have a beautiful tube.
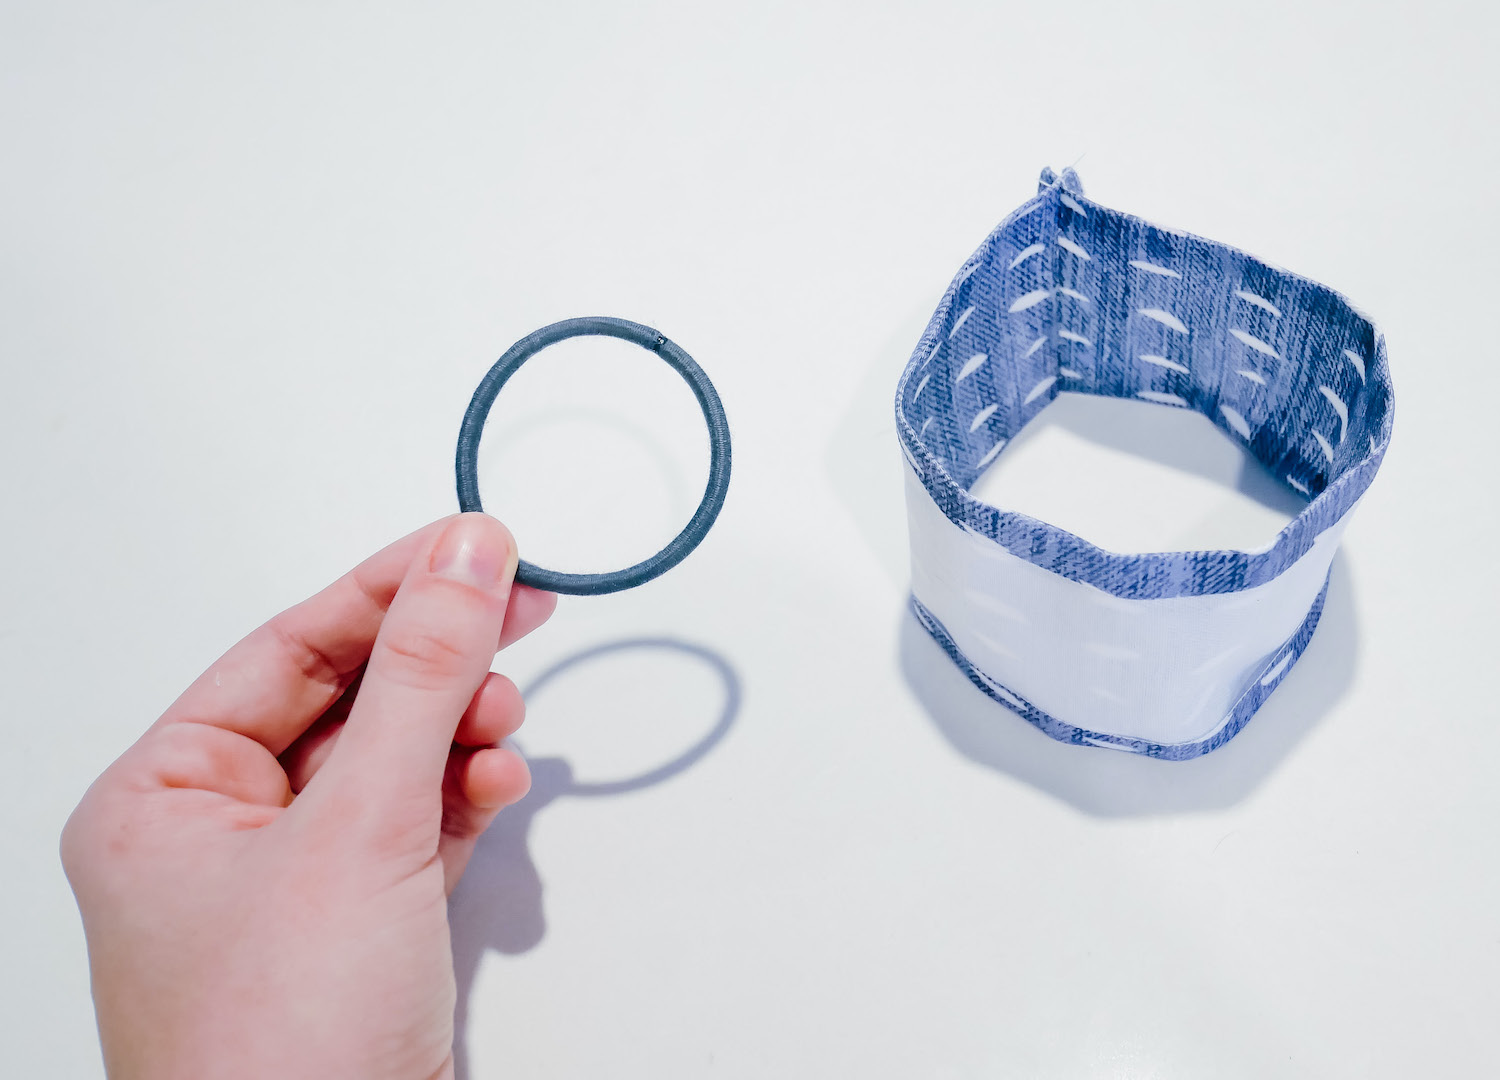
STEP FOUR // Take your trusty hair and tie and put it around your tube, sitting roughly in the middle. This will scrunch up the tube, which is fine as long as it does not get twisted.
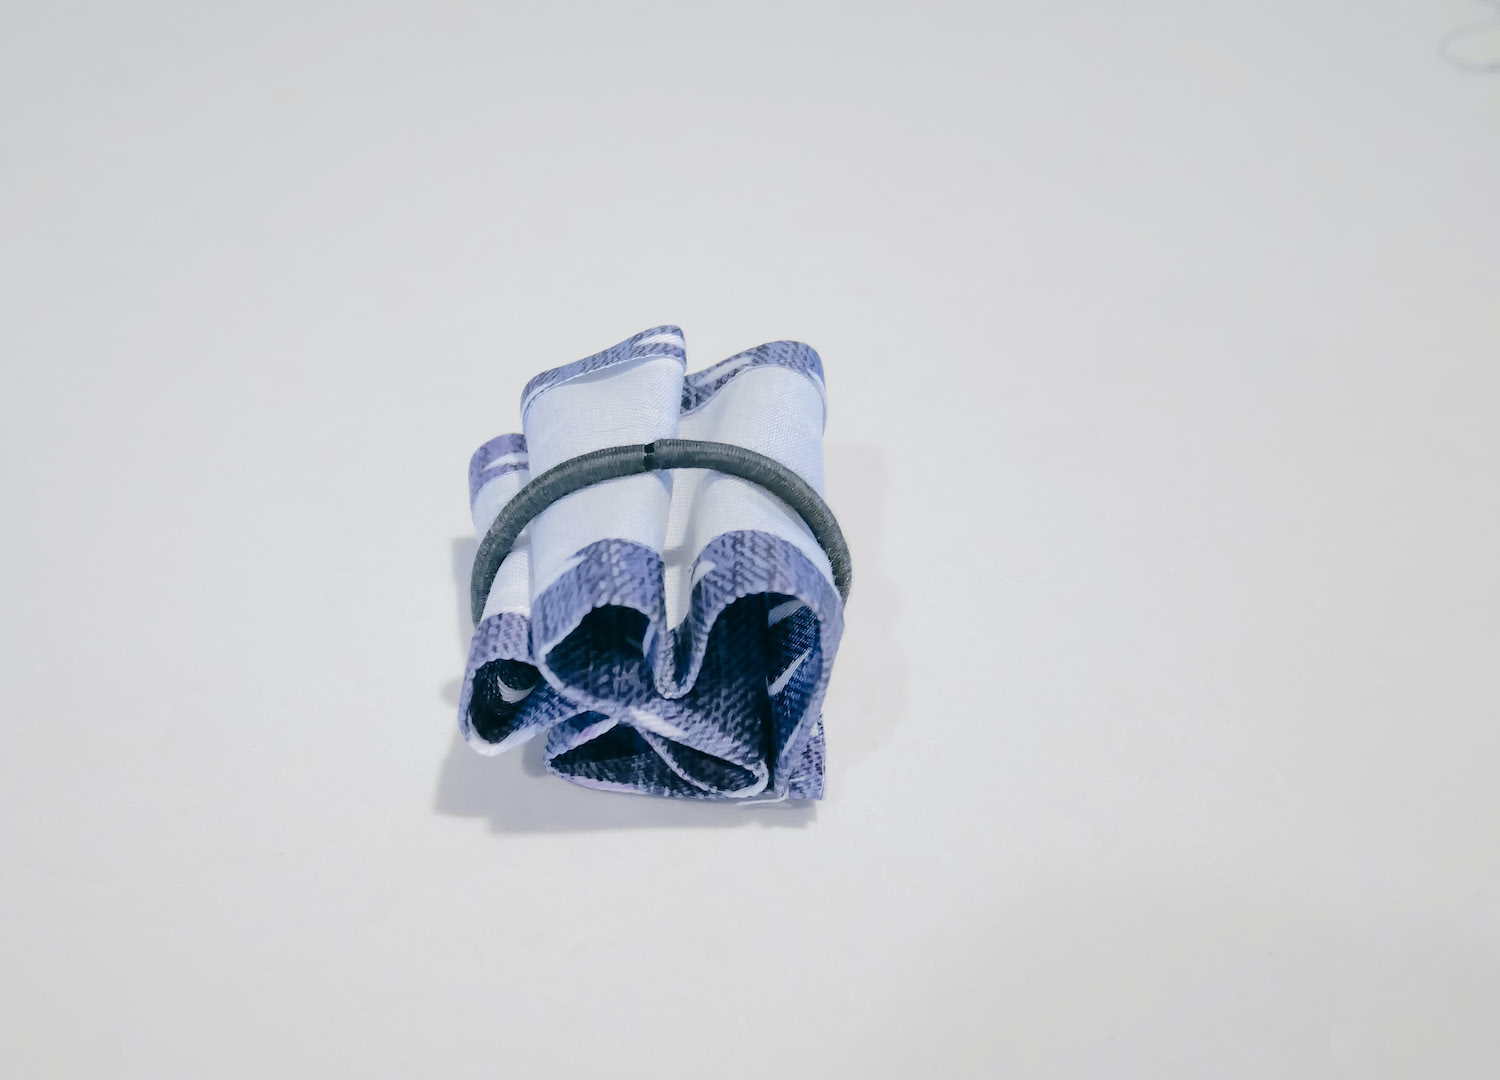
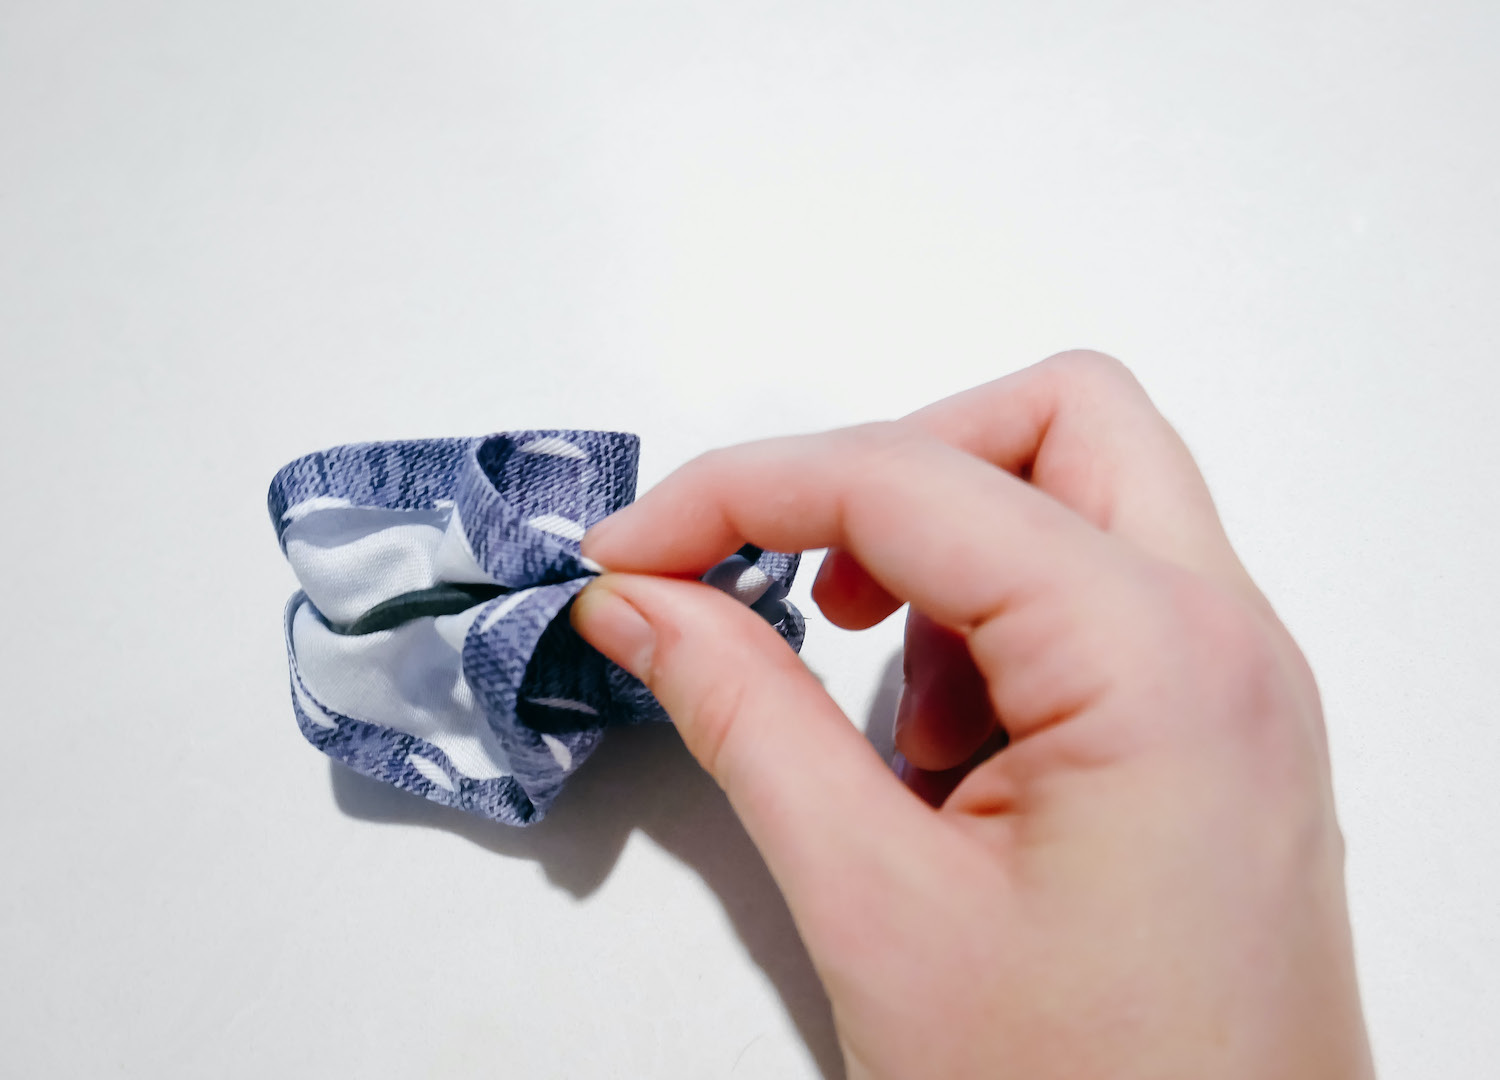
STEP SIX // Pinch and pin the fabric together around the hair tie. Top stitch as close to the edge as possible. This might seem a little scary to do on a machine but you just have to go slow and be careful. You could also hand sew the edges closed with a simple whip stitch.
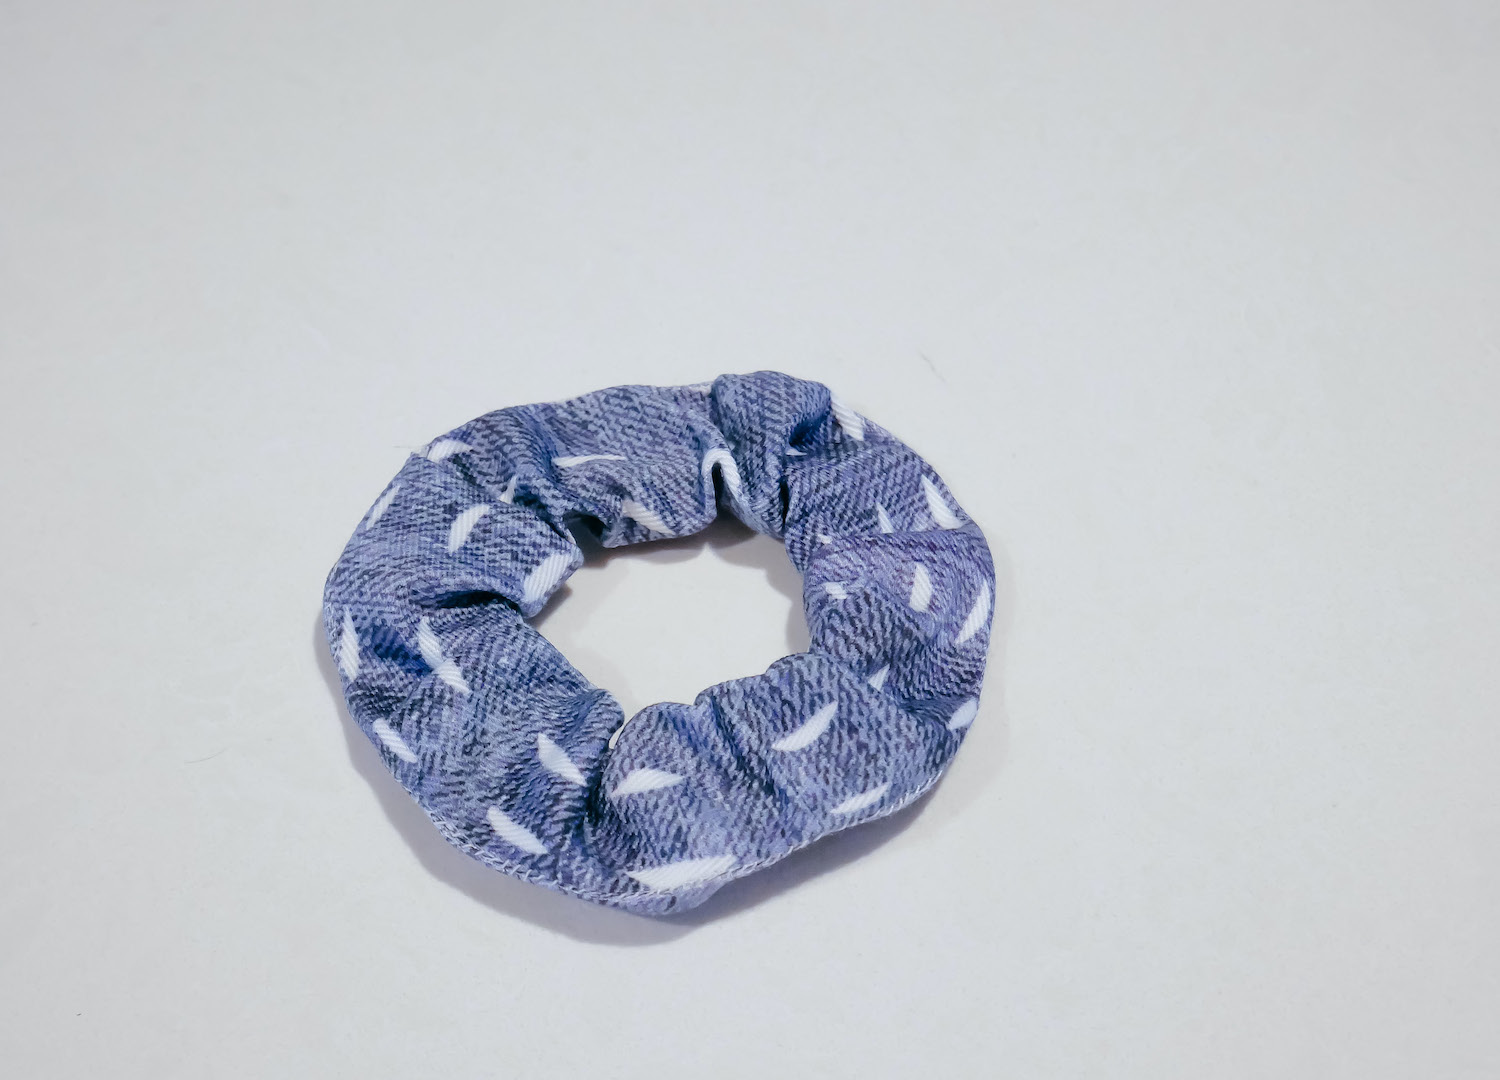
Voila! You have a delightful scrunchie and the power contained within you to create an unlimited supply of scrunchies!
Scrunchie Headband
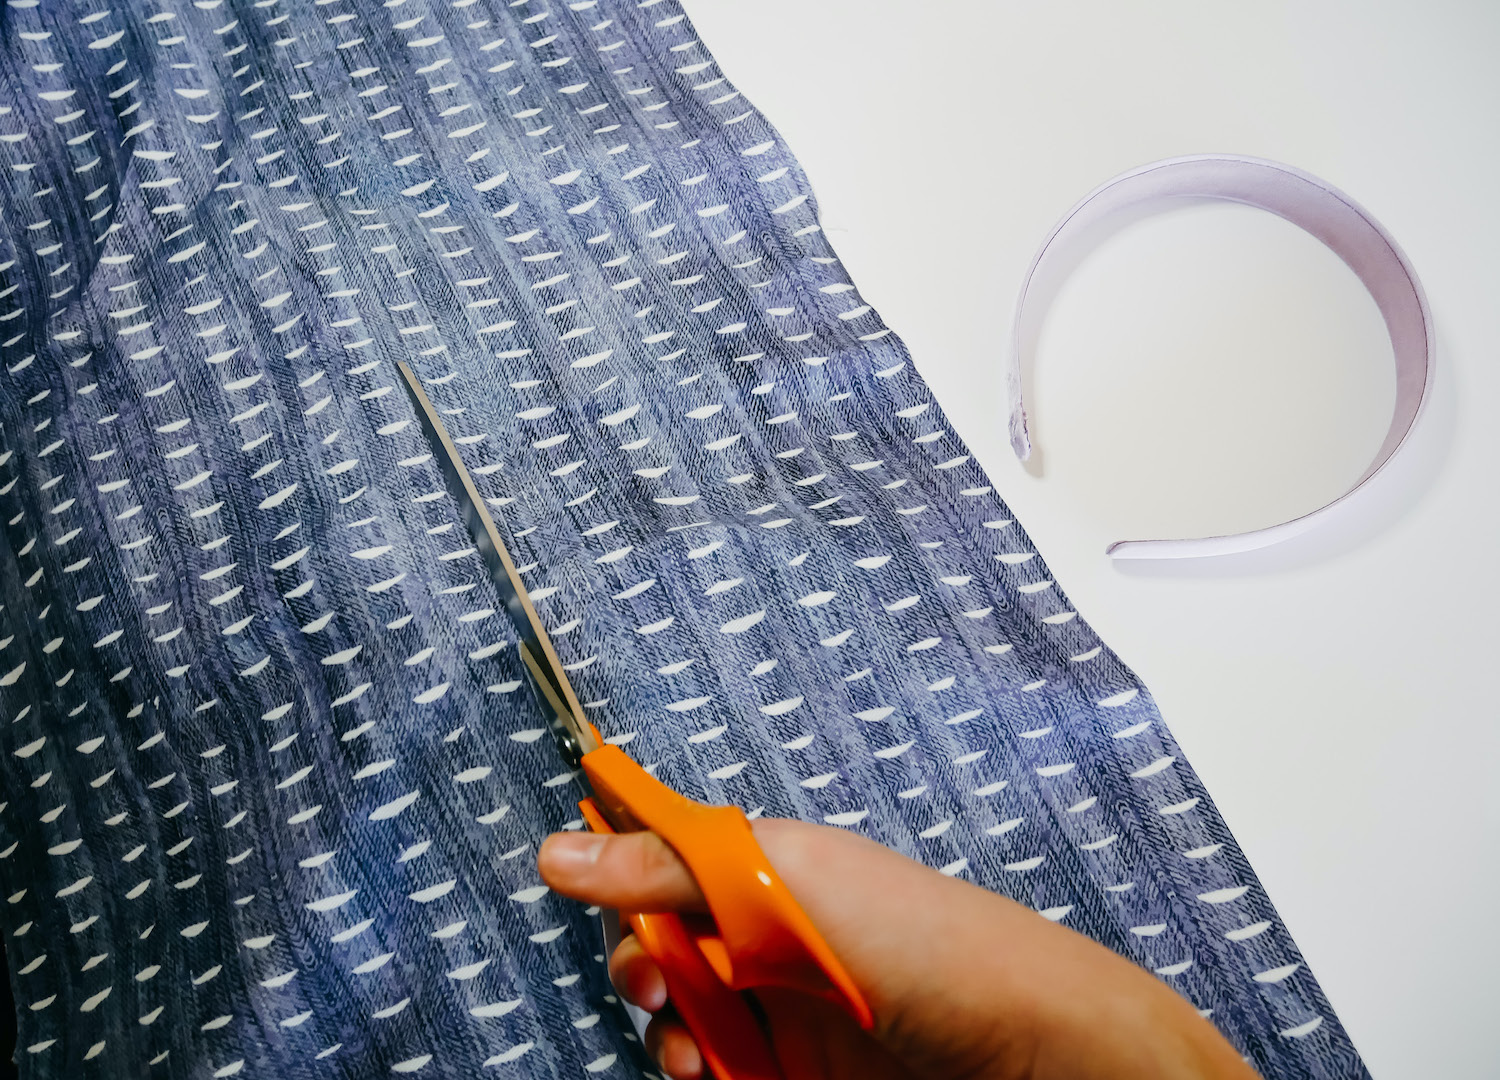
Imagine there was an accessory like a scrunchie that sat atop your head like some kind of head… band? Fantasy you say? Nay, reality! For this crown of scrunch all you need are your scraps and a fabric (or other pierceable-by-needle material) headband.
STEP ONE // Cut out a big rectangle. Similar to the scrunchie, the longer the rectangle the more scrunch, the wider the rectangle, the more poof. This rectangle was 15cm x 70cm.
STEP TWO // Fold your rectangle in half, right sides facing each other, and sew together.
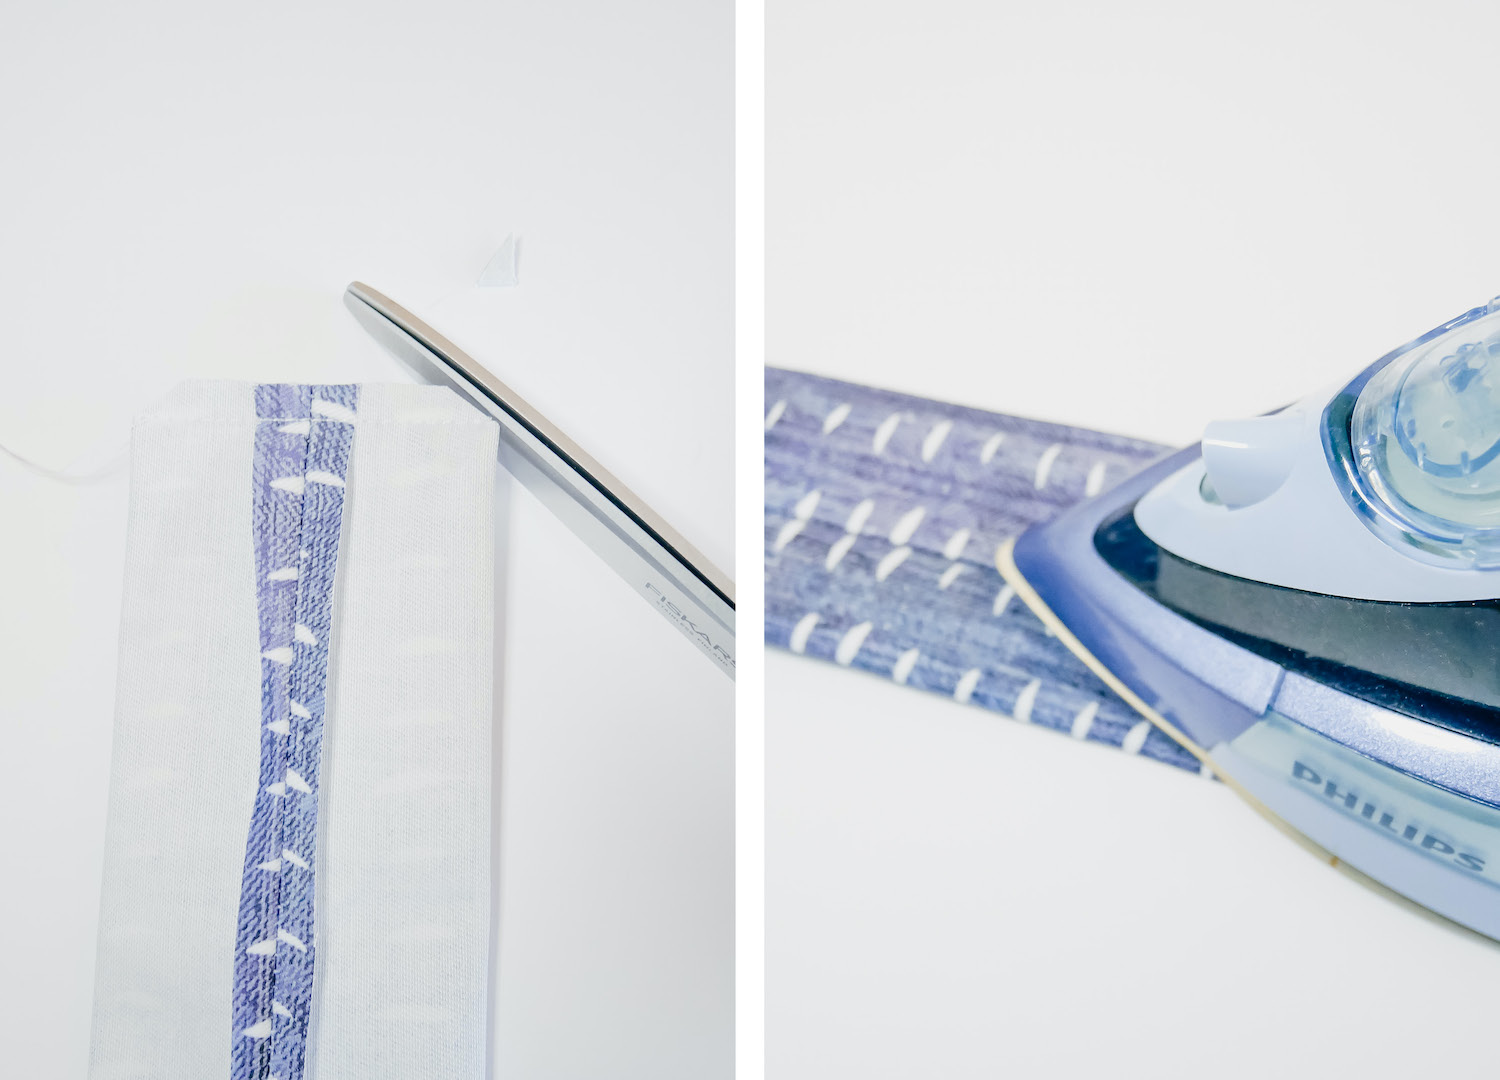
STEP THREE // We want the seam to sit along the bottom of the headband so you need to take your tube and position it so the seam sits in the middle of your new, smaller, rectangle. Use your iron to press open the new seam and teach your fabric its new shape.
STEP FOUR // Sew up one end of the rectangle. Clip down the corners in preparation to turn inside out. Then flip it inside out. Give it another press, just for luck.
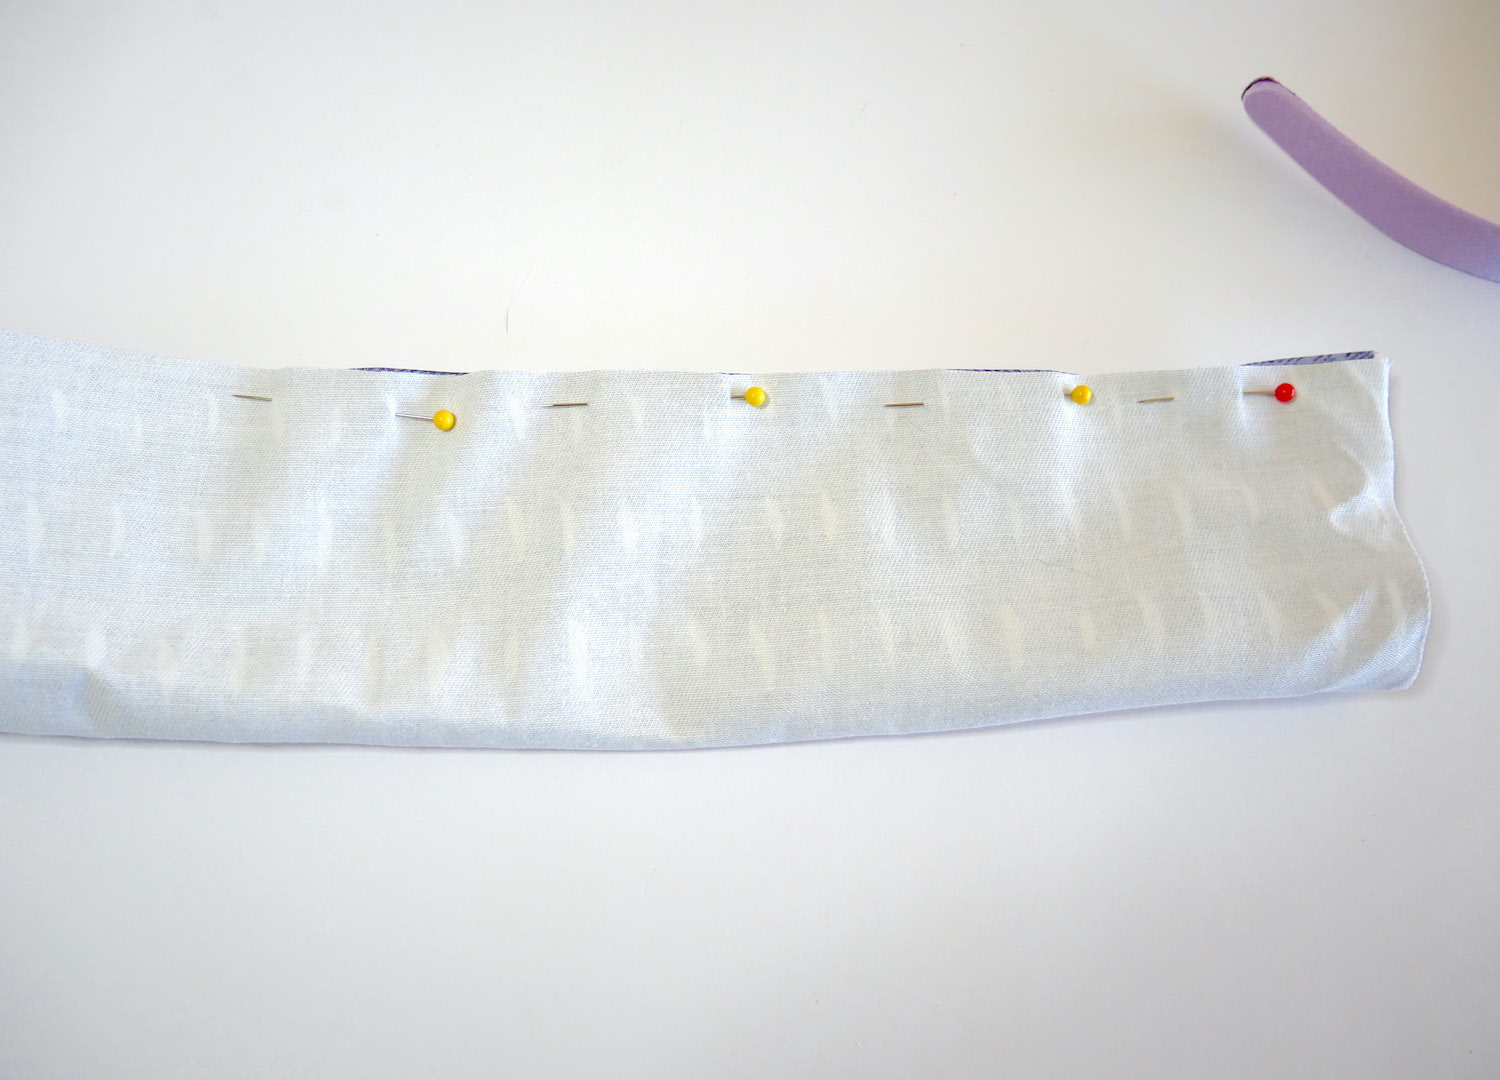
STEP FIVE // Start feeding your headband into the tube. You should end up with something like this.
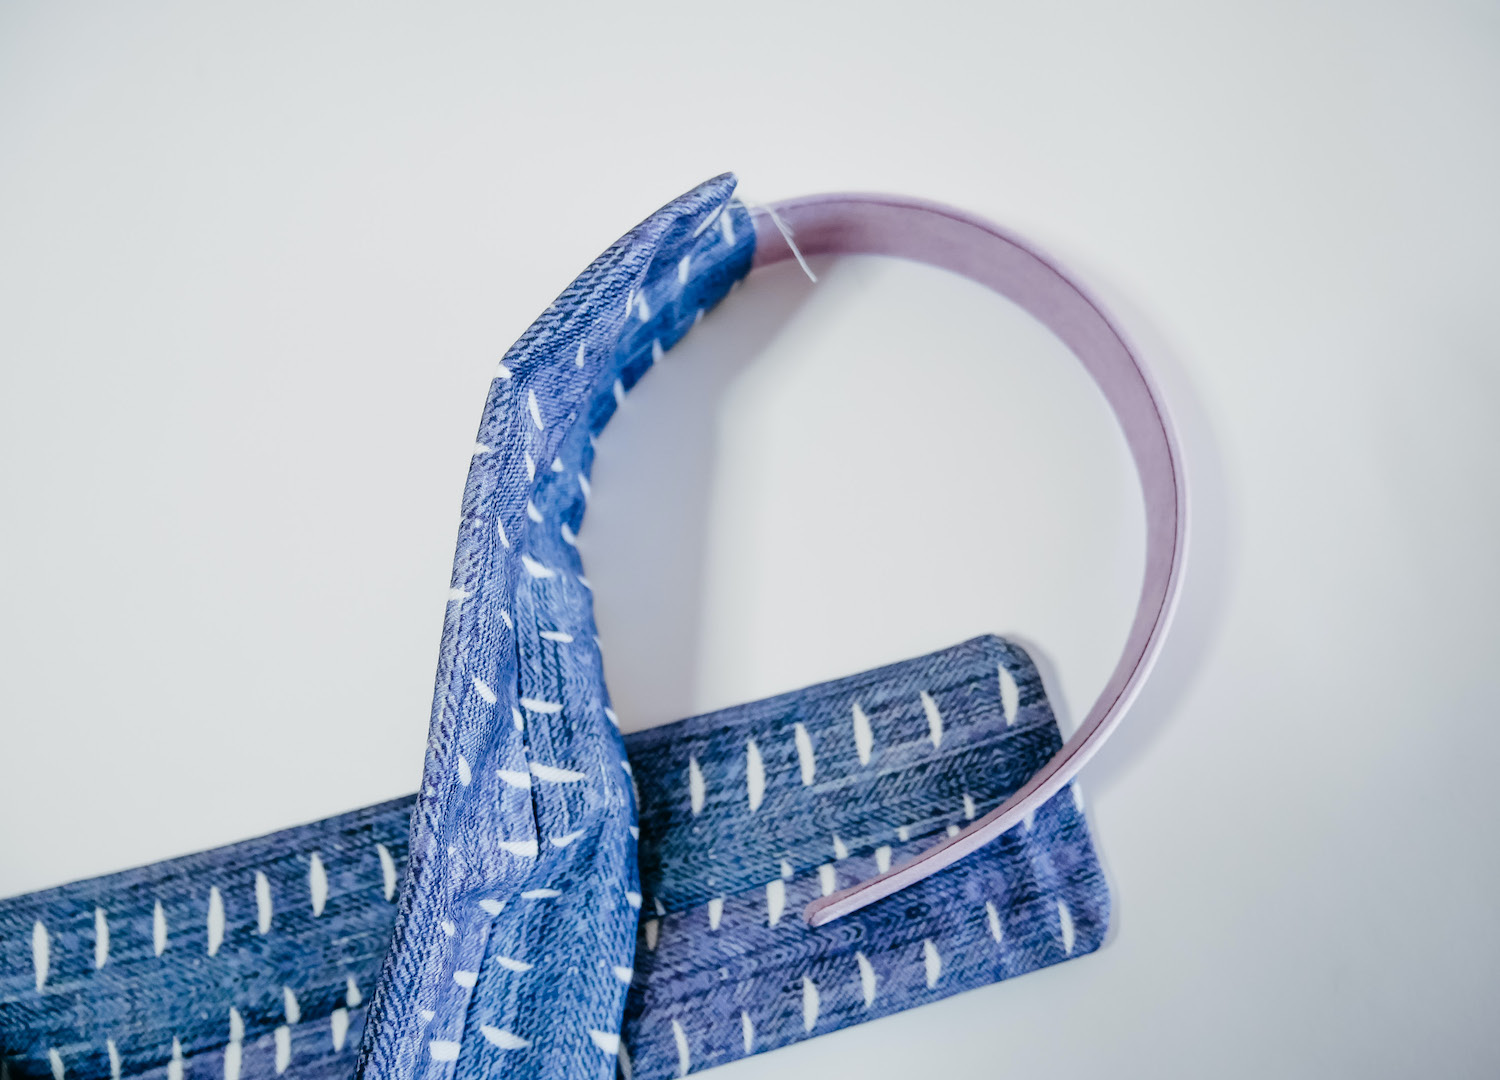
STEP SIX // Now it’s time to break out the hand sewing kit. You want to fold the edges of the rectangle around the end of the headband like you are swaddling a baby. Keeping the headband roughly in the middle of the fabric, fold in one side, then the other, and sew along the top and down the side for as far as you think looks nice. You should be trying to catch the headband in some of your stitches to keep the fabric anchored.
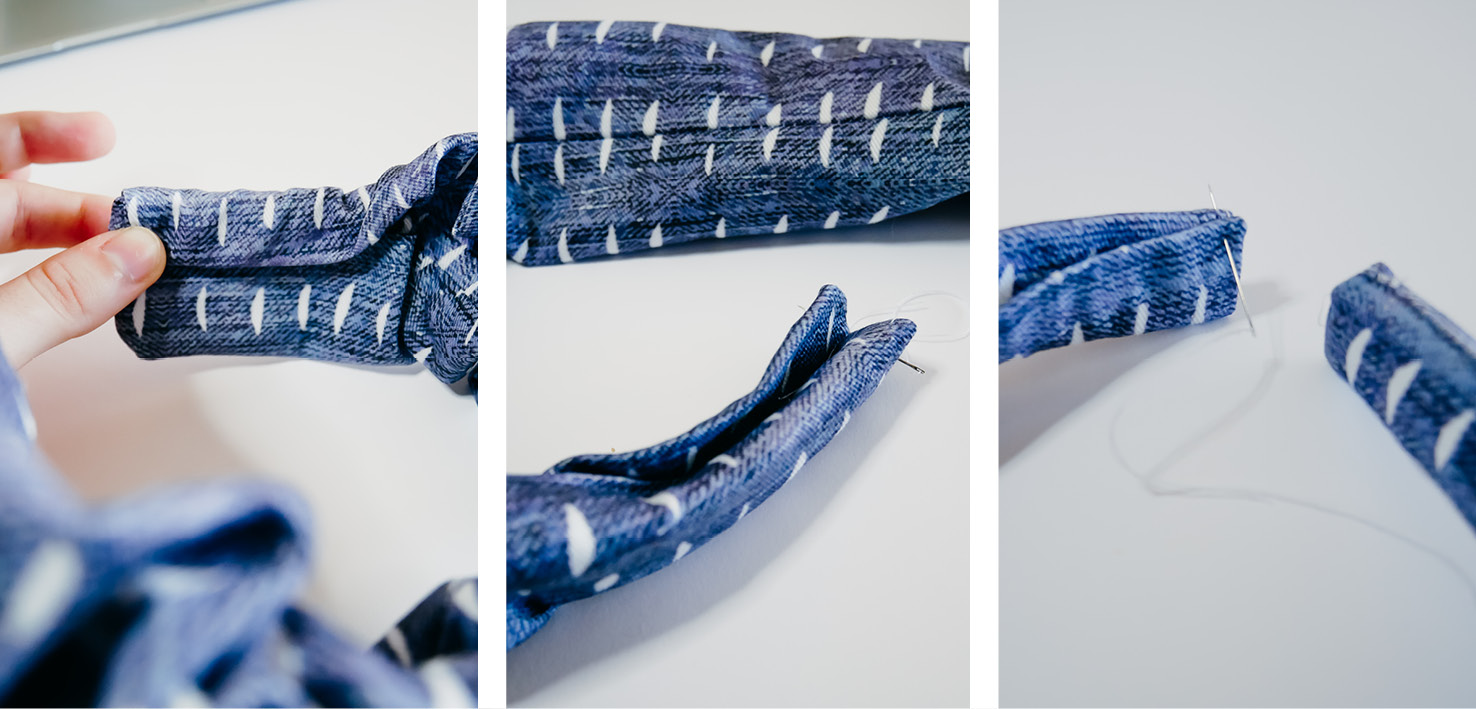
STEP SEVEN // On the open side you will need to flip the raw edges inwards before you sew everything up. The first side you need to use feeling, faith and the force to hit the headband but on this side you can use your eyes, at least for a little bit which is always helpful. Don’t worry if your stitching is a bit messy, most of this will be covered by your hair when you wear it.
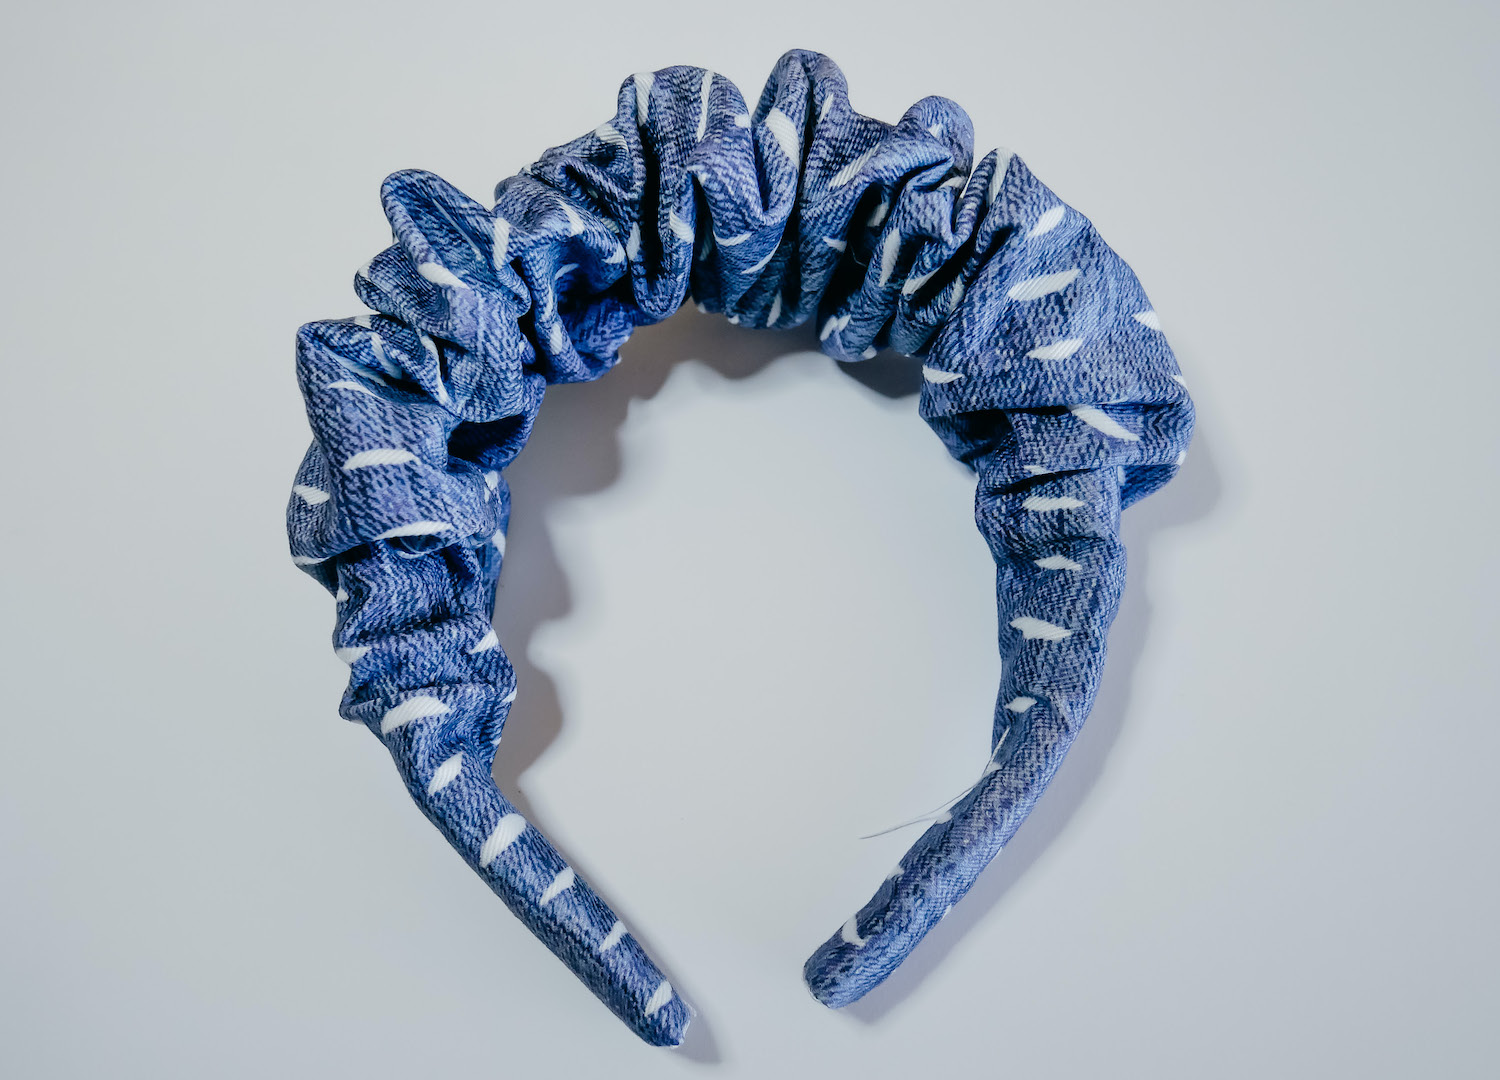
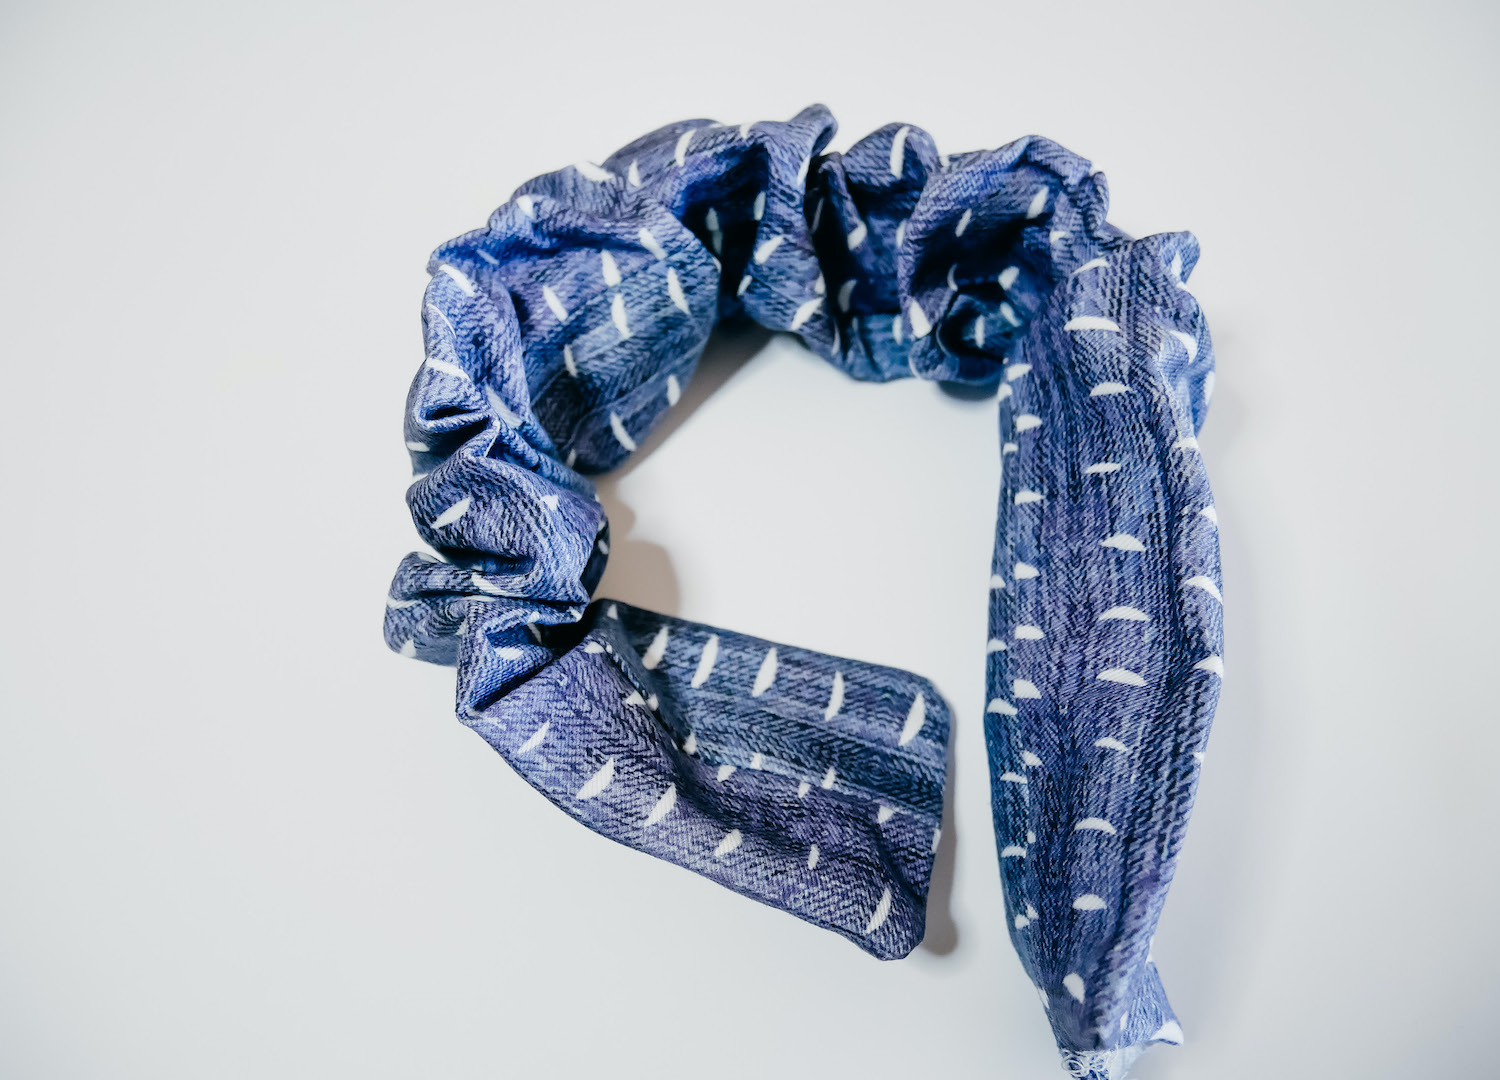
Hey presto! Your crown is done! You may need to adjust the distribution of scrunch around the headband and floof it up a bit to make it sit properly. If you want you can add some additional hand stitches along the bottom to anchor it permanently how you want it, or you can skip this additional work and just live dangerously!
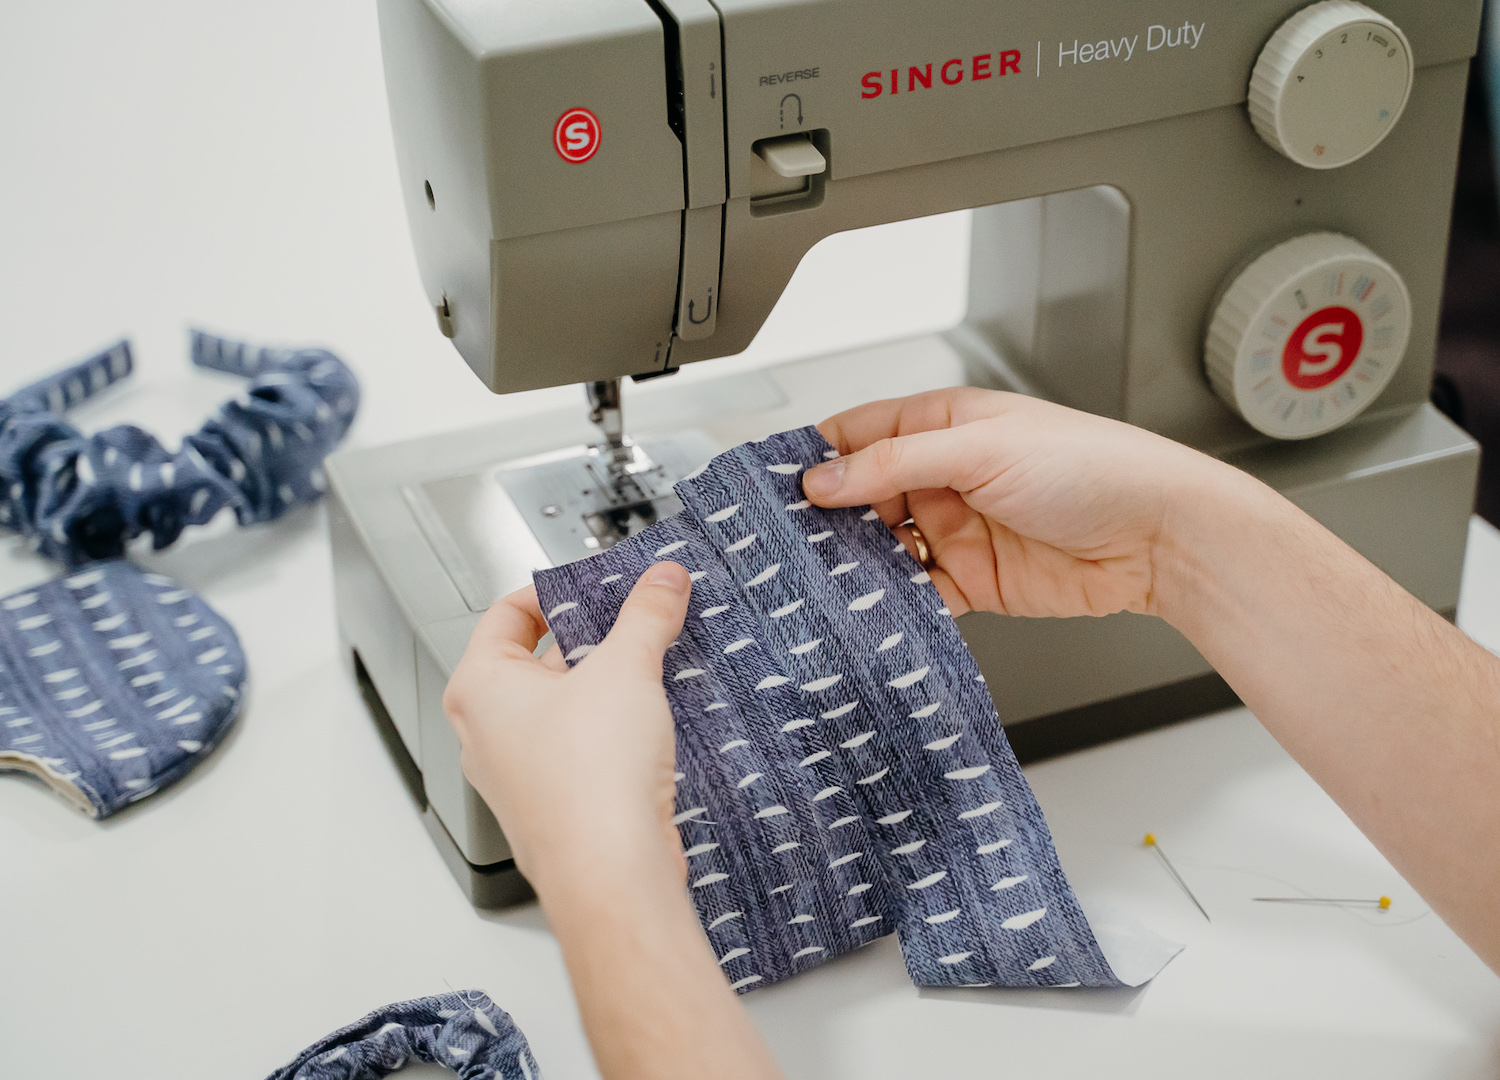
Face Mask
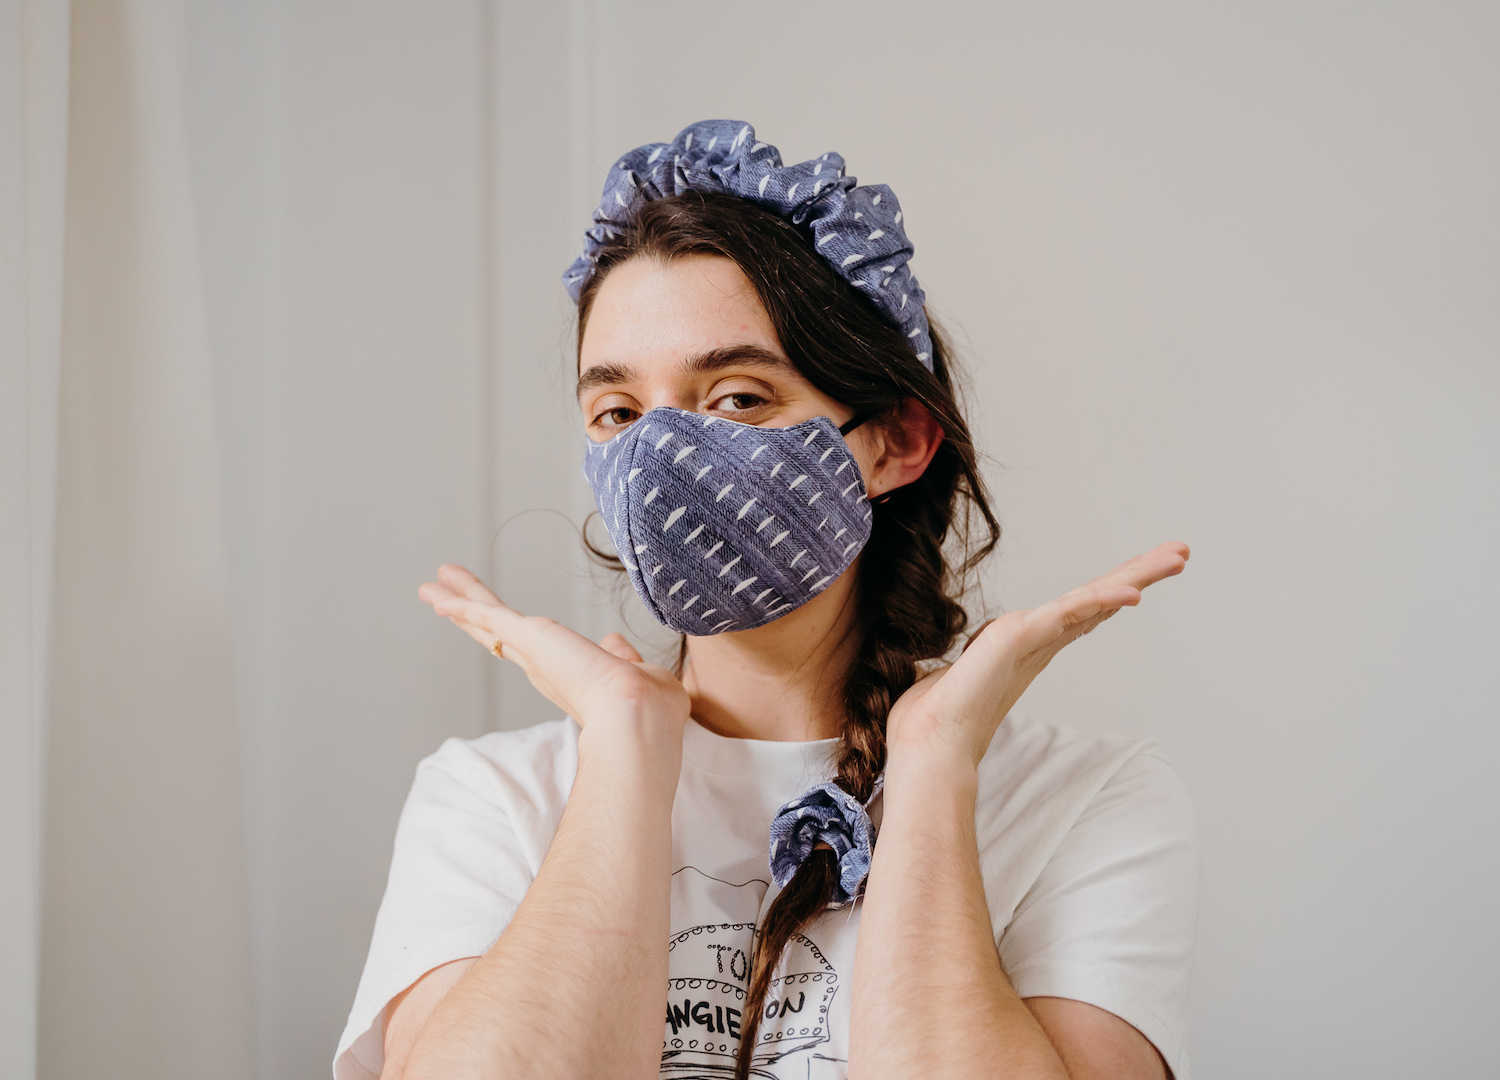
We cannot tell you just how many compliments you’ll receive if you go out with a face mask that matches your outfit. Honestly, it makes social distancing a little harder because you’ll be swarmed by adoring crowds telling you how cool and coordinated you look and asking if you happened to make it all yourself.
Making a mask requires a couple of extra ingredients – a lining fabric and some mask elastic – but the amount of fashion fabric is really quite minimal. You can squeeze a mask pattern out of some very small scraps with some careful tessellation.
The mask pattern we’re using is Singer’s free PDF pattern. You can find their tutorial on how to make it here. We’re doing a bit of a hack, switching out the fold over elastic loop tunnel for a flat edged finish with fixed elastic corners.
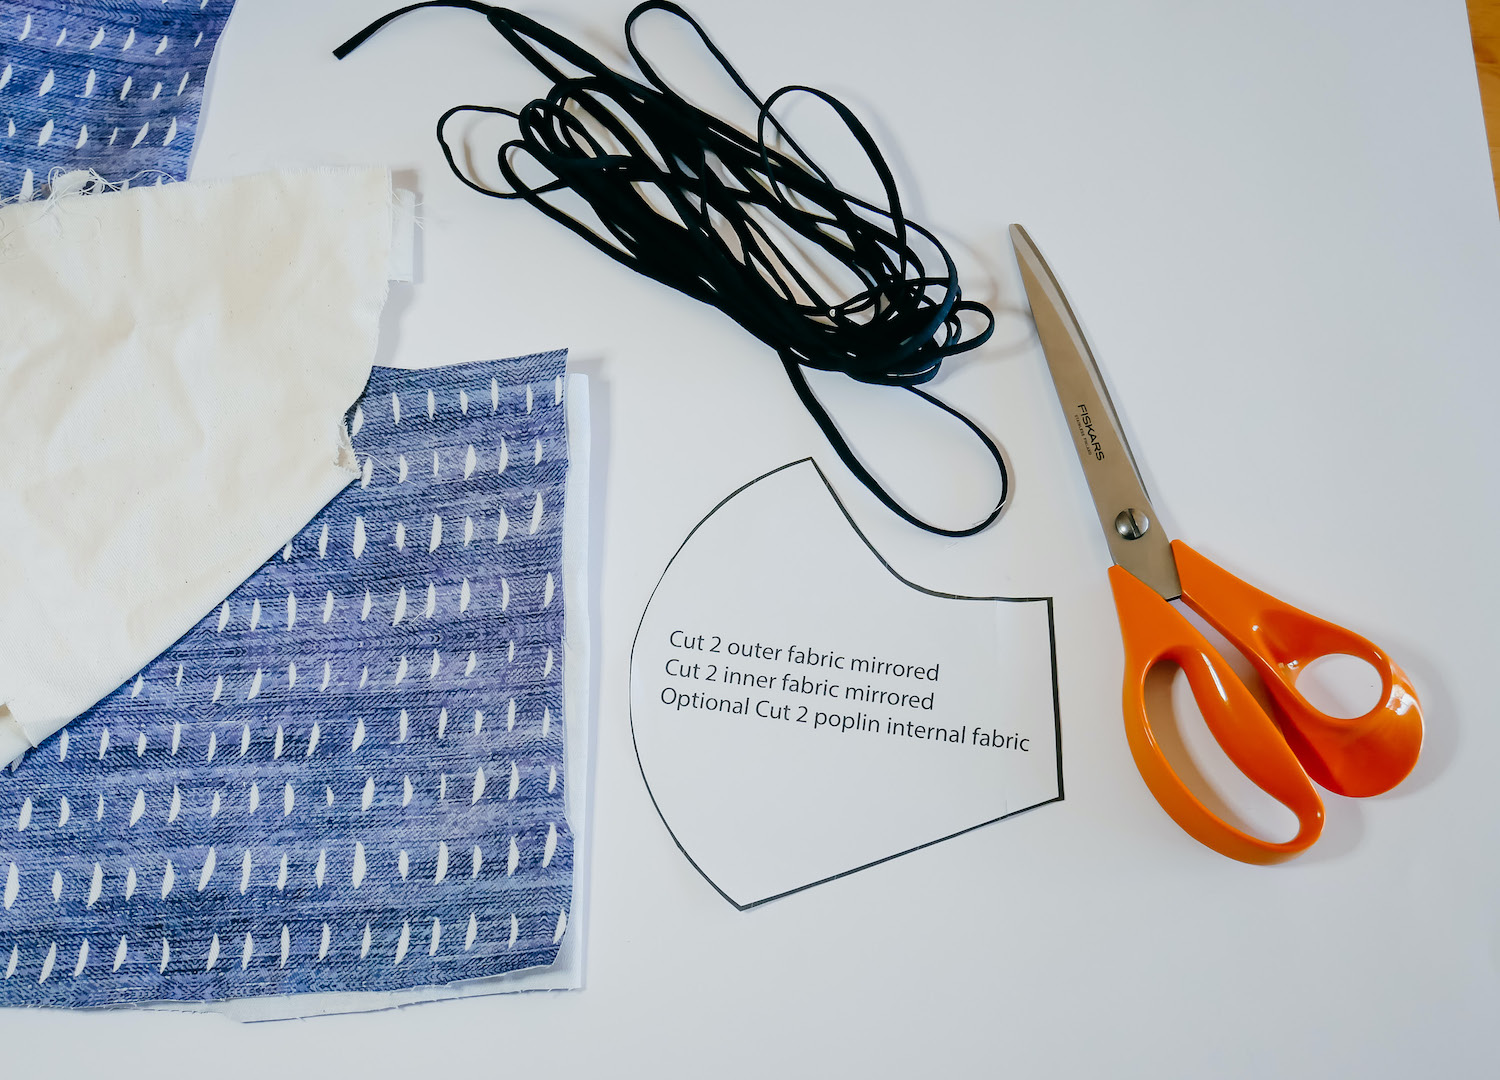
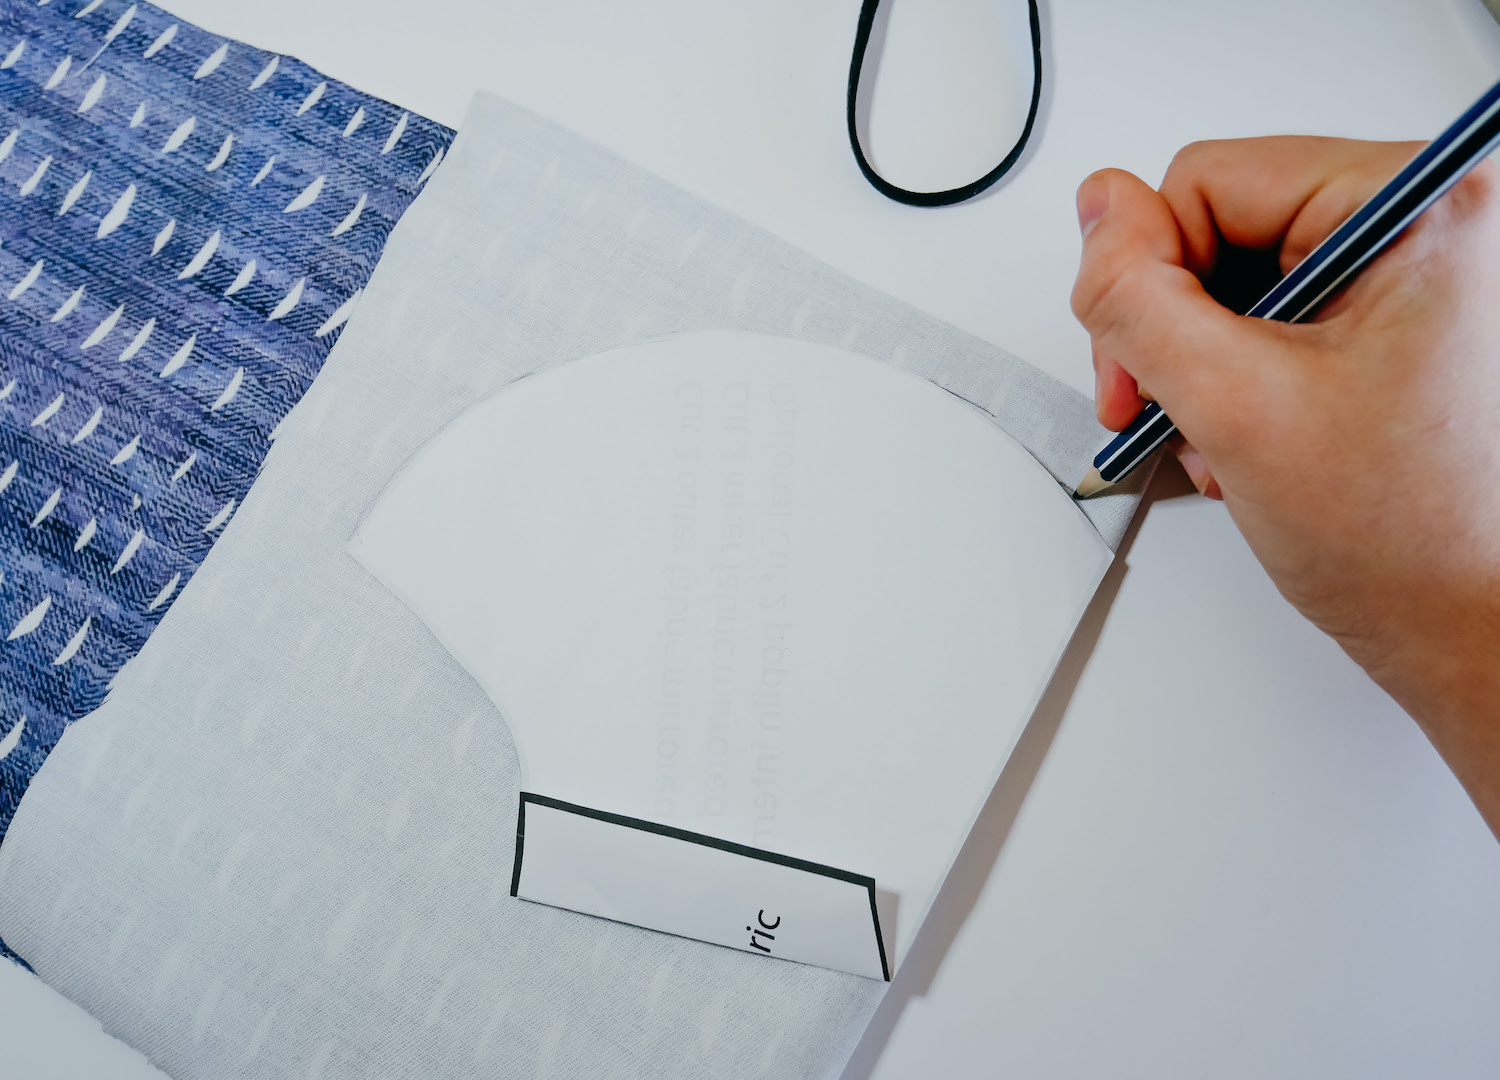
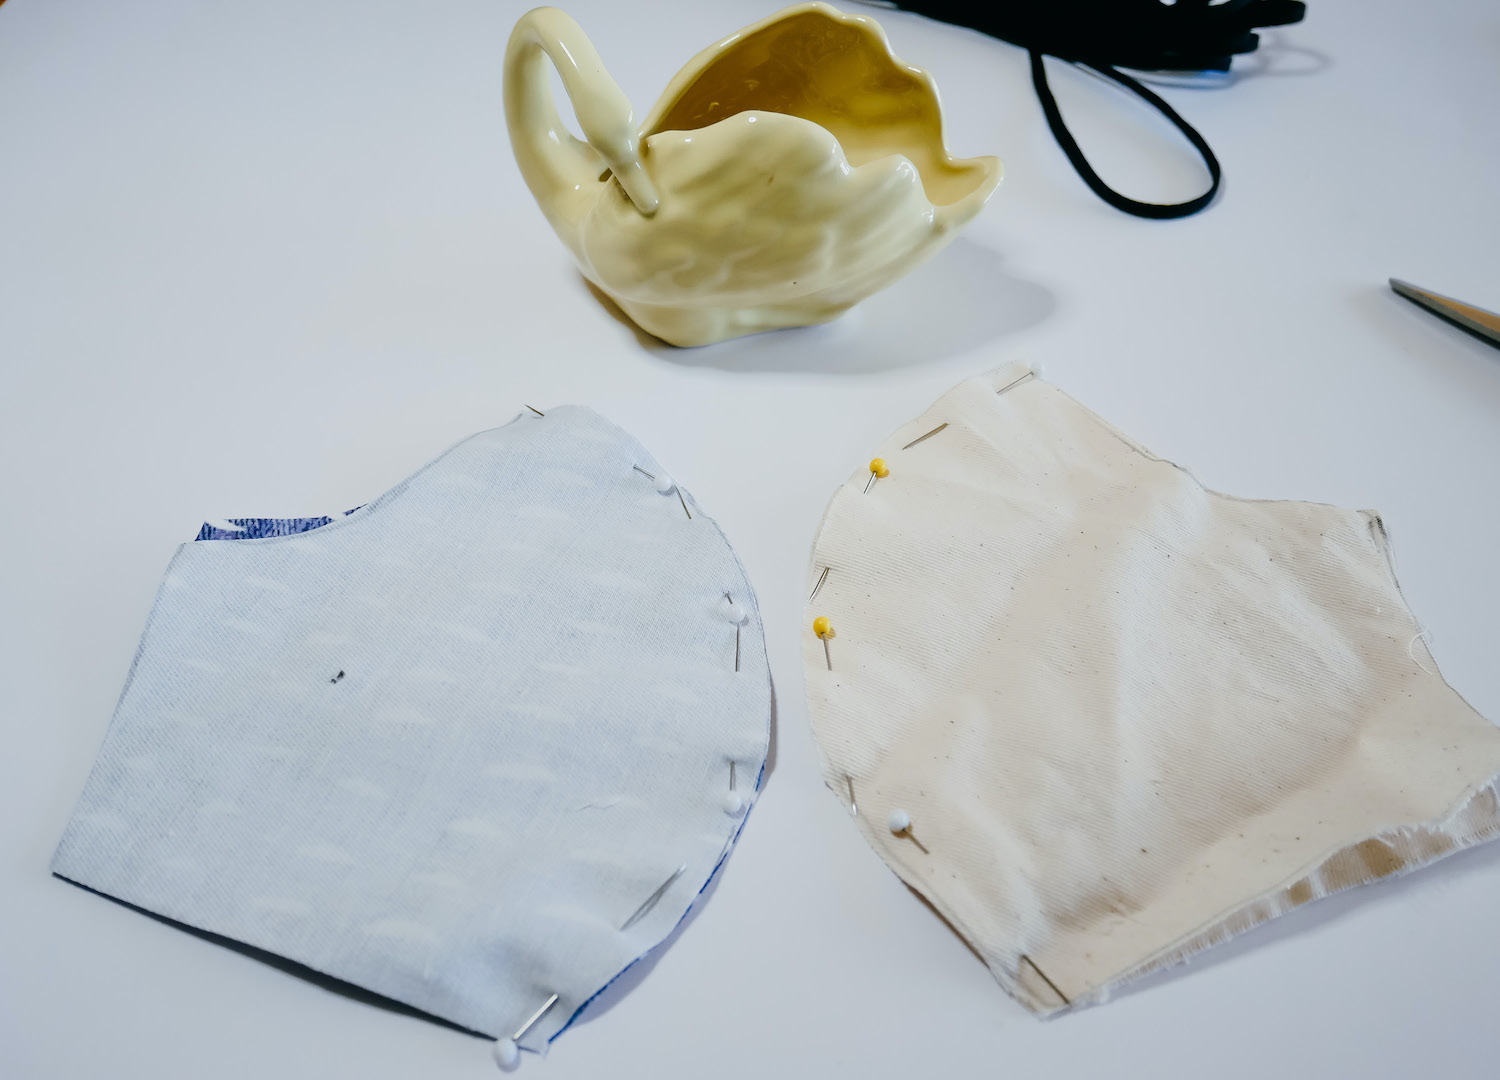
STEP ONE // Fold the short edge of the mask pattern in by about 2cm to accommodate for the fold over channel we are taking out. Cut out two mirrored copies of the pattern in your fashion fabric (scraps) and your inner lining (check out our fabric recommendations here).
STEP TWO // Take your mirrored copies and lay them on top of each other, right sides together. Sew along the long curved edges.
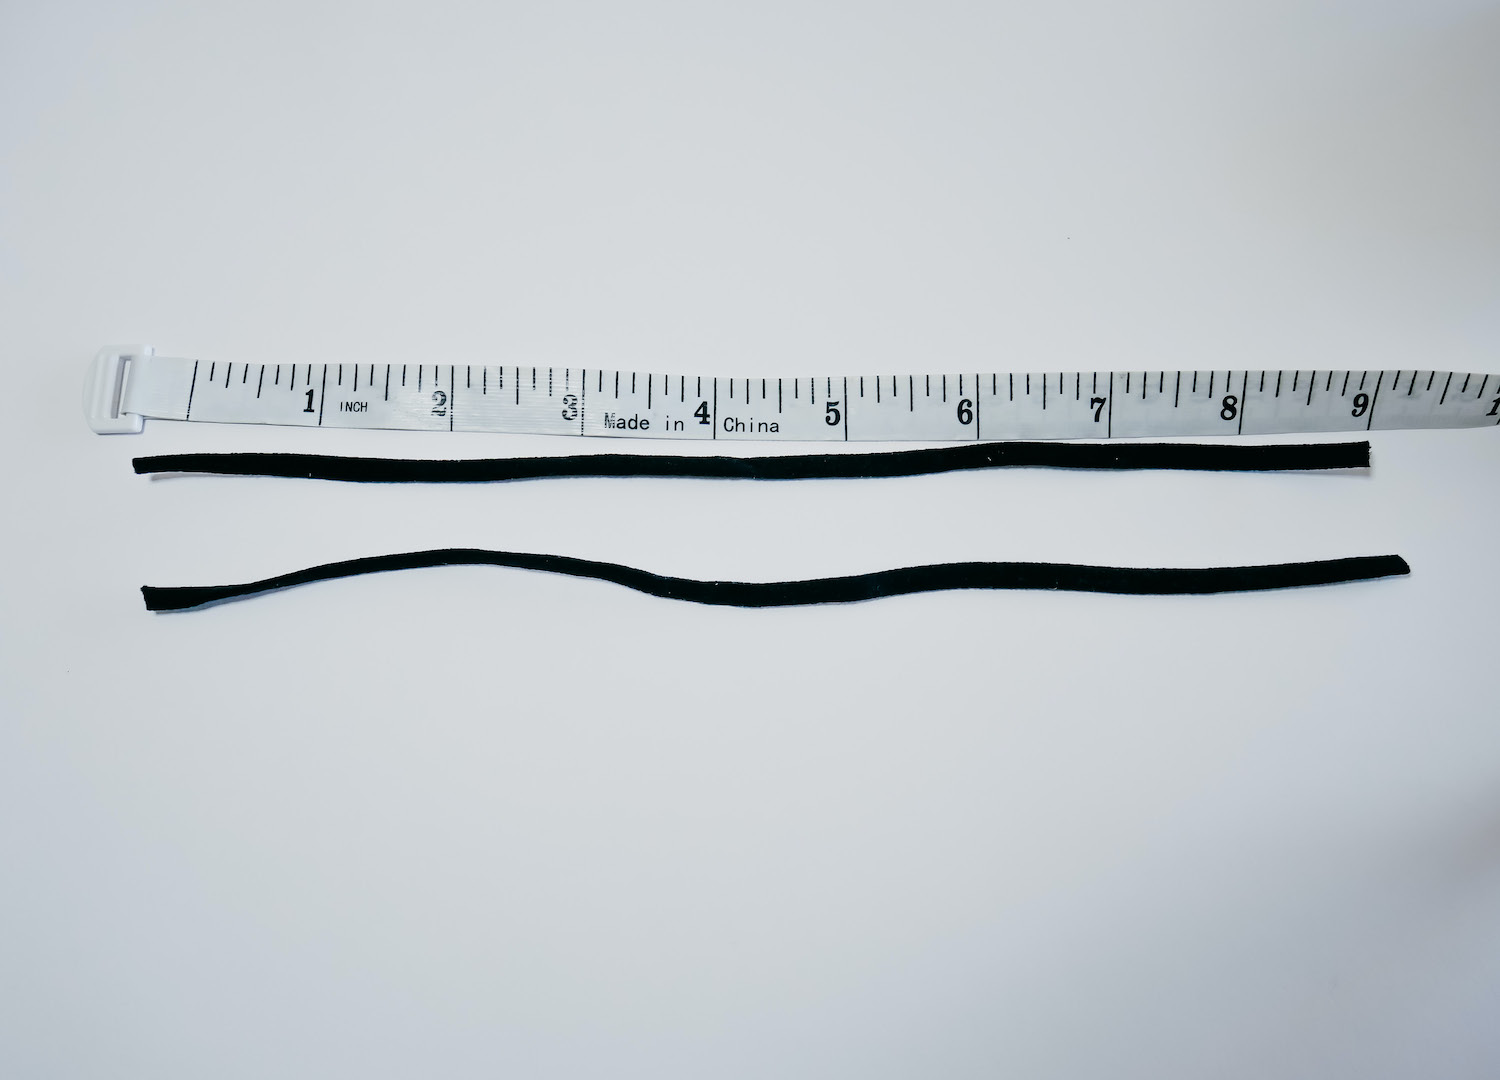
STEP THREE // Cut two pieces of mask elastic roughly 23cm/9 inches long.
STEP FOUR // Press your two mask pieces together, right sides facing each other, and sandwich the elastic between them, in a U shape with the edges of the elastic peeking out at the side of the mask that will sit next to your ears.
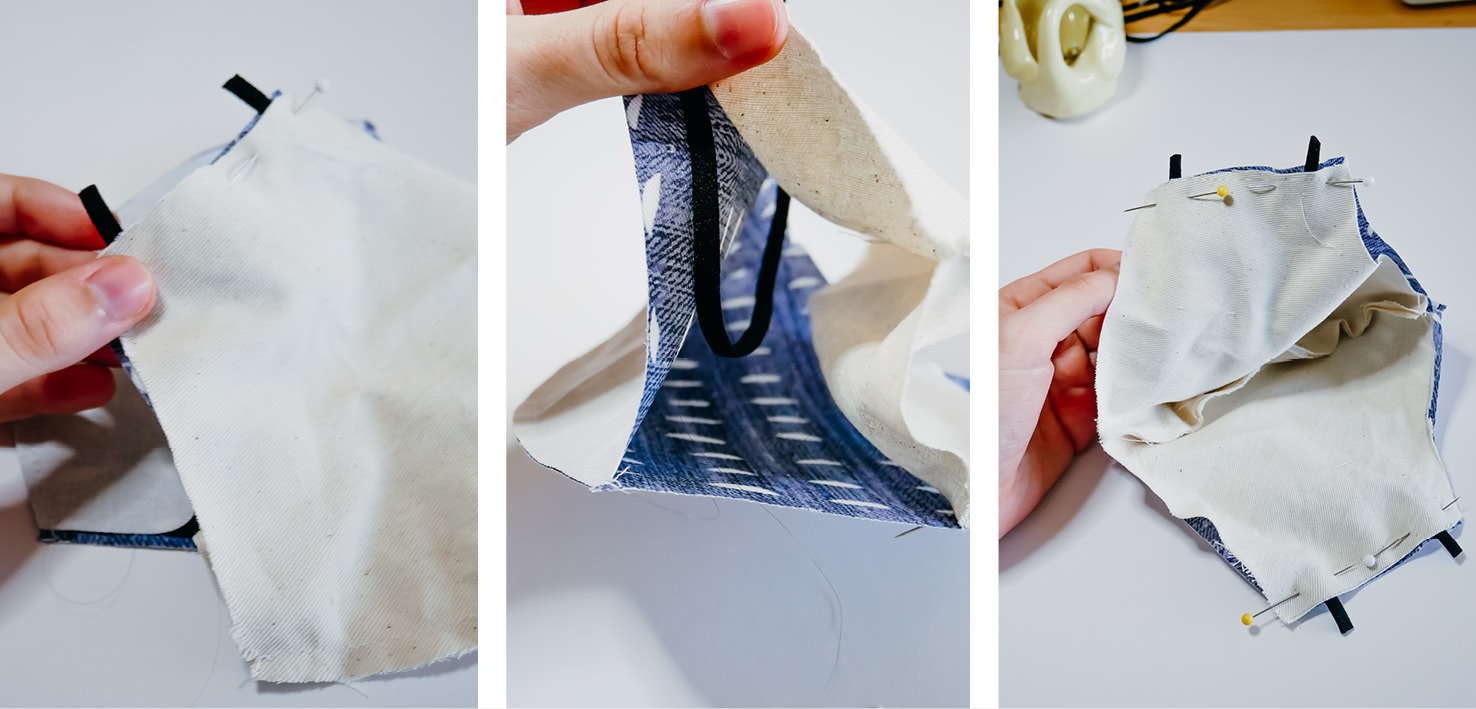
STEP FIVE // Sew all the way around the edges of the mask leaving a small gap between the elastics on one side of the mask. Make sure to backstitch over the elastics a couple of times on this side. Clip curved seams and hard corners. Then stick your fingers in the gap you left, find the elastic loop on the other side and use it to pull everything right-side-out out of the gap, like the mask is giving birth to itself.
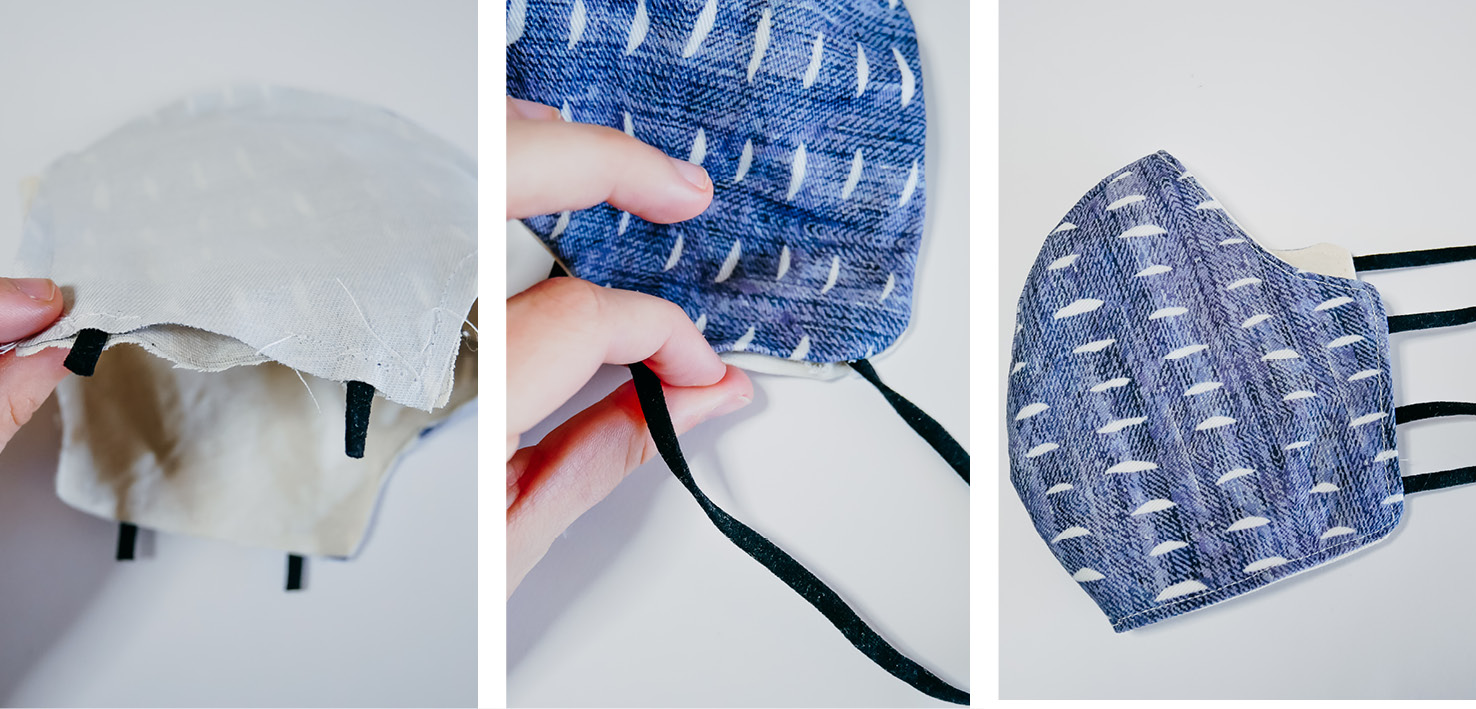
STEP SIX // Fold in the raw edges of the gap and press them together. Sew closed and then topstitch all the way around the edge of the mask for good measure, and to stop the lining fabric peeking out.
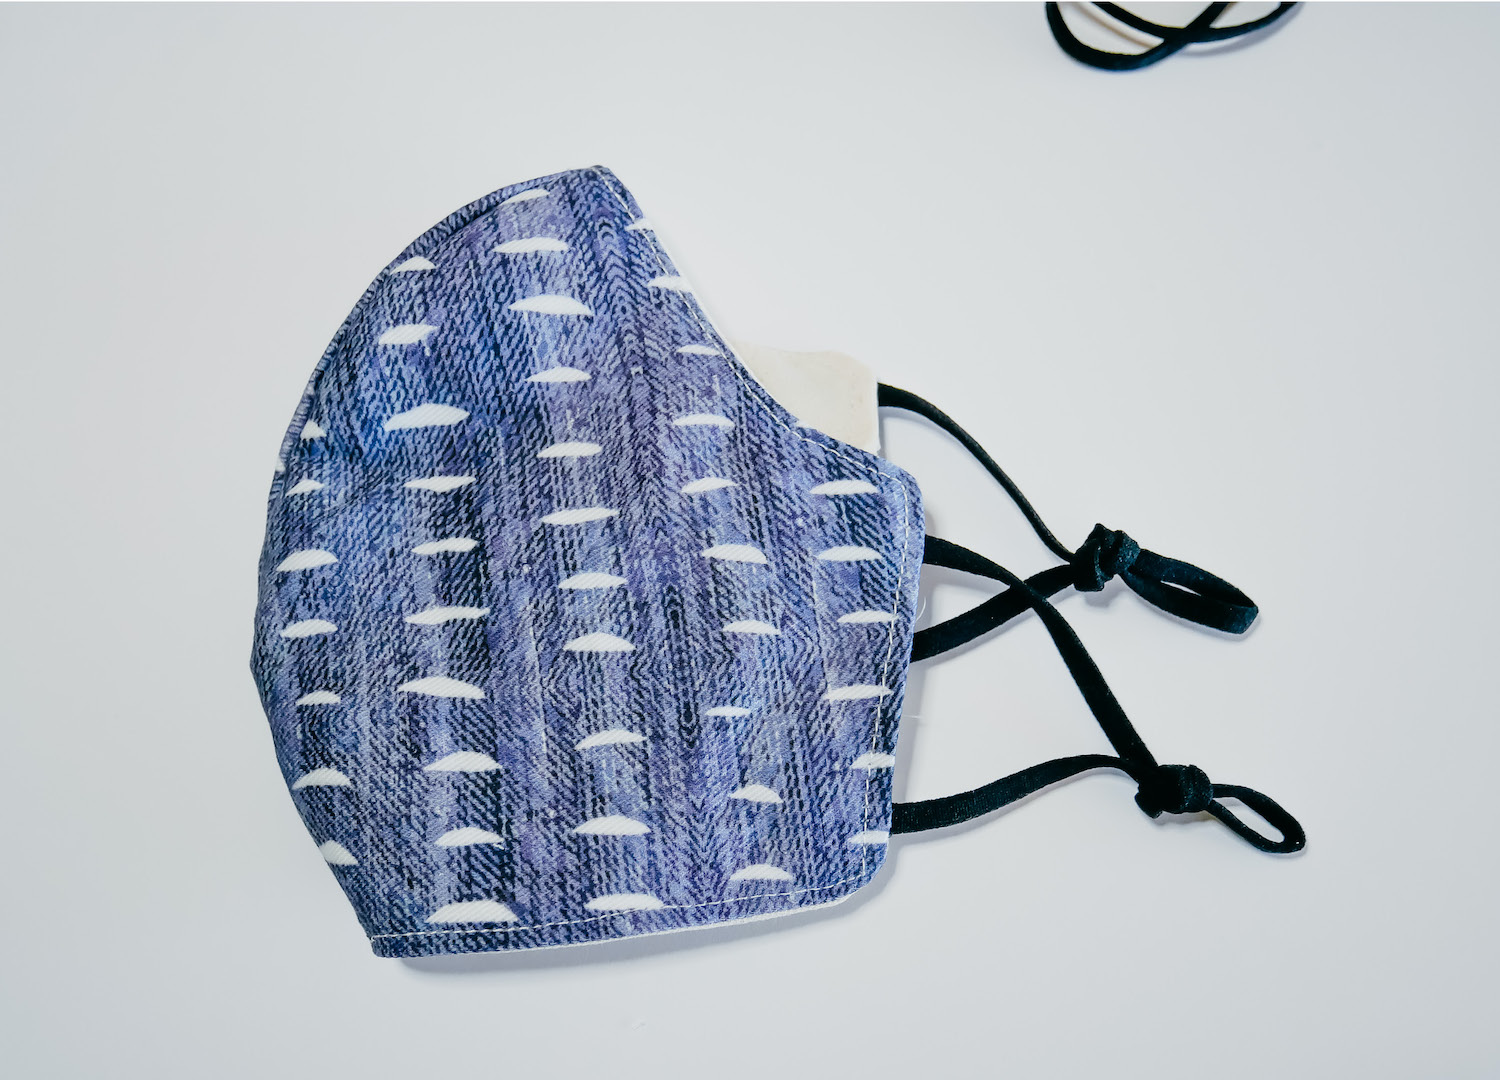
Alakazam! You now have a beautiful matching mask. Tie little loop knots in the ear elastics to make them adjustable for your comfort.
WANT MORE SEWING AND DIY CONTENT? RIGHT THIS WAY!