words and process shots HANNAH KLOSE photos KELLEY SHEENAN
If you’ve been looking for an excuse to hit the op-shops, we’ve got you. This week in Australia is National Op-Shop Week, so we asked op-shopping queen Hannah Klose of Never Ever Pay Retail to show us how to make the most of the beloved oppy.
Obviously, this National Op-Shop Week I’ll be thrifting seven days straight… so it’ll be a fairly normal week for me! But something I’ll also be working on is ways to get more mileage out of the preloved pieces I find.
It still blows my mind that some people buy garments, wear them once, get the snap for Insta and send them on their way to landfill. This week I’m taking on the challenge from sustainable fashion advocate,and founder of Eco Age, Livia Firth to ensure I get 30 wears out of each piece of clothing I thrift.
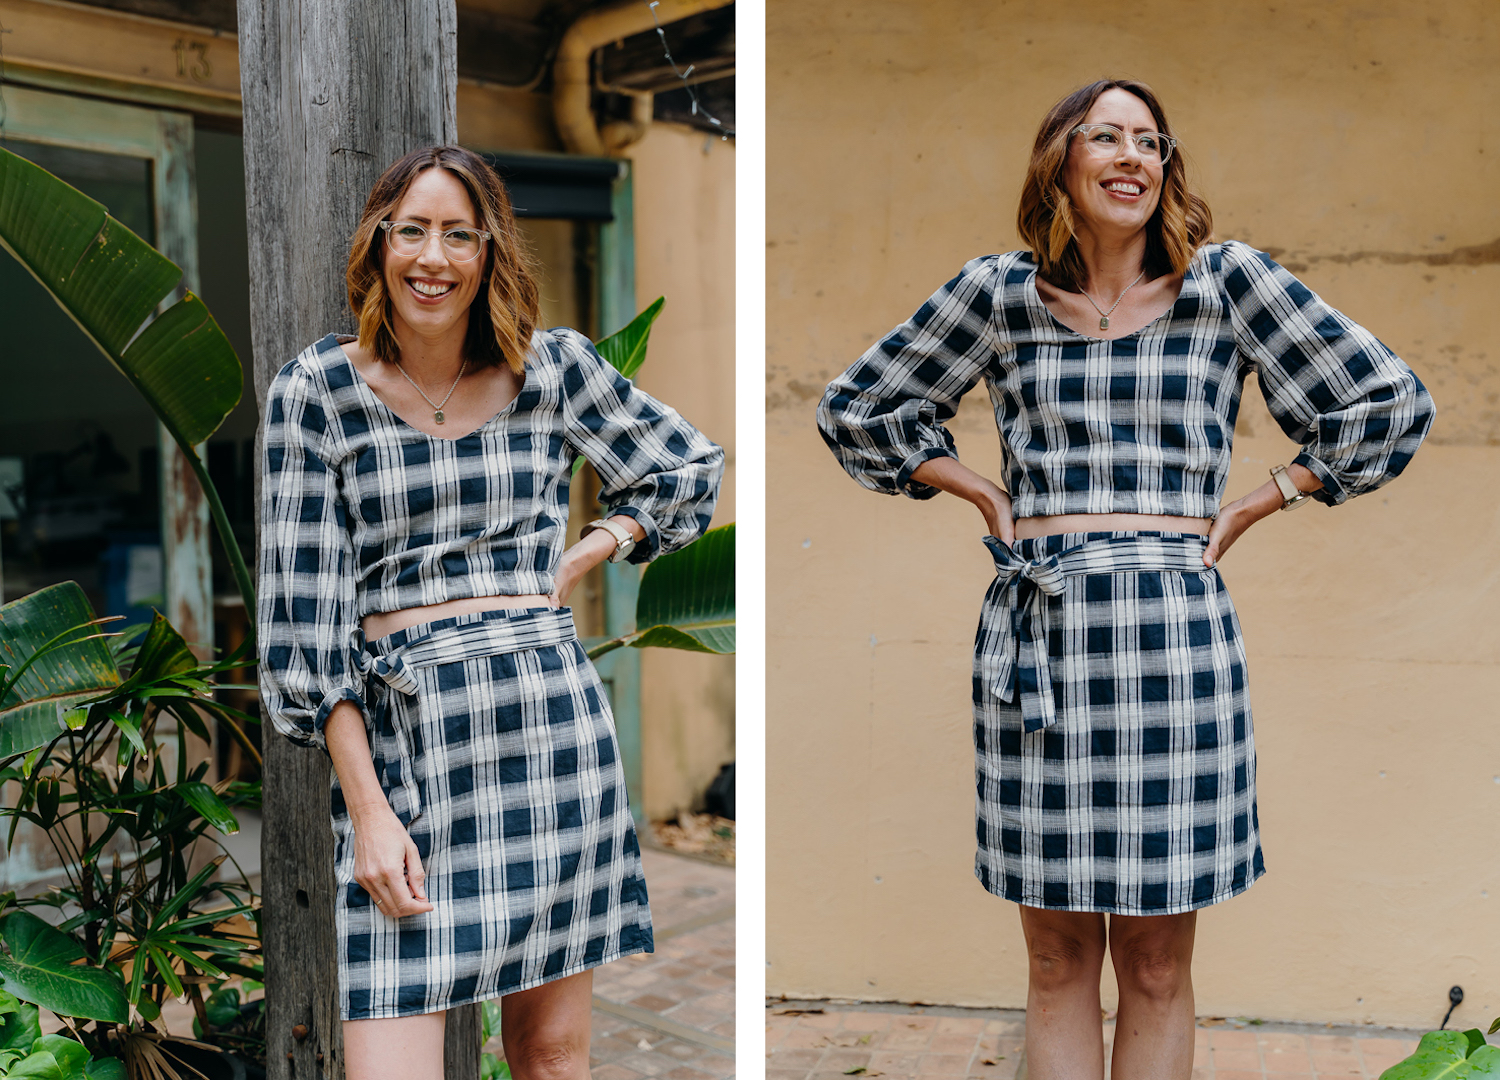
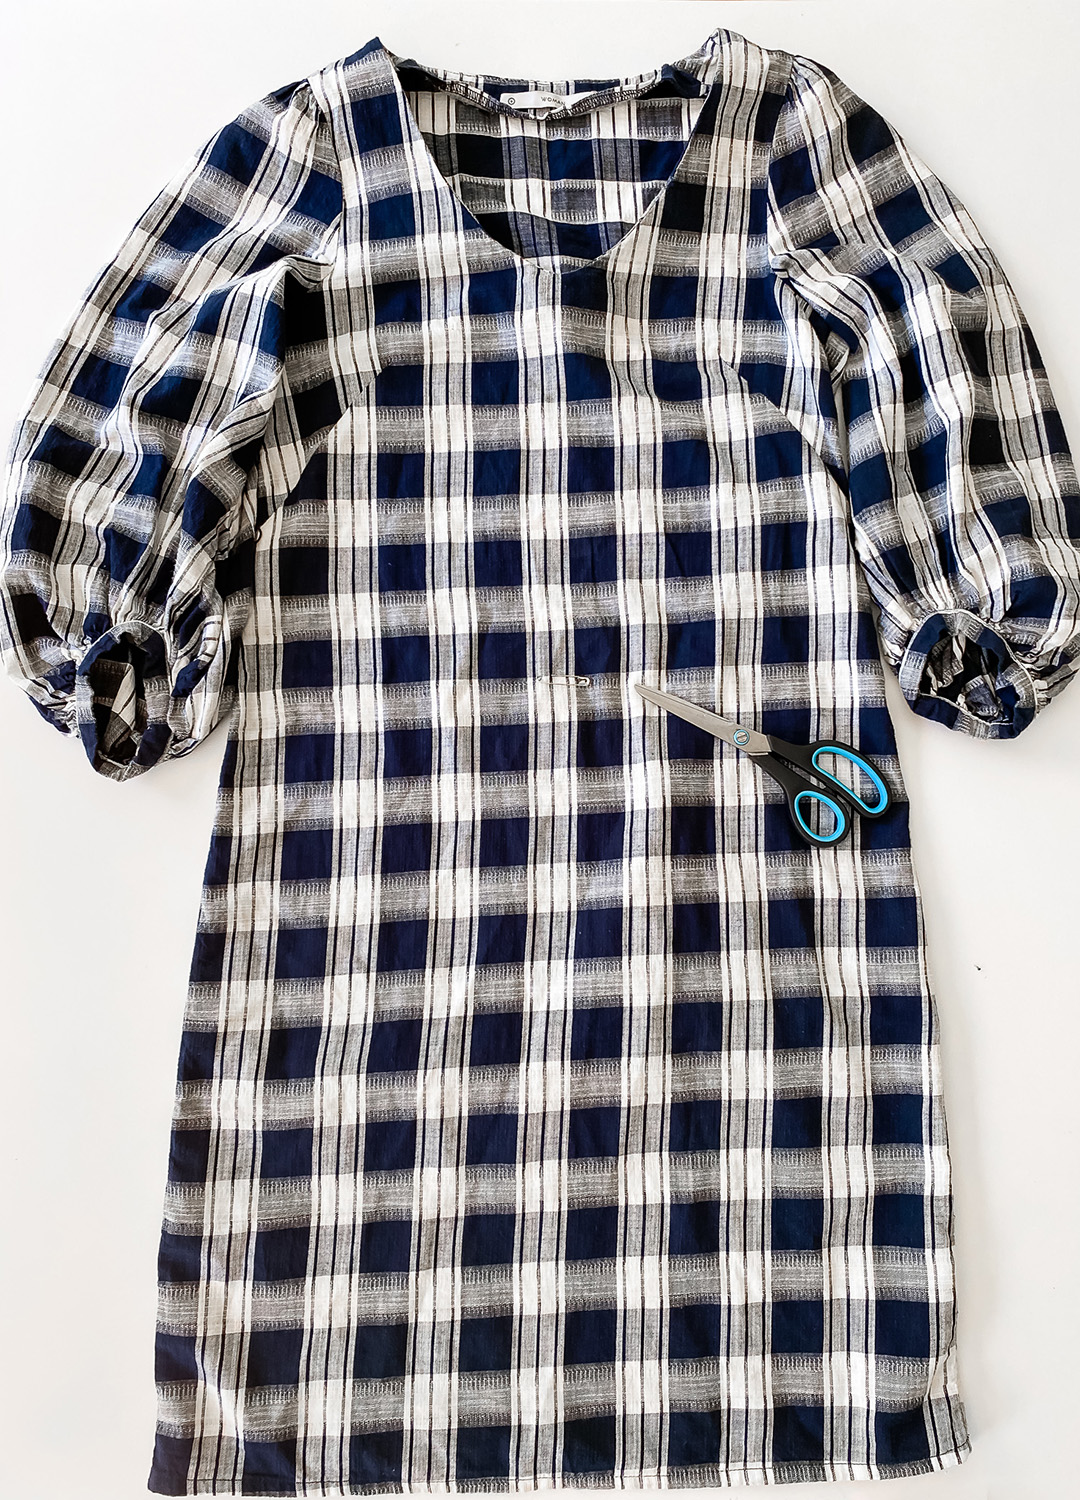
Matching sets are still a major vibe this spring, especially tops and skirts with a little bit of skin showing in between. When I found this shift dress for $5 at a rack sale a few weeks ago, I couldn’t resist doing a little DIY! And you can too! It’s actually a super basic flip and only took me half an hour. Get ready to turn a simple dress into a whole new wardrobe (cue the Aladdin soundtrack)!
Here’s What You Need
Sewing machine
Thread
Elastic
Pins
Scissors
Let’s Get Making
STEP ONE // Thrift a shift dress in a midi or maxi length (the longer the better so you have more material to play with).
STEP TWO // Try the dress on to figure out where you’d like your crop to finish and your skirt to start, and mark with a pencil or safety pin. Always go longer than you think for the top and remember to allow 3cm for the seams to feed your elastic into.
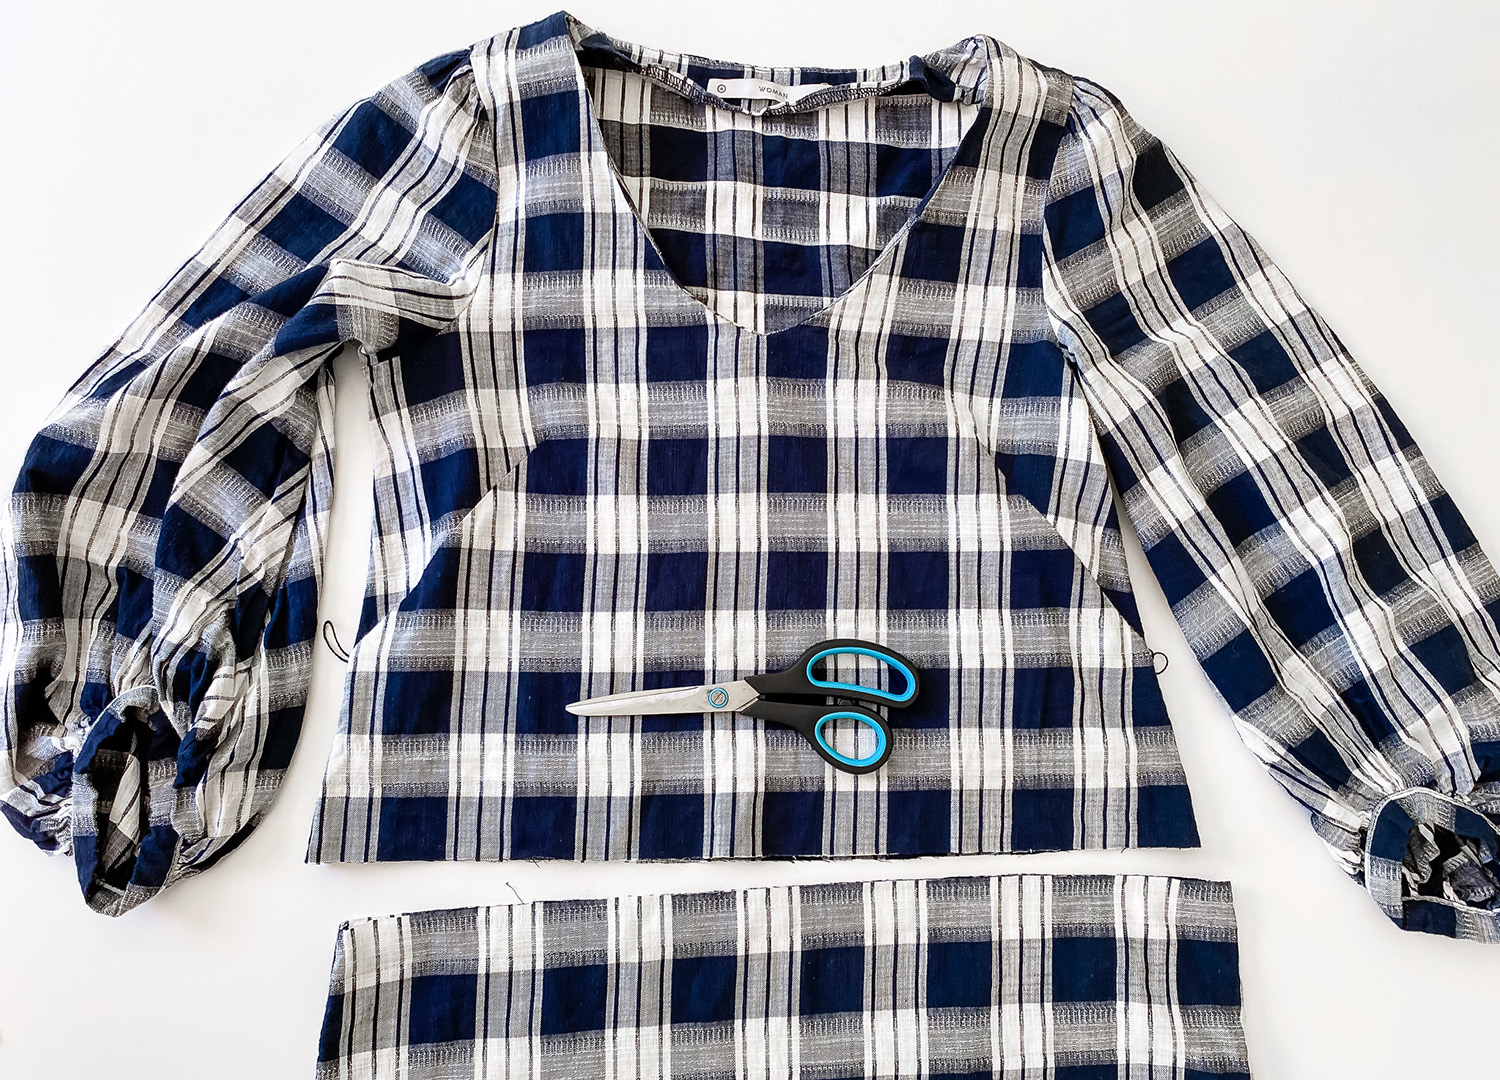
STEP THREE // Lay the dress flat and cut a straight line across where you’ve marked to create your separates.
STEP FOUR // If the dress is super shifty and you have a lot of fabric width-wise you may want to take your top and skirt in at the sides – this will depend on how bunched up you want your elastic seams to be.
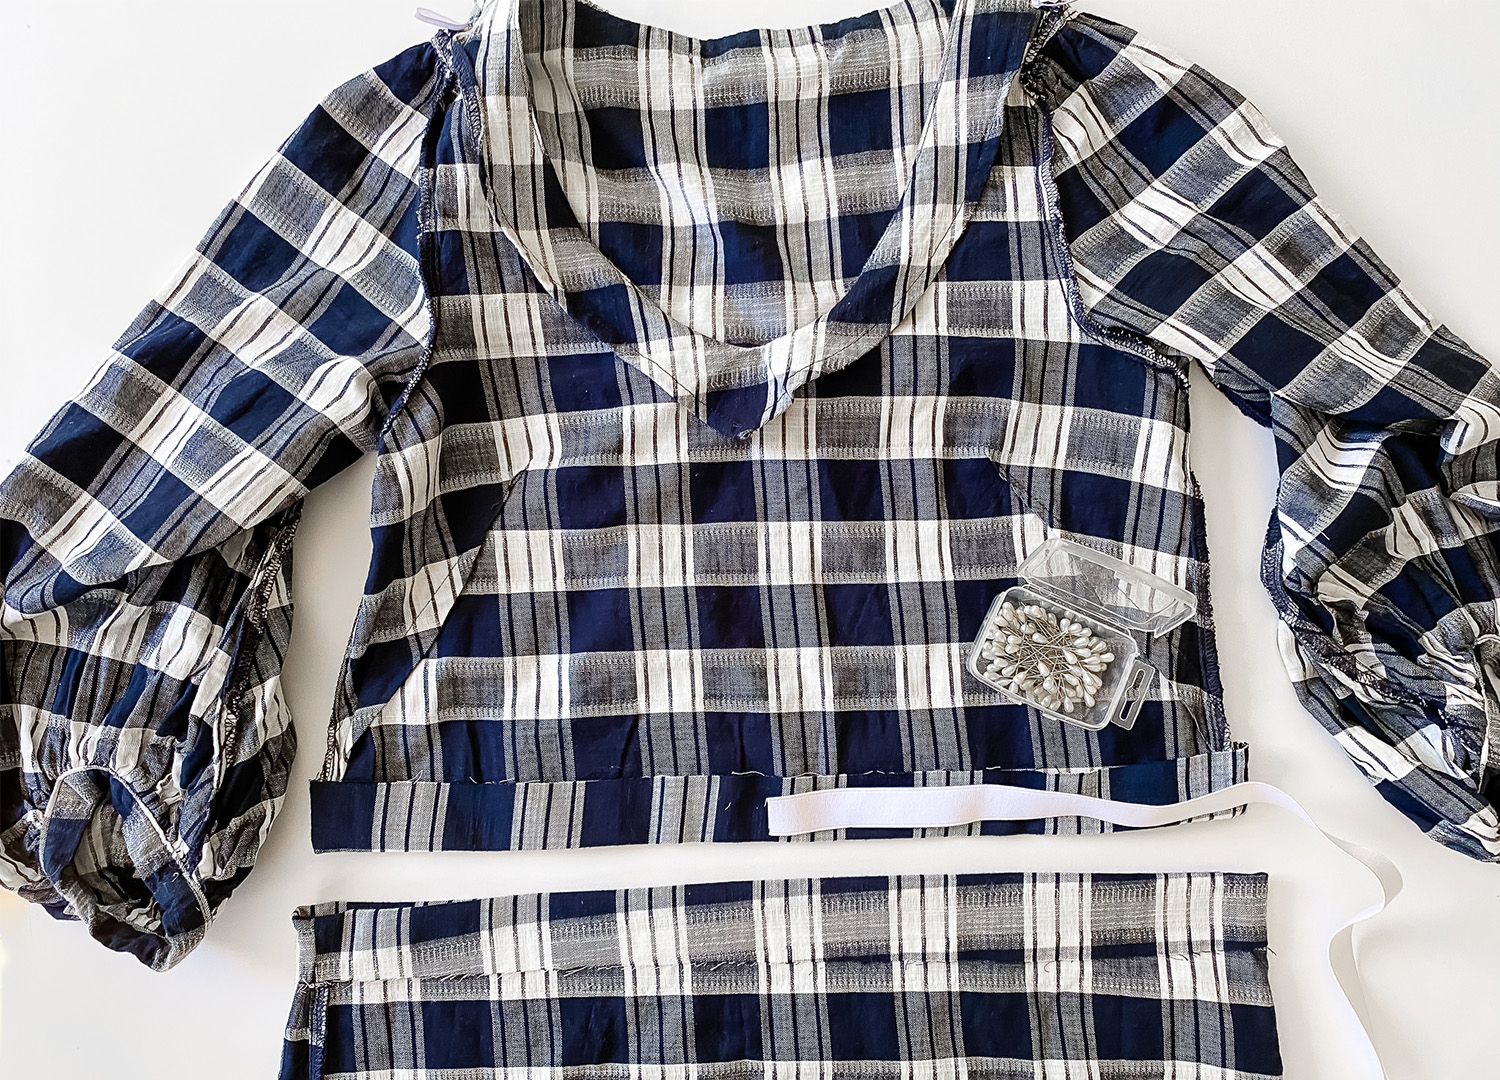
STEP FIVE // Zig-zag stitch or overlock your edges where you’ve cut the fabric to prevent fraying and then turn the top and skirt inside out and fold a seam that’s wide enough to feed your elastic through. Either use pins to hold the seam in place or iron the seam flat so it’s ready for sewing.
STEP SIX // Straight stitch the seam leaving a 2cm gap on one of the side seams to feed the elastic through.
STEP SEVEN // Wrap the elastic around your midriff to work out the length you’ll need for the crop top, then repeat around the waist for your skirt.
STEP EIGHT // Pop a large safety pin on one end of each elastic strip to help with feeding the pieces through each seam and then use safety pins to connect the ends.
STEP NINE // Before stitching the ends together, try the top and skirt on to make sure the elastic is tight enough to keep both in place but not too tight that it cuts off your circulation! Once you’re happy with how the separates feel, stitch the elastic ends together and then seal off the seams.
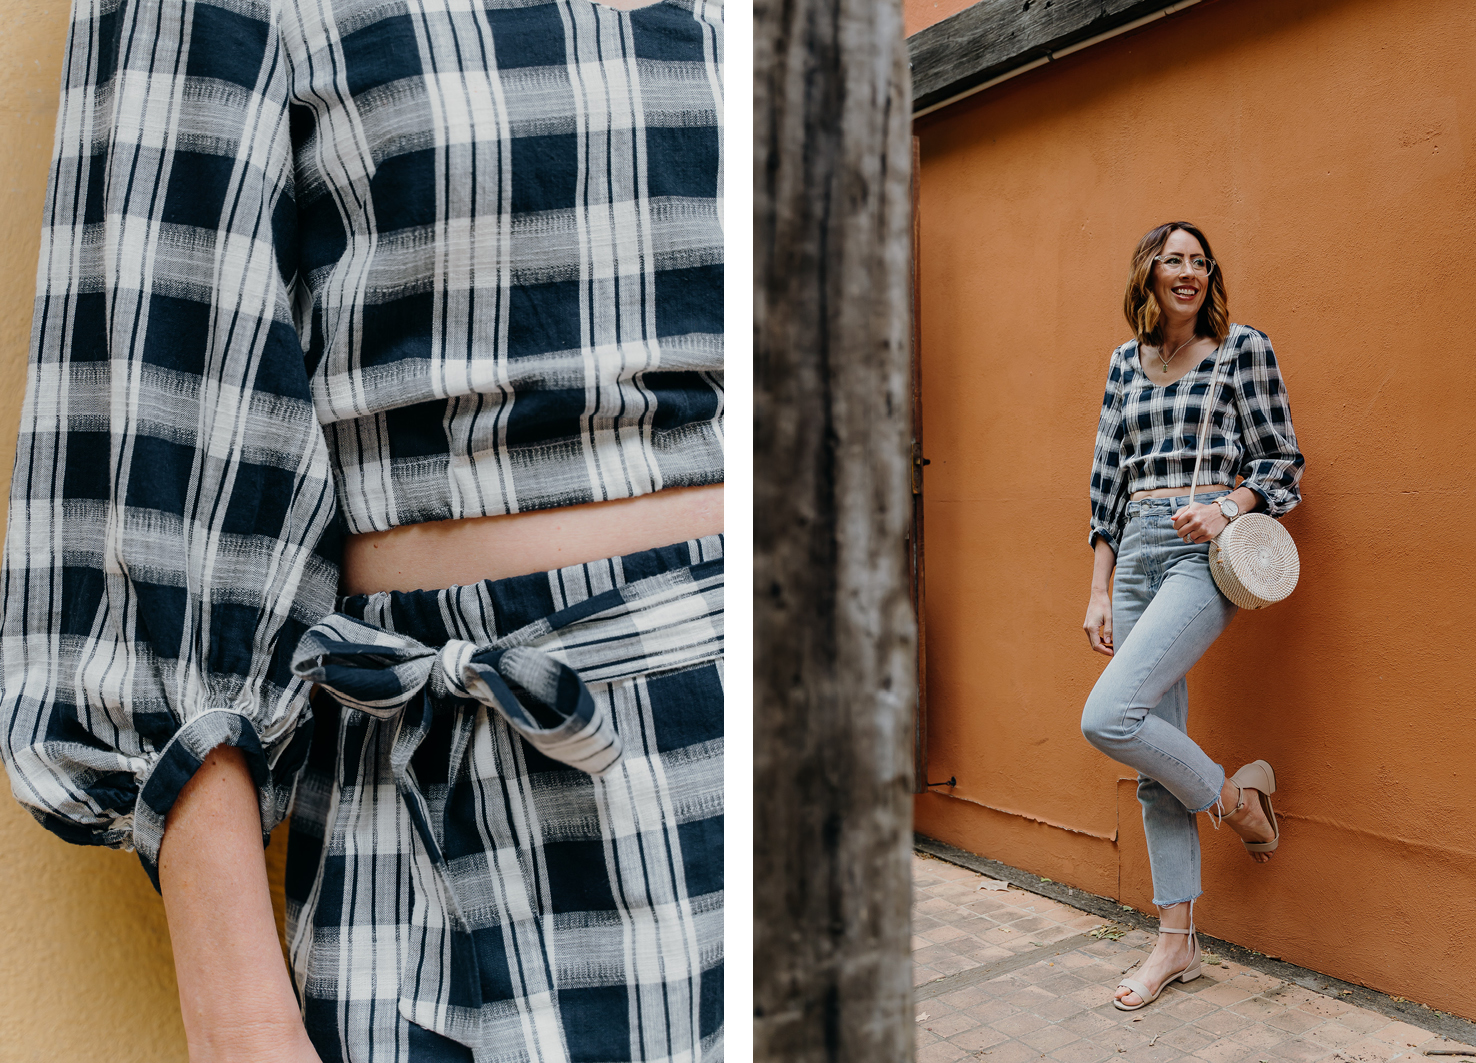
STEP TEN // If your dress came with a tie for the waist, wrap it around the top of your skirt for a nice little finishing touch.
STEP ELEVEN // Take your matching set for a spin or mix and match with what’s already in your wardrobe!