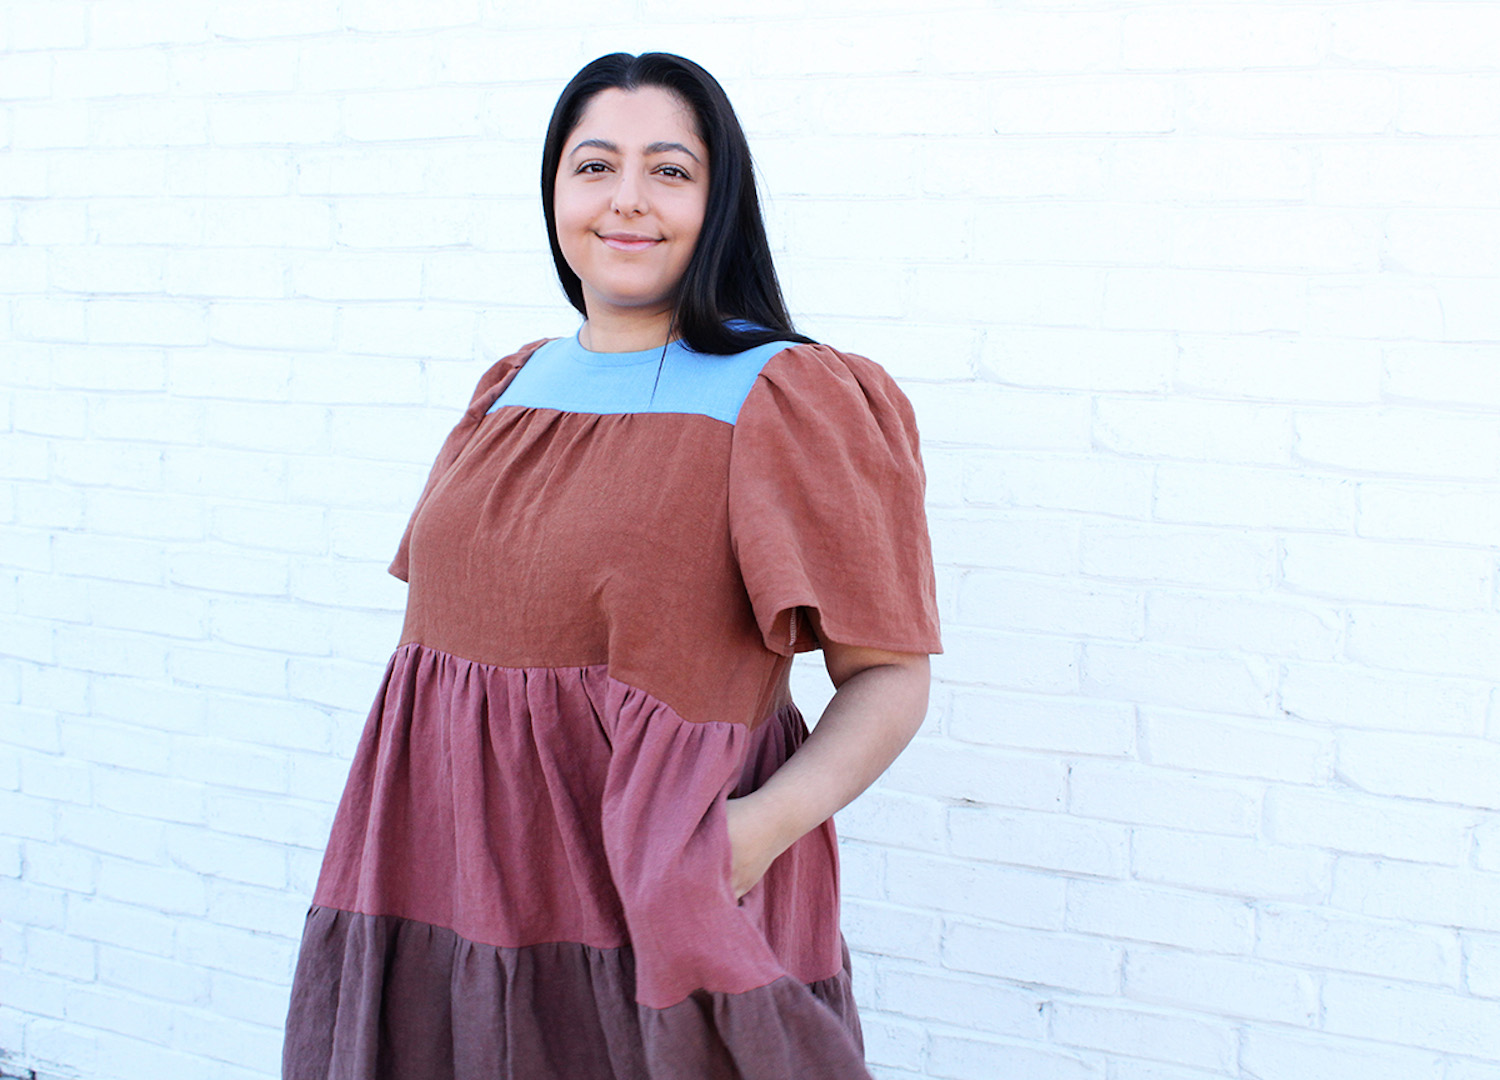
words and photos ROMY-KRYSTAL CUTLER
Is there anything better than receiving a compliment from a friend about a new dress and replying, “Thanks, it has pockets”? Maybe only if you’ve done your bit to help smash the patriarchy and added them yourself! So before we go down a rabbit hole into the sexist and bewildering history of why there is a lack of practical pockets for women in the first place – or even *shudder* fake pockets – we asked Romy-Krystal Cutler, from Sew Like Romy, to teach us how to add our own!
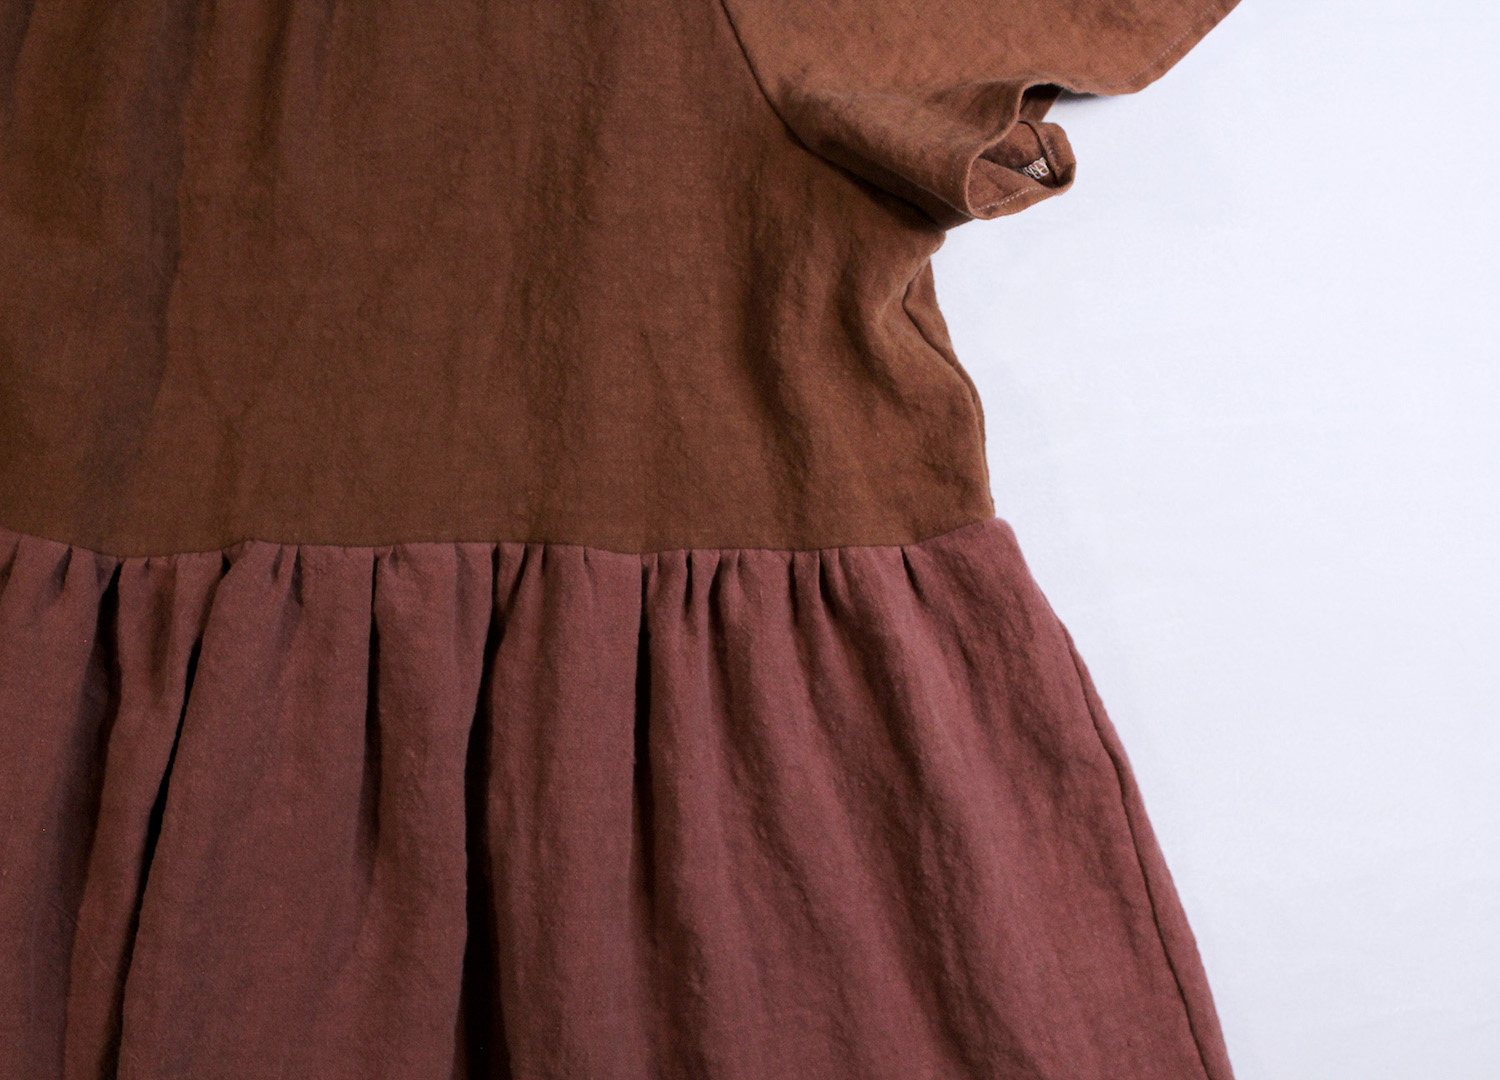
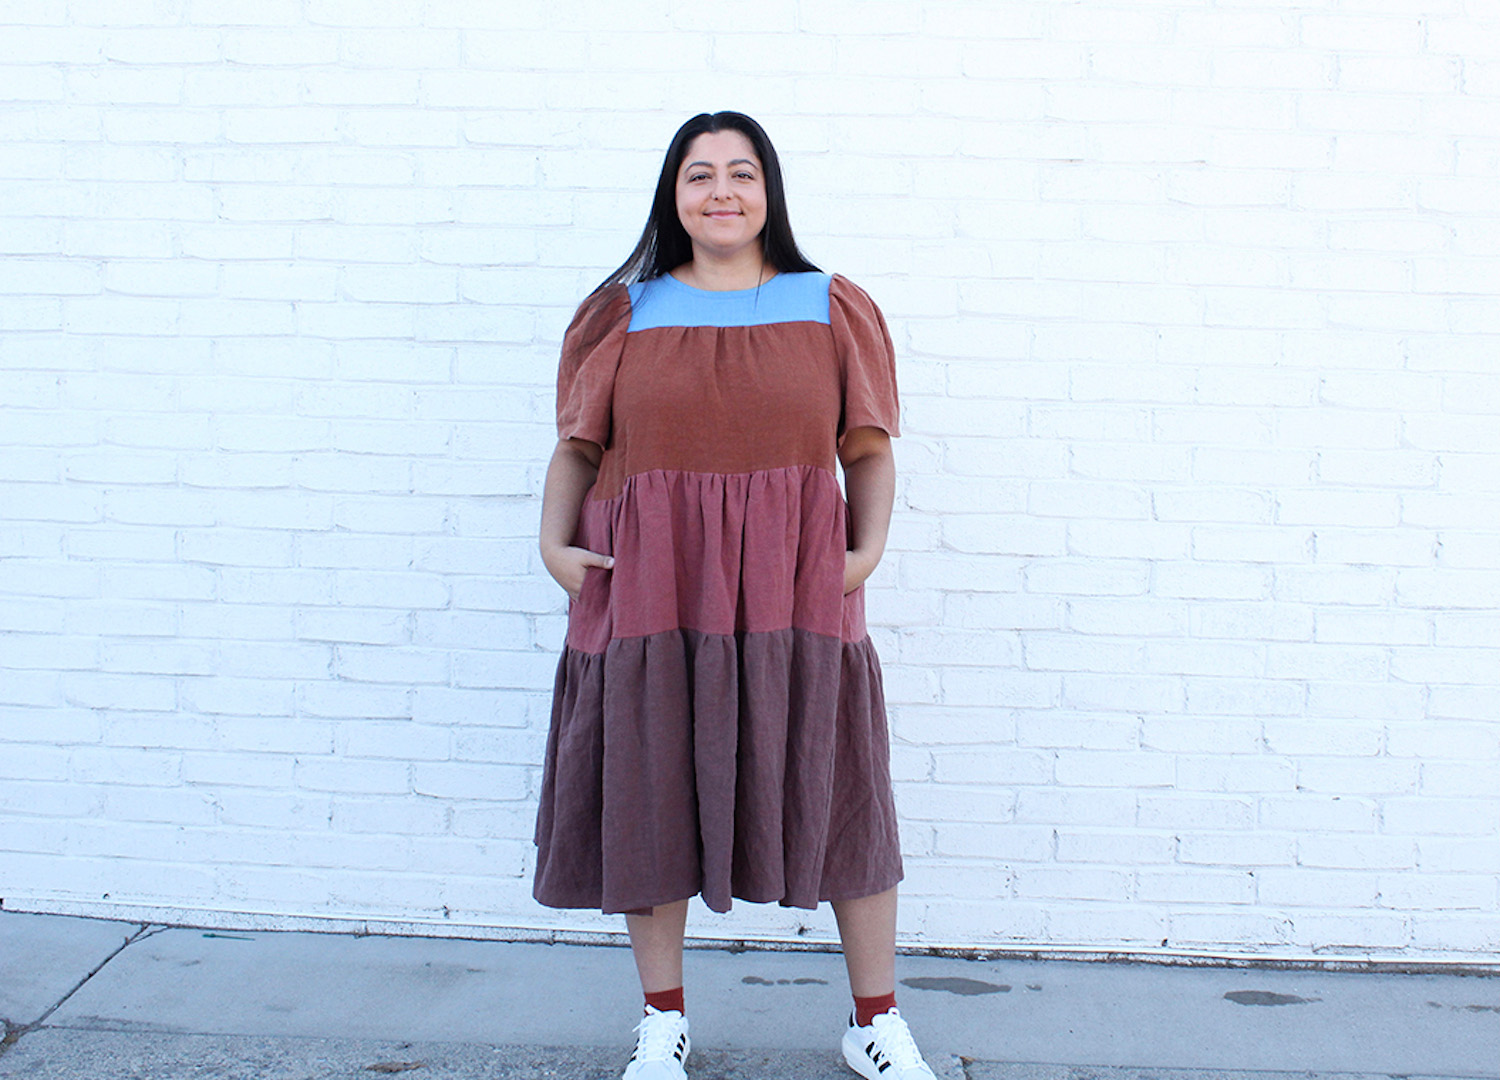
Today we’ll be tackling the conspiracy that has plagued dresses for far too long: pockets, or rather the lack thereof. There have been too many instances in my life where I’ve found the perfect dress, bought it and taken it home only to find out then and there that it has no pockets! Well, today I’m here to show how easy it is to add in-seam pockets when there are none, thus making the perfect dress into the actual perfect dress!


WHAT YOU’LL NEED
Dress
Scissors
Measuring tape
Scrap fabric
Pencil
Tailor’s chalk or fabric marker
Tracing paper
Ruler
Matching thread
Sewing machine
LET’S GET MAKING!
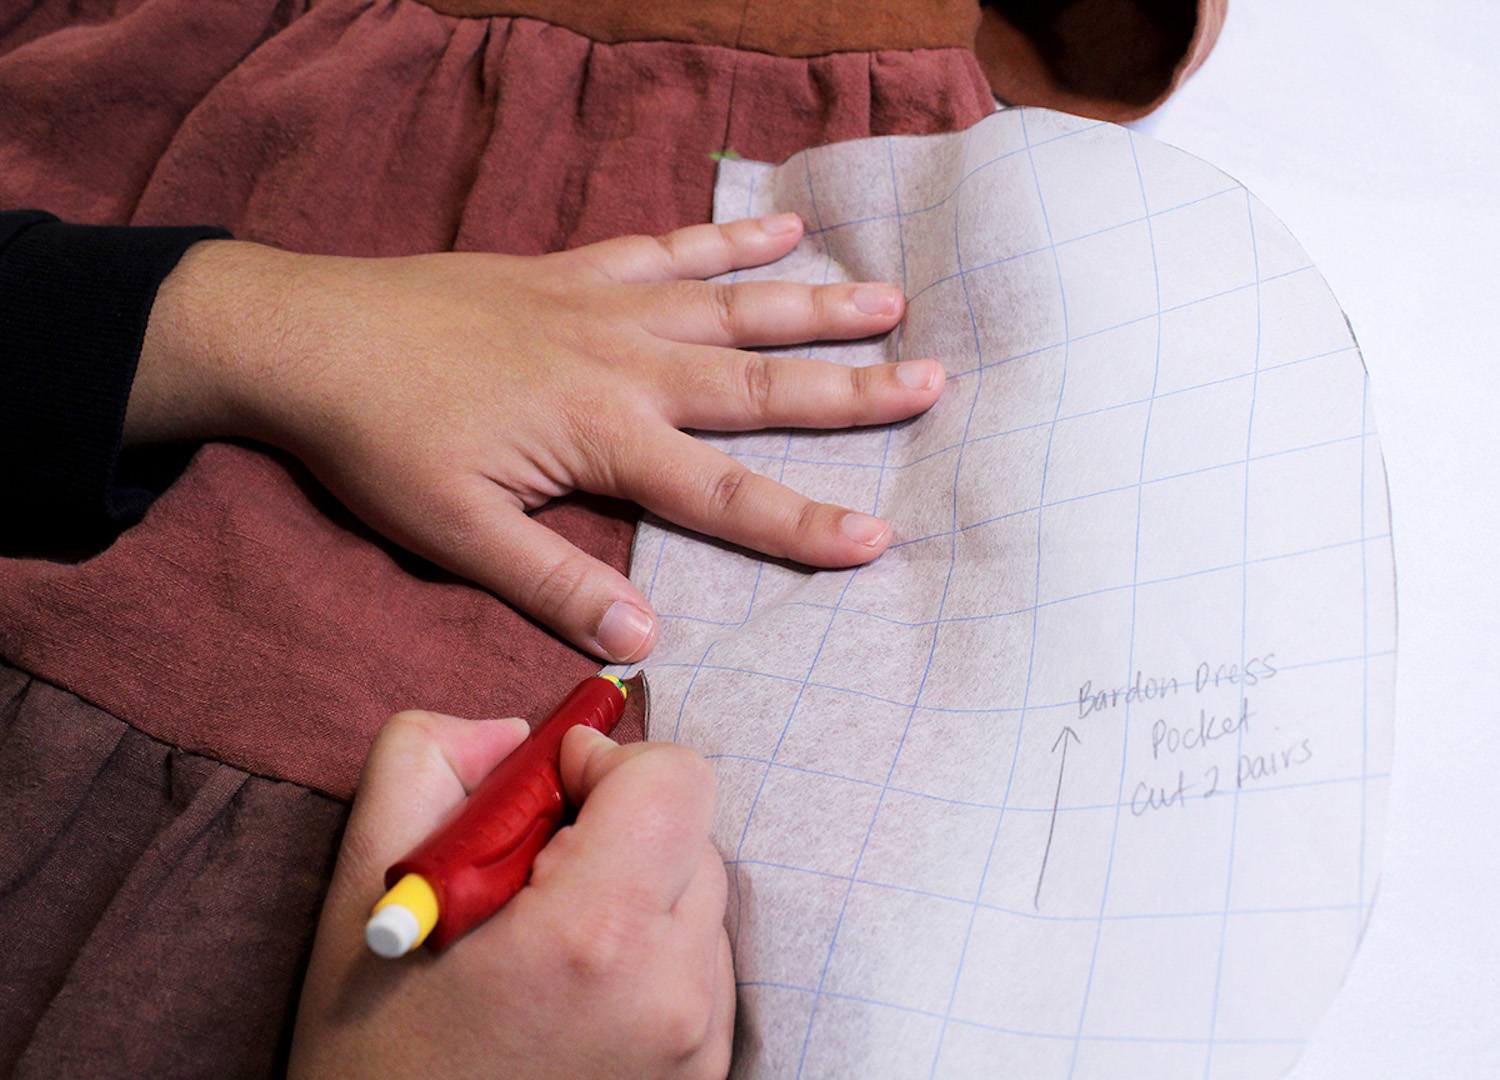
STEP ONE // Try on your dress, measure where you’d like your pockets to go and mark with tailor’s chalk. Repeat on the opposite side.
Optional: You can do this with your dress inside or right side out. Just be sure to transfer markings to the inside if you choose to do right side out.
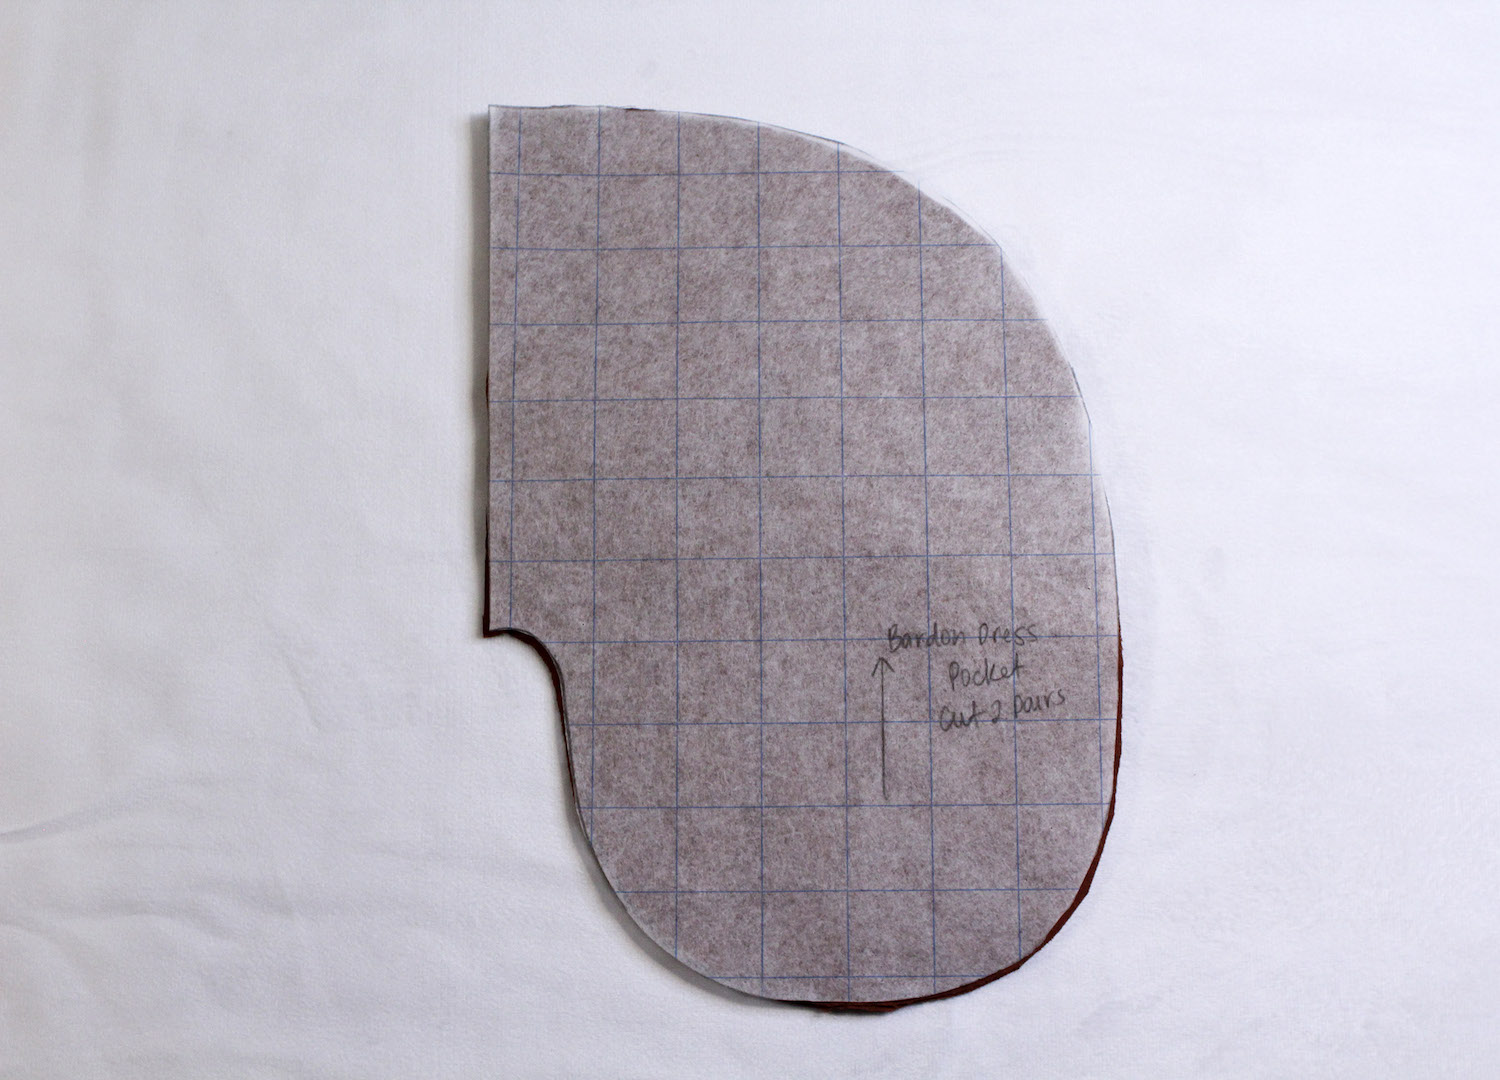
STEP TWO // Decide on the size of your pocket and draft the pocket pattern piece directly onto your chosen material or a piece of paper. Ensure one side is straight and create the pocket shape by drawing a flared line outwards from the straight edge. If drafting is not your strong suit, don’t fret! Borrow a pocket pattern piece from another pattern or trace one from a dress you have on hand that has pockets you like. For this dress we used the pocket pattern piece from the Peppermint Bardon Dress. Download the free pattern here!
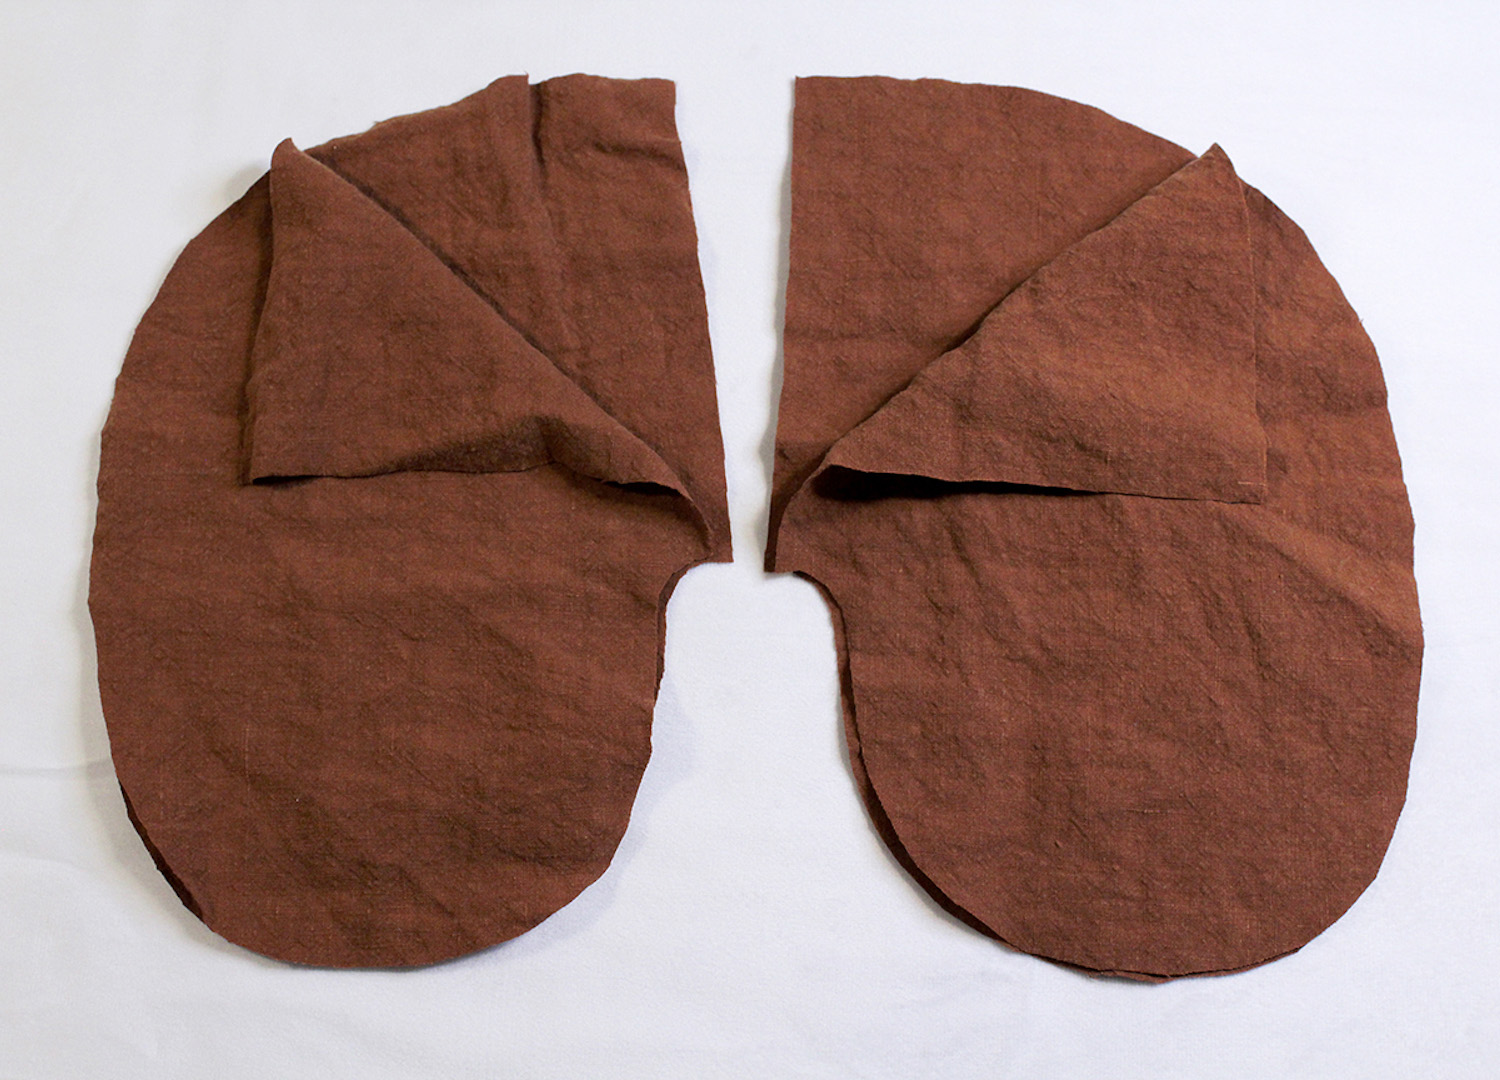
STEP THREE // Cut two pairs of your pockets.

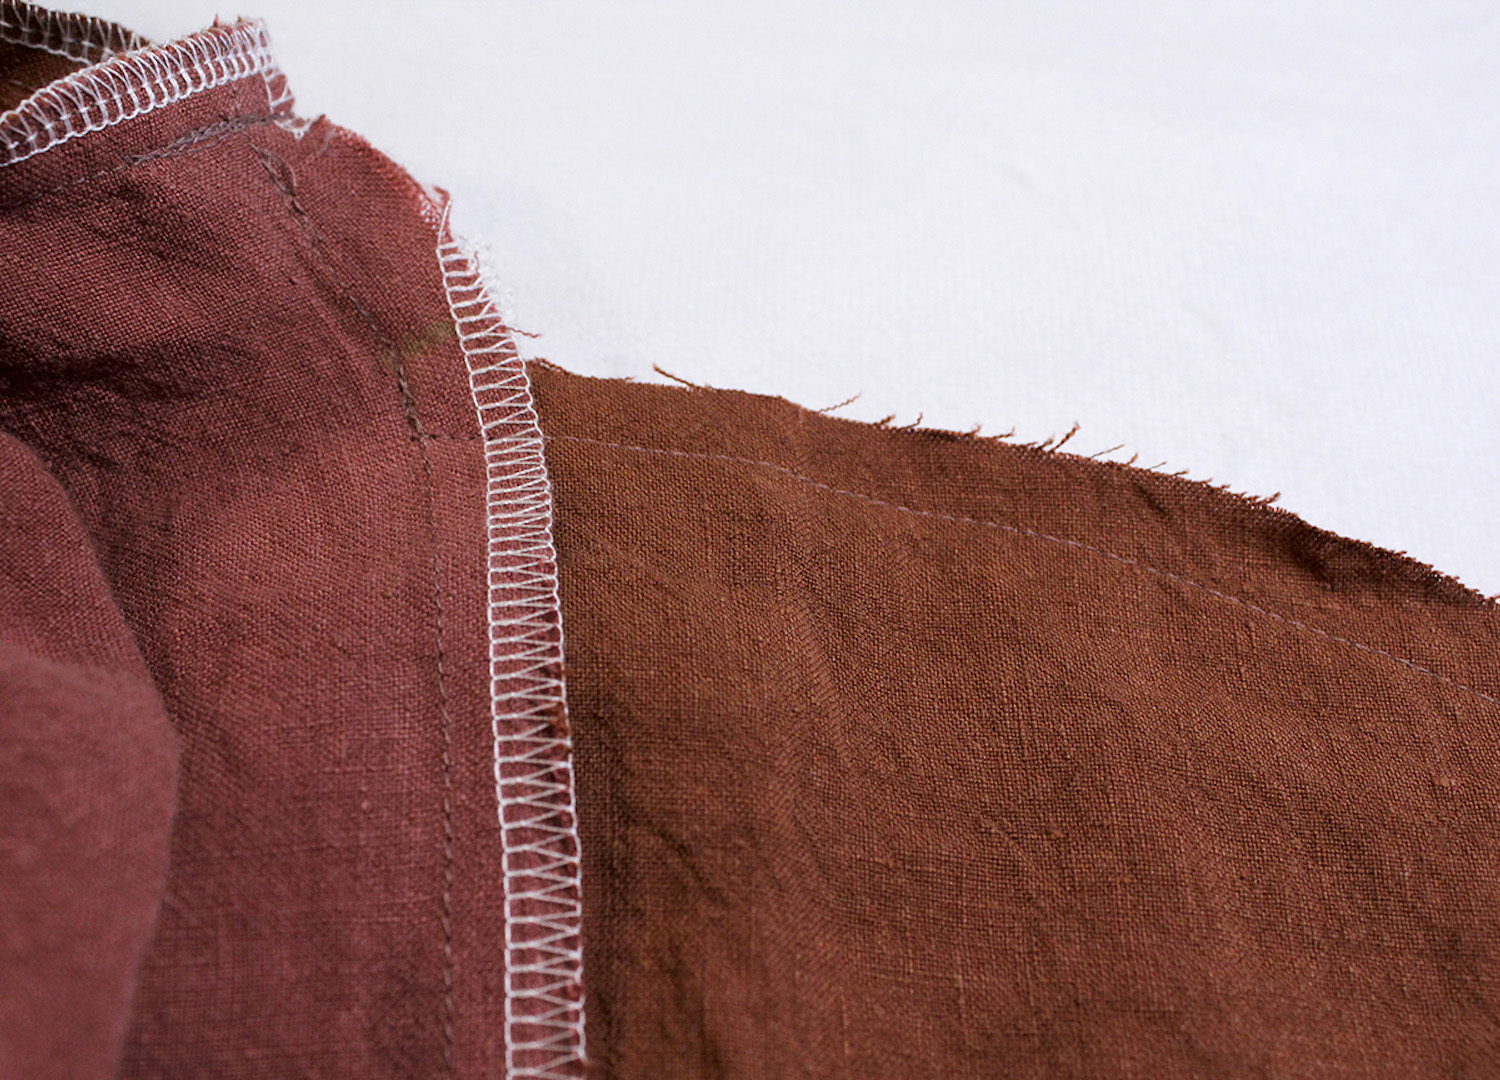
STEP FOUR // Refer back to the marking you made with your tailor’s chalk on your dress. Place your pocket’s top edge in line with the tailor’s mark and then mark a second notch where the pocket’s bottom is. You will now need to unpick this edge just enough to insert your pocket. Think about 1.5cm above that original mark and then 1.5cm below the second mark. Repeat on the other side.
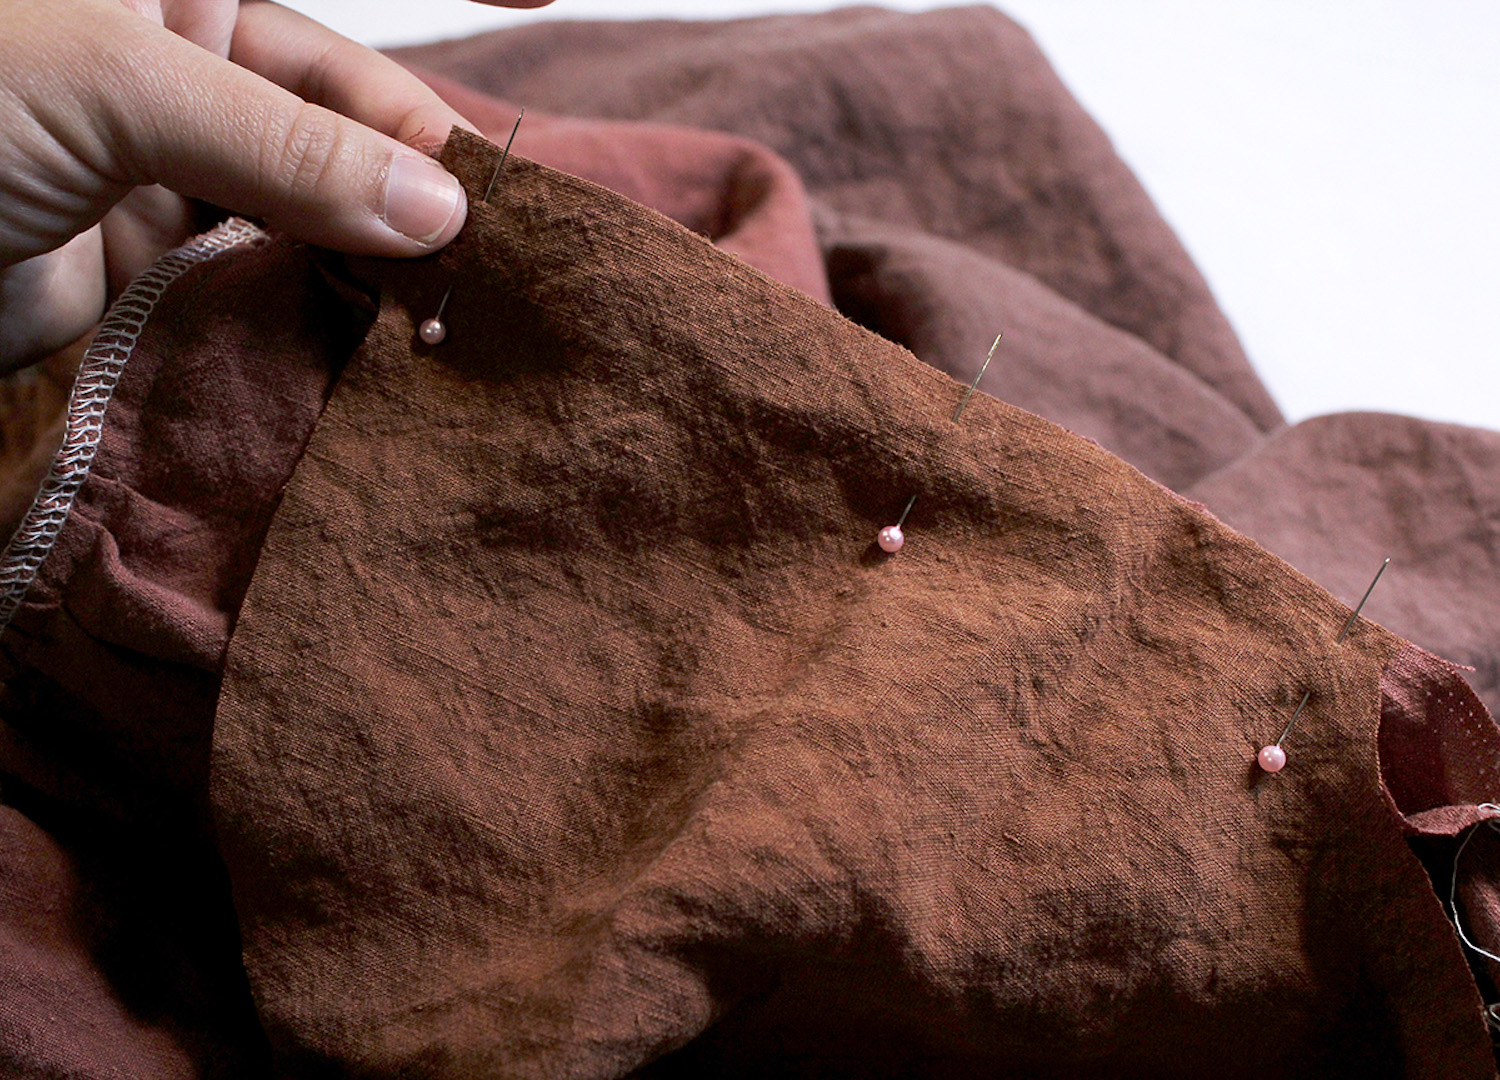
STEP FIVE // Next, grab your pockets and pin one pocket piece, right sides together, to each side of the newly open sections you unpicked. Line up the top edge of the pocket again with the first mark and the bottom of your pocket straight edge to the second mark. Sew down this edge with a 1cm seam allowance. Repeat for the remaining three pocket pieces.
STEP SIX // Once these are all sewn you can finish the raw edge with either a zigzag stitch or overlocker.
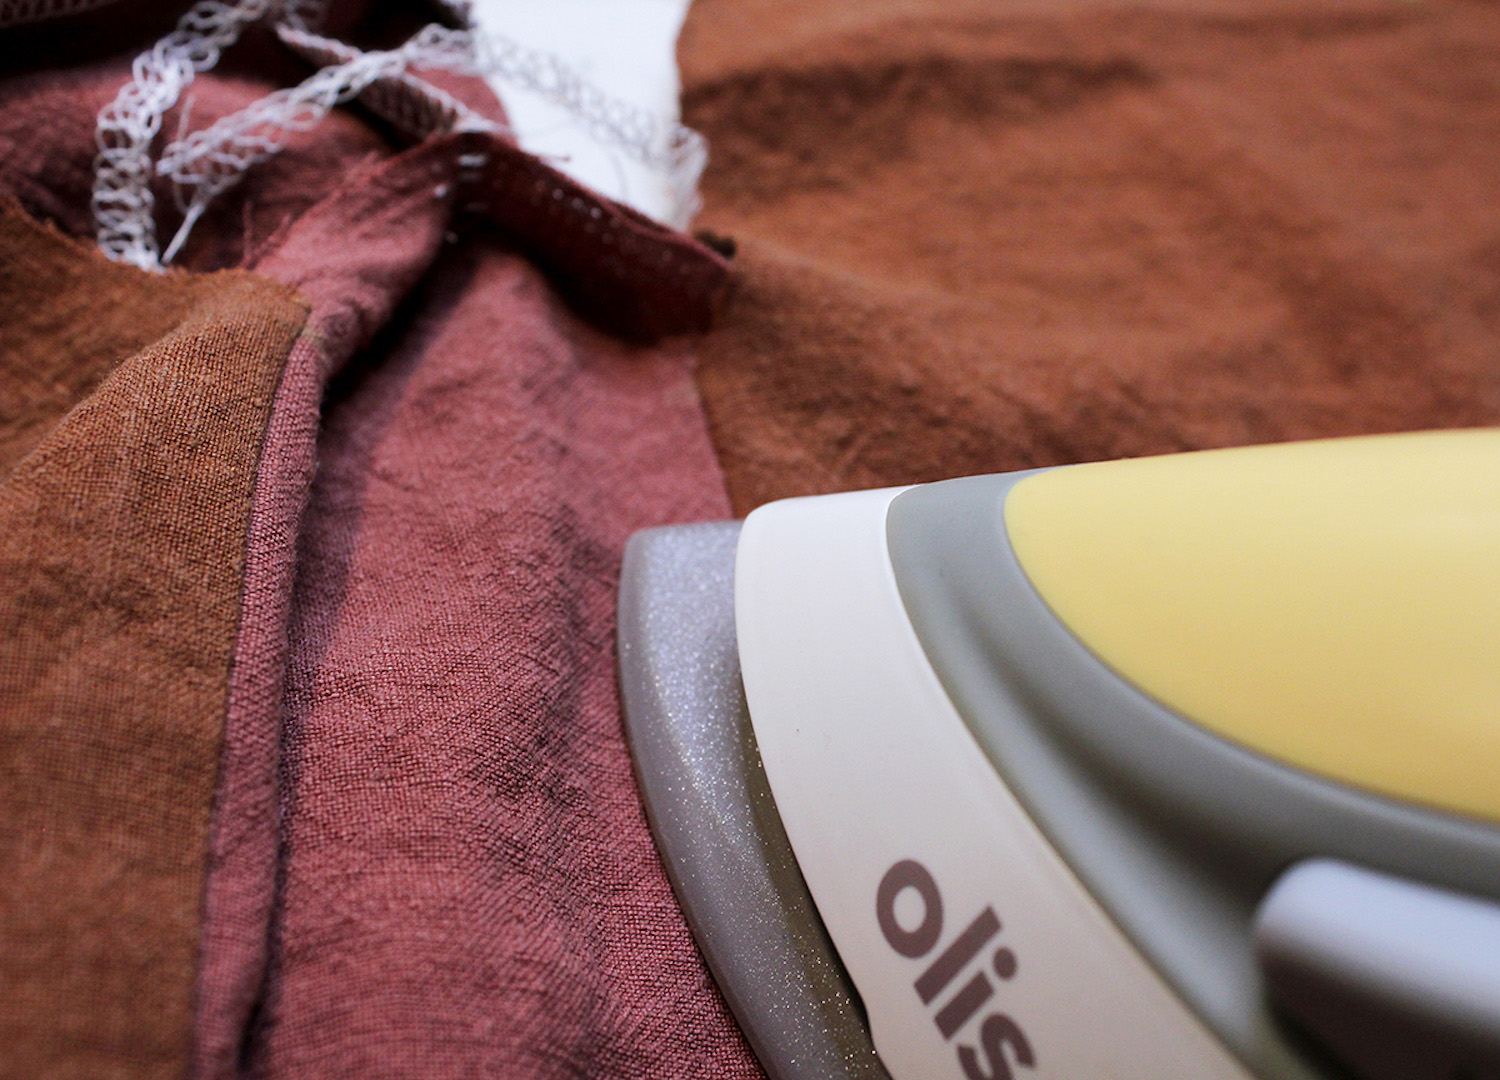
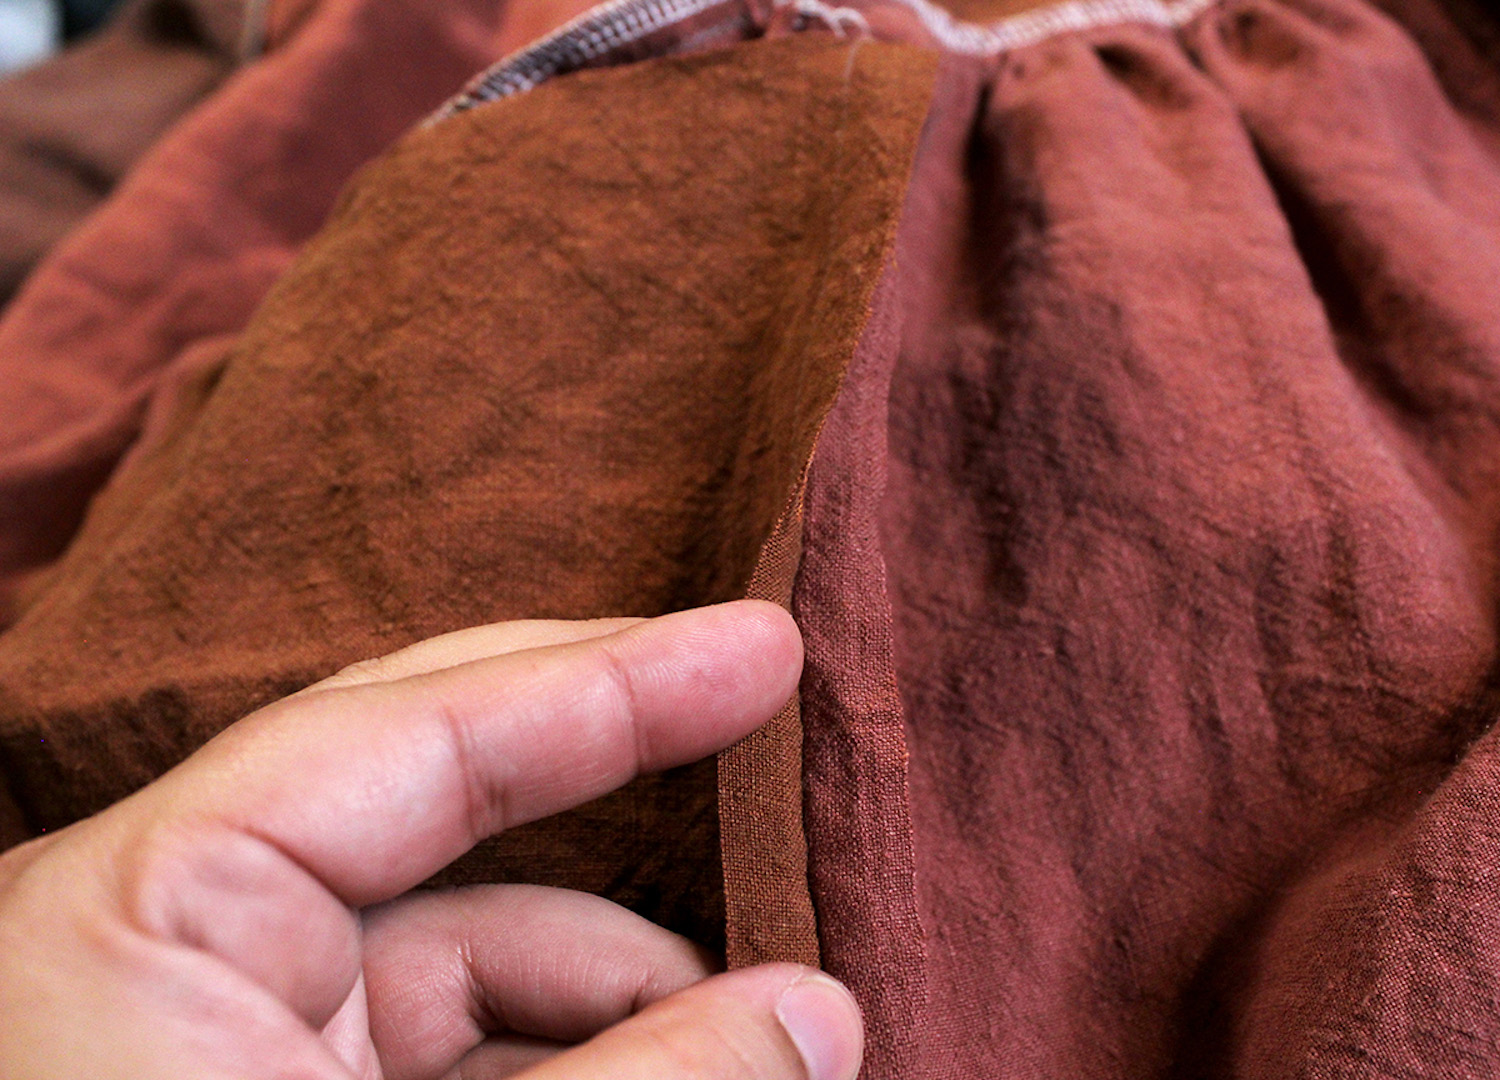
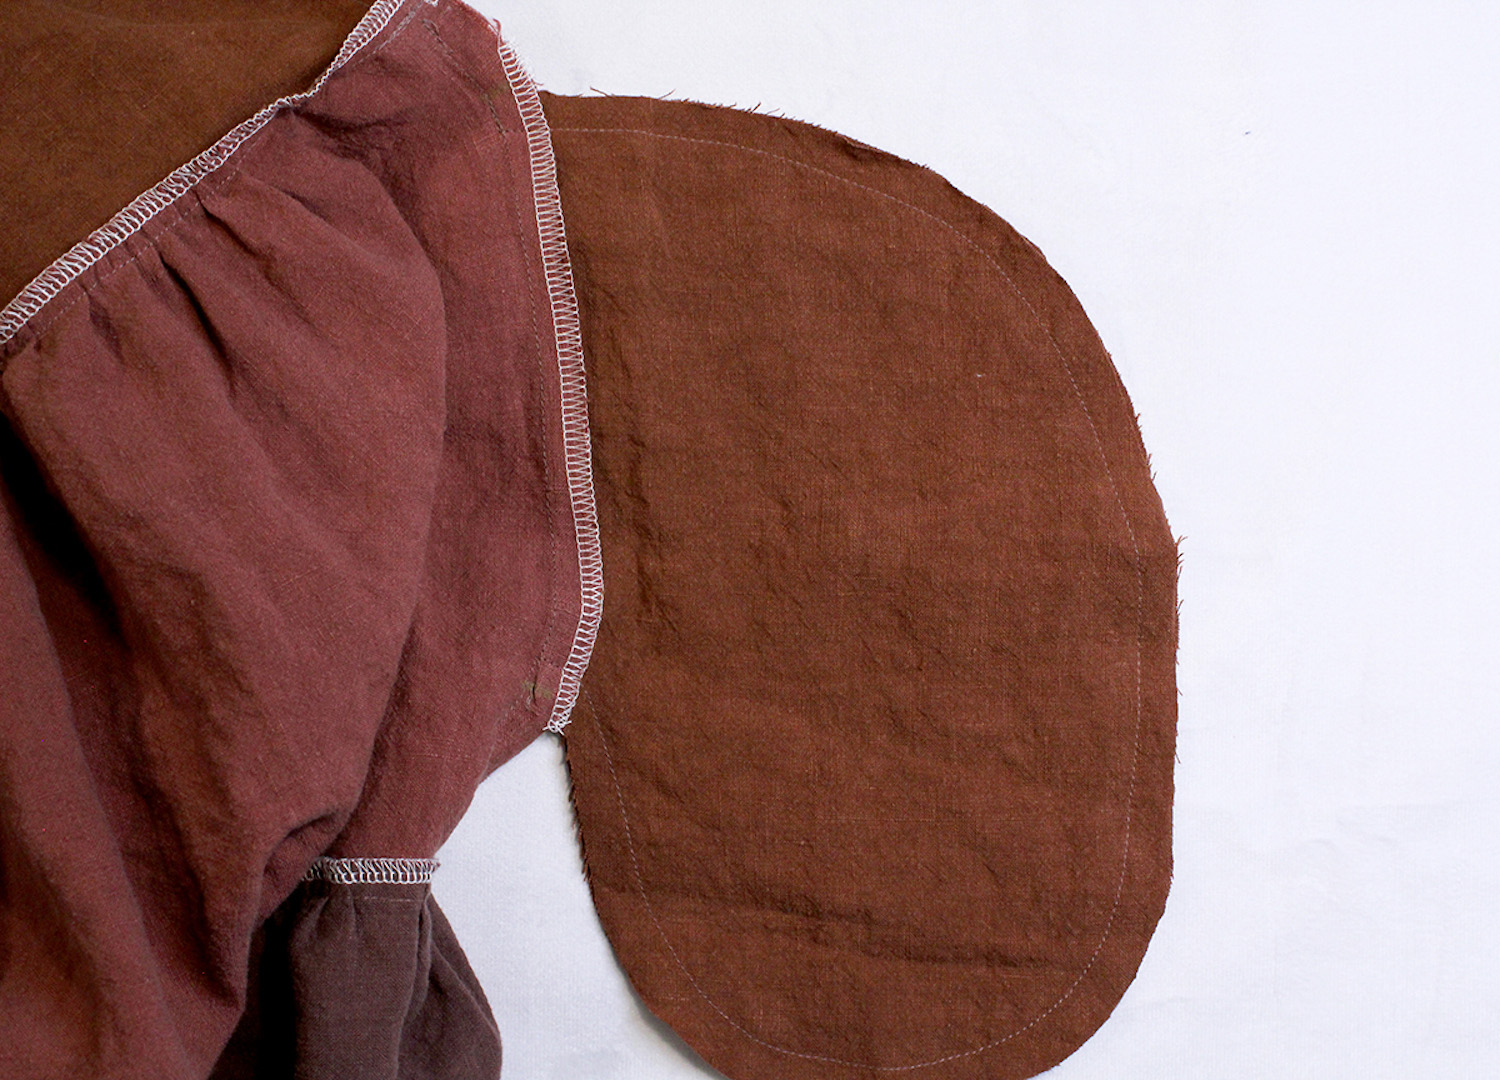
STEP SEVEN // Press the pocket pieces outward making sure the seam allowance is behind the pocket. Repeat for the three remaining pocket pieces.
Optional: You can also top stitch your pockets in place.
STEP EIGHT // Now it’s time to put these pockets together. Grab the two pocket pieces on the same side and pin together with the right sides facing. Be sure to pin above the pocket and below until you meet up to the original stitches of the garment.

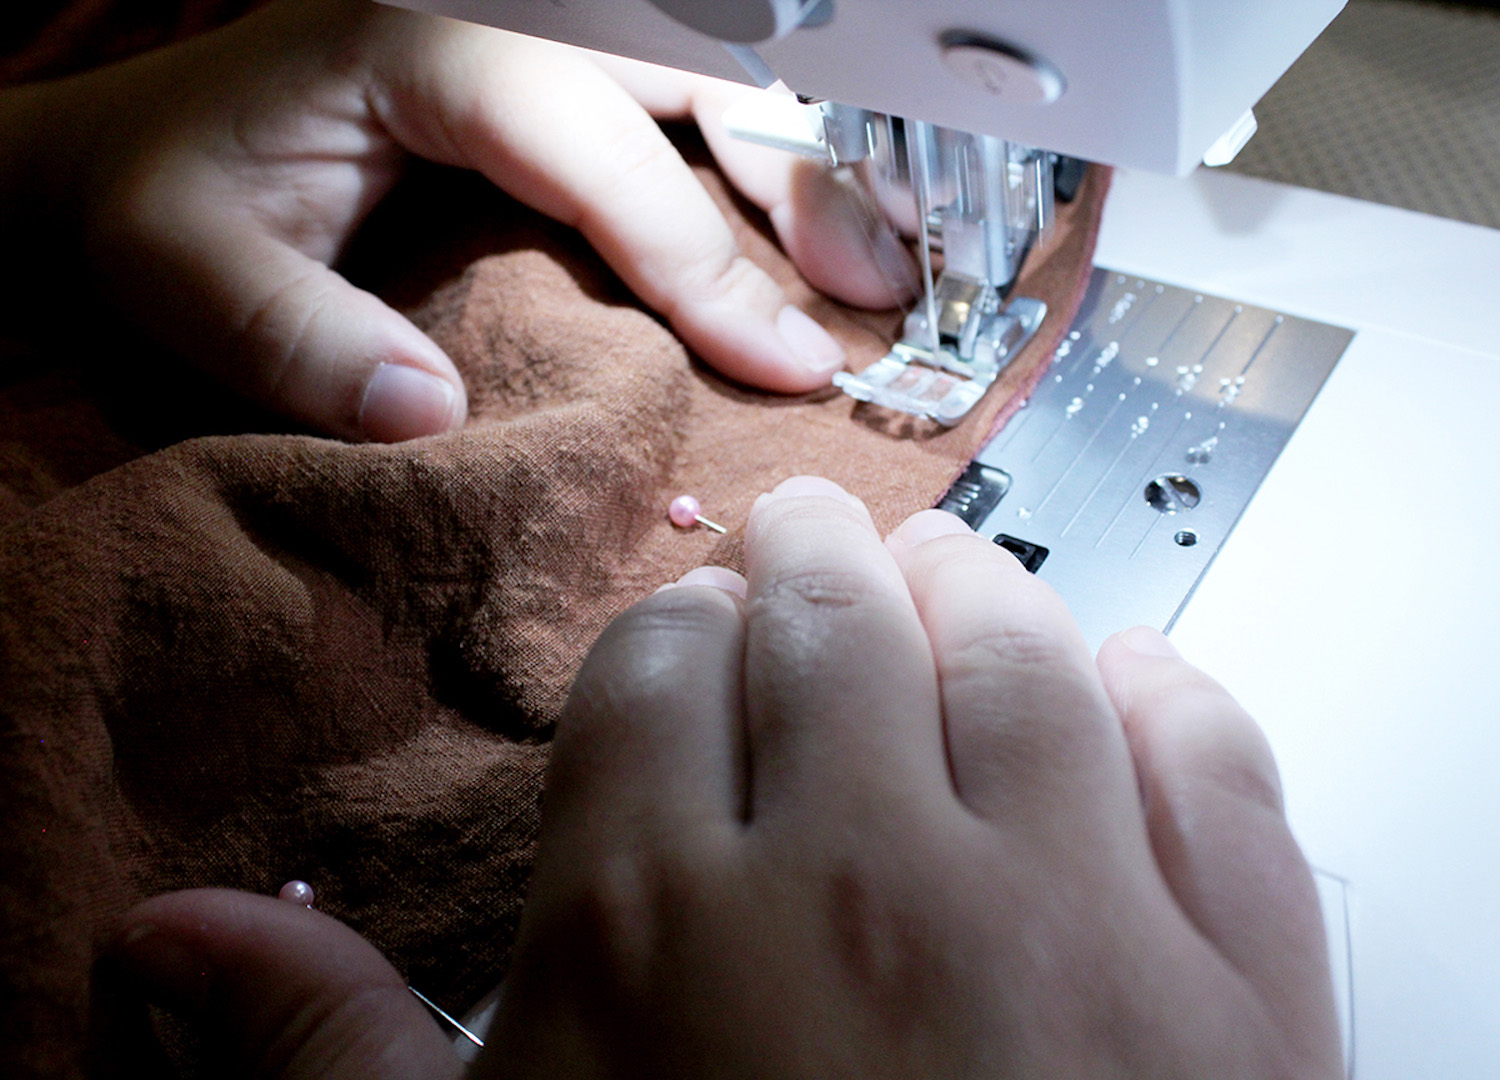
STEP NINE // Sew this edge together using the seam allowance of your garment. You can find this by measuring the space between the original finished edge and the original stitching. This dress had a 0.5 inch seam allowance.
STEP TEN // Repeat steps eight and nine on the other side.
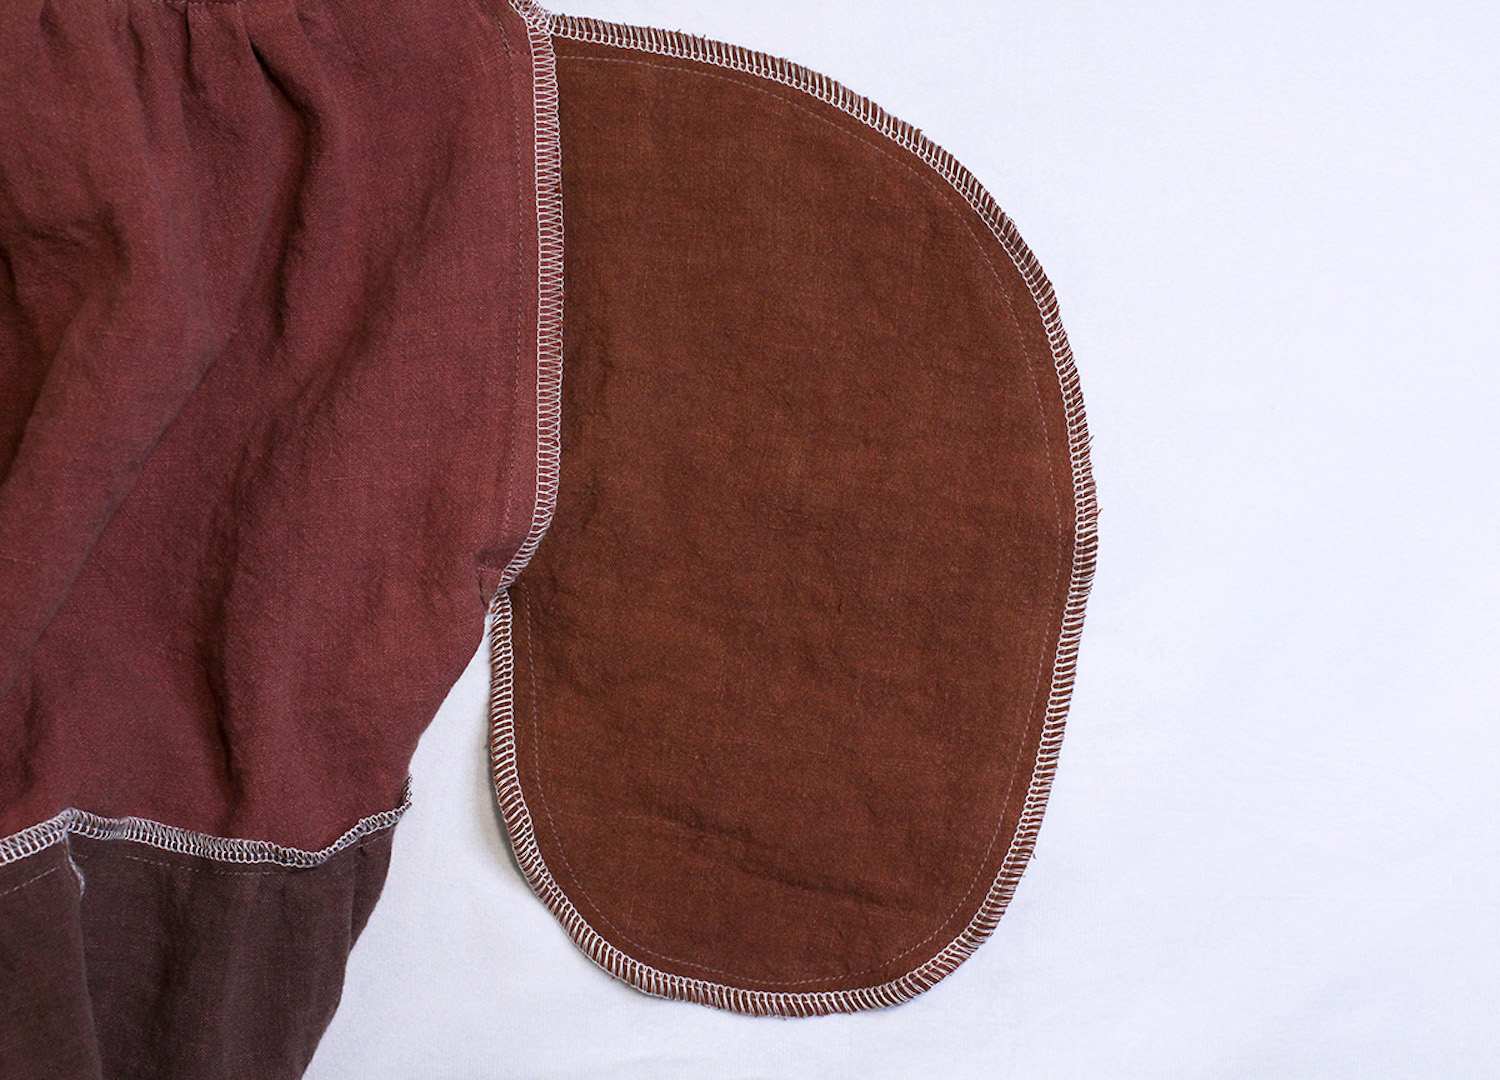
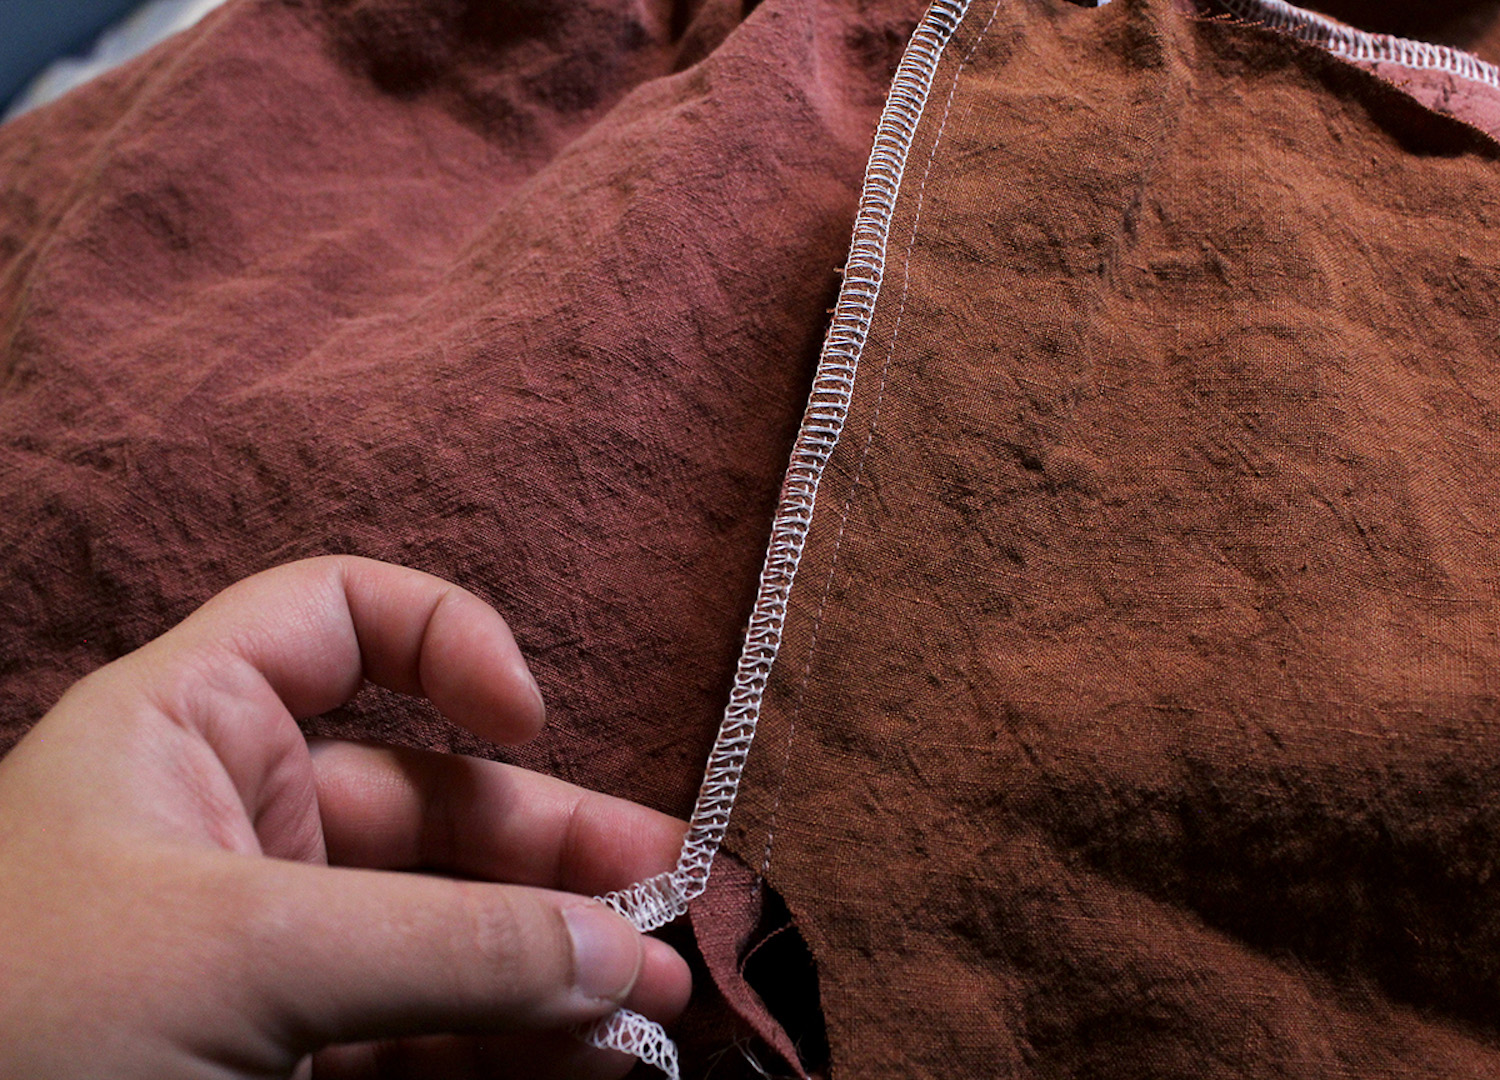
STEP ELEVEN // Once both pockets are sewn, it’s time to finish the edge. Use an overlocker or zigzag stitch on your machine. Repeat on the other side.
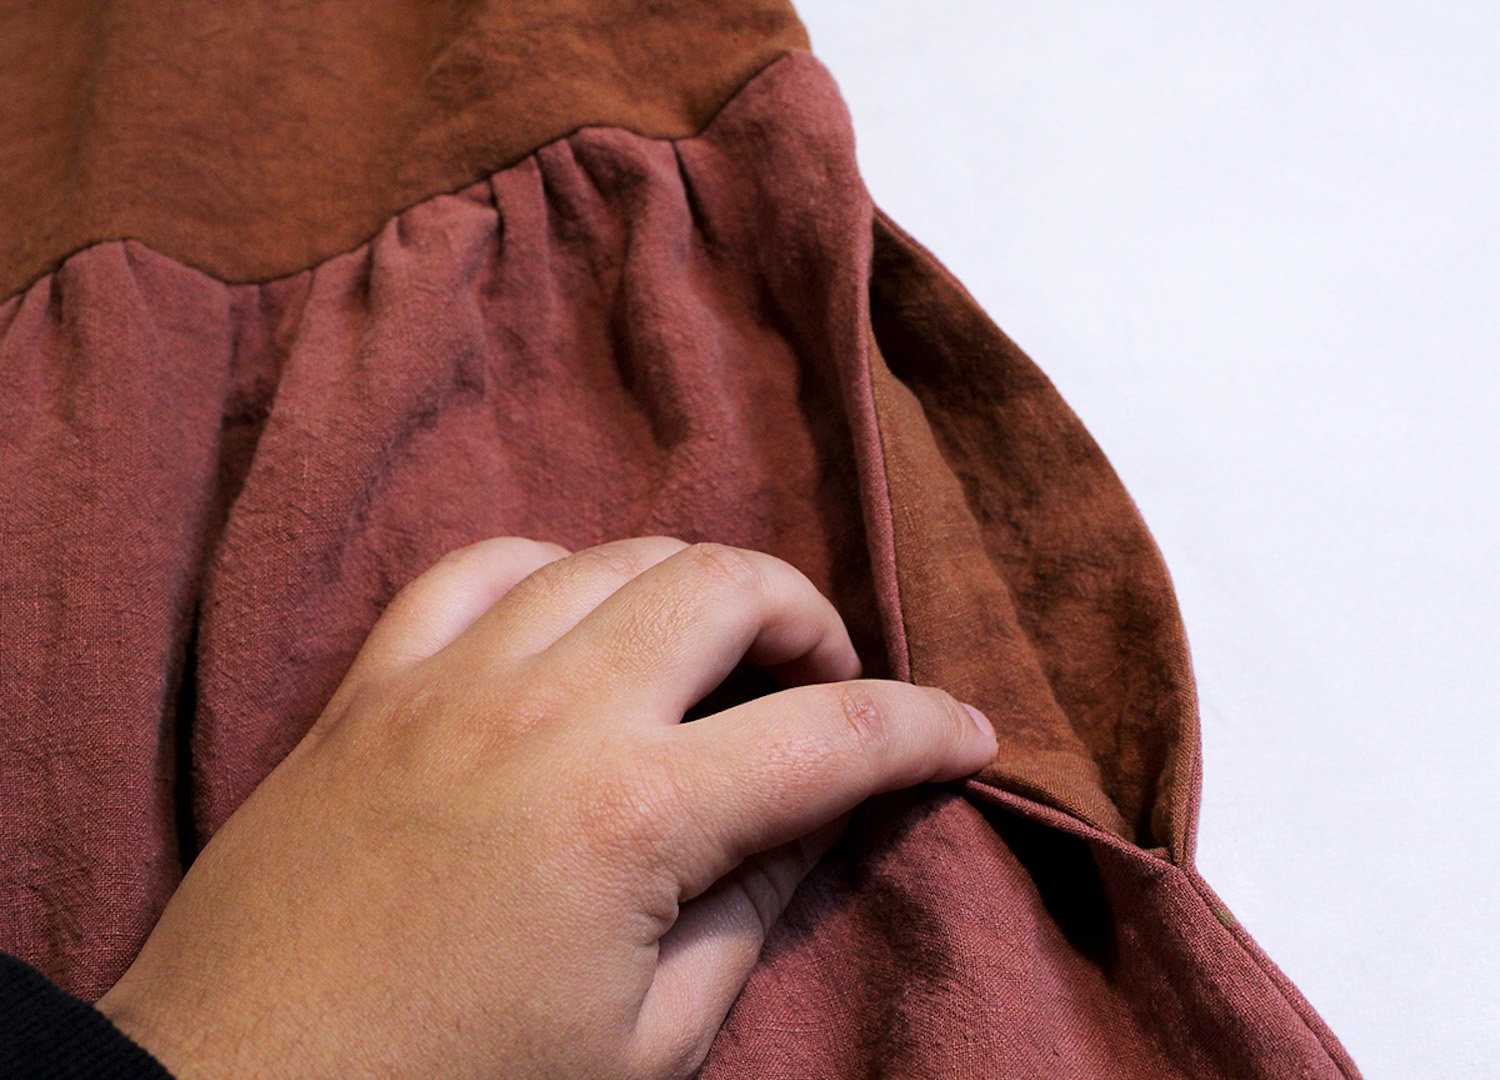

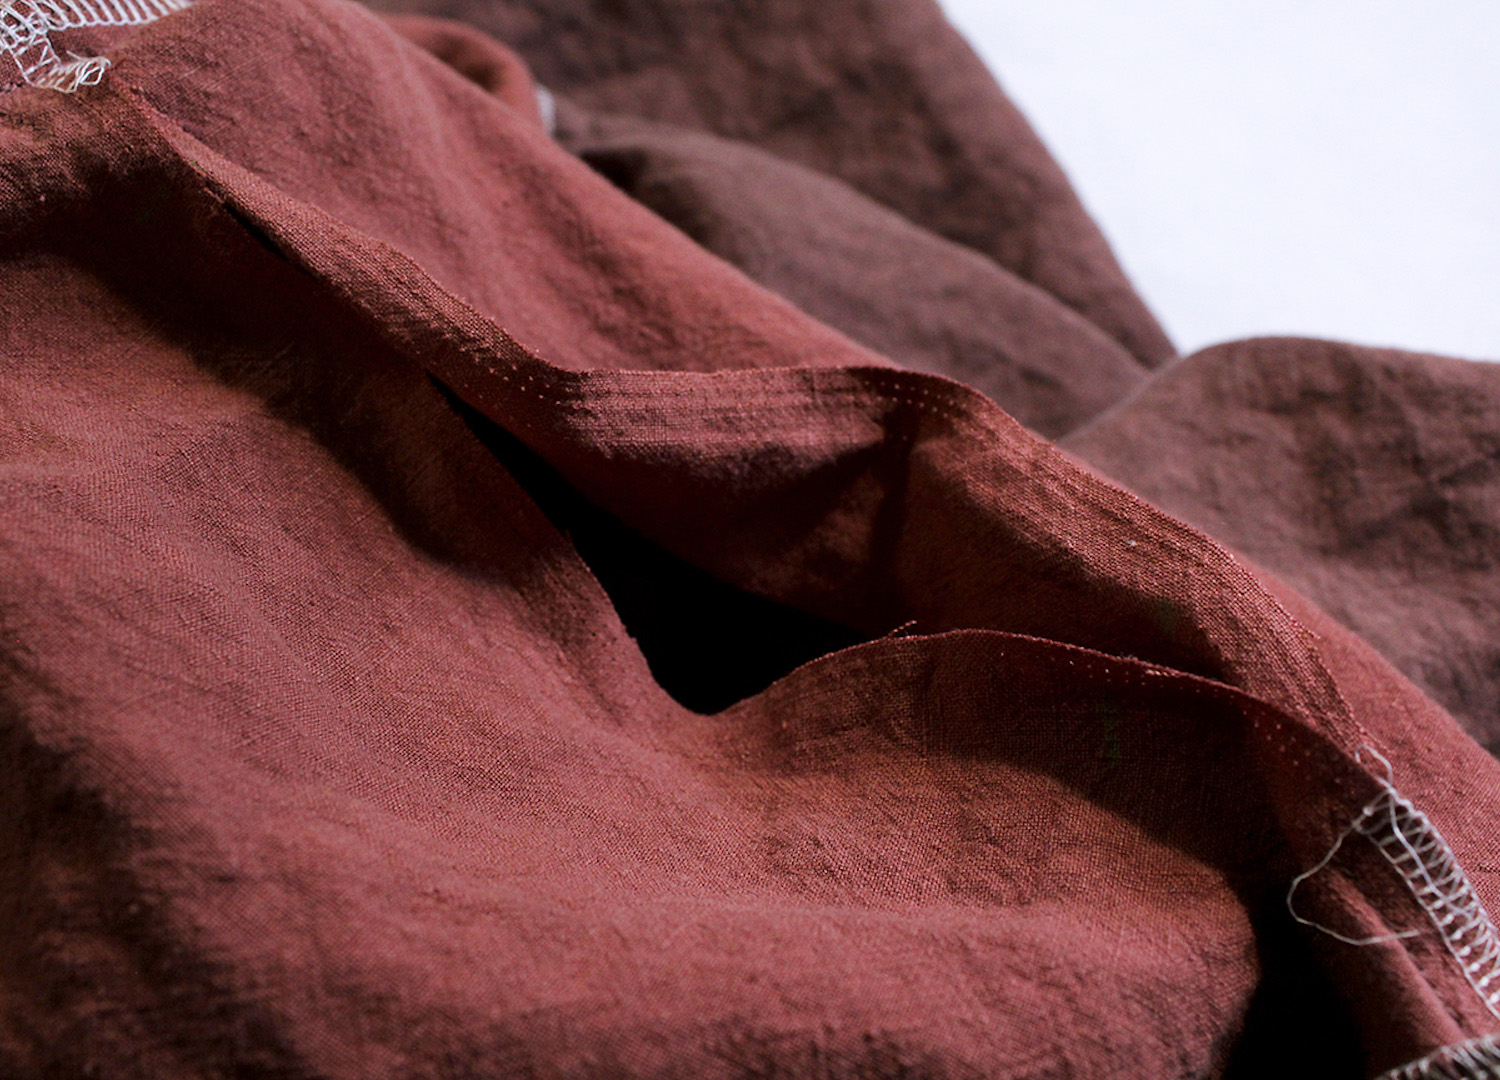
STEP TWELVE // Enjoy your handy work… you just put in your new pockets!

WANT MORE SEWING AND DIY CONTENT? RIGHT THIS WAY!