Today, 29 April, is National Zipper Day in the US – a beloved and, obviously, well-known holiday where we all take a second to think about the humble zipper and how much it does (and undoes) for us everyday.
Like many modern inventions, the zipper does not have a simple history with a single inventor but rather represents the culmination of an industry’s worth of collaboration and continuity. In 1851, Elias Howe patented an “Automatic, Continuous Clothing Closure” which never really took off. But then 42 years later, Whitcomb Judson introduced the “Clasp Locker” – a complicated hook-and-eye shoe fastener – and the success led him to found the Universal Fastener Company. In 1906, the company hired Gideon Sundback, a Swedish-American electrical engineer, who patented the “Separable Fastener” – effectively the modern zipper – on 29 April 1913.
The name zipper comes later, in 1923, from the BF Goodrich company which used Gideon’s fasteners on their new galoshes and colloquially referred to it as the zipper – after the noise it made when in use. This onomatopoetic moniker quickly caught on and overtook the device’s more prosaic legal nom de plume.
The widespread introduction of the zipper into mainstream clothing in the 1930s undoubtedly had a huge impact on fashion. All of a sudden clothes could be tailored, form fitting and easy to get in and out of without messing around with complicated lacings or multitudinous buttons. Zips were easy enough for children to use, meaning the average joe could get in and out of their fancy glad rags without needing assistance – a fashion equaliser for the common man.
Today the zip is a cornerstone to modern garment making and a useful tool for any home sewist… provided they know how to use them.
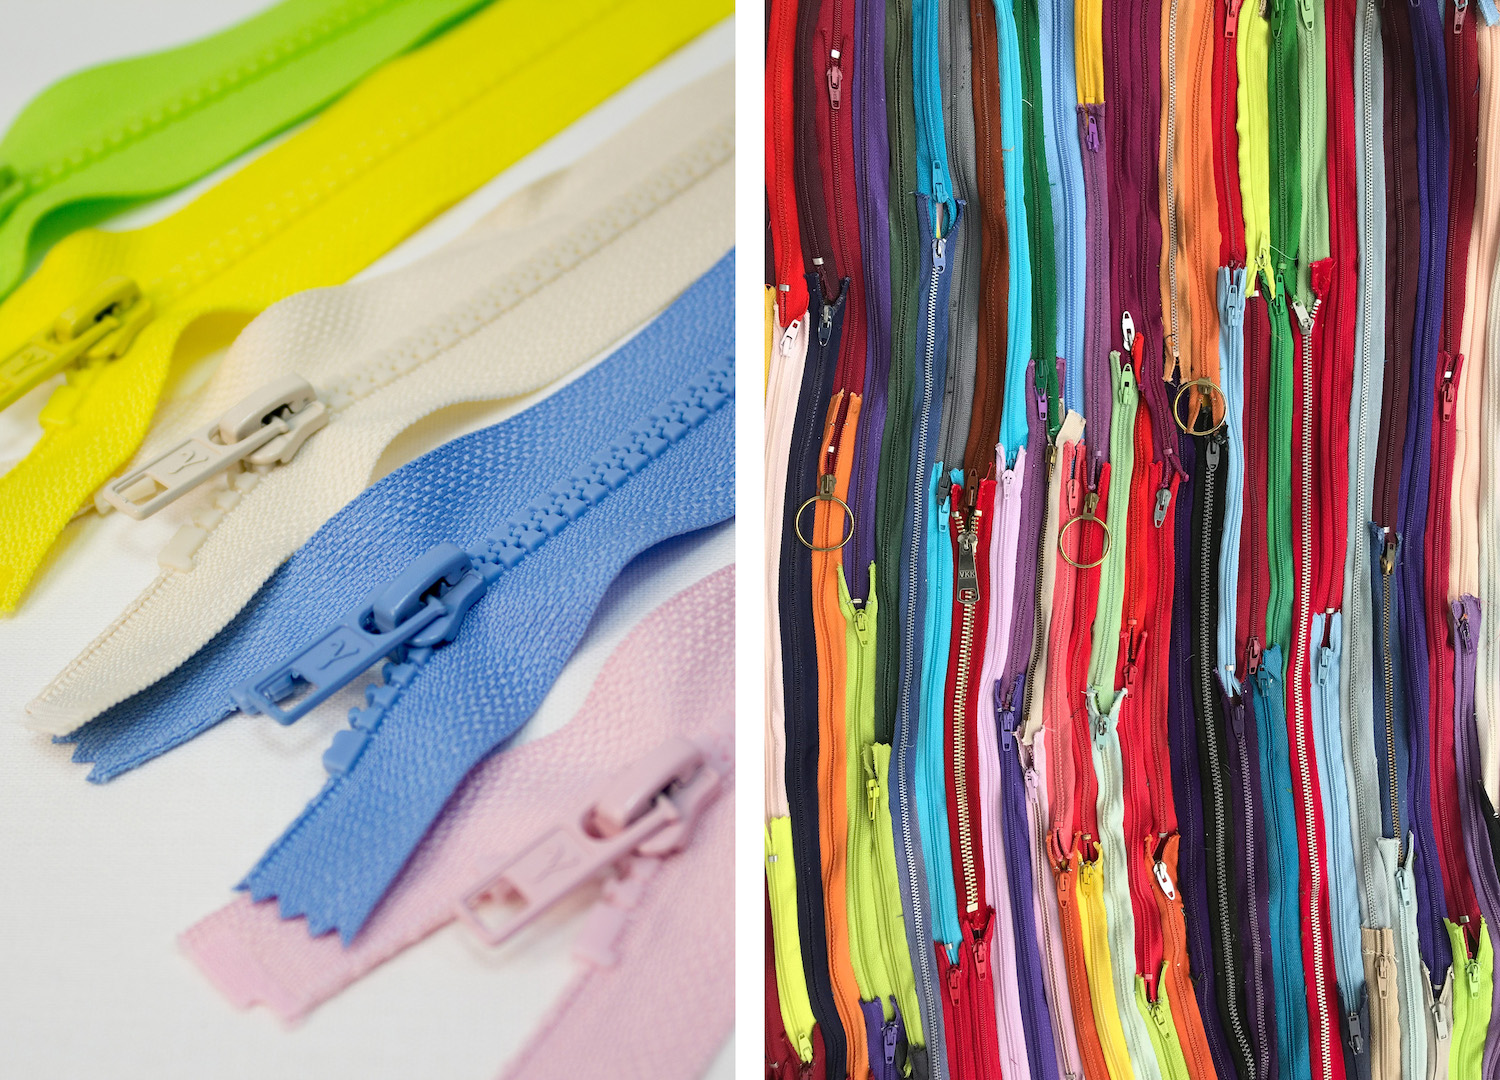
TYPES OF ZIPPERS
Many people posit to teach you the ultimate technique for inserting zips but in truth there are as many different ways of inserting zips as there are kinds of zips (more than you’d think) and what works best for you will vary between sewists. Some common zips you might come across include…
Coil Zippers
Your classic nylon plastic zipper, with those tiny tight little coils. The most commonly found zipper around today.
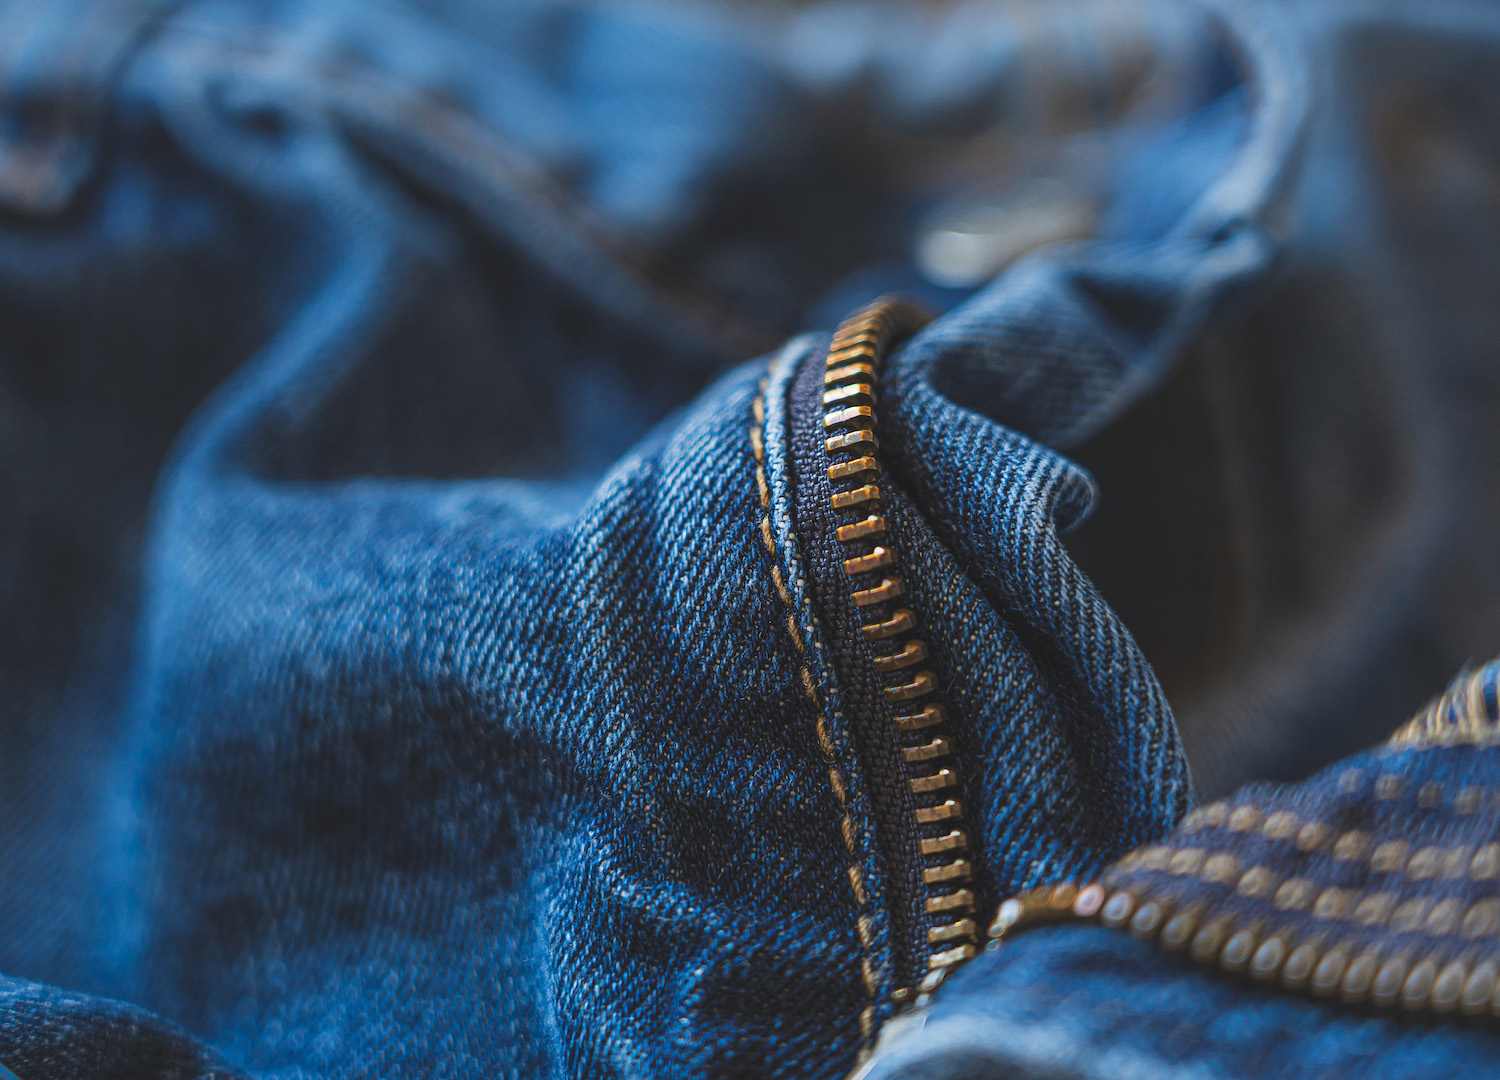
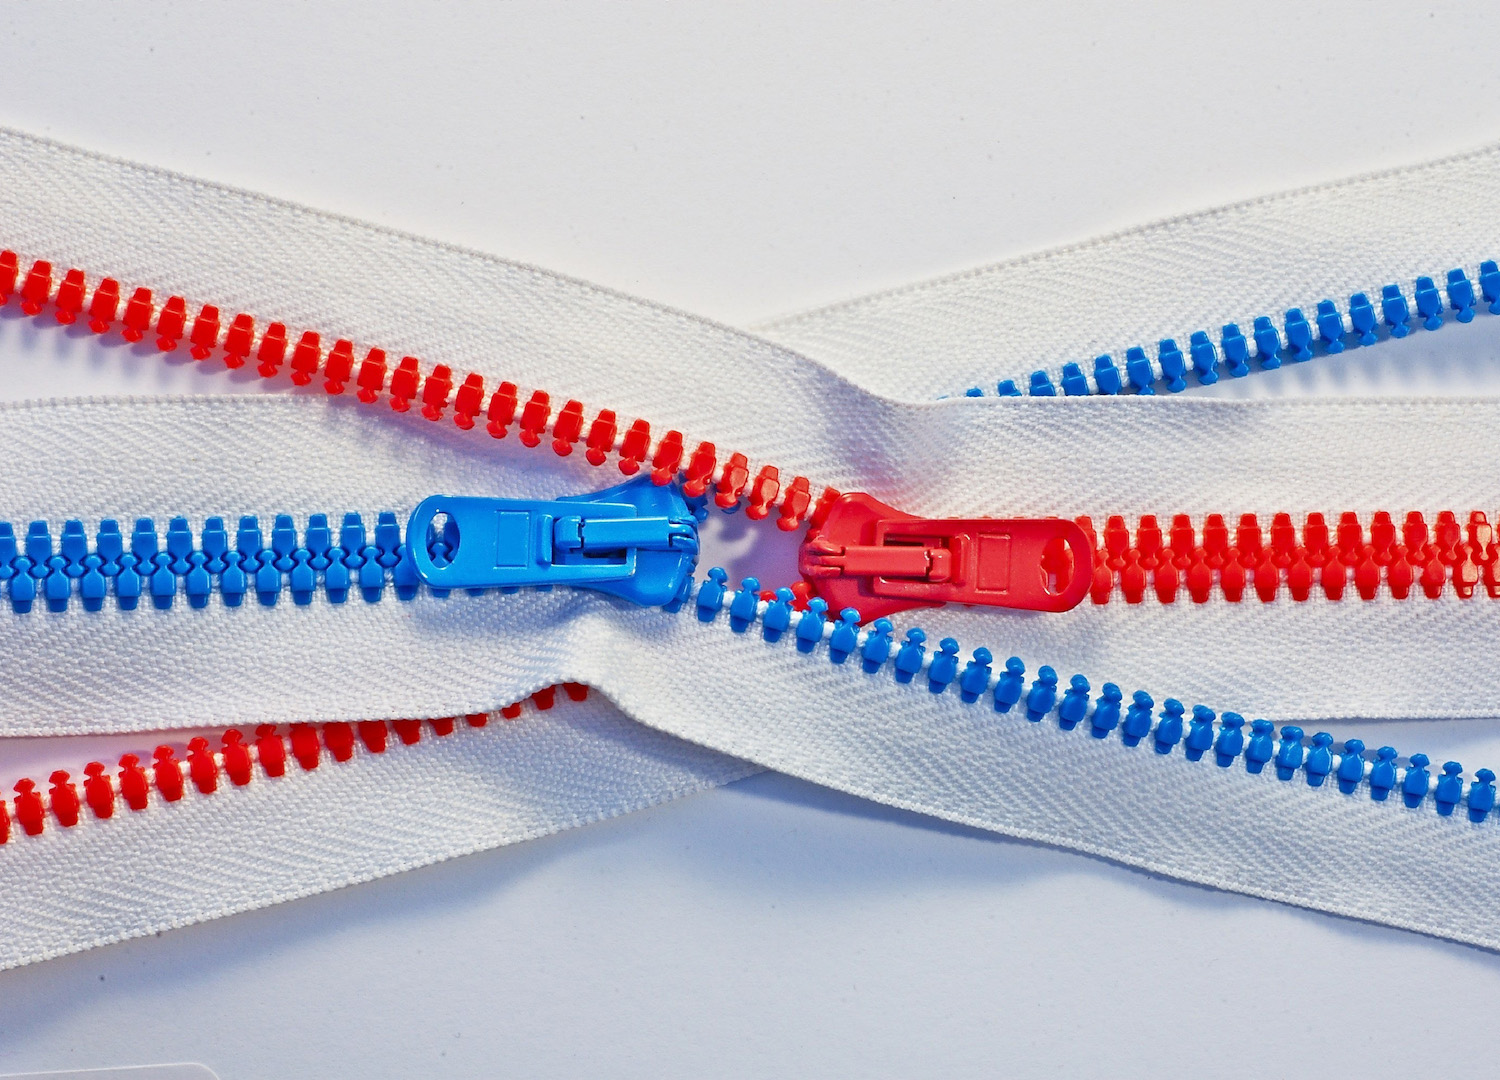
Tooth Zippers
Made of metal or plastic, tooth zippers have big visible chunky teeth that stand separate from each other. What you may picture as a traditional platonic zipper.
Invisible Zippers
Used in fancy fashion, the invisible zipper is designed so the zipper is hidden in the seam and only the pull tab is visible from the front making it, as the name suggests, almost invisible in the garment.
Open-Ended Zipper
Used in jackets and the like, the open-ended zipper has a slide mechanism that slips in and out of the pull tab on one side, allowing the zip to completely detach from each other.
SEWING WITH ZIPPERS
Alright, so you’ve got a handle on the types of zips out there, but what about actually sewing with them? The three most basic techniques for applying zippers to garments are as follows…
The Centred Zipper
Baste your fabric together and press seam allowance open. Align your zipper along the seam, face down on the wrong side of the fabric. Sew along the sides and bottom of the zipper tape to attach to your fabric, then use a seam ripper to open the seam along the length of the zipper. Your zipper will be hidden on the right side of the garment between two flaps of fabric.
The Lapped Zipper
A lapped zipper is much the same as a centred zipper except the flap covering the zip comes from one side only, creating the illusion of a placket. Generally the left side of the zipper is the one that is lapped.
Baste fabric as before but then sew the right side of the zipper face down onto the seam allowance, then fold over to the right side and topstitch down. Then lay the fabric flat again and sew around the bottom and left side as in a centred zipper.
The Invisible Zipper
The invisible zipper application is the easiest and, unlike the others, does not leave any visible stitching on the right side of the fabric. Simply sew one side of the zipper onto one side of the fabric with the right sides facing each other, then open the zipper flip around and sew the other side of the zipper to the other side of the fabric right side together.
Zip zap zop!
TIPS AND TRICKS
Some handy tips and tricks to help you navigate the treacherous zippery fields…
ONE // Using a proper zipper foot makes everything a lot easier. A zipper foot is narrow, with notches on either side for the needle which allow you to get that seam really close to the zipper. For a really clean seam, especially if you are using an invisible zip, you can manoeuvre the zipper teeth up by hand, away from the needle.
TWO // If you have trouble with your zips not staying put while sewing, you can bast them in with hand stitches! Some people even find it easier to hand-stitch zips in with a tight backstitch (using the invisible zipper application method, as the maneuverability of hand-stitching allows you to control the placement of your stitches neatly along the edge of the zipper.
Once you conquer fear, you conquer zips.
THREE // You must not fear. Many people are intimidated or even afraid of sewing with zippers which is a shame, chiefly because zippers can sense fear. If you approach a zip head empty, they go in as smooth as butter. It is only if you let fear cloud your heart that you end up with misaligned tabs and tangled seams. As the benevolent Bene Gesserit says, “Fear is the mindkiller.” Once you conquer fear, you conquer zips.
WANT MORE SEWING AND DIY CONTENT? RIGHT THIS WAY!