words and photos KATIE WEYCHARDT
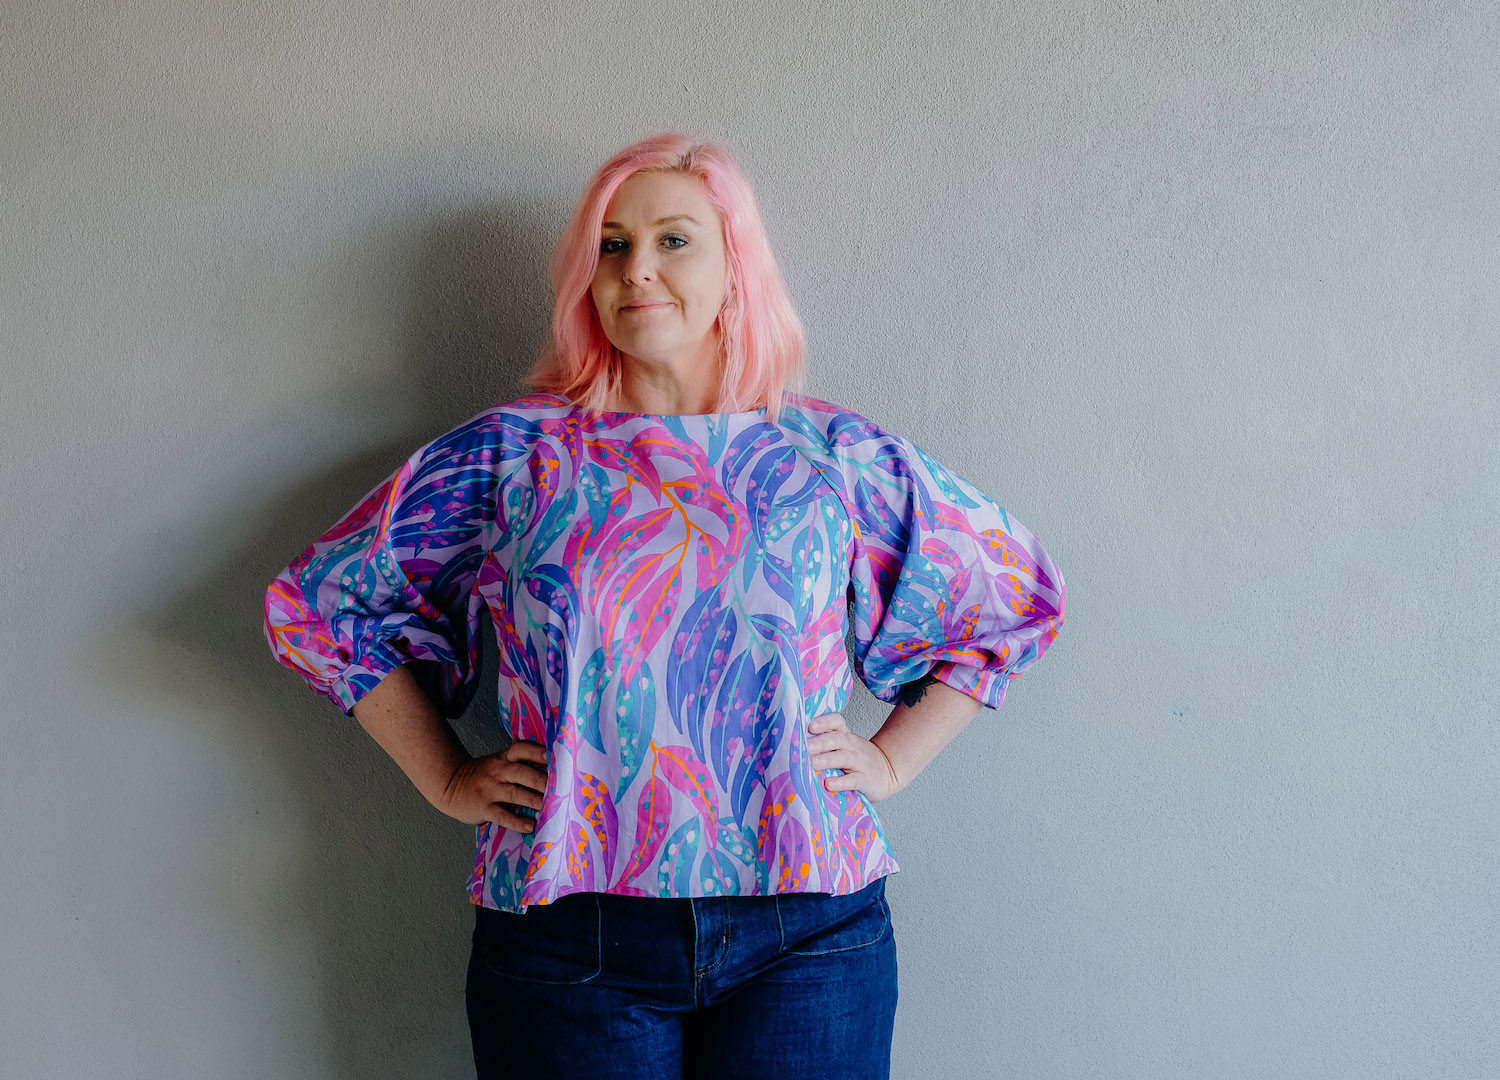
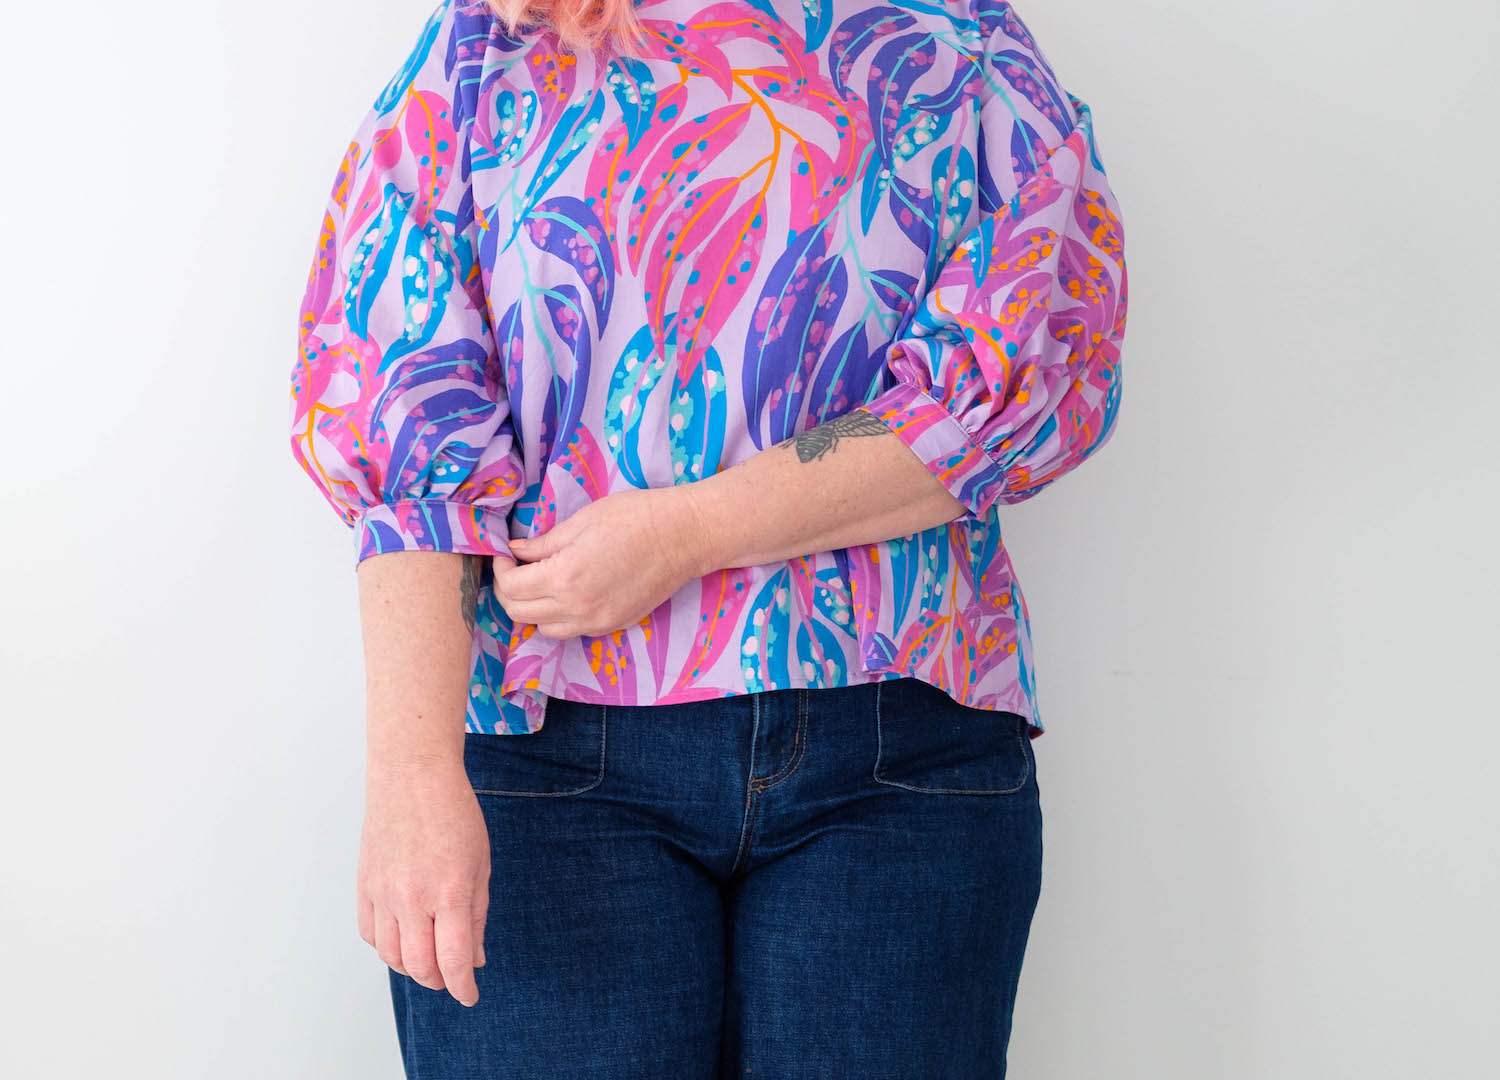
So you’ve made one Peppermint Paddington Top and you’re itching to make another, right? Why not mix it up by extending the sleeves! While not drastically changing the shape of the top – and keeping the drama in the sleeves we all know and love – by simply lengthening the sleeve and replacing the elastic with a fabric cuff, you can add your own spin to get the most out of your pattern! Did someone say Paddington Tops for days!
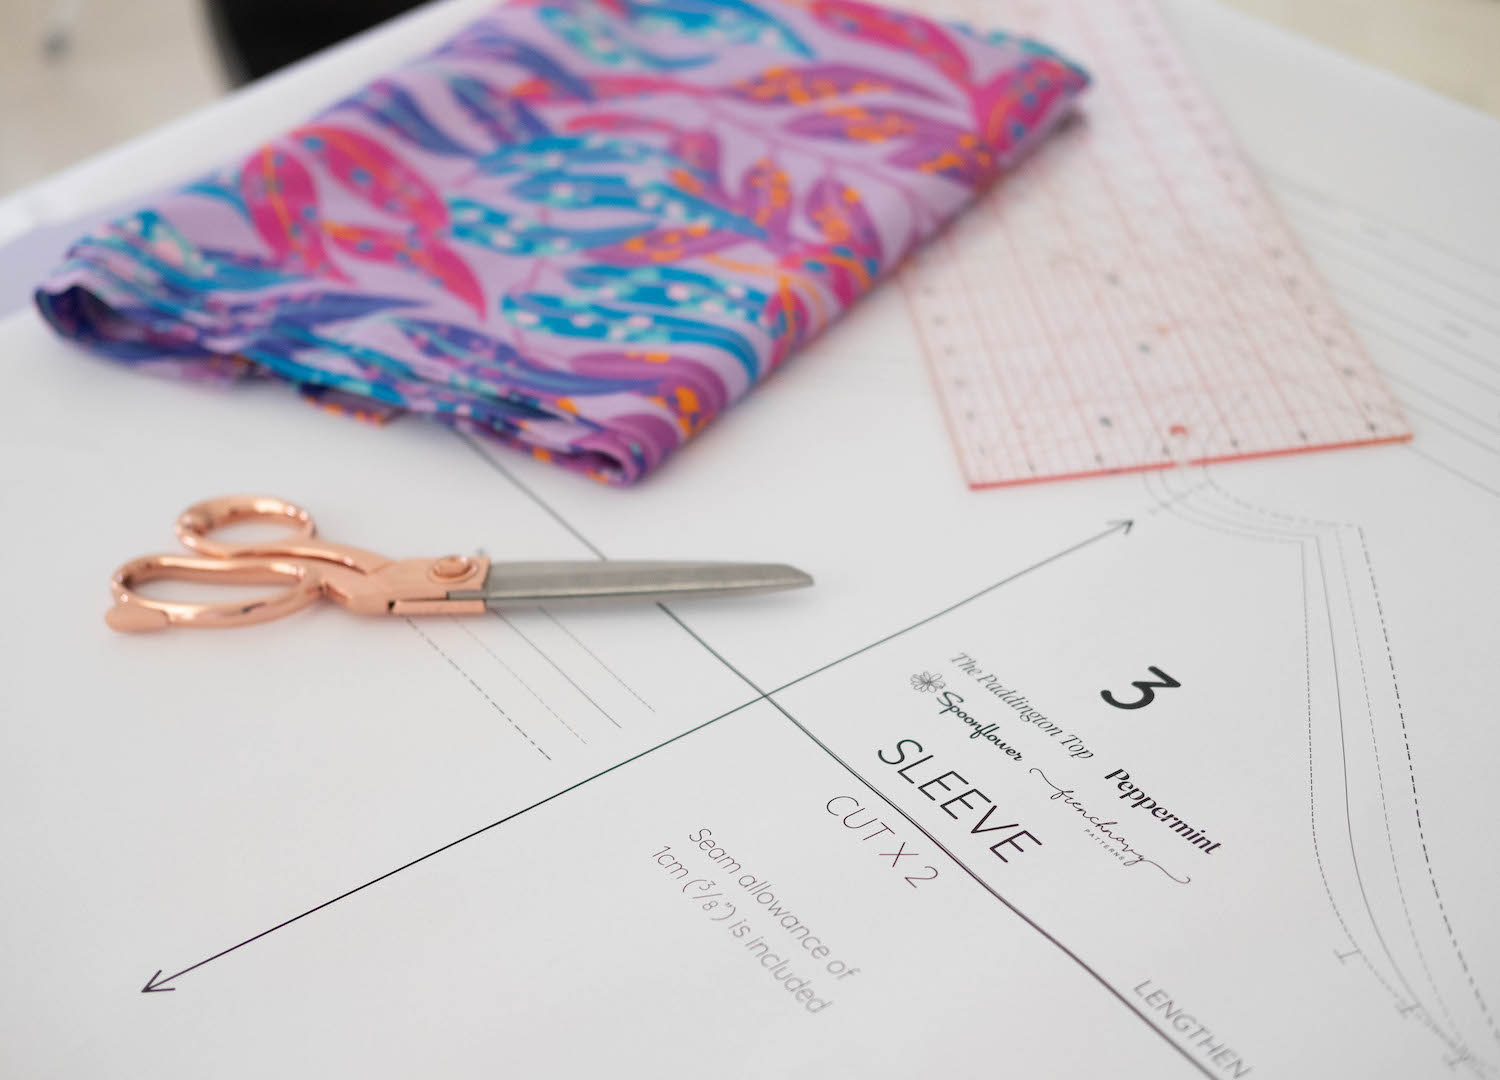
What you will need
Your sleeve pattern piece
A large piece of scrap paper, light sew in interfacing or baking paper
A ruler
Pins
Scissors
Tape
Pen or pencil
Let’s get making!
Before you start, download a copy of the free pattern (if you haven’t already). While you’re there, print off an extra copy of the Paddington sleeve piece in your size or trace it off to keep the original intact.
DOWNLOAD THE PATTERN NOW!
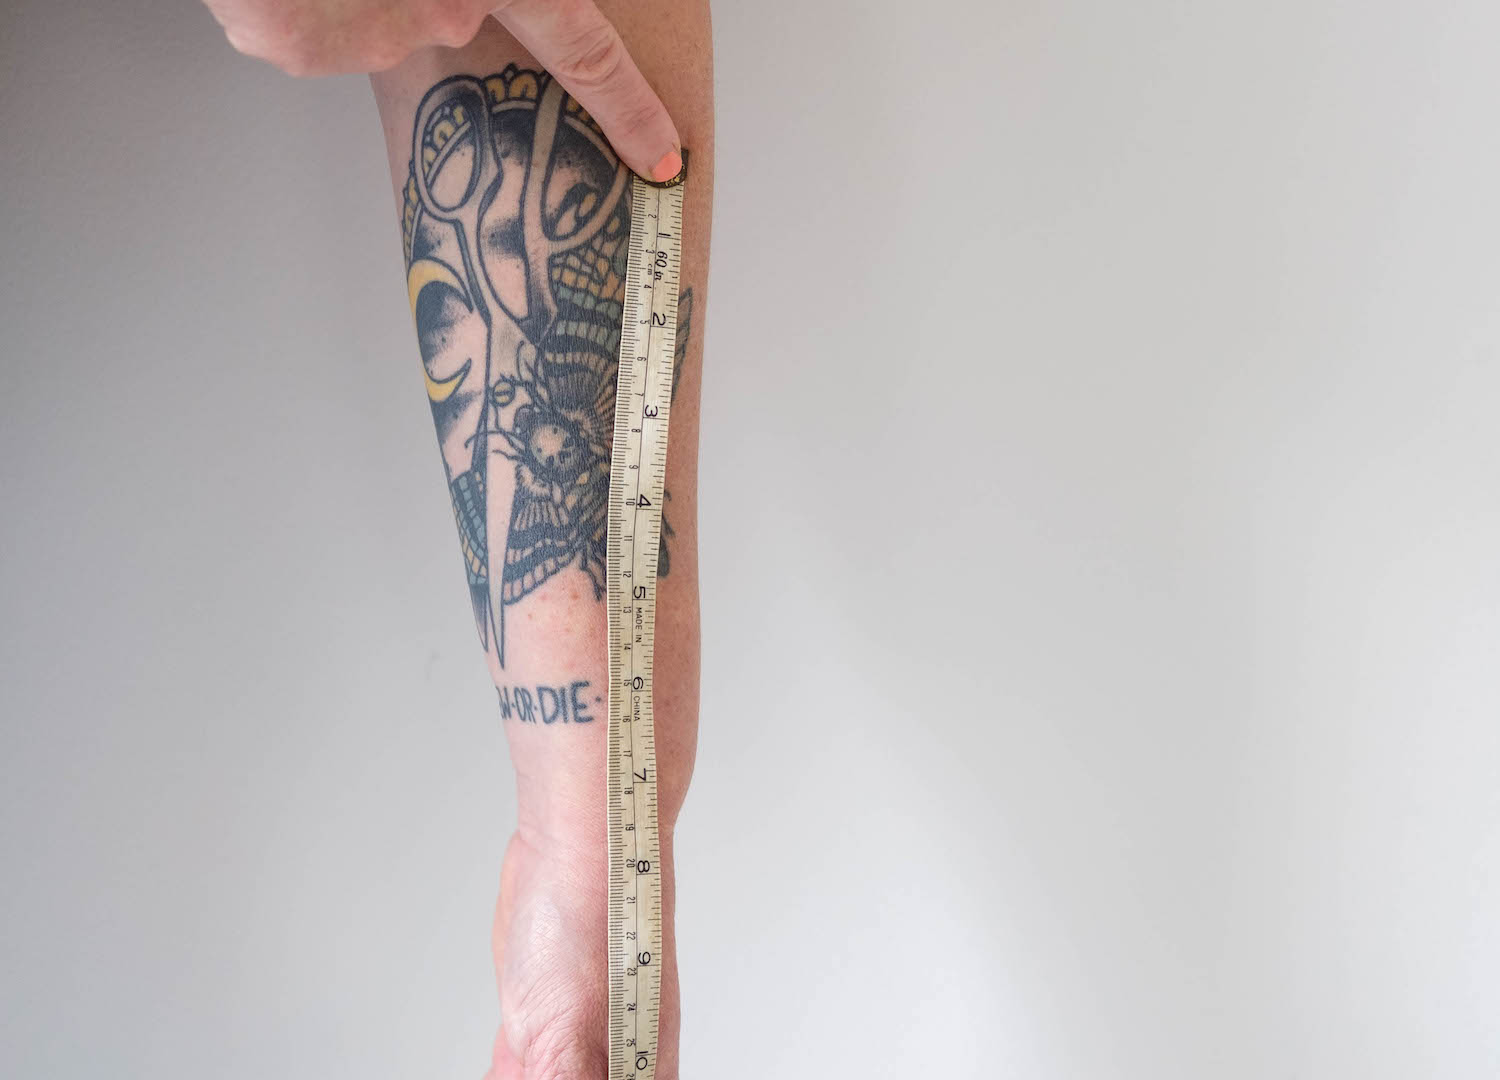
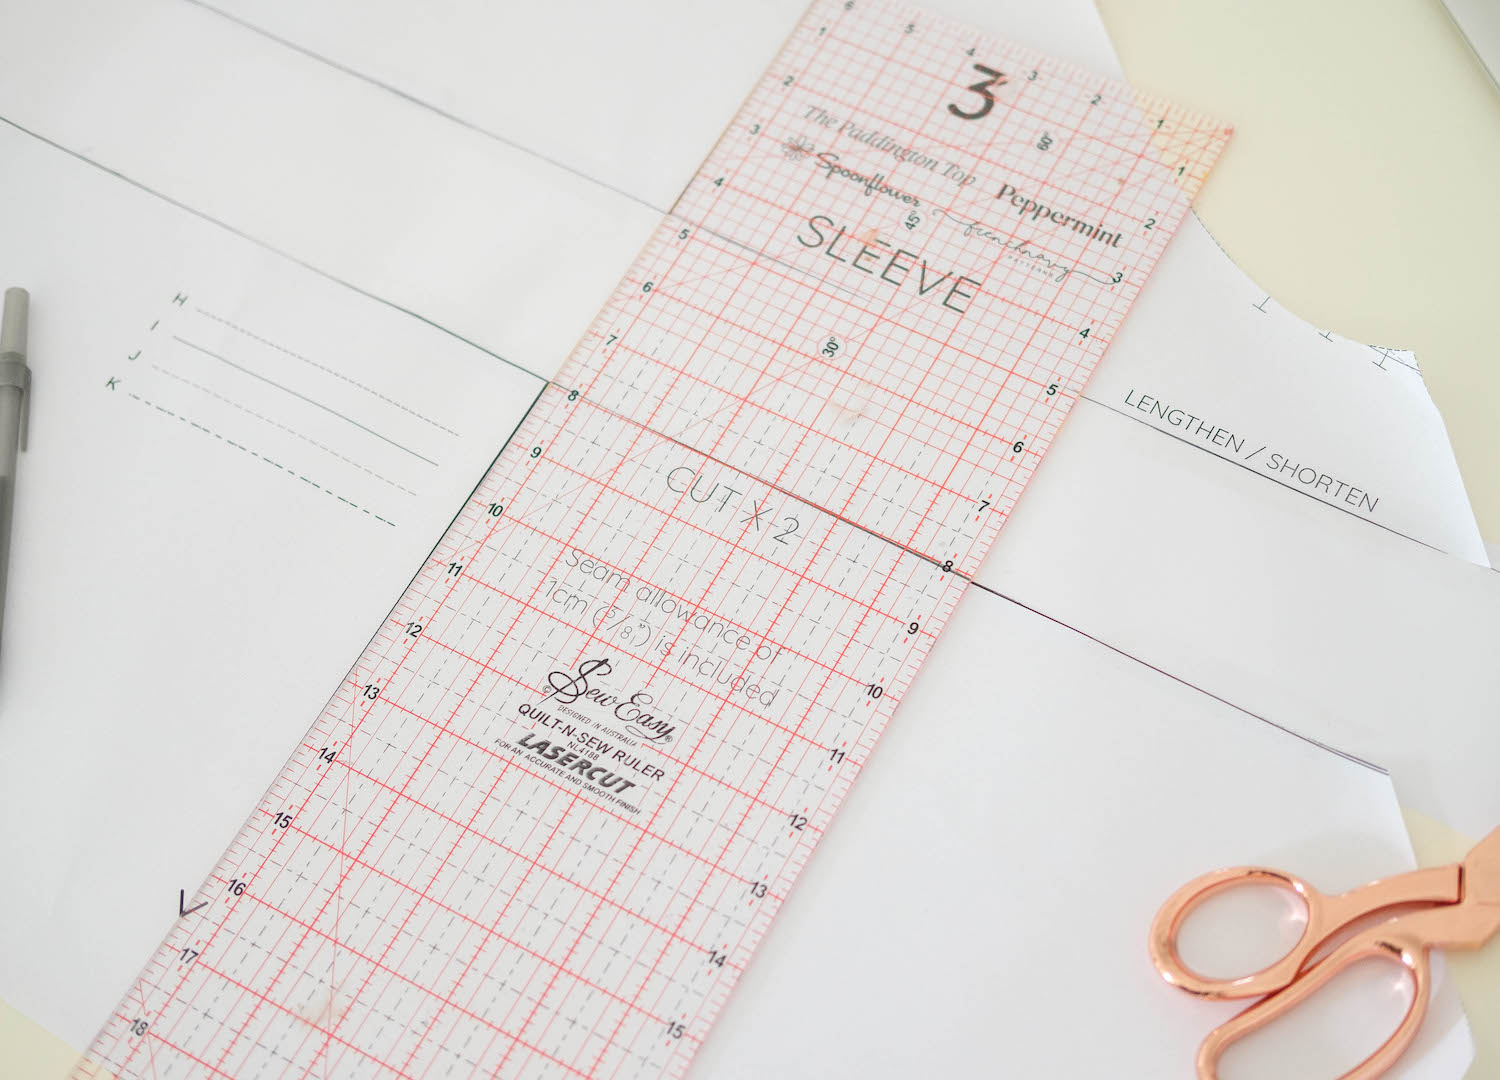
STEP ONE // The original Paddington sleeve is designed to finish at the elbow, so we need to measure from 4cm below the elbow (to account for the elastic casing) to where we would like our new, longer sleeve to finish. I am adding 8cm.
STEP TWO // Then we need to measure the circumference of that point of our arm, so we can cut cuffs. You’ll need the cuffs to be your arm circumference plus about 3cm (1cm seam allowance and 2cm ease). Mine are 26cm x 8cm high.
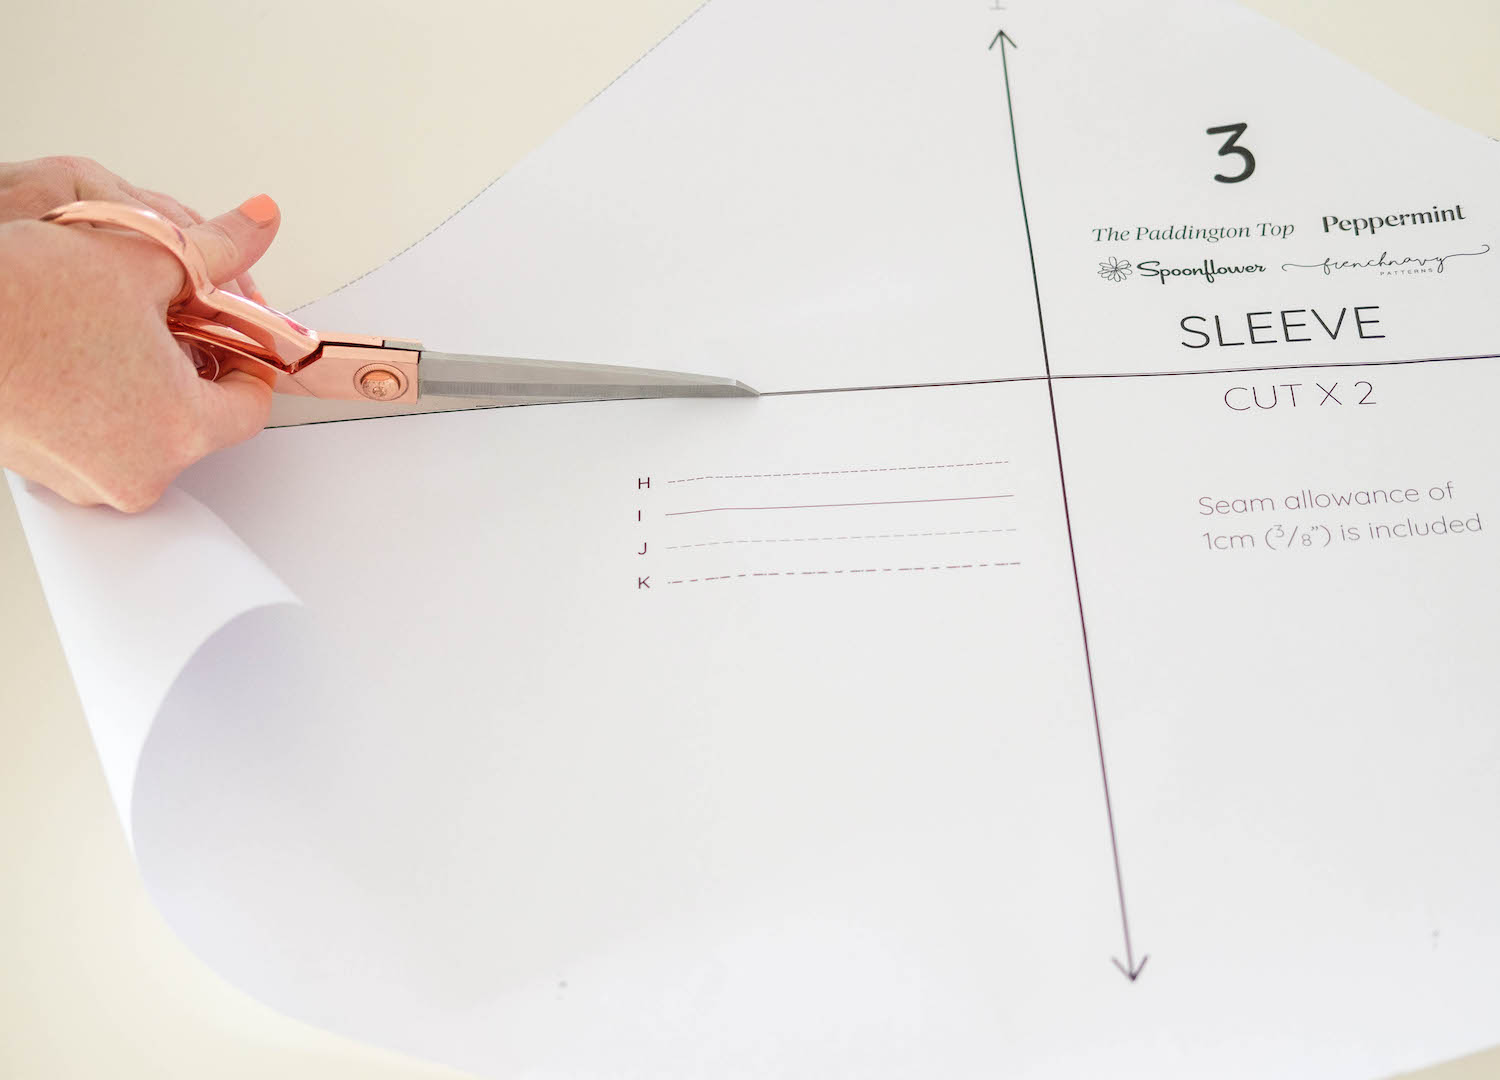
STEP THREE // Cut the Paddington sleeve pattern piece across the lengthen/shorten line.
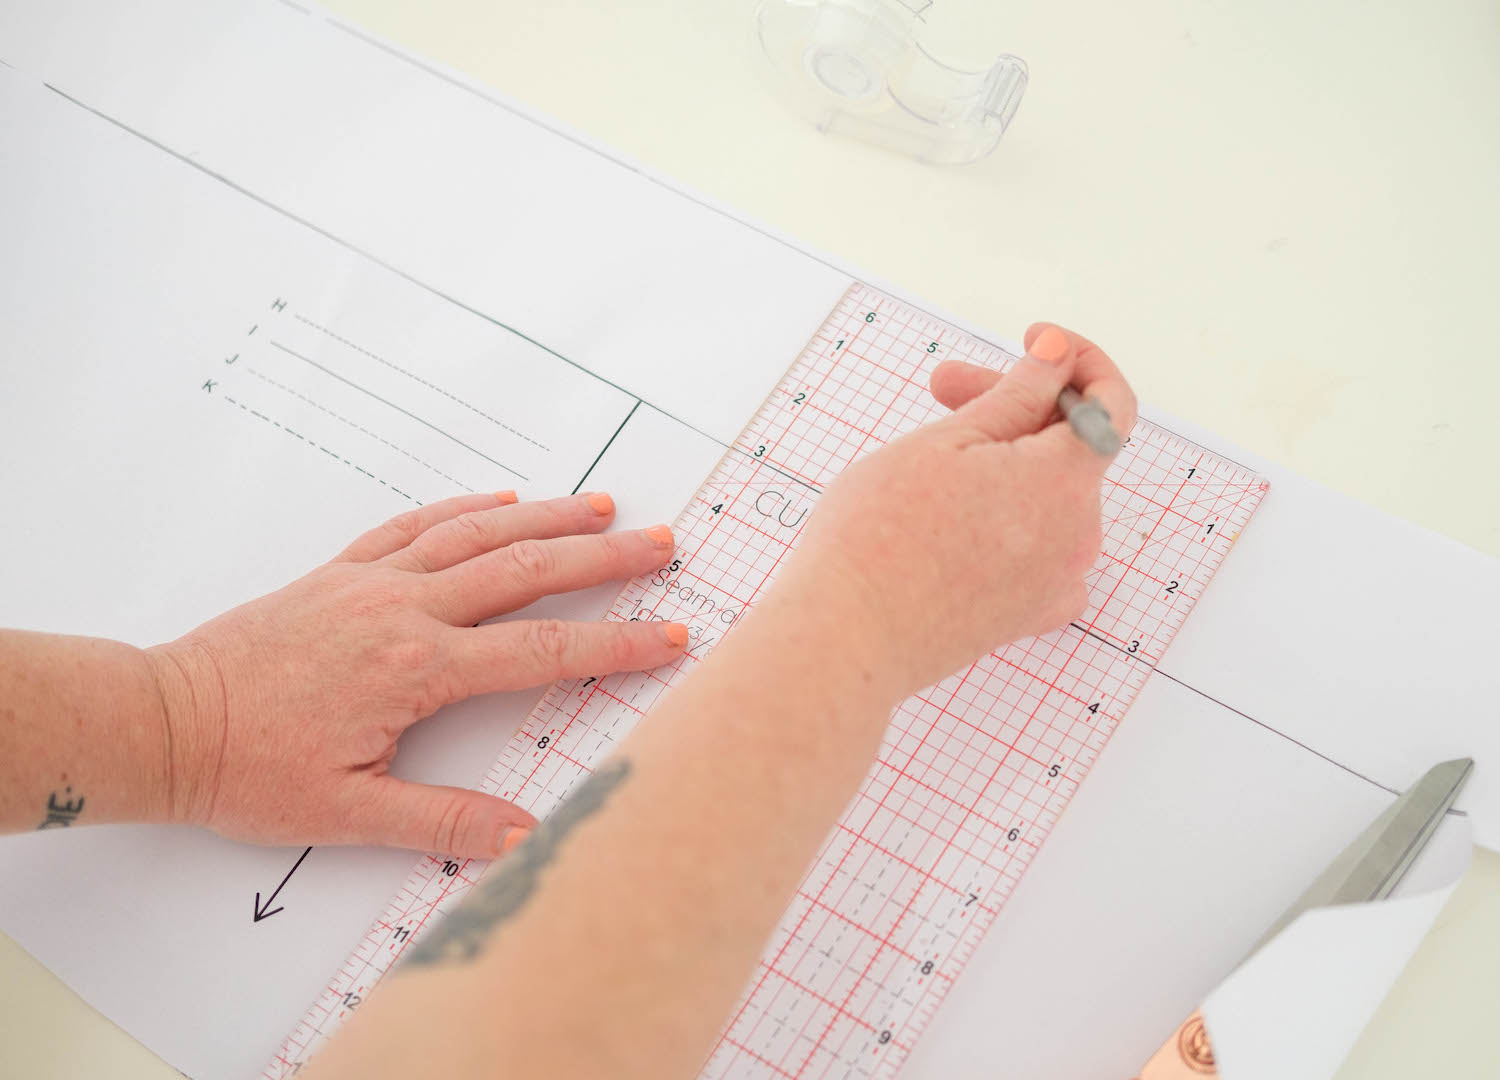
STEP FOUR // Take your extra paper and draw two parallel lines the length you want to add to the sleeve.
STEP FIVE // Tape your sleeve pattern pieces above and below this line. Use your ruler to line up the grain lines from the top and bottom sleeve pieces.
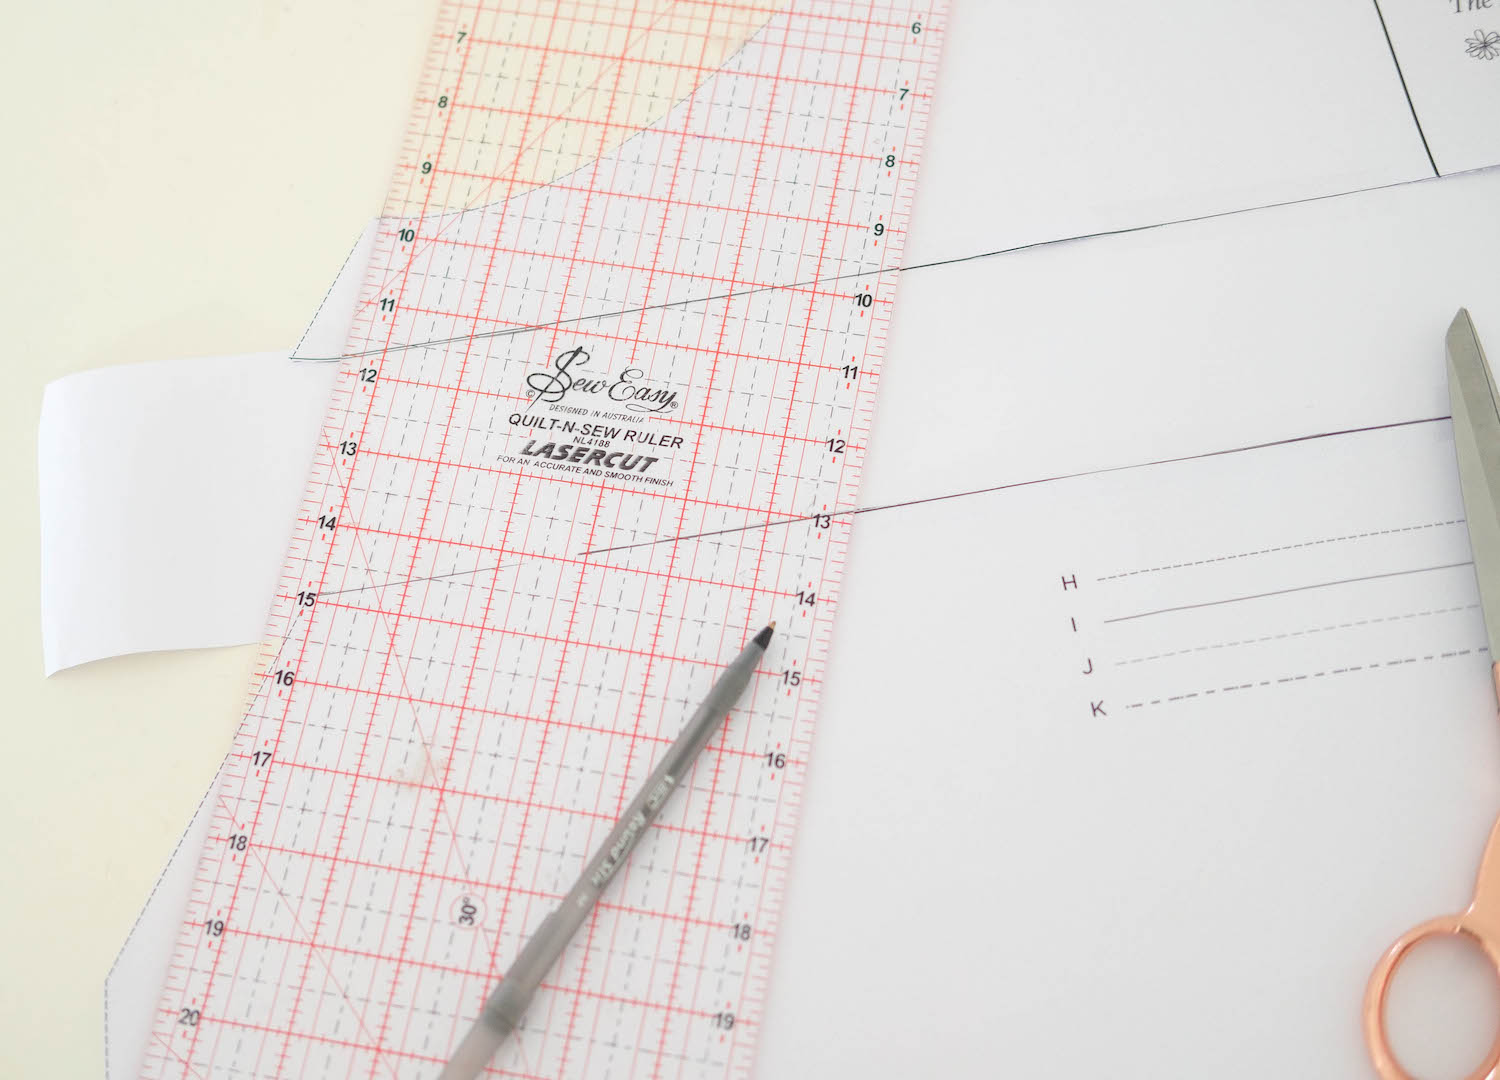
STEP SIX // Starting from under the arm, use a ruler to true up the sleeve side seam of the top and bottom sleeve pieces and cut off the excess paper. You’ll probably lose some width on the bottom hem, but that’s OK.
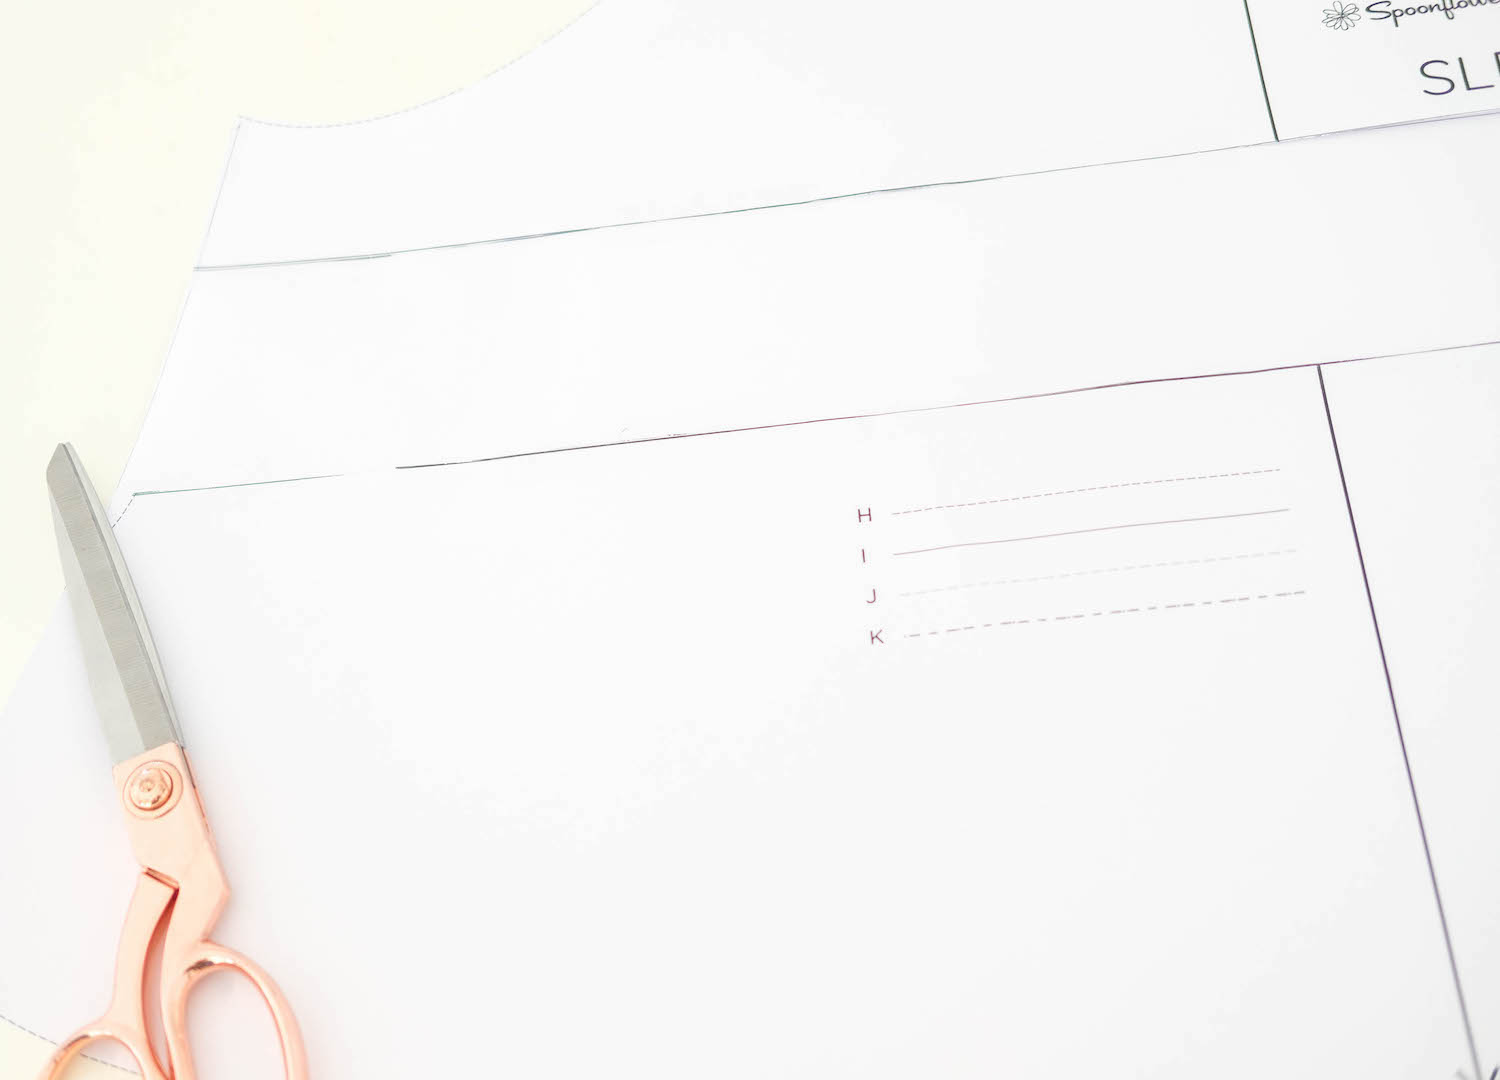
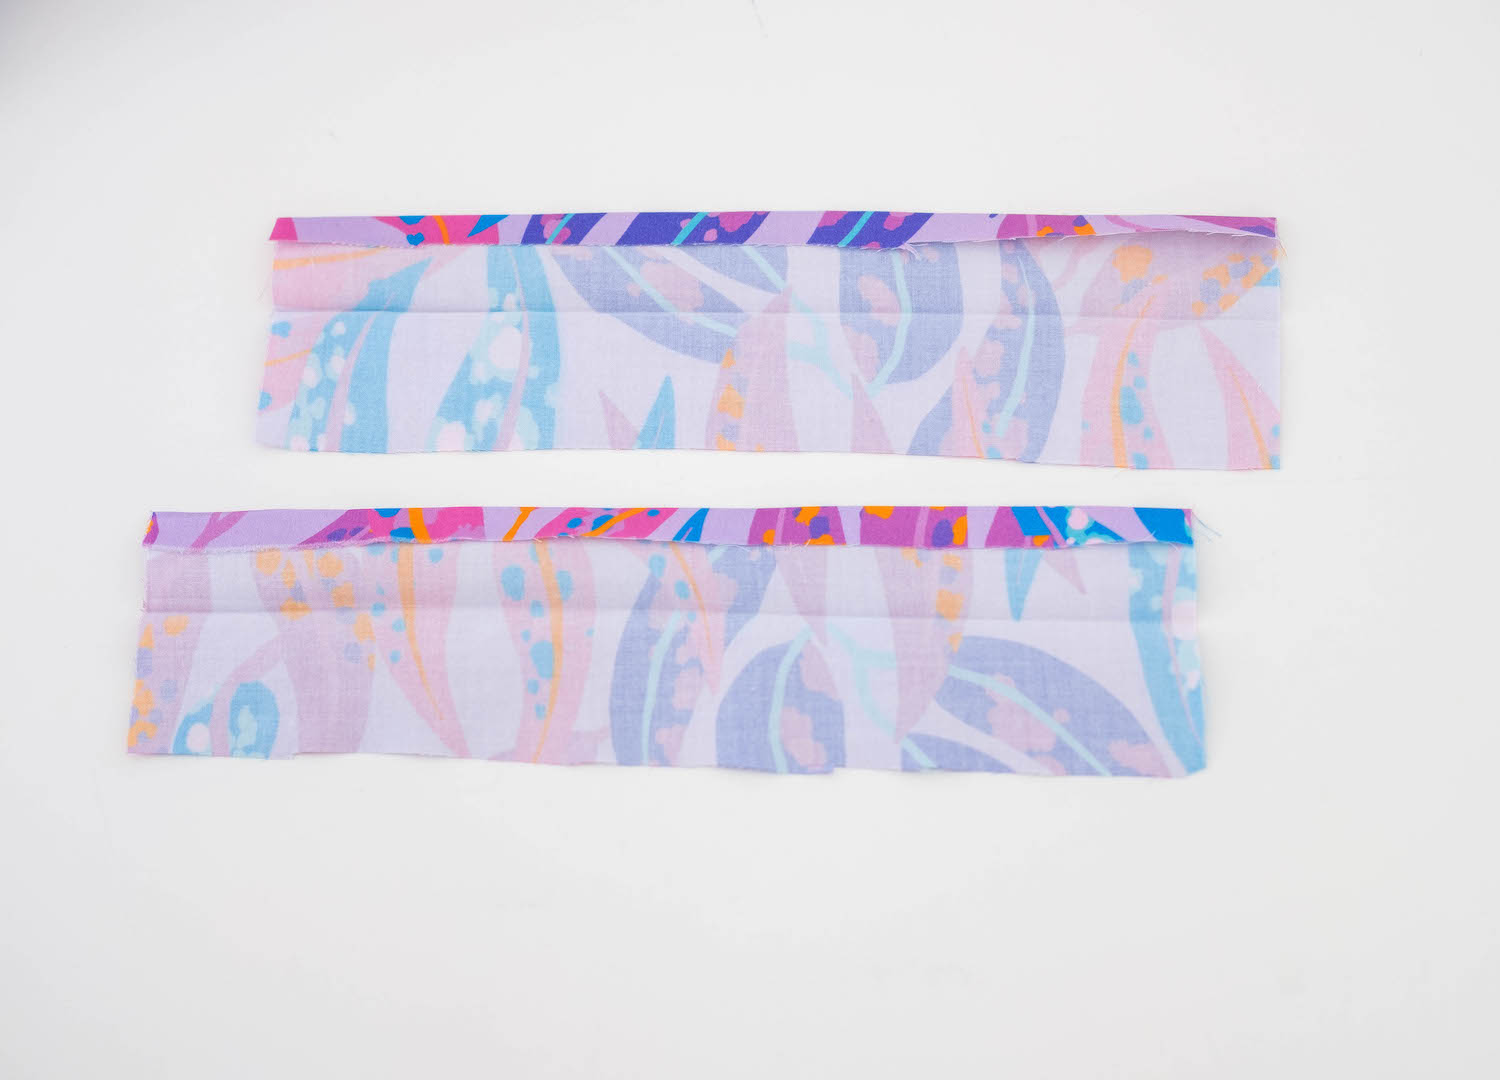
STEP SEVEN // Cut a mirrored pair of your new sleeve pieces in fabric, making sure you mark the notches.
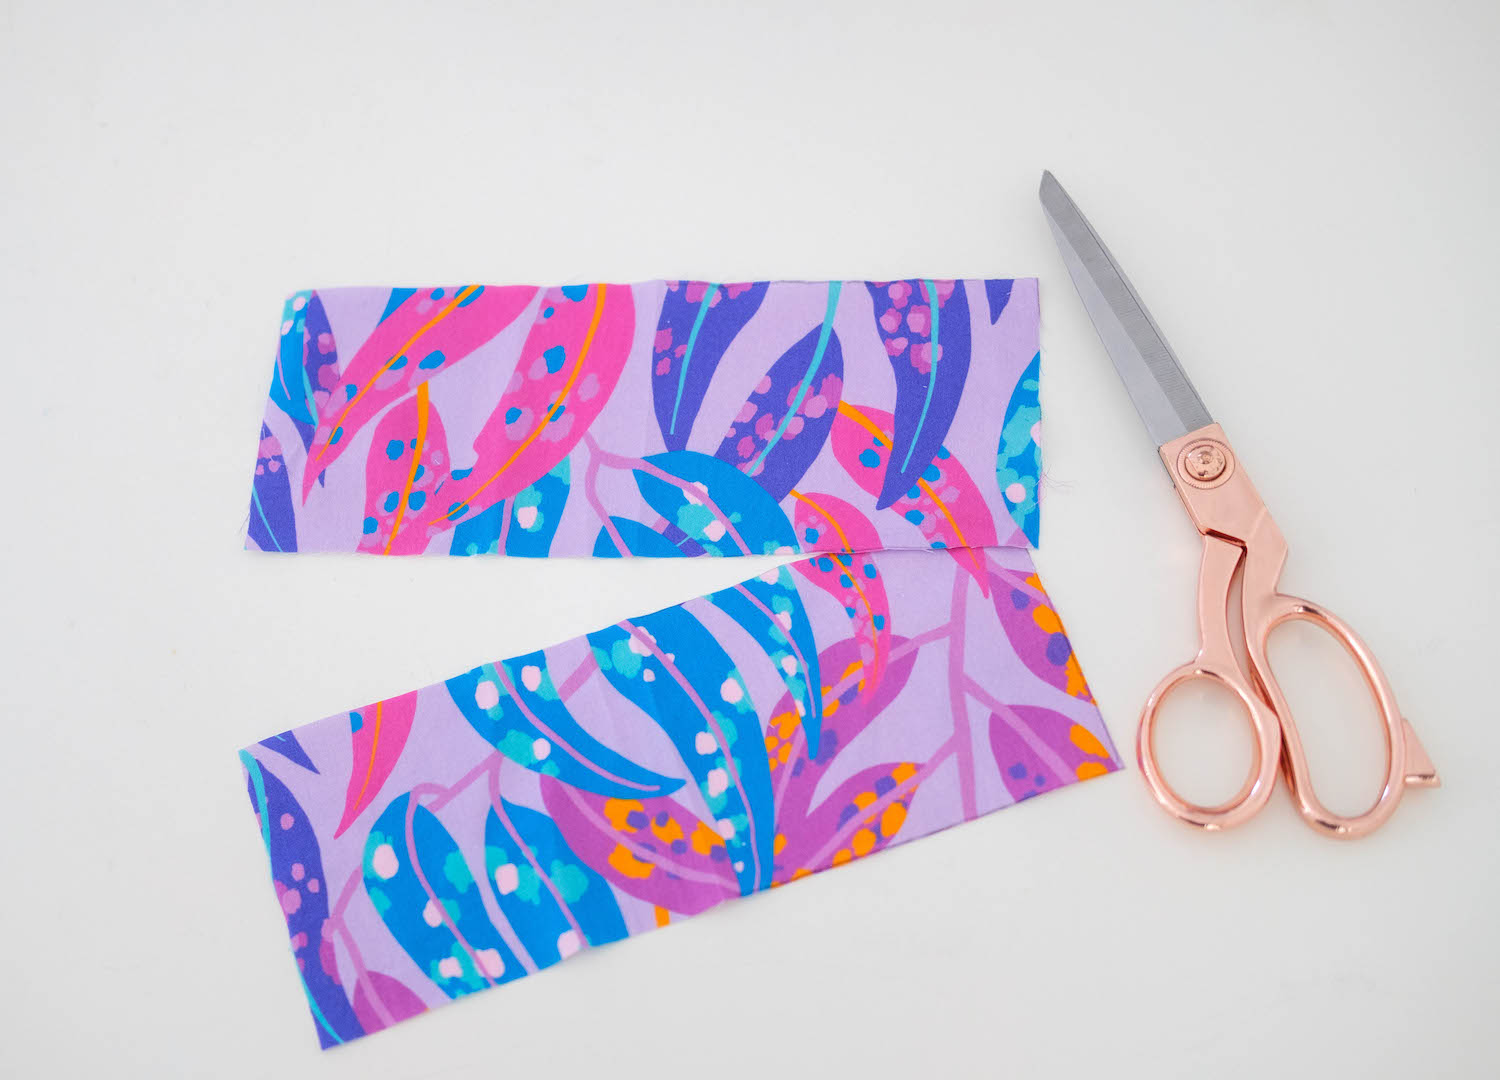
STEP EIGHT // Cut a pair of sleeve cuffs from the measurements you noted earlier. If your fabric is lightweight or you’d like a structured cuff, you can interface these pieces.
STEP NINE // Press both cuffs in half lengthwise, wrong sides together and then press the 1cm seam allowance down wrong sides together.
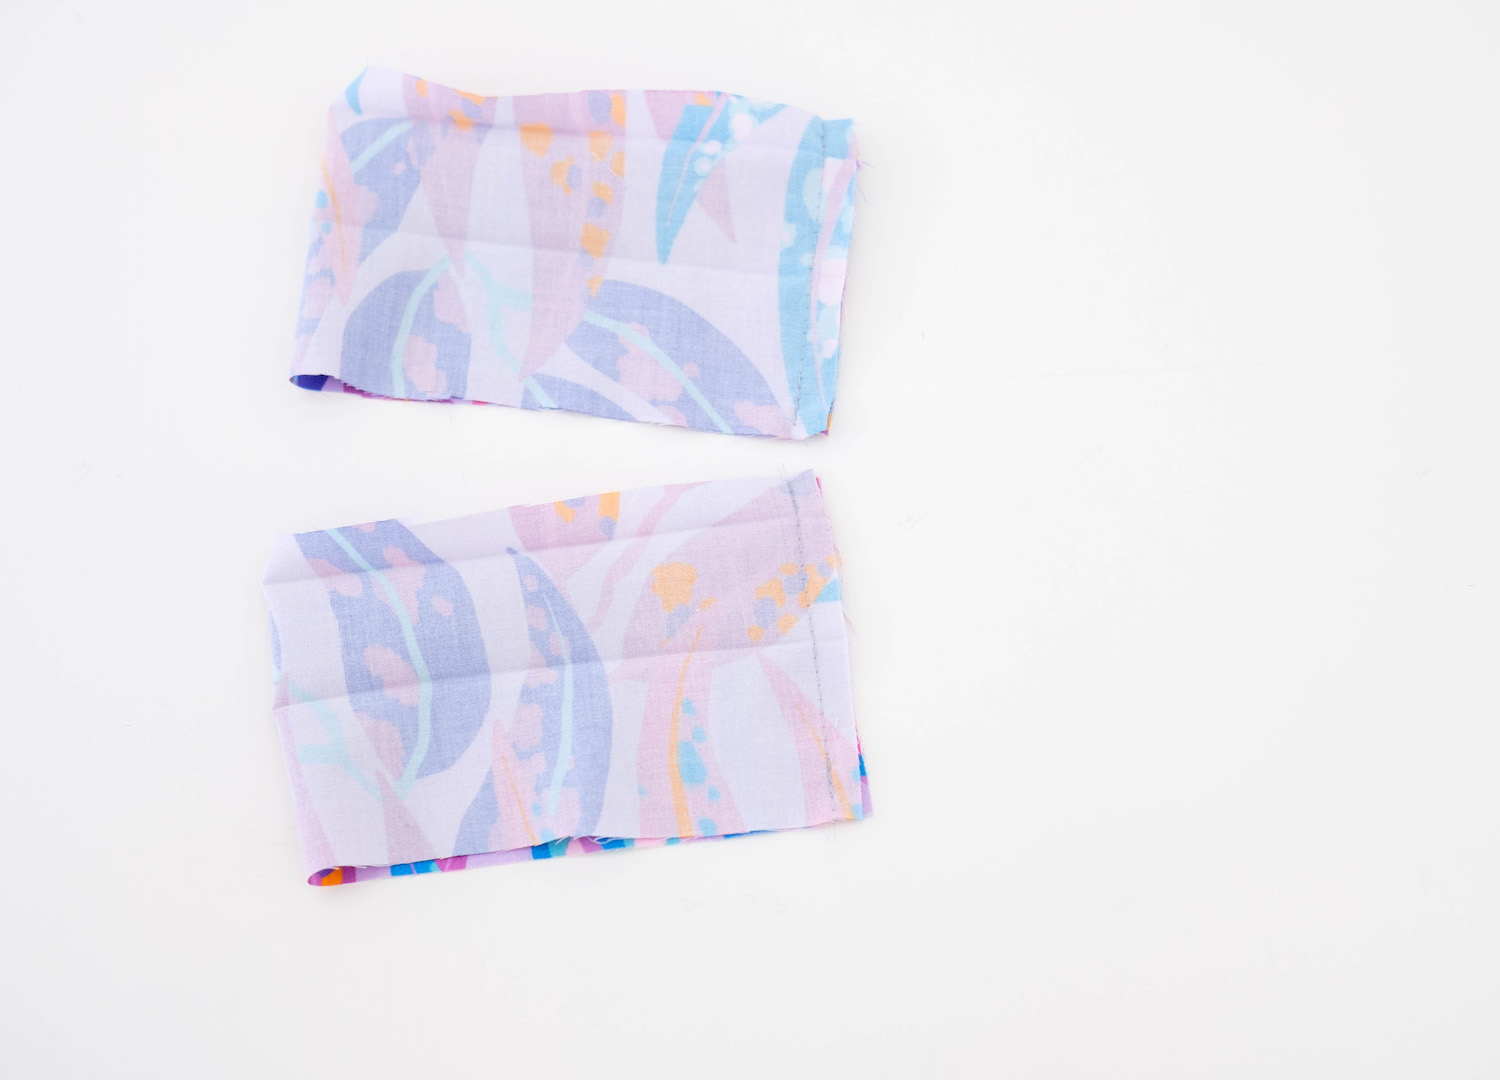
STEP TEN // Open the cuffs back out and sew down each short side at 1cm, right sides together.
STEP ELEVEN // Mark the centre of each cuff and sleeve hem with a notch or pin.
STEP TWELVE // Sew the front and back Paddington body pieces to the sleeve pieces, following the original instructions.
STEP THIRTEEN // Gather the bottom of both sleeves, one row of gathering at 5mm and one at 15mm (either side of the 1cm seam allowance).
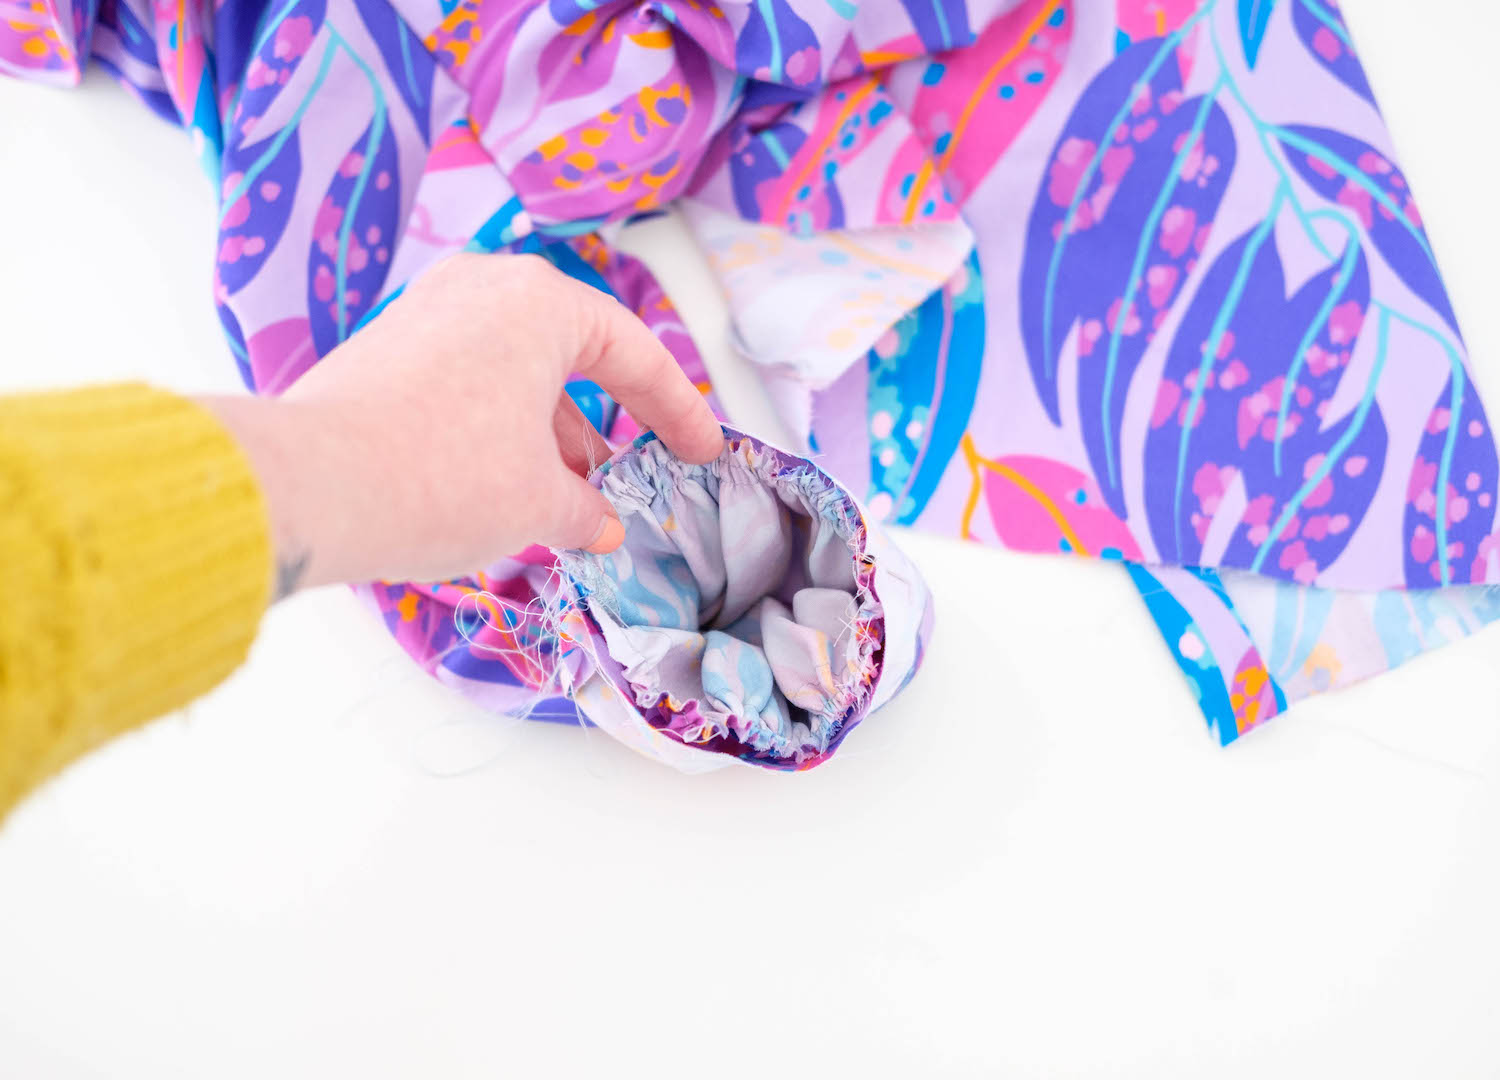
STEP FOURTEEN // Pin the unfolded edge of the sleeve cuff to the sleeve hem, right sides together, lining up the seams and centre notches. Pull the gathering stitches until the sleeve hems fit neatly into the cuffs. Sew cuffs in place at 1cm.
STEP FIFTEEN // Fold the cuff back along the original fold line, to the inside of the sleeve and line up the folded edge with the gathered sleeve hem. Press, pin in place and sew on the cuff close to the seam.
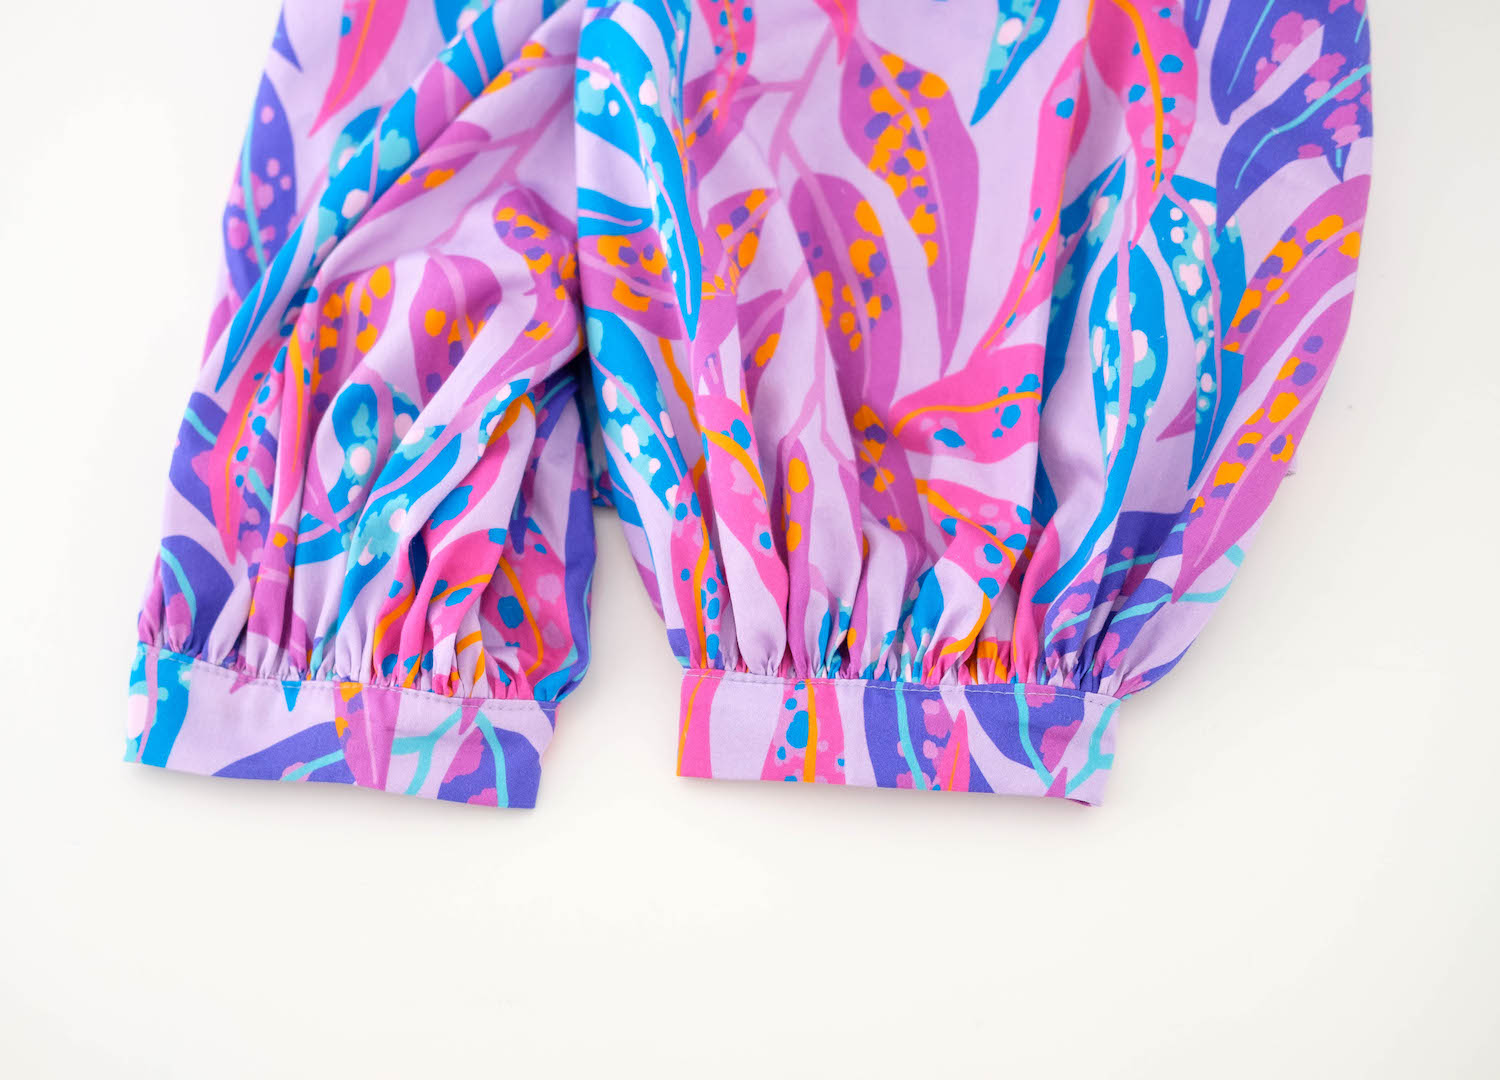
STEP SIXTEEN // The sleeves are now finished. Continue sewing the rest of the steps outlined in the original instructions to complete your Peppermint Paddington Top. Yay!

FEELING CREATIVE? WHY NOT GET INSPIRED BY ALL OUR OTHER CRAFTY GOODNESS!