It’s time to take back your tins, brush off your bottles, clean out your cans and empty those egg cartons! Instead of retiring these common household items to the recycling bin, to celebrate National Recycling Week this week, we’re cycling back to Issue 24 to get inspired by some simple-yet-stylish DIYs so you can turn your trash into something truly terrific. Whether you’re a super crafty maven or you can’t tell a glue gun from a hole punch, there’s something here to suit your skills (and plenty for little people to help out with, too). We all deserve a second chance!
Bottles
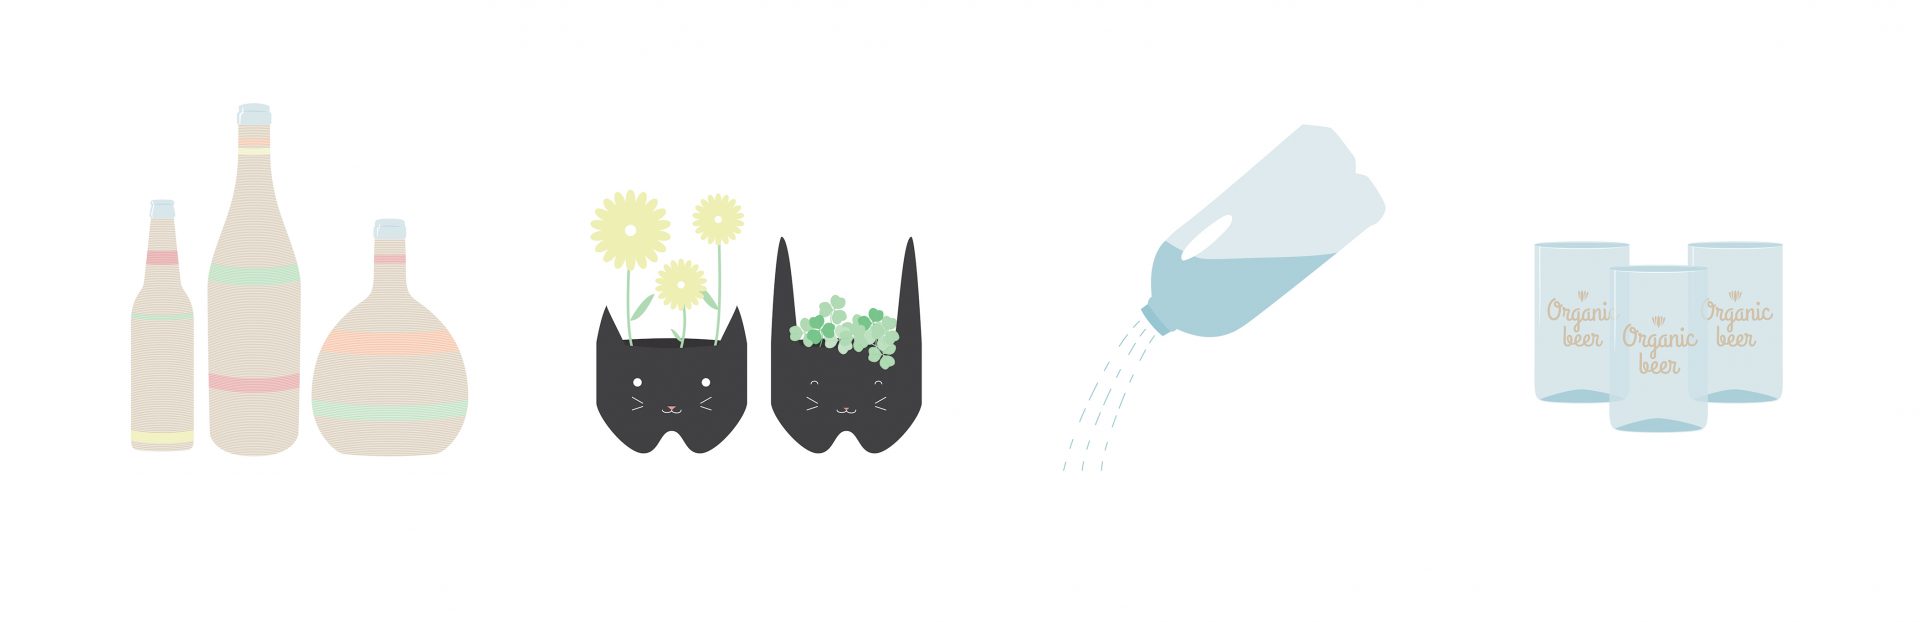
Watering can
Turn a used plastic milk bottle into a watering can for your plants by simply piercing holes in the lid with a drill, craft knife, screwdriver or large needle. Make sure the holes are big enough to allow the water through and small enough to keep it flowing out steadily. Your plants need never be thirsty again!
Twine-wrapped vases
Wine ‘em and twine ‘em with this crafty DIY vase idea! This is a great way to recycle empty wine and liqueur bottles: all you need is some waxed twine and a little patience. Start at the top of the bottle and wrap the twine tightly all the way down, one loop at a time. Try mixing it up with different colours for some striking stripe patterns!
Animal planters
From plastic to fantastic! Cut the base off your leftover soda bottles (don’t forget to cut shapes for the ears!) to make super cute animal planters. Paint them black or white and get the kids to draw different faces – use chalkboard paint so you can create the faces in chalk and then change the expressions to suit your mood.
Drinking glasses
Transform your favourite brew bottles into drinking glasses! A little trickier for the novice crafter (and definitely not for kids), there are several methods for this; a quick Google shows one involving a piece of string and some lighter fluid… however, we’d suggest purchasing an inexpensive glasscutter and saving the flame tricks for college.
Egg cartons
Drawer organiser
Are you forever rummaging through drawers for that pen or those spare batteries? Try using an egg carton to organise all your bits and bobs. While it might not seem like a glamorous alternative to an Ikea-designed, get-your-life-in-order solution, the humble egg carton will have your drawers resembling Martha Stewart’s in no time.
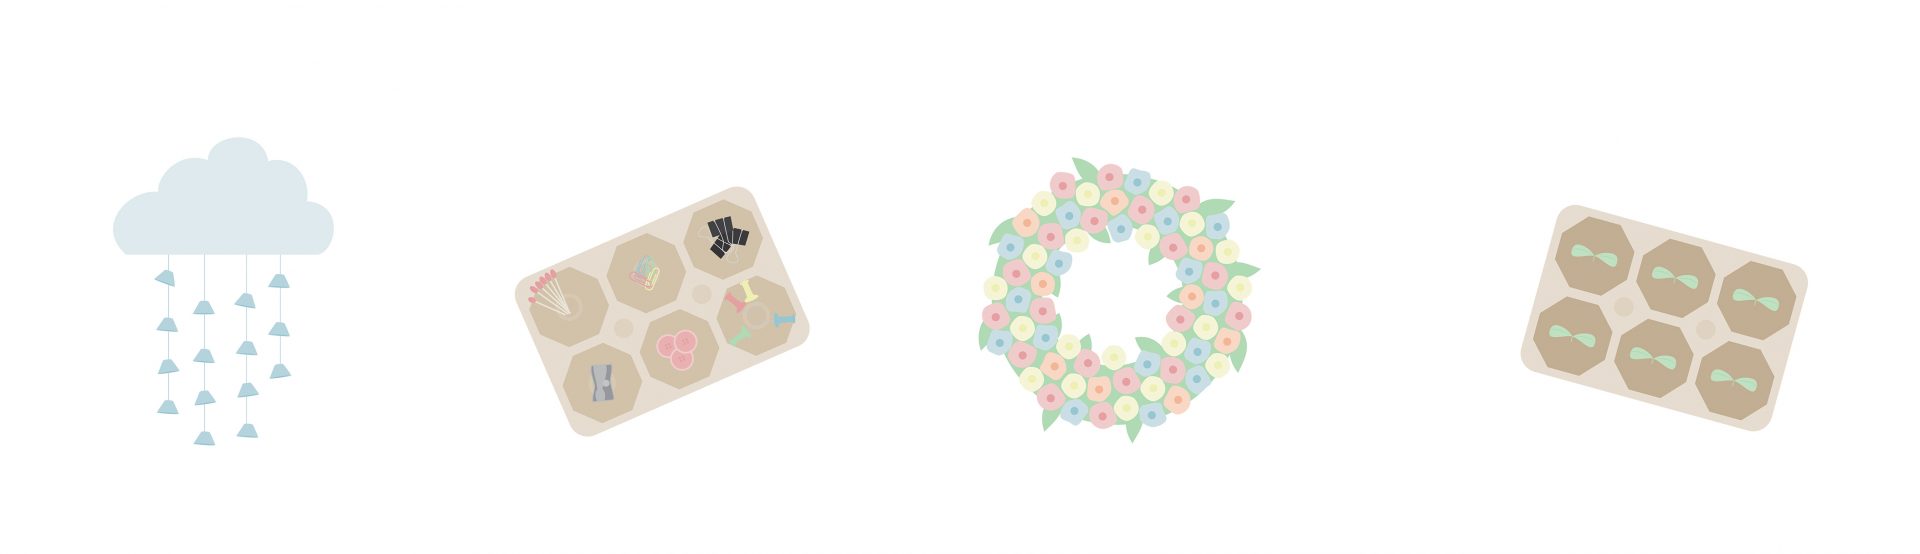
Raincloud mobile
A great craft project for a rainy day at home with the kids. Start by creating a cloud out of recycled cardboard and cotton balls, or sew one from fabric and stuffing. Cut the cups from the egg cartons and paint them blue. Poke holes in each one and thread them onto string. You’ll have parted the clouds of boredom before you know it!
Flower wreath
Get into the festive spirit with this eggsellent floral wreath! Cut a large circle from an old cardboard box and paint it green – this is your base. Next, cut the cups from the egg cartons to make the flowers – then get creative with the scissors to give each flower different shaped petals. Paint them different colours and fix to the base with a glue gun.
Seedling planters
Cardboard egg cartons make perfect planters, and you don’t need a crafty bone in your body to transform them. Poke a tiny hole in the bottom of each cup for water drainage and fill the cups with potting soil. Plant your seeds according to the packet instructions. When they sprout, pop the egg cups straight into the ground.
Jars
Solar lamps
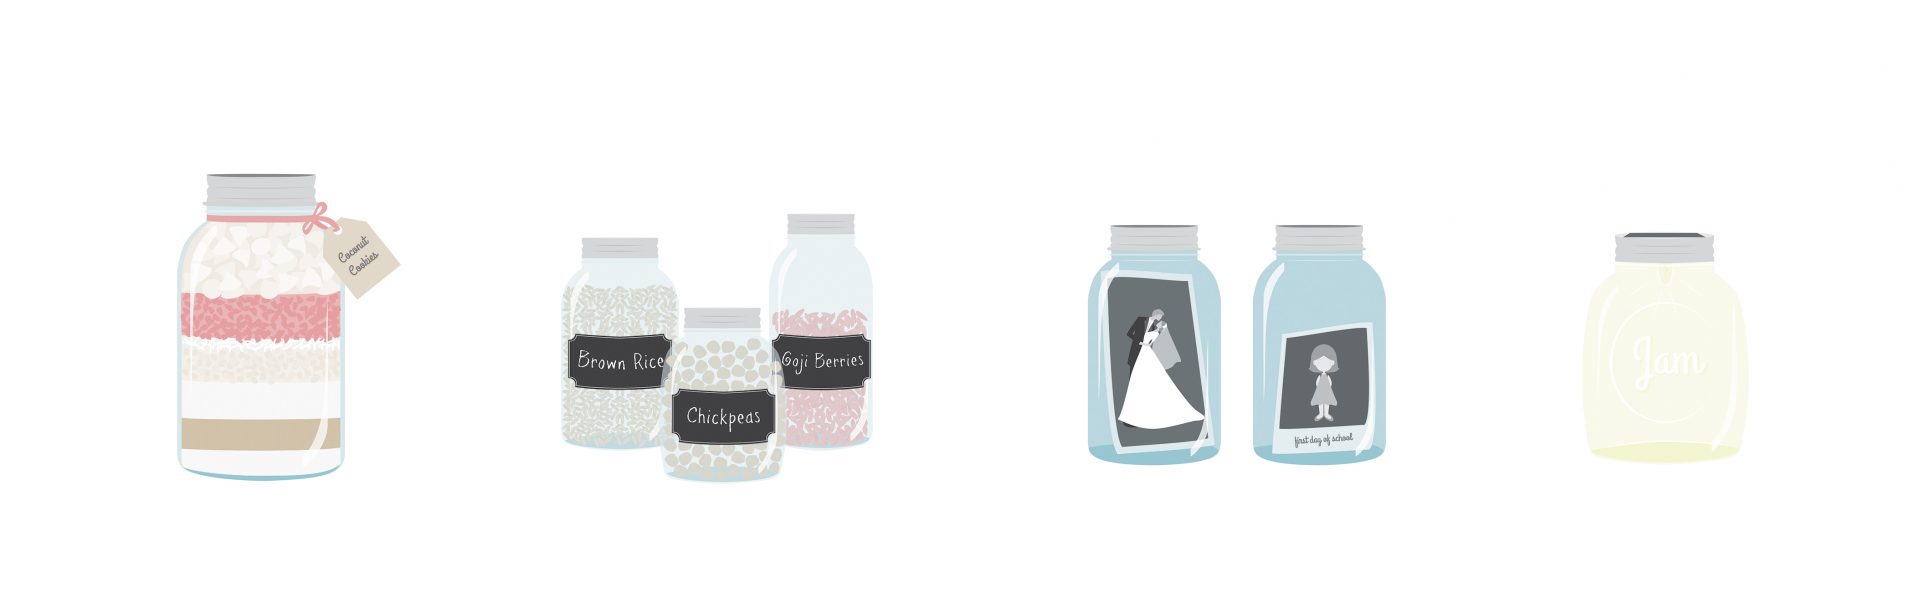
Brighten up your old jam jars with a solar lid light! These screw-on lids come with an in-built solar panel, so all you need to do is charge them up in sunlight before you use them. You’ll find plenty of solar-ready lids for sale online, and they’re a cheap and easy way to brighten up your home or garden. Let there be light!
Photo display
Bored of those bland photo frames that are cluttering your tabletops and sideboards? Give your favourite snaps a sweet makeover with some empty jam jars! Pop your photos inside the jars along with whatever decorations you fancy: try sand and seashells for that beachside feel or fill the jars with olive oil to give your pictures a sepia-like glow.
Pantry containers
Say goodbye to plastic packets that threaten to burst open at any time and the endless search for those elusive twist ties – instead, store your pantry staples inside old mason jars. They’ll add a vintage vibe to your kitchen as well as offering airtight storage for your essential drygoods. Vinyl blackboard labels made for this purpose can be found online.
Recipe jar gifts
Impress friends and family with this inspired homemade gift that’s ready to be transformed into a batch of tasty treats! Find a delicious recipe (cookies work well) and layer the dry ingredients inside the jar. Write the recipe instructions on a gift tag and tie them around the top of the jar. This is one gift that’s sure to hit the sweet spot…
Cans
Planters
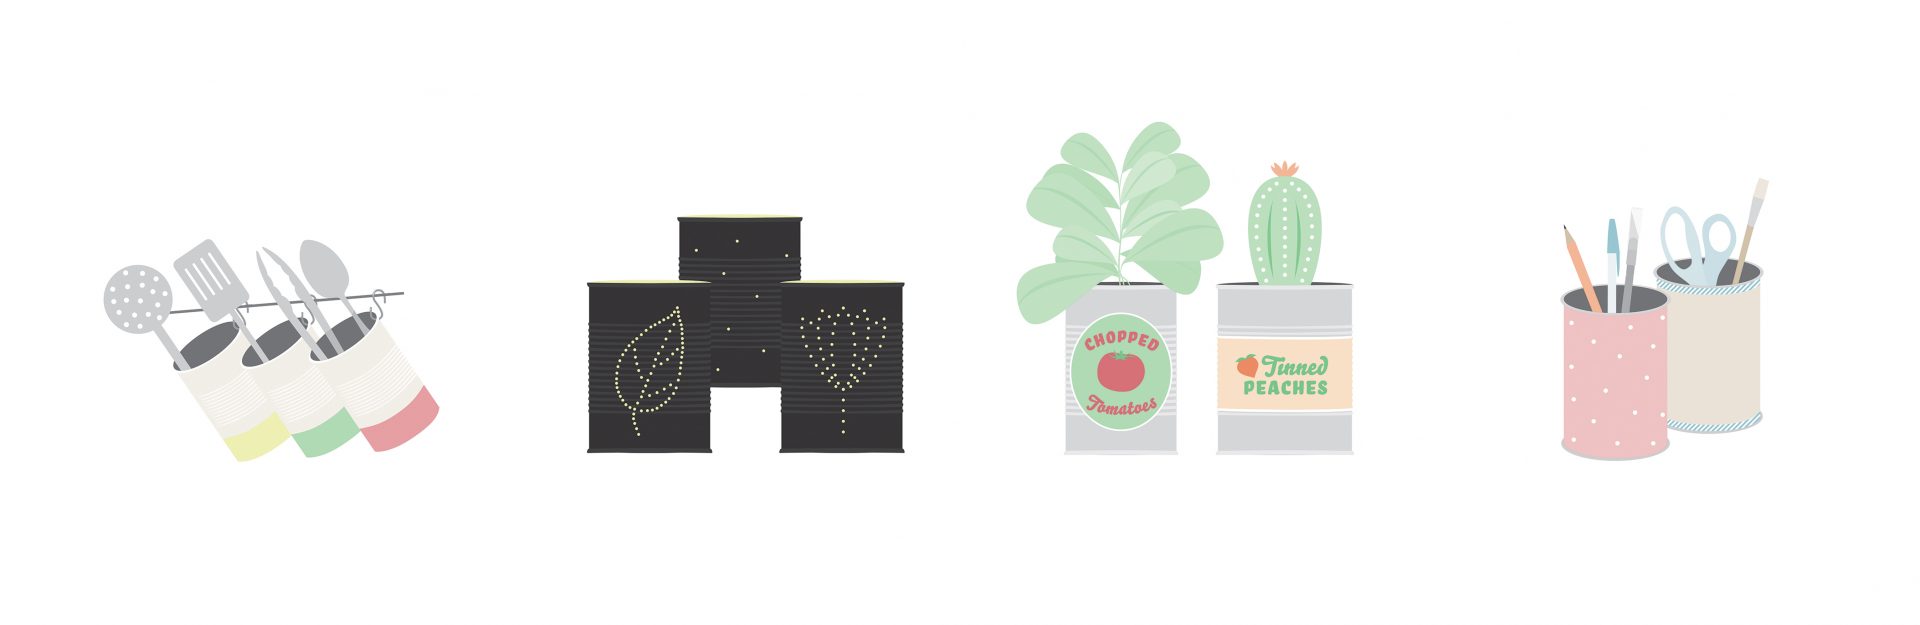
Give your empty cans a second life in your garden – you’ll save money on expensive pots and add a quirky retro touch to your greenery. Use a hammer and nail to punch drainage holes in the bottom of each can and fill them up with soil and plants. Try using food cans for herbs and paint cans for bigger plants. Your garden will look can-tastic!
Desktop organisers
Add some colour to your desktop by transforming your old cans into pretty and practical organisers! This couldn’t be easier: grab some medium-sized cans and remove their labels. Cut strips of patterned fabric or wrapping paper and glue them around your cans. Fill them with pens, pencils and assorted paraphernalia and decorate that desk!
Kitchen utensil holder
Serve yourself a generous helping of spick-and-span storage with this ingeniously simple kitchen craft idea! Arrange large cans on your bench top or hang them from a wall rack by drilling a small hole at the top of each can and sliding a hook inside. Paint them different colours, keep them plain or keep their labels on, depending on your decor.
Lanterns
Glam up your garden with these can lanterns! First, fill your cans with water and freeze them so they won’t lose their shape when you punch in a pattern. Use a hammer and nail to create your chosen design on each tin. Remove the ice, spray paint the outsides and place candles inside. Dot them around outside at night for that warm twinkly glow!
illustrations CHLOE JADE MANTELL