words and photos ROMY-KRYSTAL CUTLER
Alright stop, collaborate and listen. Ice is back with a brand new DIY as Romy-Krystal Cutler, from Sew Like Romy, teaches us how to ice dye textiles.
Both fun and economical, thrifting has risen in popularity lately due, in part, to the overwhelming amount of tutorials that show you how to take your pre-loved treasures to a whole new level.
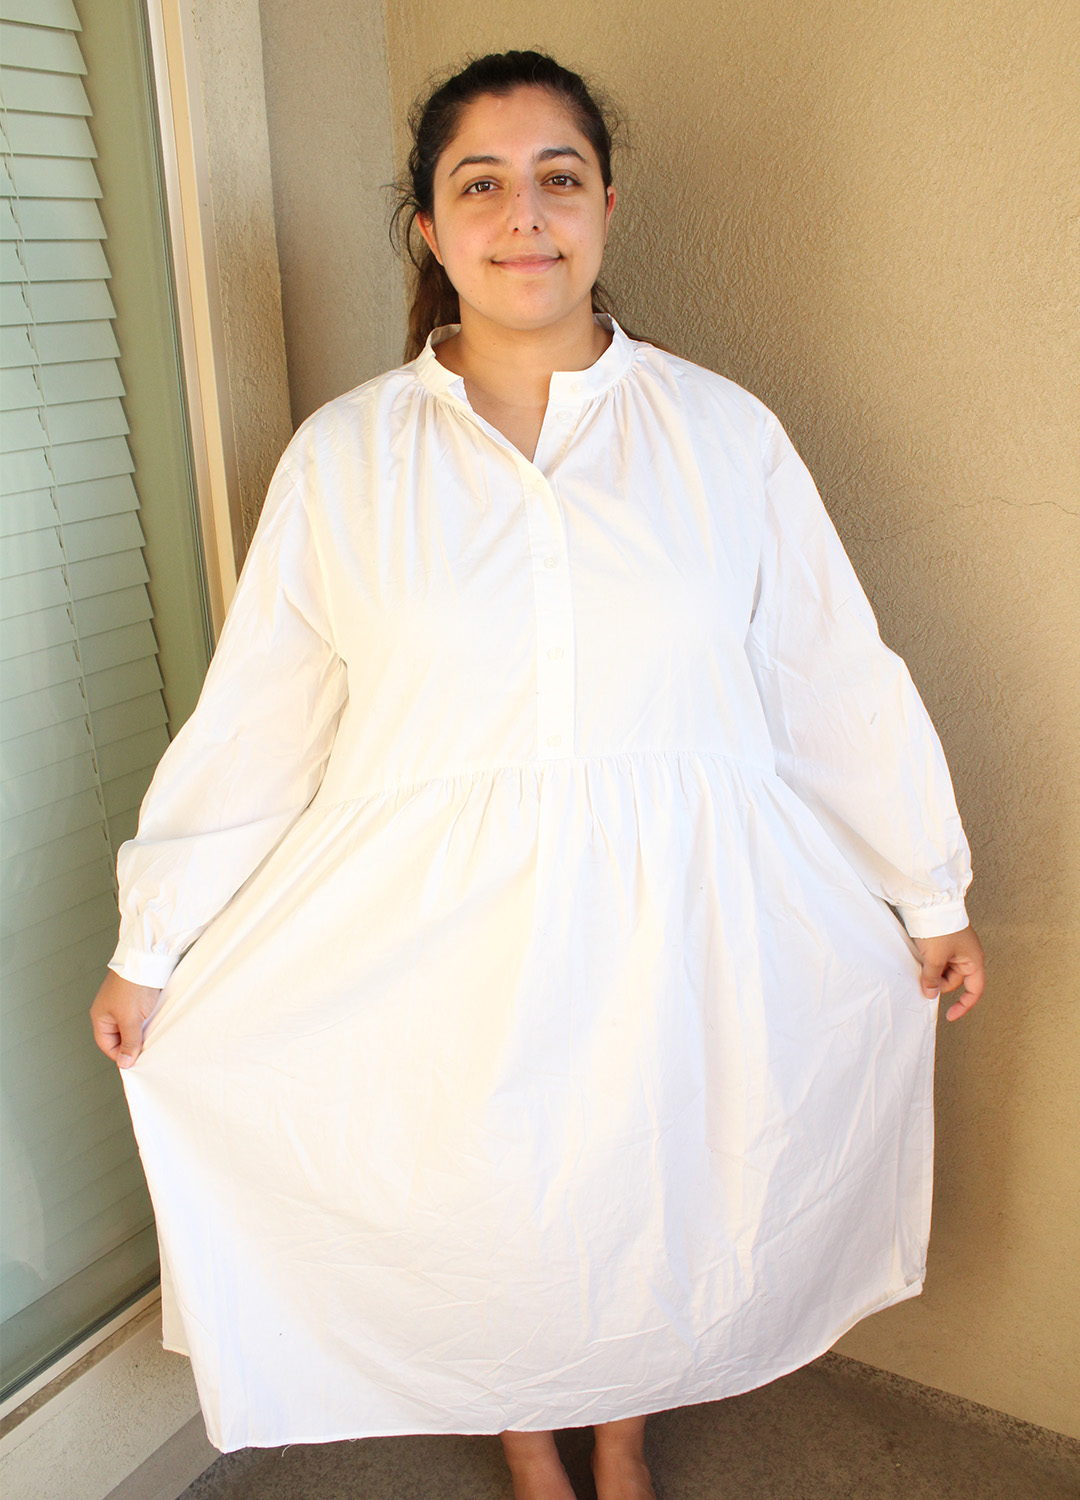
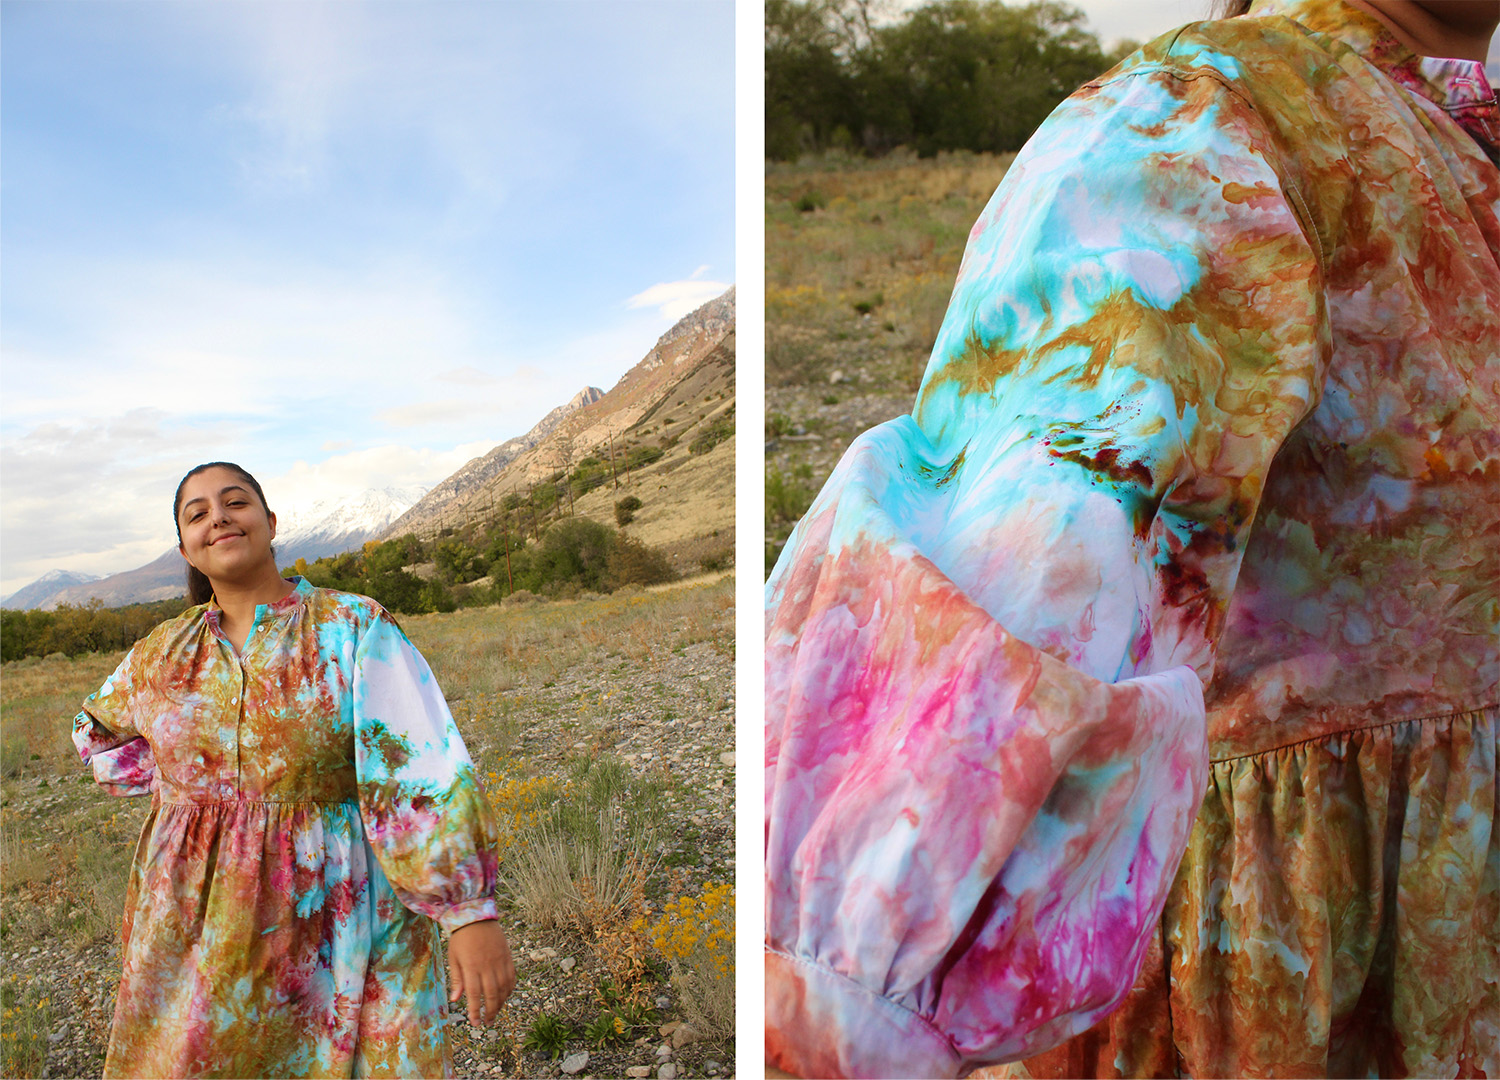
The latest trend in the DIY world is ice dyeing – fast becoming the first choice when it comes to home-dyeing clothes. It’s easy and the results are a total surprise. The best part is the process is virtually foolproof… the hardest part is thrifting your garment! When thrifting, it’s always a lottery: are you going to get lucky or are you going to leave empty handed? Well, ice dyeing knows no bounds – t-shirts, skirts, pants and dresses, if you can wear it you can dye it! You can do it with any coloured fabric, but for the most dramatic colour results, I recommend white or cream and natural fibres. In this case I snatched up a brand new cotton dress that someone clearly didn’t vibe with.
Next, let’s talk science. Unlike traditional tie dye, ice dye uses powder not liquid. Liquid dyes come in one colour whereas powder dyes are made up of multiple coloured pigments to make a single hue. So when that powder joins forces with ice and that ice then melts, the multi-coloured pigments bleed out and that’s where the magic happens.
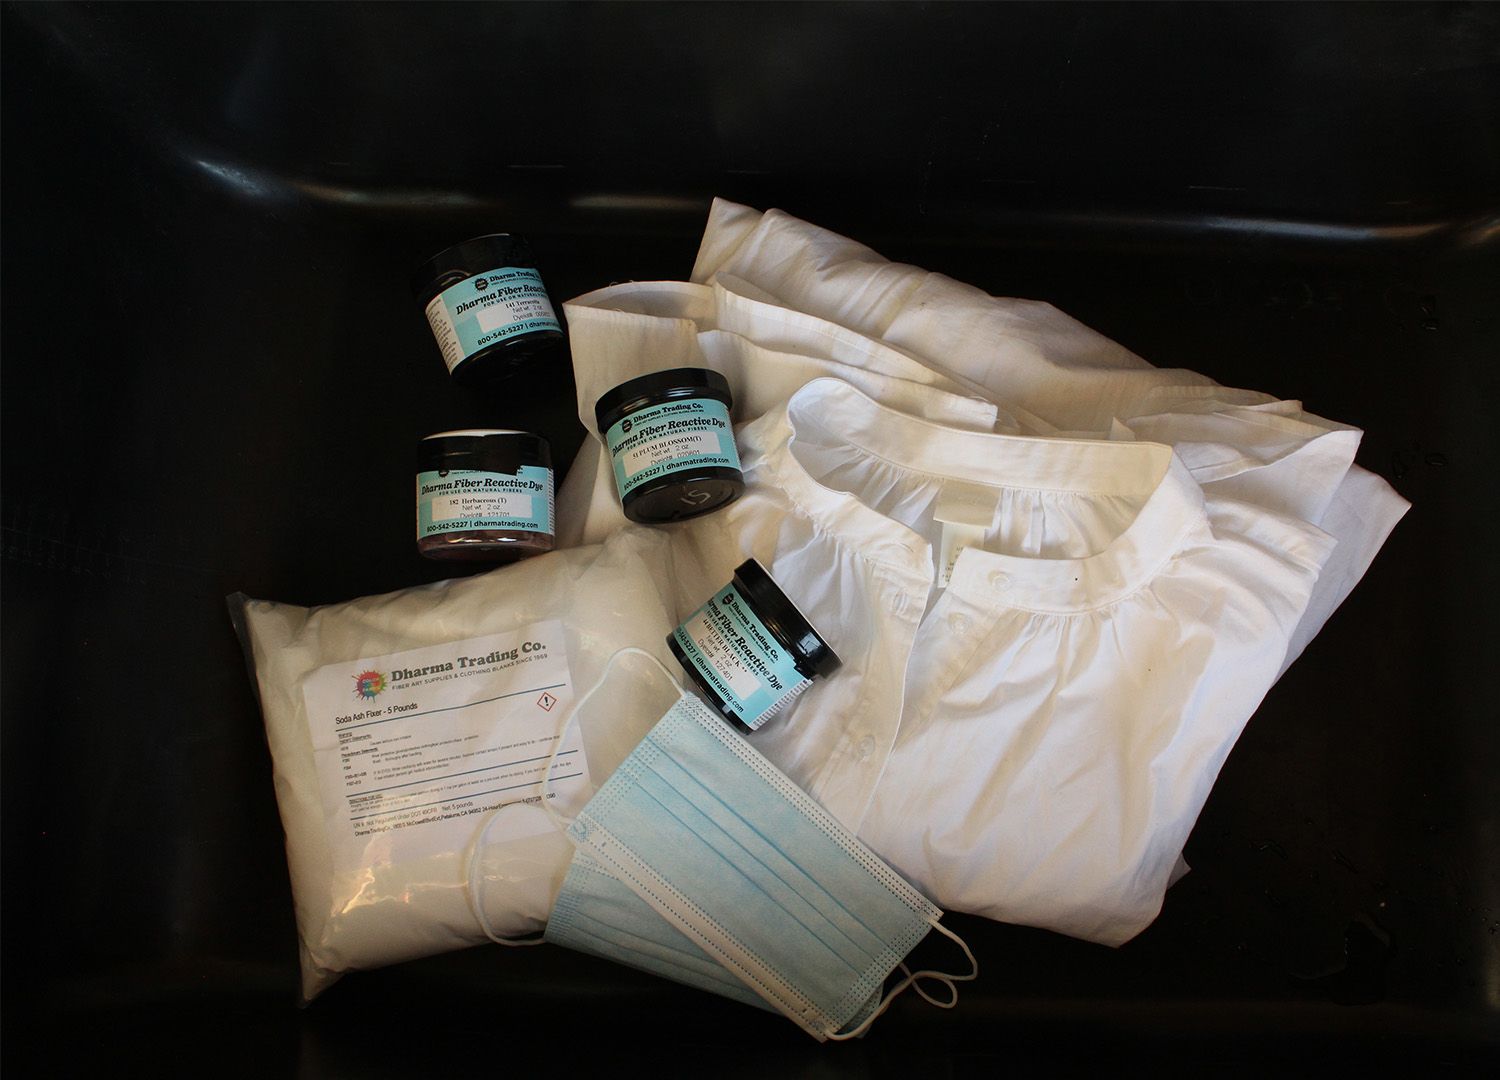
What You Will Need
Fibre Reactive Procion Dye
Face mask
Soda ash fixer
Rubber gloves
Cooling racks (that you would use for cooking, or some other type of elevated grate)
Ice cubes
A large tub or two (I used a concrete mixing tub from a hardware store, but a storage tub would work just as well)
Spoons
Mild detergent
Your thrift find!
Let’s Get Making!
STEP ONE // Prewash your thrift find with mild detergent.
STEP TWO // Grab a tub large enough to submerge your garment. Mix up your soda ash and water. General rule of thumb here is 2 cups of soda ash per 3.75 litres of water.
STEP THREE // Add your garment to the soda ash water and leave for 15 minutes.
STEP FOUR // Prepare another large tub with your cooling racks inside.
STEP FIVE // Pull out your garment after 15 minutes using your gloves and ring it out, then place on the cooling racks you prepared in step four.
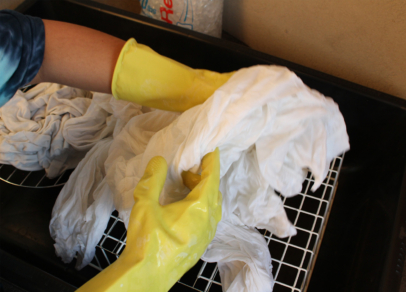
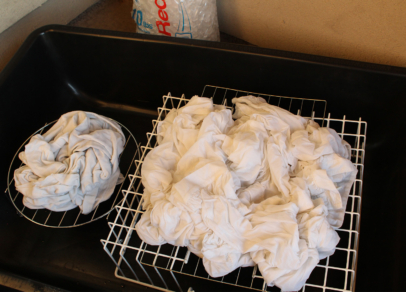
STEP SIX // Scrunch up your garment on the cooling racks. This part is where you can get creative! Scrunching is common but you can pleat your garment or add rubber bands. In this case, we’re scrunching.
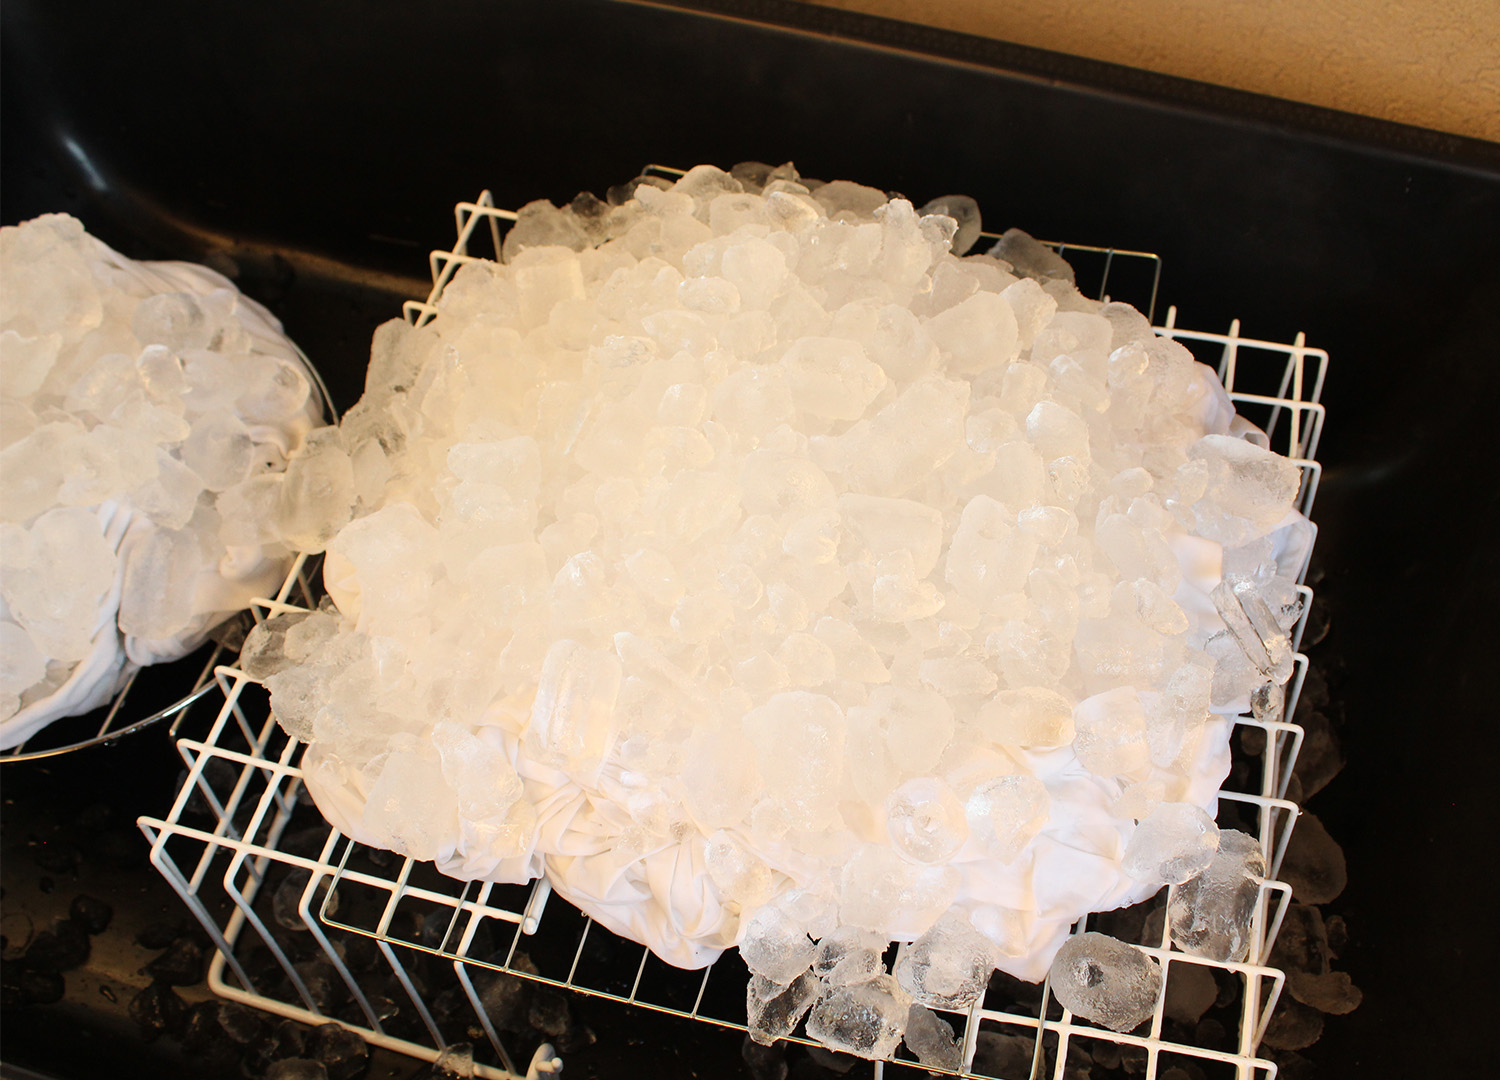
STEP SEVEN // Cover your garment in ice. A lot of ice. Cover the whole thing. The more ice the better. Remember, if there’s a part with no ice there’s a high likelihood that section will stay the original colour of the garment (which isn’t always a bad thing).
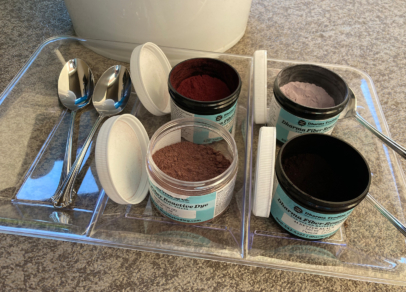
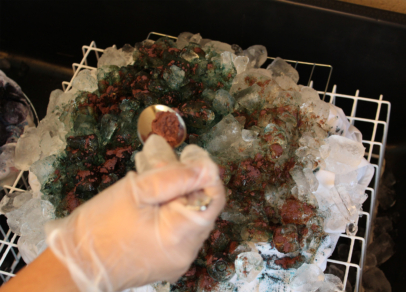
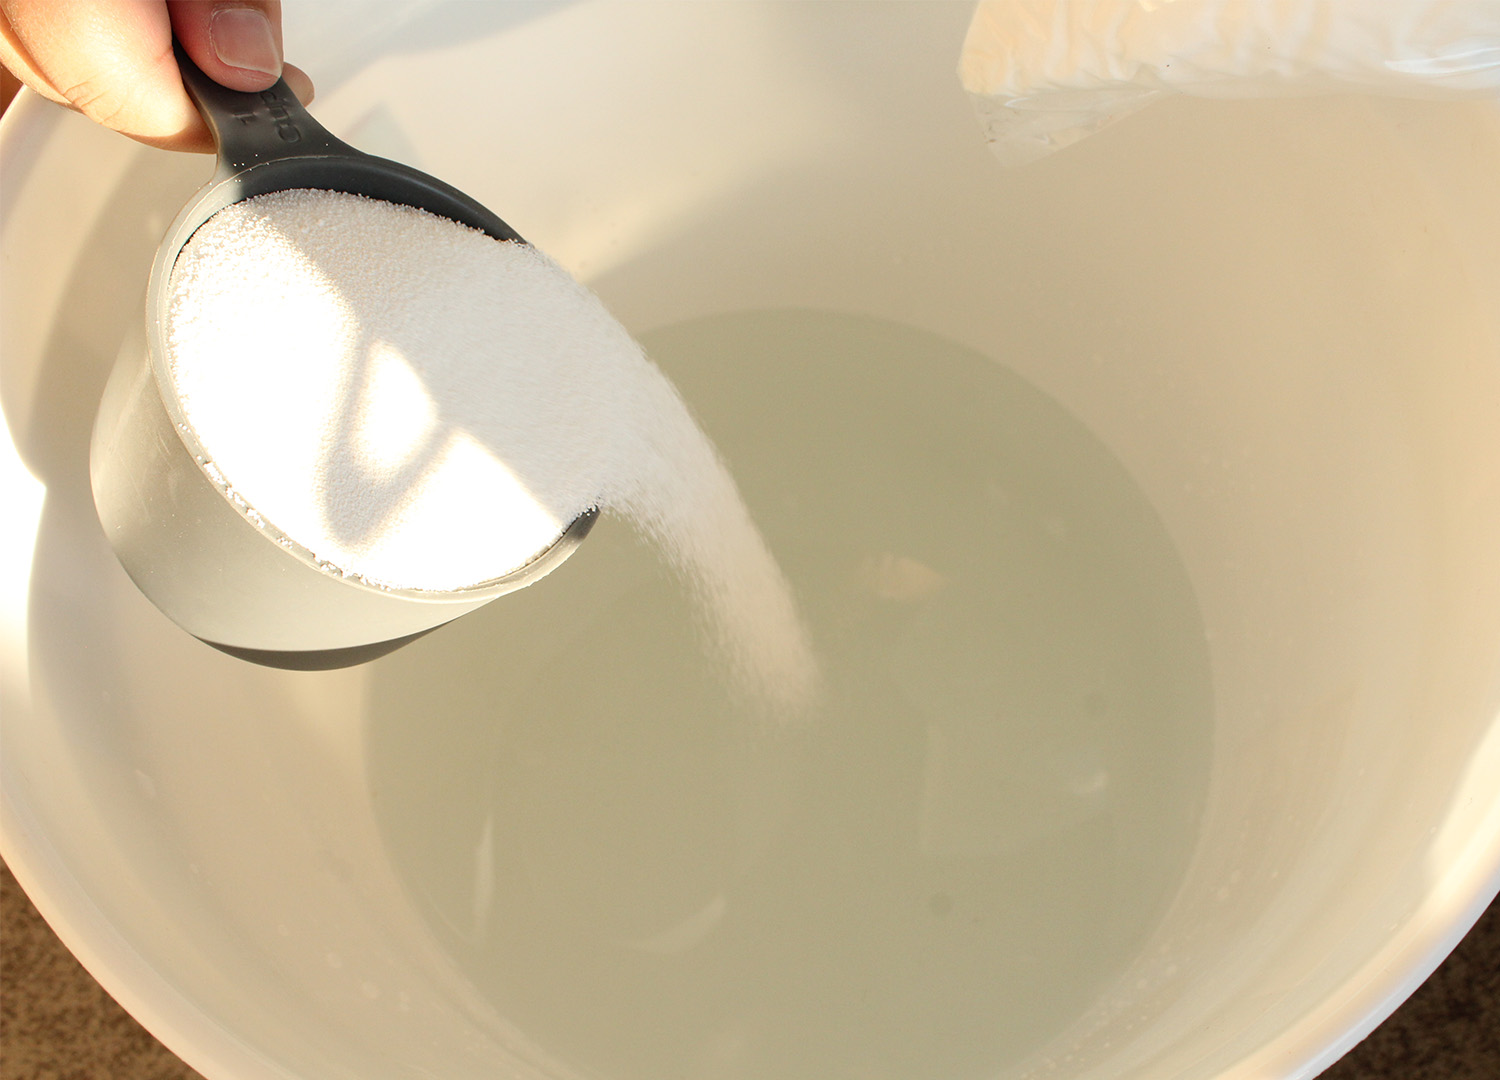
STEP EIGHT // Put on your face mask and grab your powder dye and spoons. You can use one dye or multiple (I used four here). Sprinkle as much or as little as you like. Be intentional or go completely random. (Obviously, the more dye you use, the more intense the colour will be, but you don’t need much for amazing results)
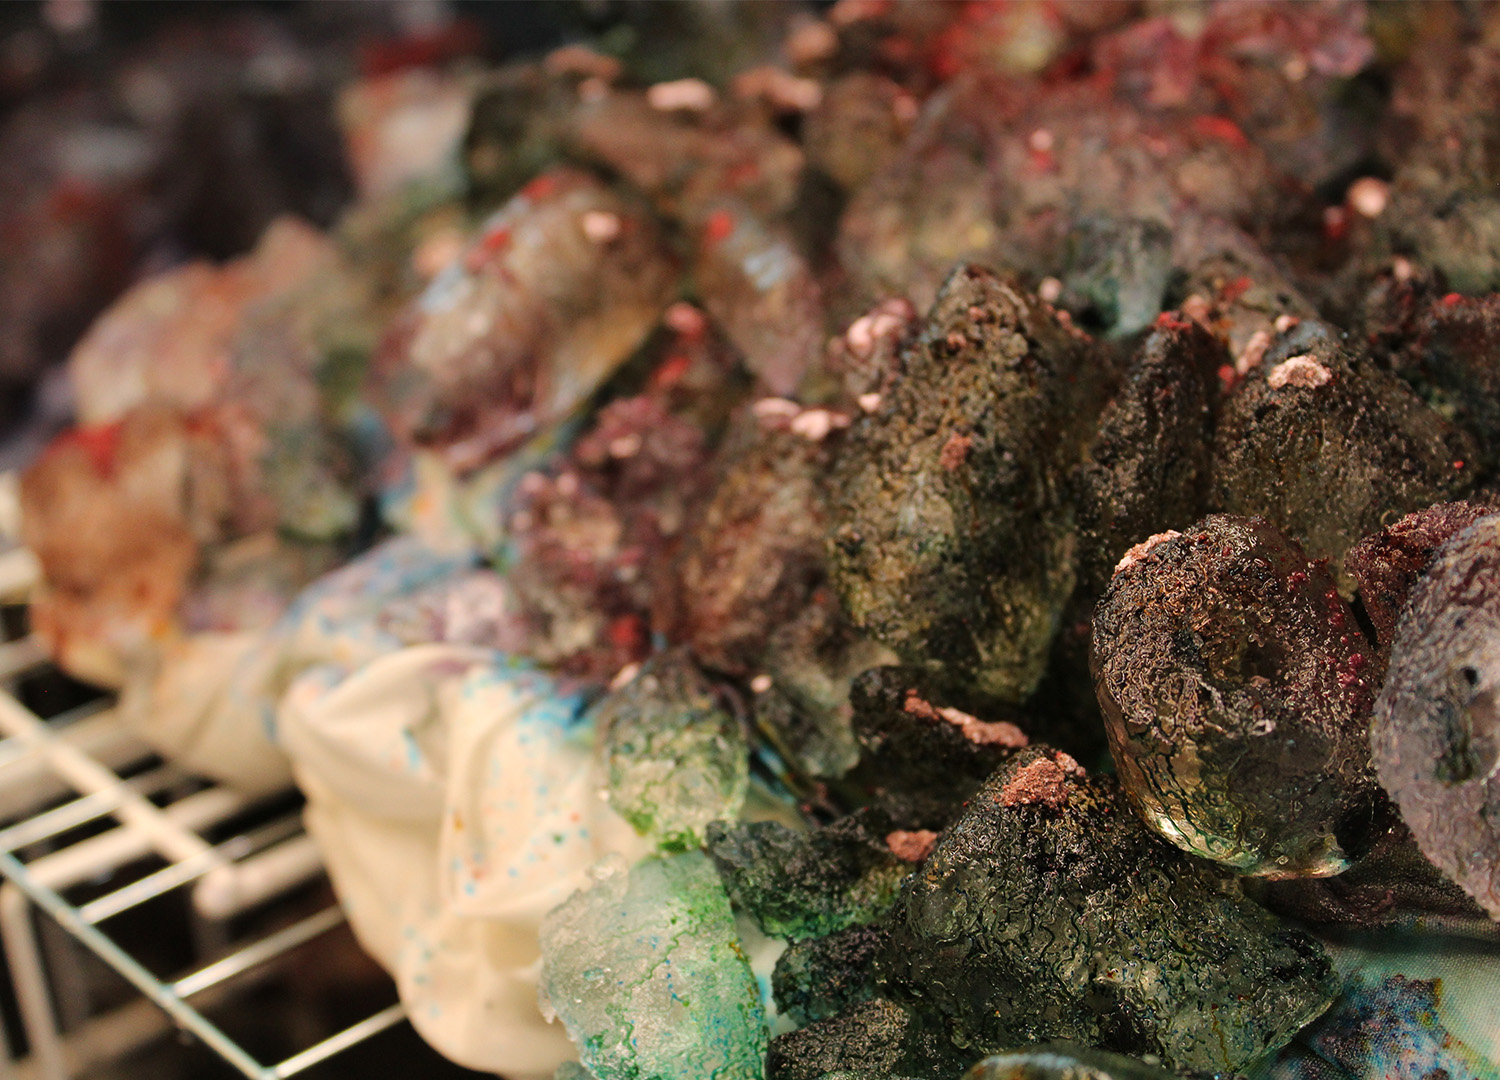
STEP NINE // Once you’re happy with it, cover the tub and leave for 24 hours.
STEP TEN // Uncover your tub and rinse your garment in COLD water until the water runs clear.
STEP ELEVEN // Put your garment back in the washing machine with detergent and wash on hot.
STEP TWELVE // Dry your garment and admire your results!


WANT MORE SEWING AND DIY CONTENT? RIGHT THIS WAY!