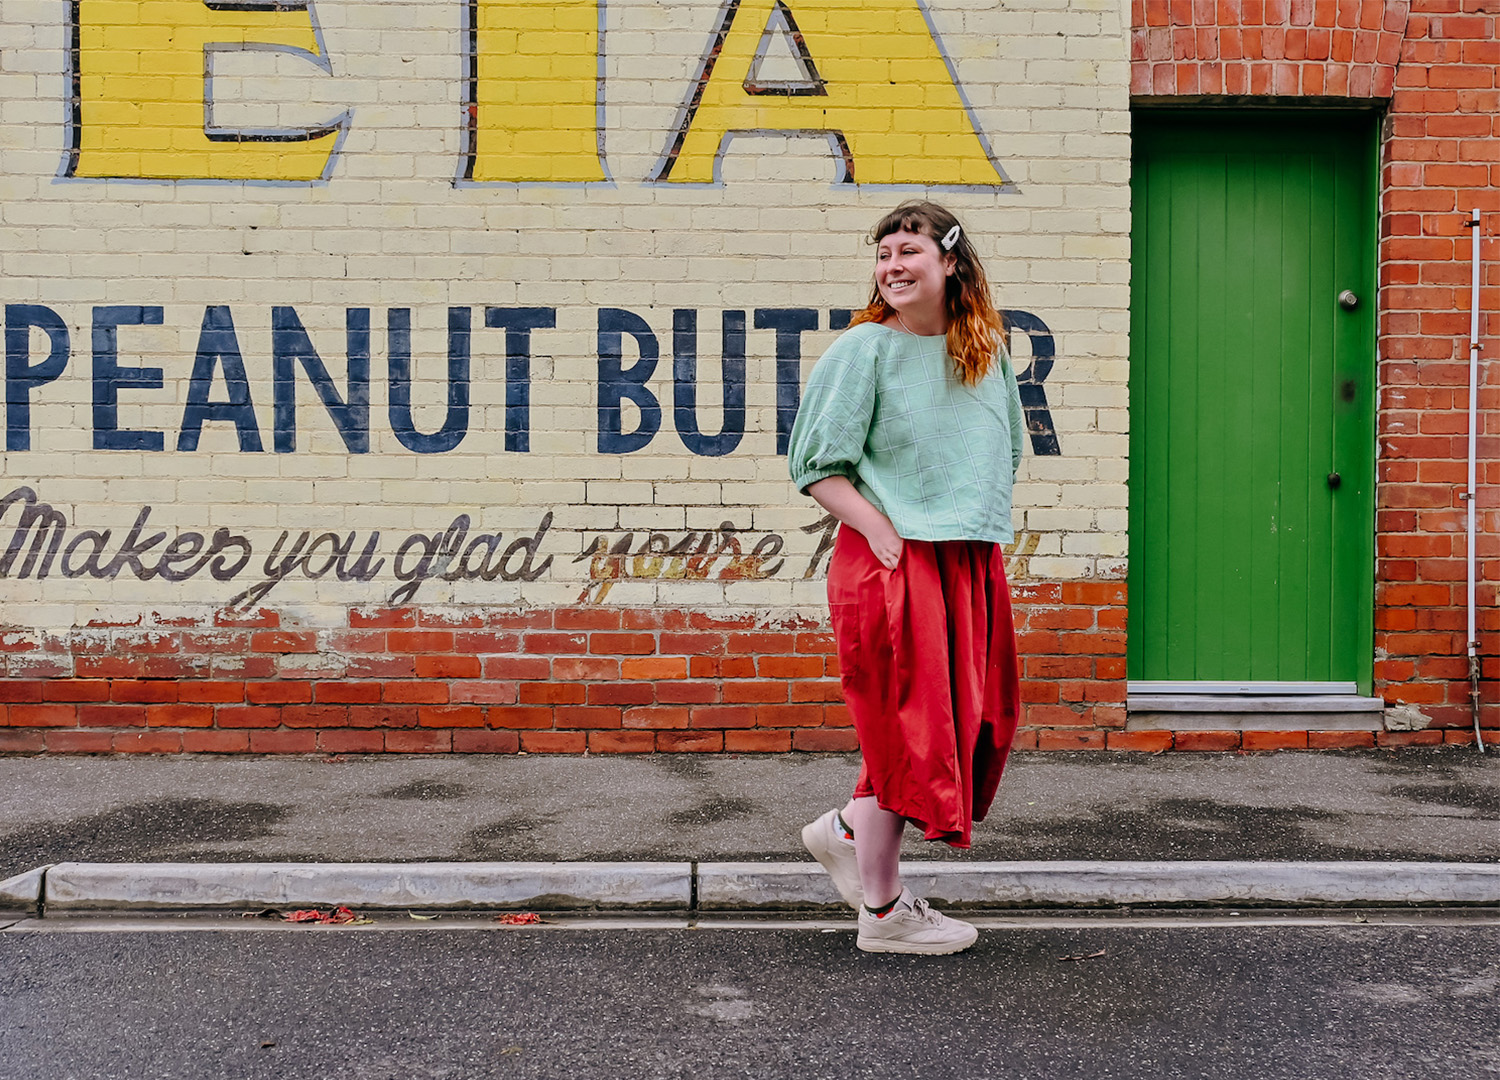
words and photos MIREILLE STAHLE
Hello, my name is Mireille and in the immortal words of Kath Day-Knight, I’m a Country Road size 10… Which means I wear anywhere between a 12 and a 16 in ready-to-wear garments.
It’s one of the reasons I turned to sewing. There are myriad reasons why the craft is totally excellent – how ‘wonderful’ it is to be able to create clothes that actually fit?! Much like clothes off the rack, however, patterns don’t come out of the packet perfectly accommodating the human body in all its glorious variety.
If you’ve ever chosen a pattern based on your full bust measurement and suddenly found your neck and shoulders falling out of your top (or your fit across the shoulders is scrumptious, but your garment pulls across the bust), these are classic signs that you might be a candidate for a full bust adjustment (FBA).
Getting the right fit is surprisingly easier than you’d imagine so read on to find out how to sew the perfect-fit Peppermint Paddington Top…
Taking measurements
To nobody’s surprise, getting the perfect fit involves taking your measurements properly, and choosing the right size in the first place, so let’s start there.
Don’t skip this step. Just don’t. Accurate measurements are basically the cornerstone of getting a good fit. If you’re alarmed by what your measuring tape is telling you, tell it to shut up – you need this data, and preferably, you need it every time you start a new project.
At the minimum, you should know your bust, waist, hip, shoulder and bicep measurements and be updating them regularly.
Understanding ease
A garment sewn with your exact body measurements would require castor oil to slip on and off. If this isn’t your vibe, you probably want your garments to have some ease in them.
Adding ease to your me-made garment gives you room to wave your arms at the TV, sit down and do whatever activities your heart desires, and look cute while doing it.
When you’re getting ready to start a project, take a look at the difference between the size measurements and the ‘finished garment’ measurements.
Not sure how much ease you like to wear? A good way to work it out is to take the bust measurement of a top or dress that you feel comfortable and spunky in. Compare that measurement to your actual bust measurement and the difference in the numbers is how much ease you need!
What is my sewing cup size?
Throw your bra away for this one. To determine your ‘sewing’ cup size, you need to measure the difference between your ‘high bust’ (aka upper bust) and your ‘full bust’.
To measure your high bust you’ll need to hug yourself with a measuring tape under the armpits, and the full bust is ‘the biggest part’ of your bosom (generally about nipple height).
A difference of 2.5cm (one inch!) is an A cup, 5cm is a B cup, 7.5cm is a C cup, etcetera. Most sewing patterns are drafted for a B or C cup (lucky them!).
DOWNLOAD THE PATTERN NOW
How much do I need to add? Let’s do the maths
First, take a peep at the Peppermint Paddington Top size chart and choose the right size based on your upper bust measurement (the armpit one). Now you need to create a fantasy full-bust measurement by adding 7.5cm (a hypothetical C cup) to the upper bust measurement you’ve picked out.
You’ve created a pretend sewing person! How does your full bust measurement compare to this pretend sewing person? Are you bigger or smaller? The difference between your full bust and the pretend full bust is the adjustment you need to make to the pattern!
Based on my upper bust I chose a size G because my high bust measures 106cm. That size has a full bust measurement of 113.5cm (remember I added the average C cup). My full bust measurement is 118cm, so I need to add the difference between my full bust and the ‘model’ full bust. That makes 4.5cm.
Since your adjustment will be mirrored (and doubled!) when we cut out the pattern piece, you need to halve the difference above. So, for the above scenario, I’d be adding 2.25cm.
LET’S GET MAKING!
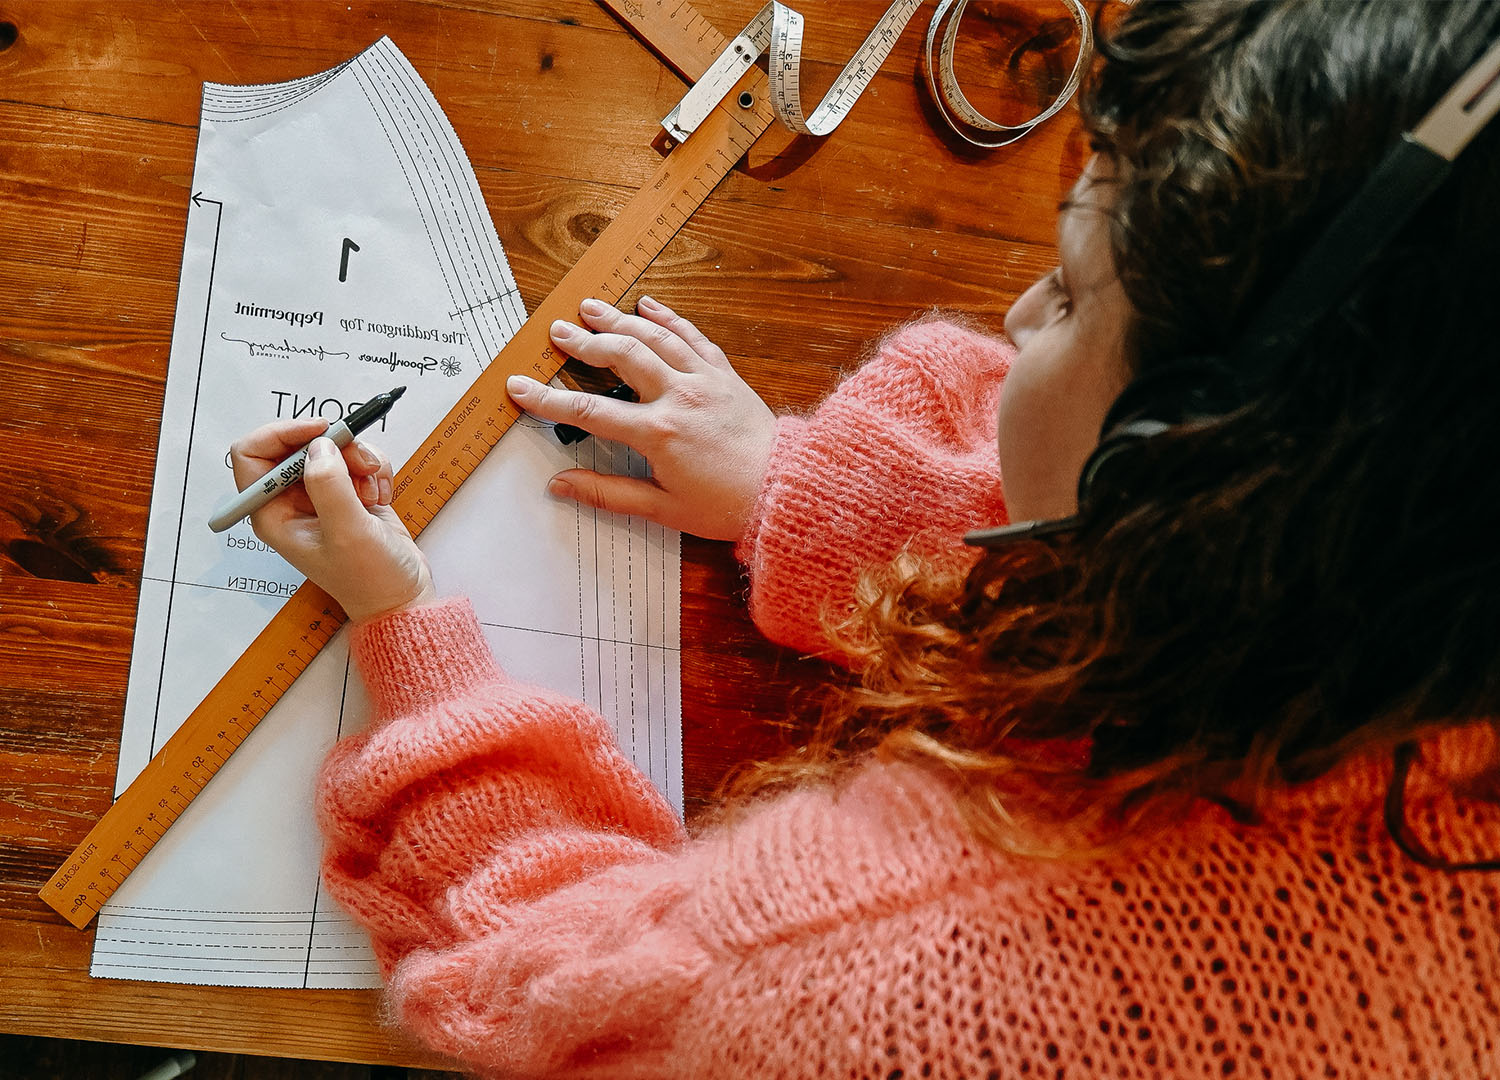
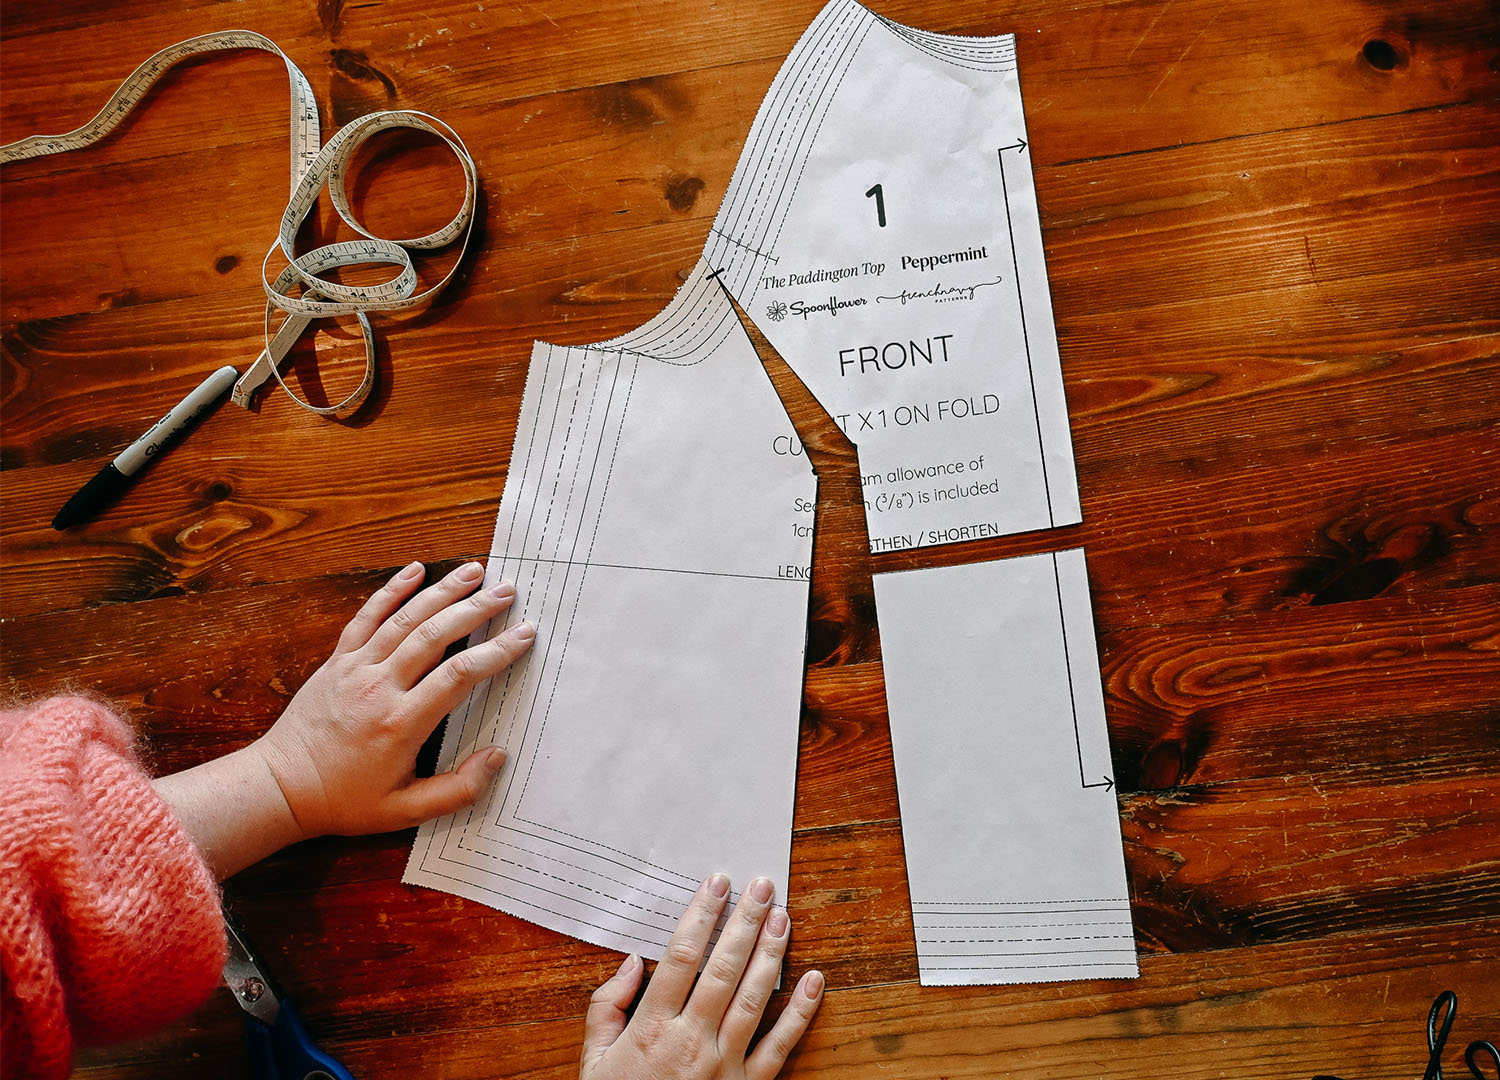
STEP ONE // The first step: finding the bust “apex”.
Hold the pattern up to your body. Align the shoulder seam with your shoulder and the centre front with the centre of your body. Mark your bust point on the pattern piece using a pencil. (Pro tip: it’s your nipple).
STEP TWO // Draw a line from your bust apex to the hem. Let’s break the internet and call this Line A.
STEP THREE // Draw a line angled from the bust point to the raglan edge about 5cm above the armhole (Line B).
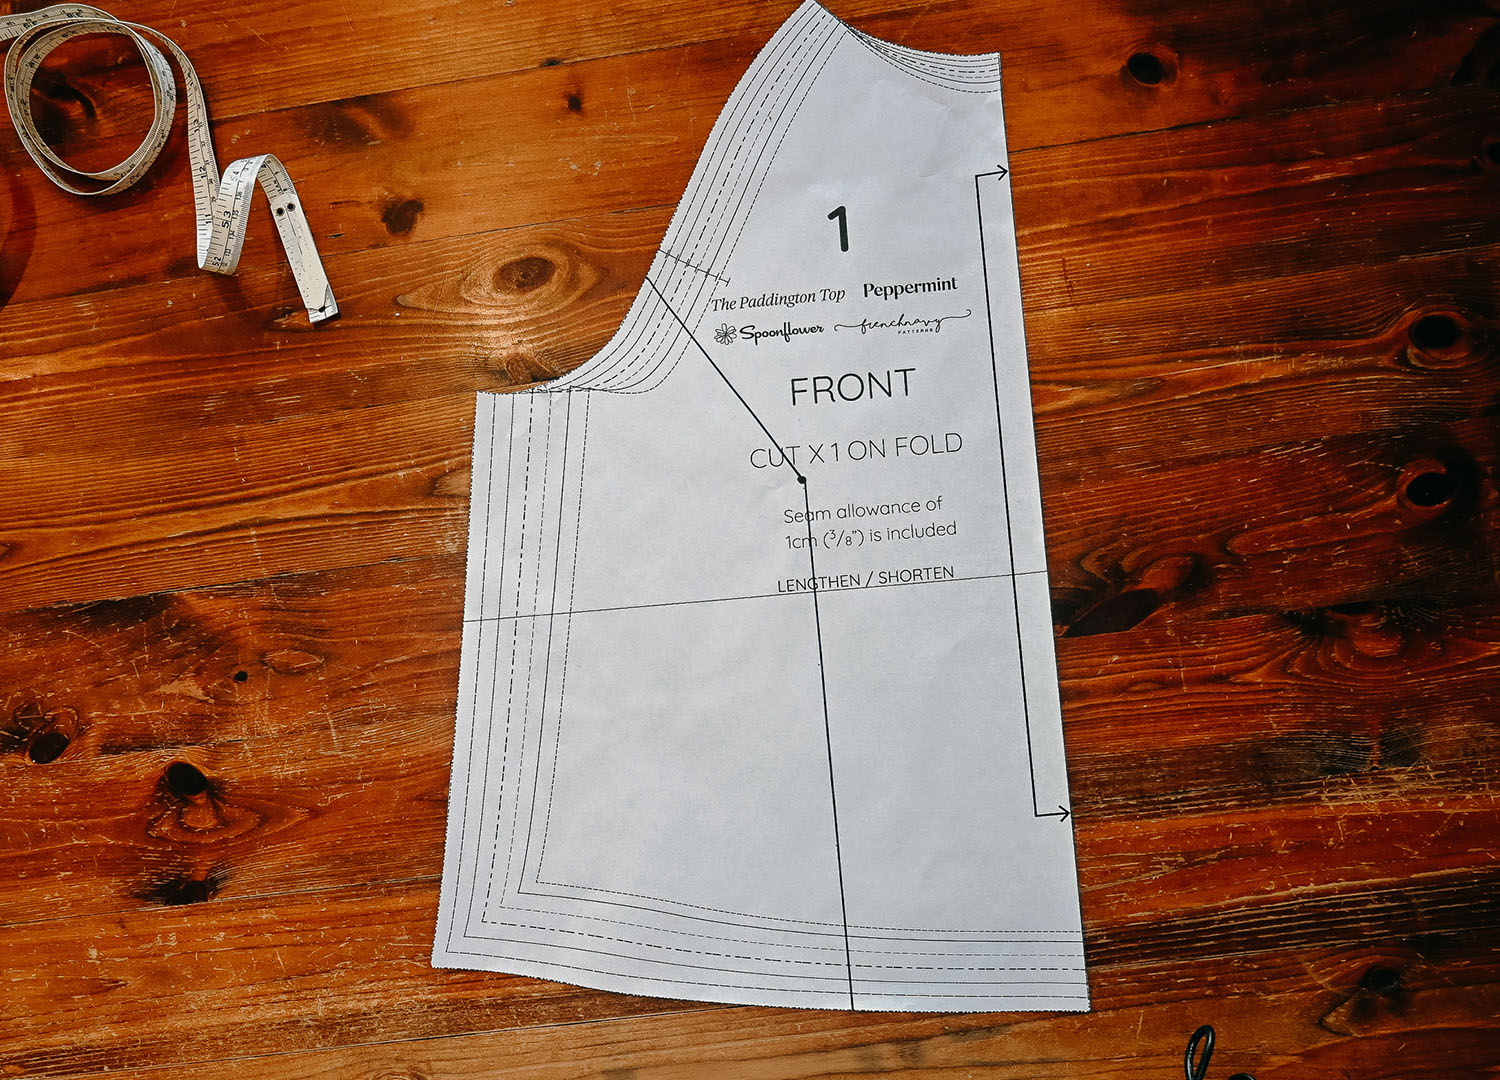
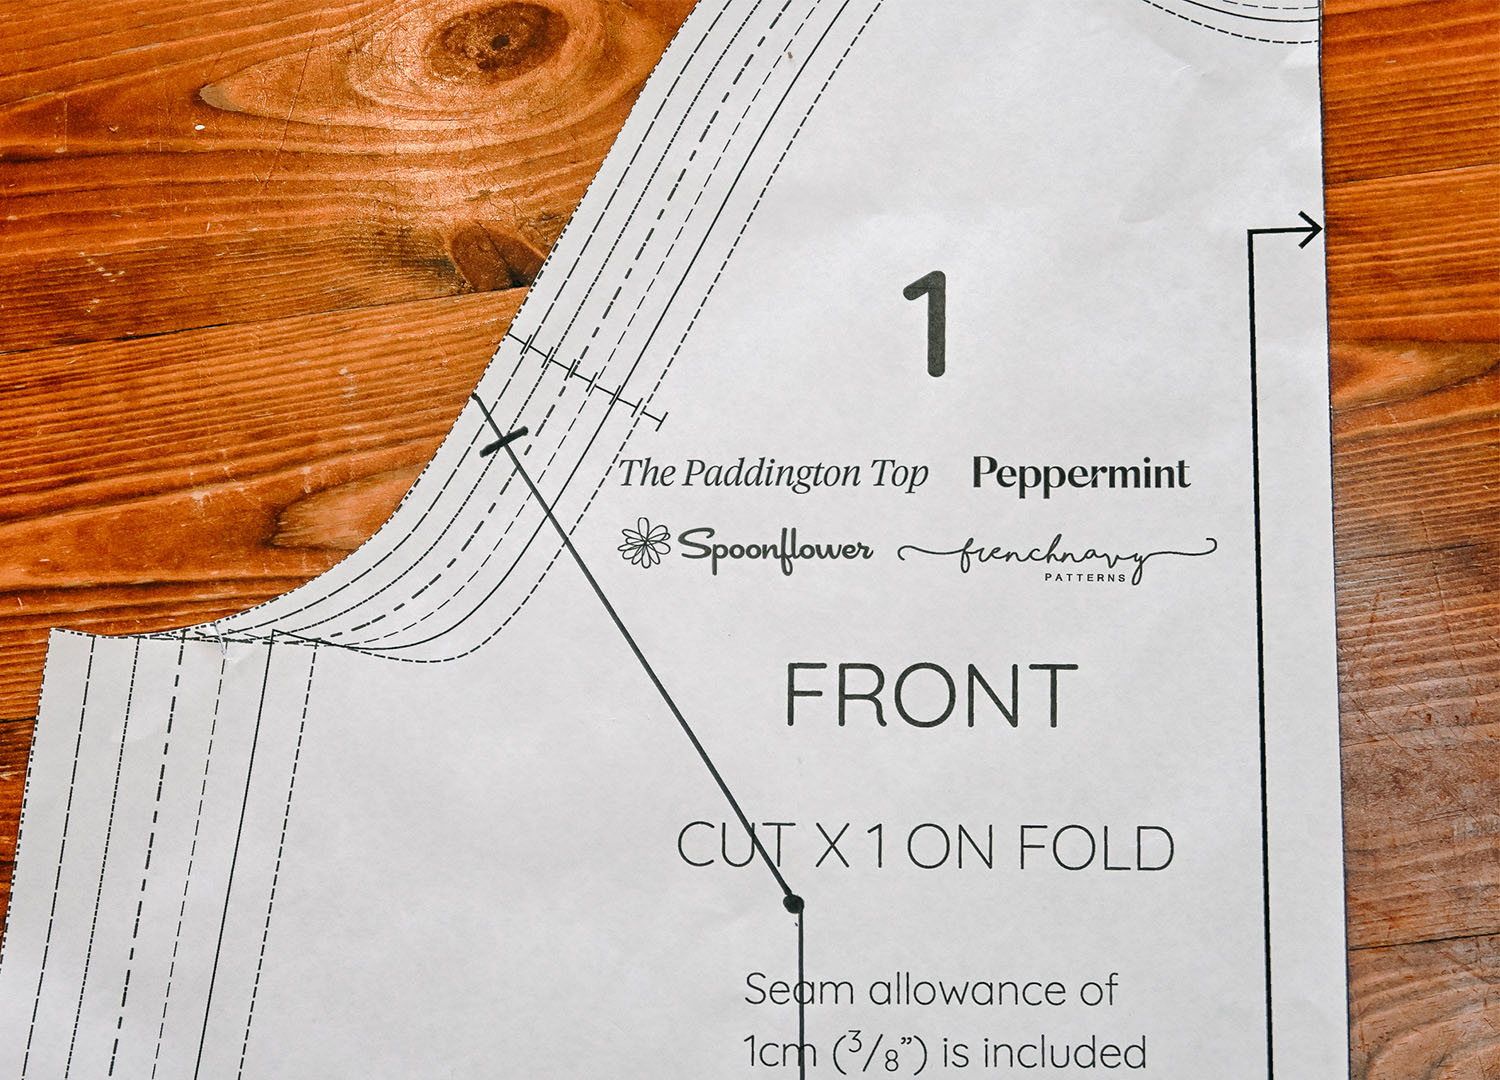
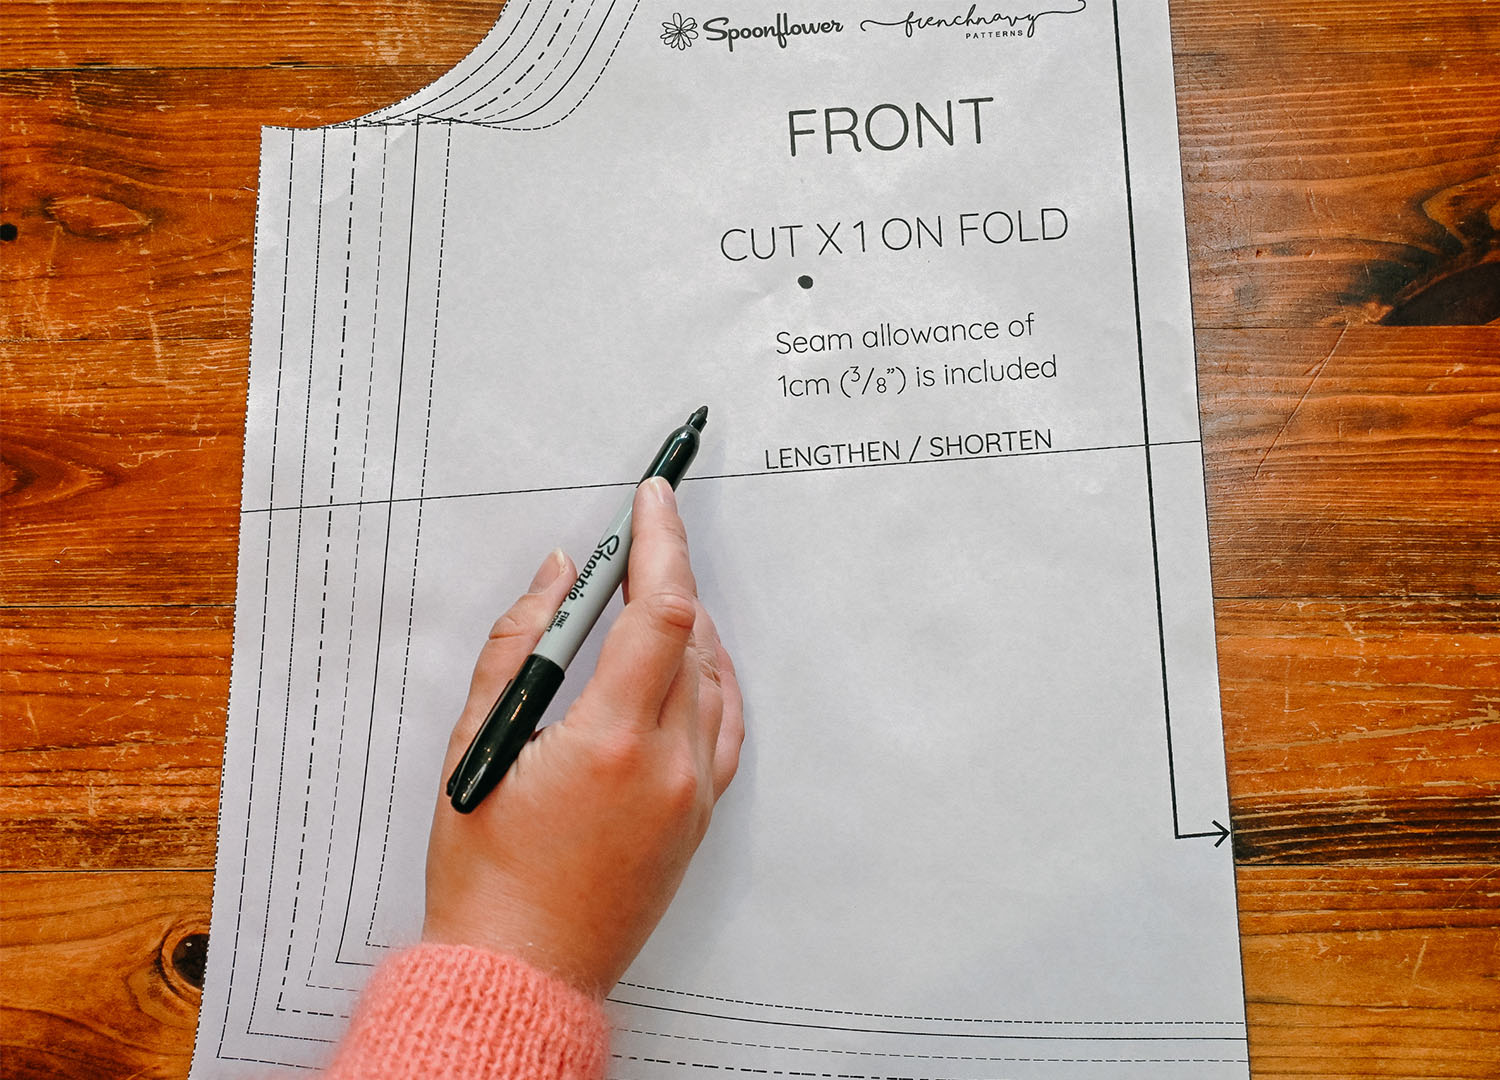
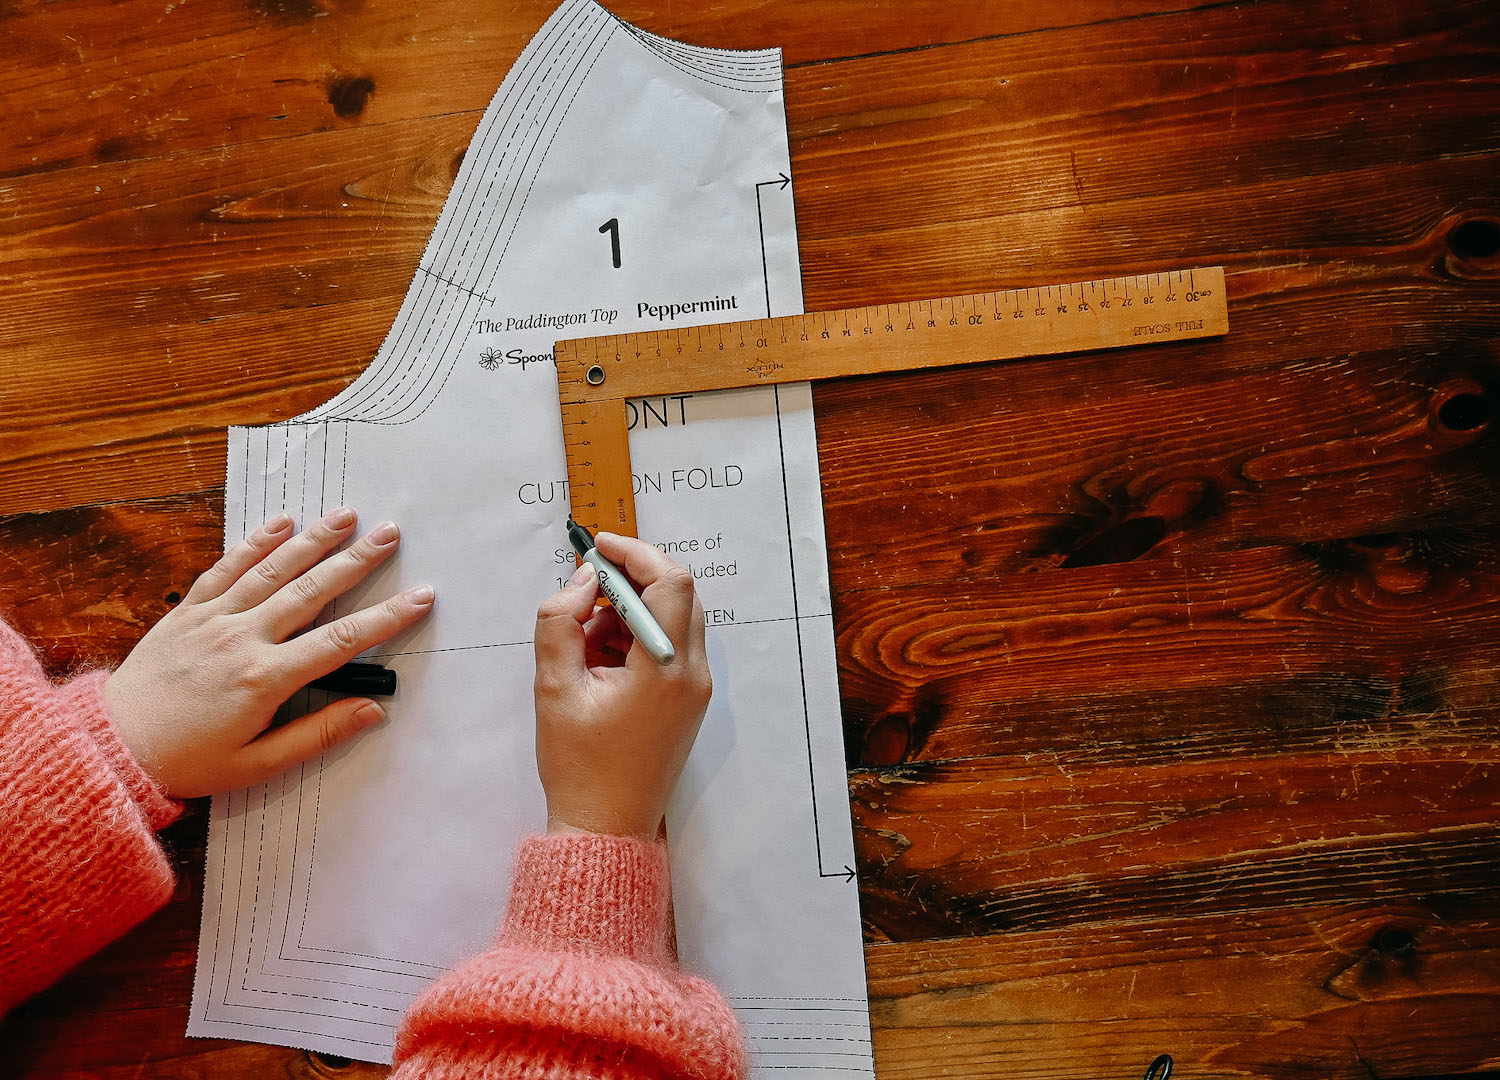
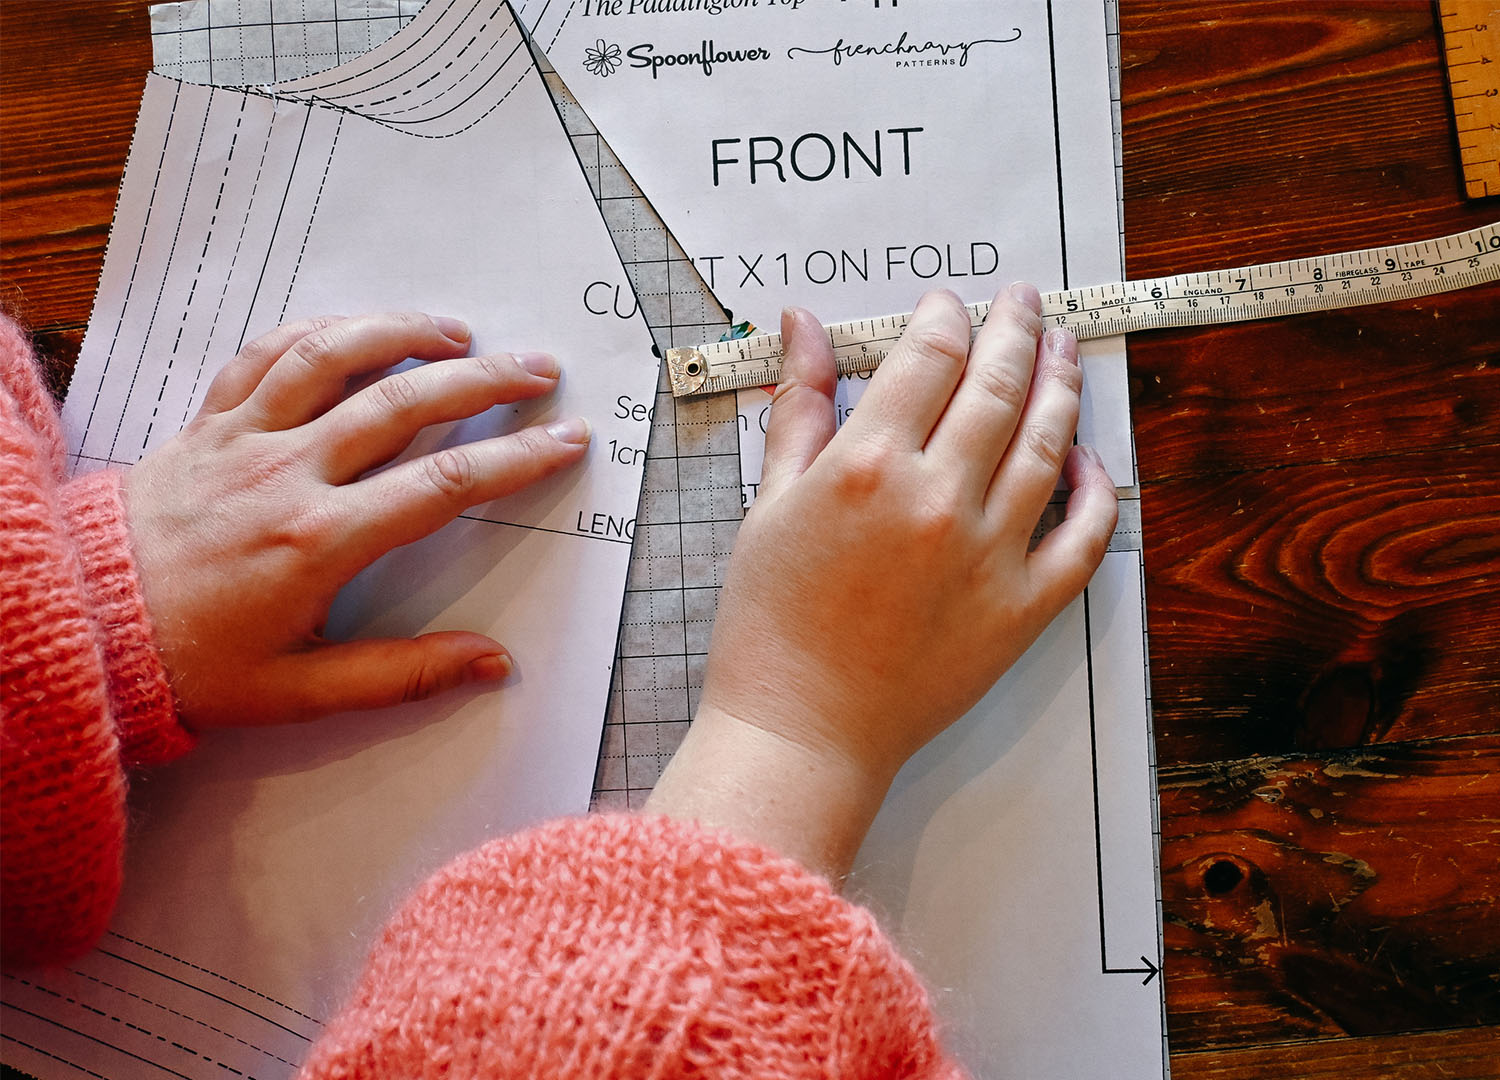
STEP FOUR // The Peppermint Paddington Top has a seam allowance of 1cm, so take your ruler and make a mark 1cm in from the side seam (on Line B). This is where we’ll create a hinge.
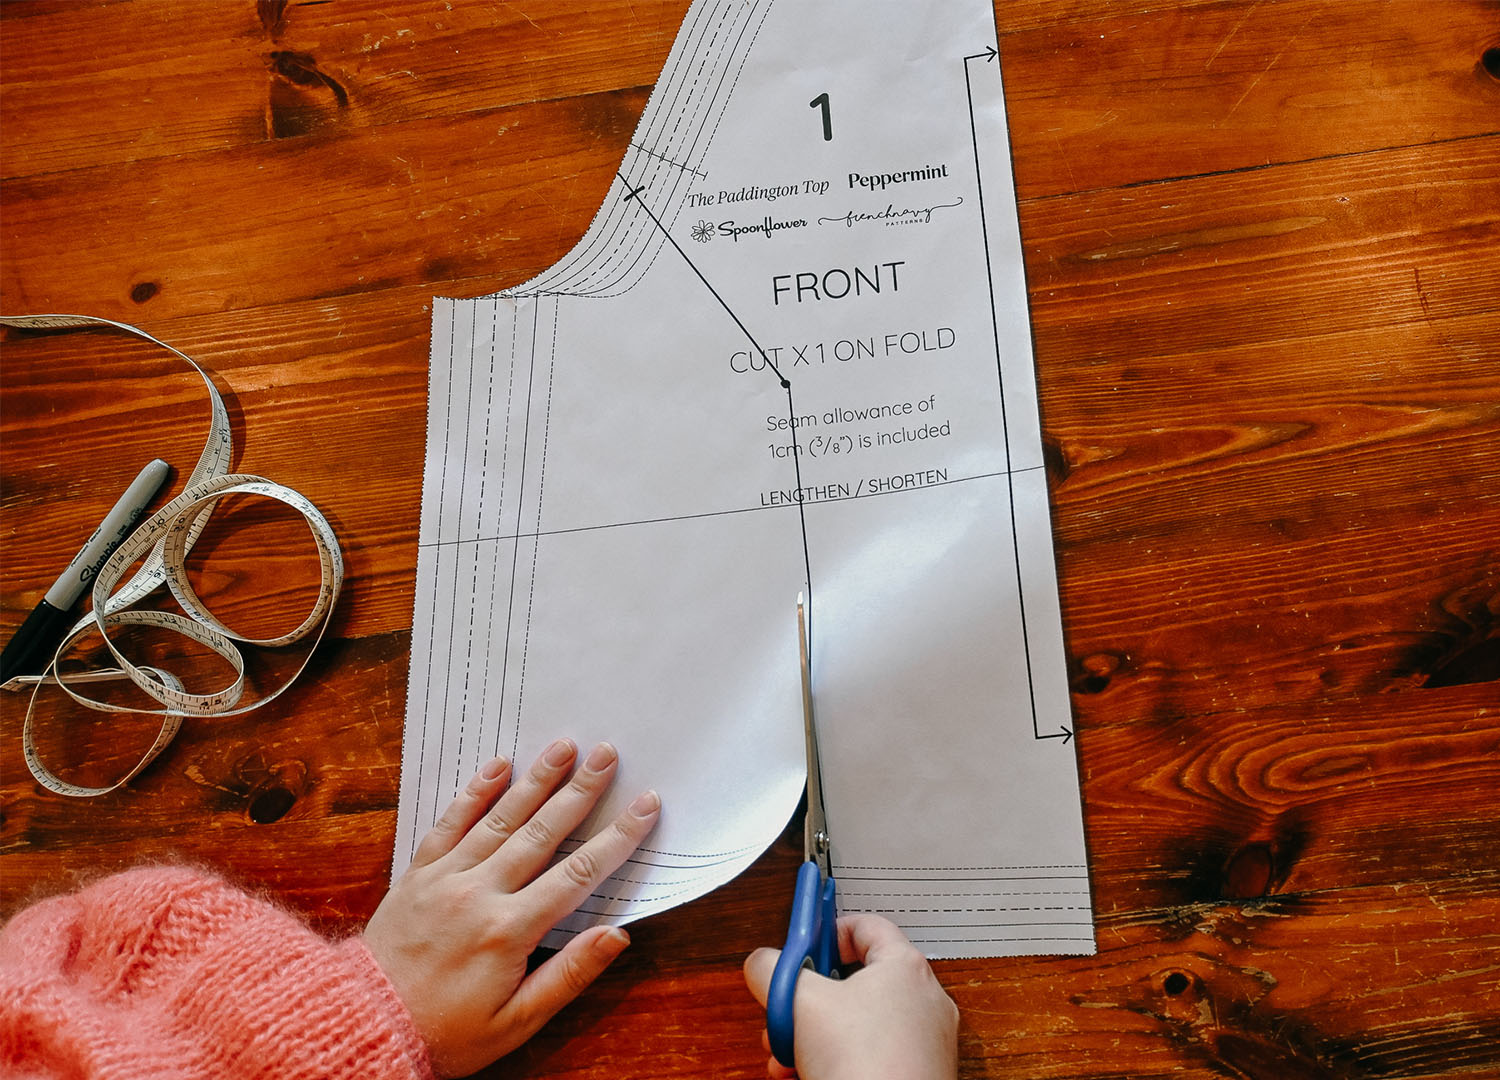
STEP FIVE // Cut the pattern in half(-ish) along Line A and along Line B up to your seam allowance marker. Snip behind the seam allowance mark (without cutting through it, please) to create a handy hinge.
STEP SIX // Cut along the lengthen/shorten line to the right of Line A to separate the lower right piece. You’ll need to drop this down to make a new hemline.
STEP SEVEN // Manoeuvre all your bits of paper gently to create gaps equalling the amount you need to add to your pattern. In this example, that’s 2.25cm.
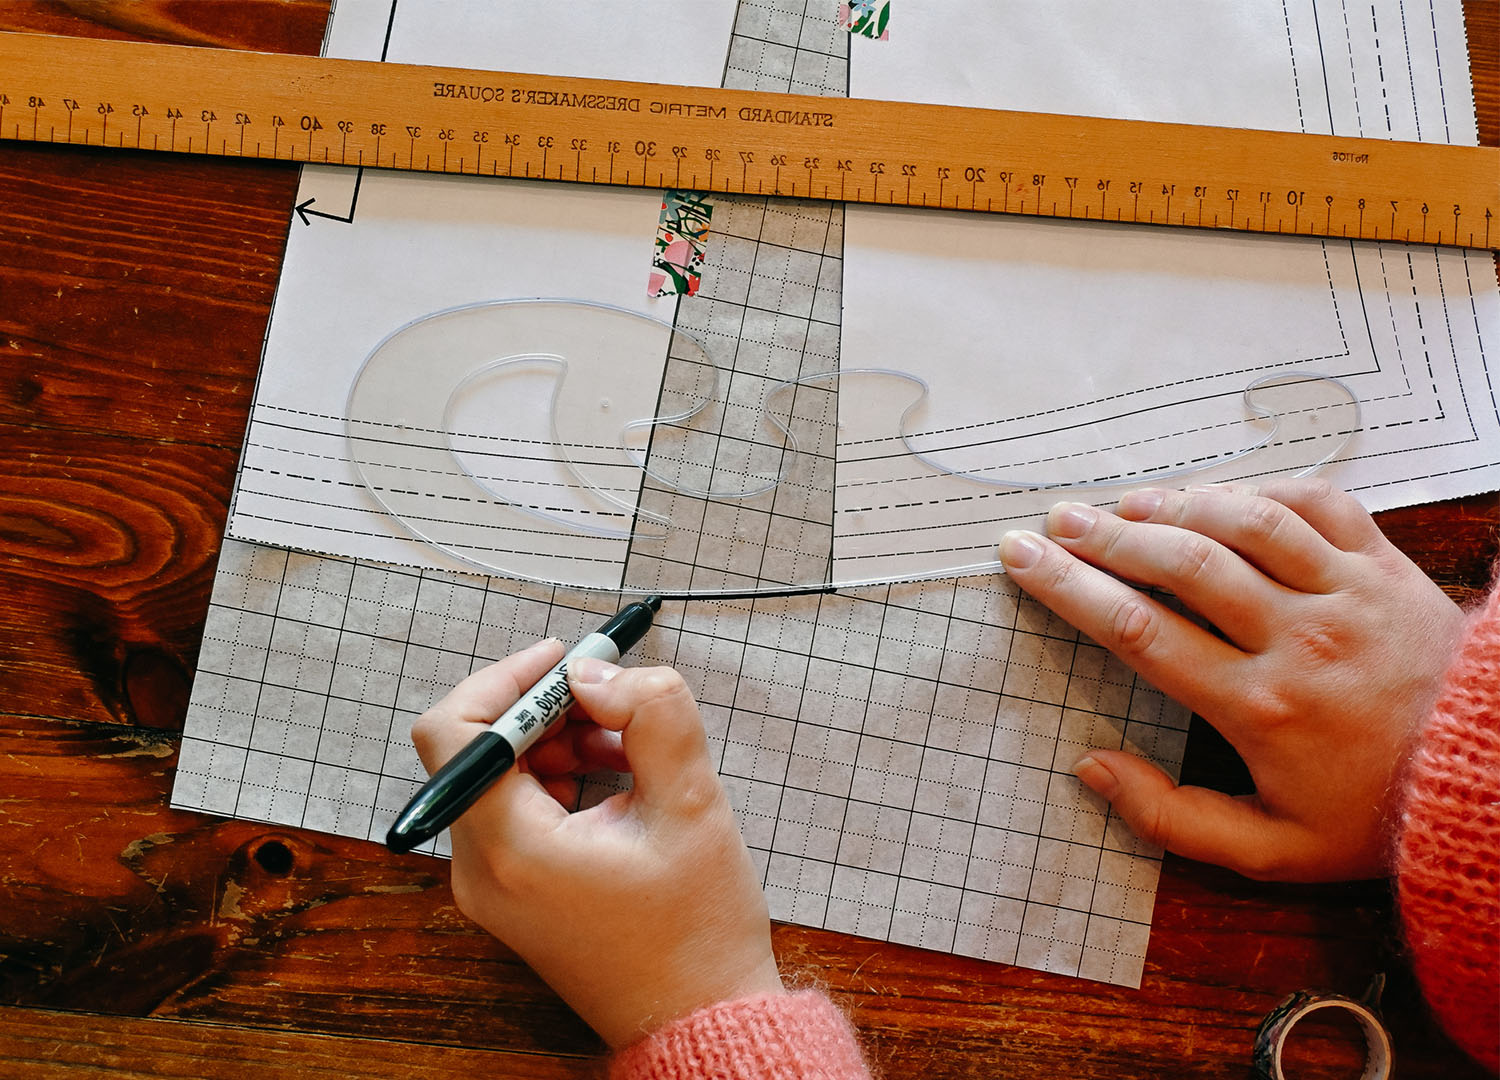
STEP EIGHT // Tape your extra pieces down, then take your curved ruler (or just wing it) and redraw the hem to close the gap.
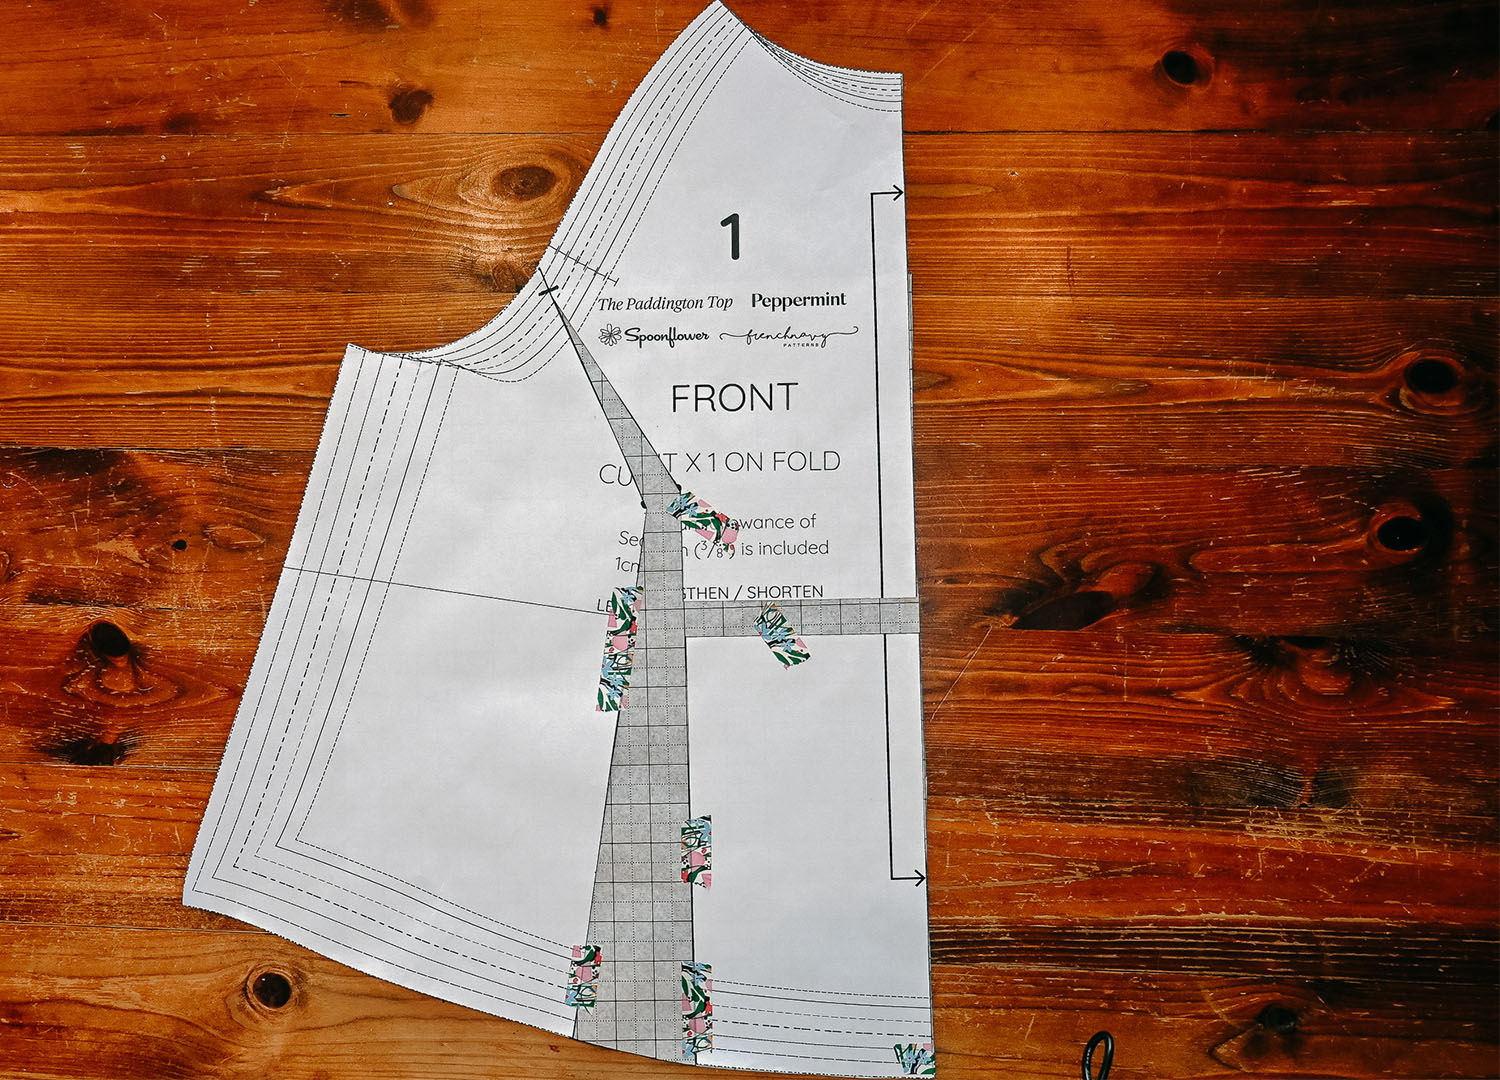
Depending on the amount adjusted, you might have added quite a bit of length at the hem (which is fair enough – no one wants their top riding up). If this is the case, don’t forget to add length to your back pattern piece!
Because you, reader, are a genius, you haven’t affected the length of the neckline or arm scythe, so you don’t need to touch those pieces!
Pour yourself a beverage of choice and rejoice because you’ve done it! You’ve shown industry standards who’s boss. Time to redraw your pattern and make yourself the best fitting Peppermint Paddington Top ever!

WANT MORE SEWING AND DIY CONTENT? RIGHT THIS WAY!