![]()
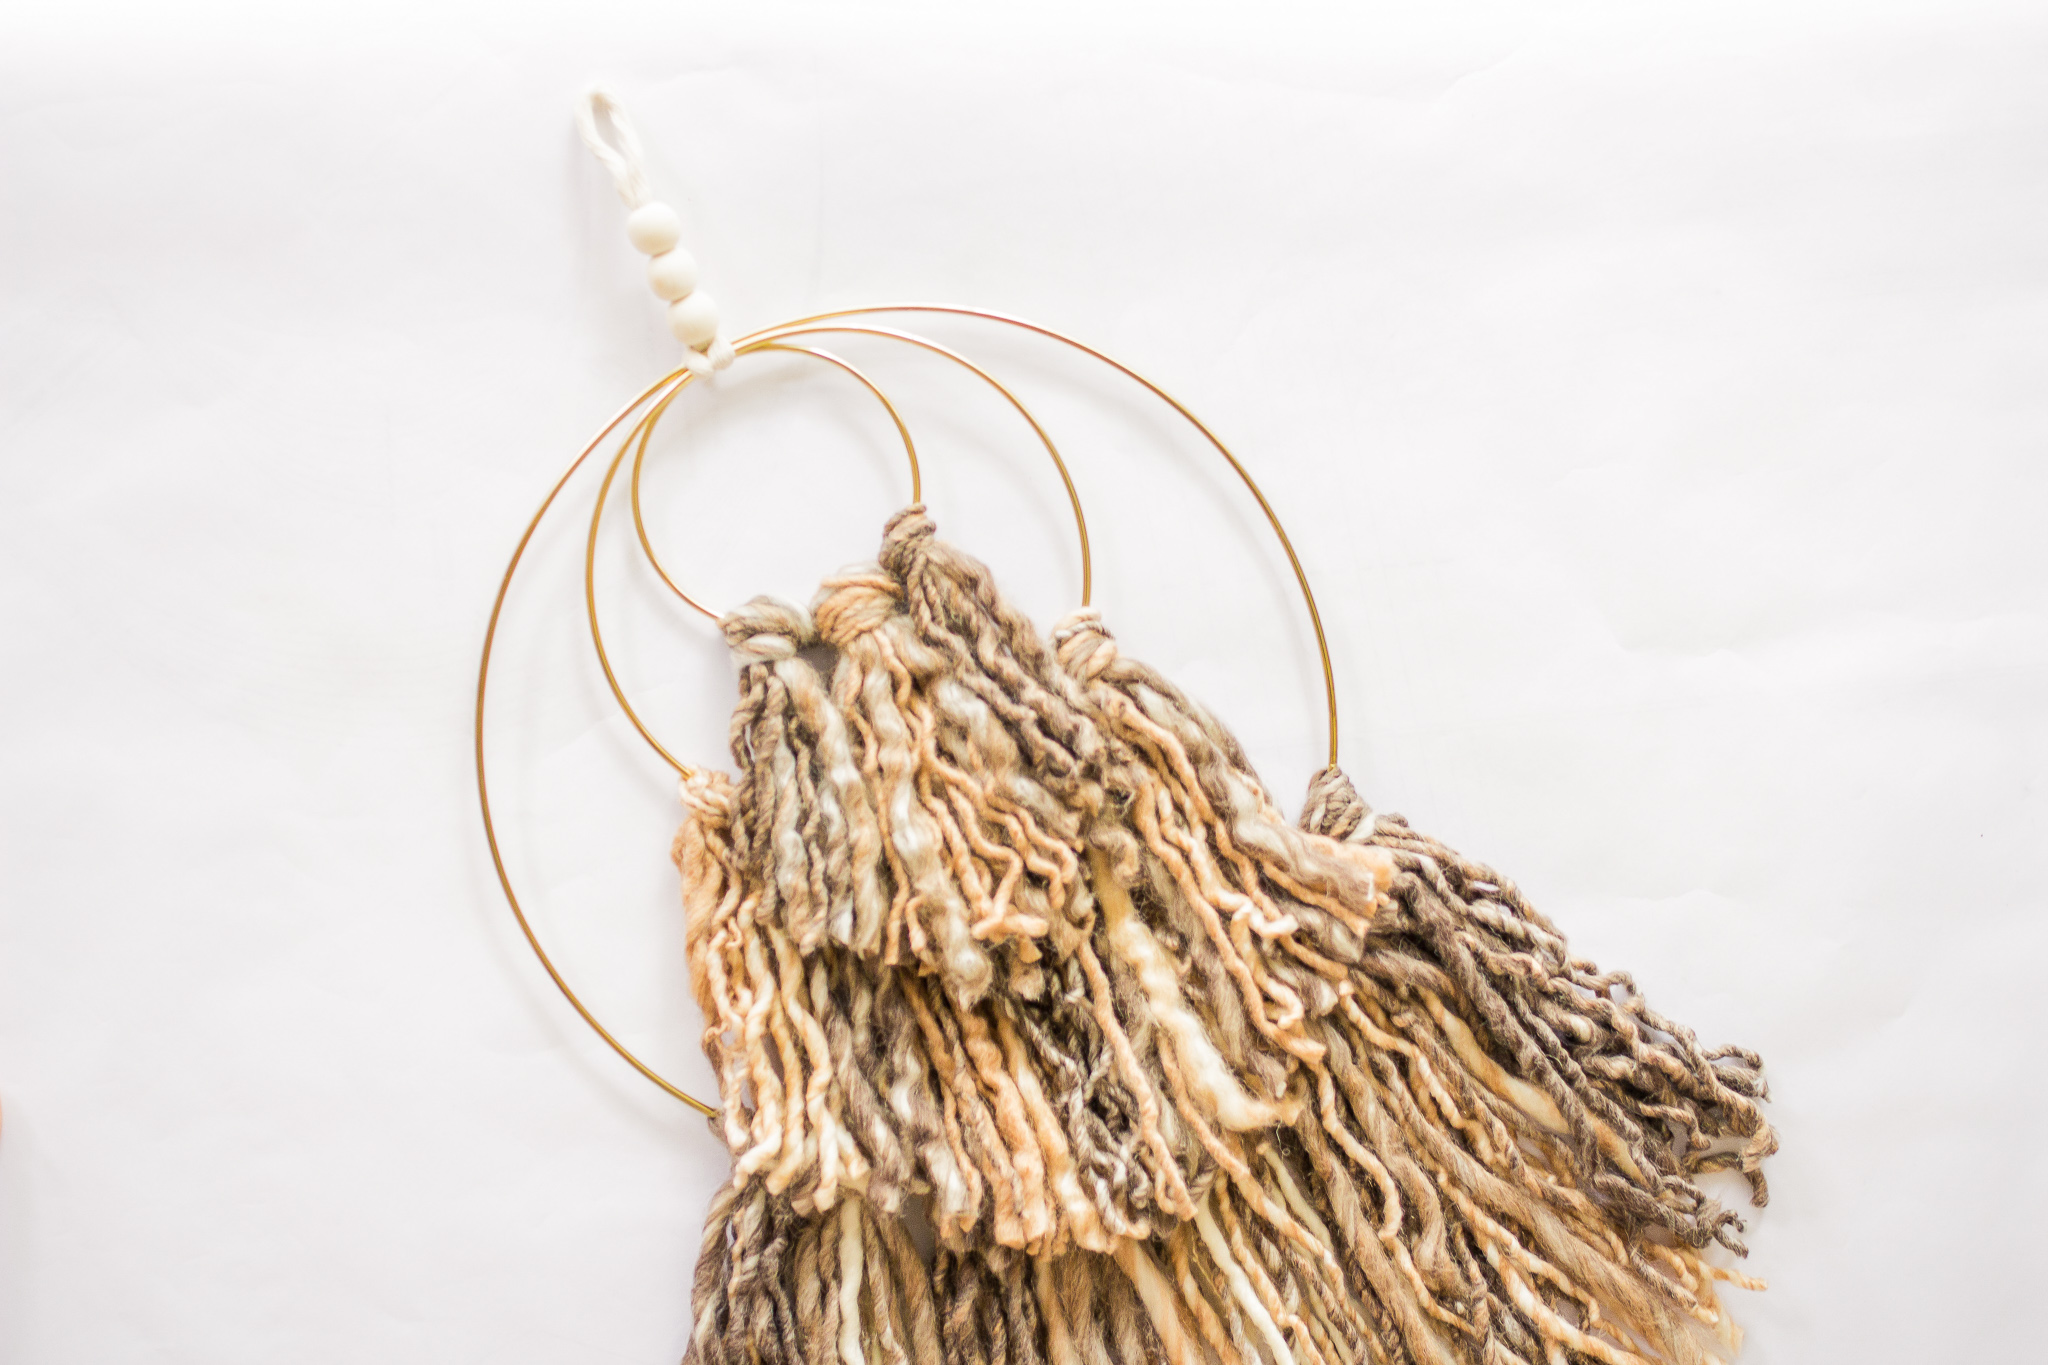
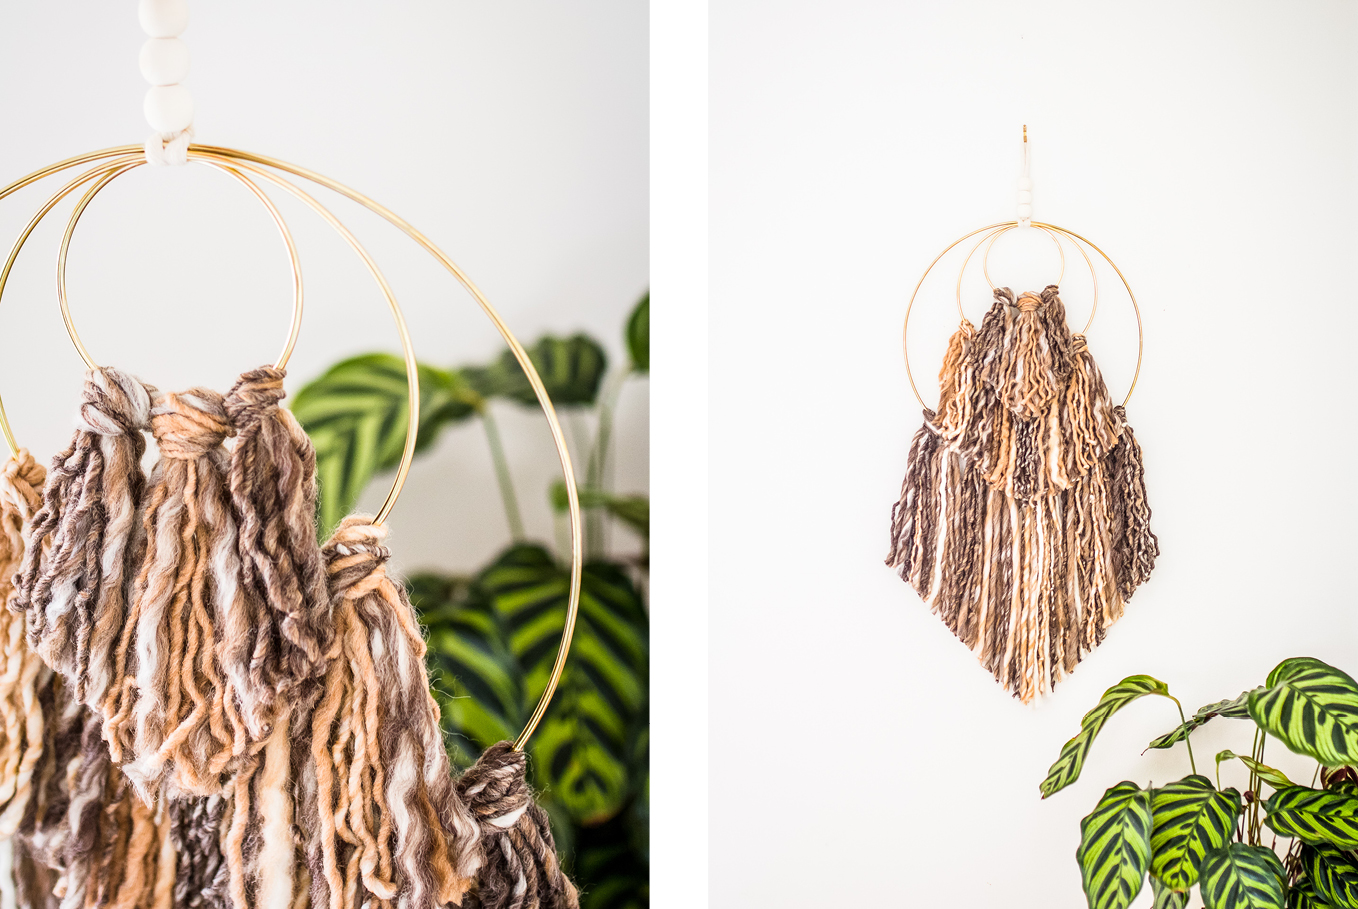
We’ve partnered with our friends at Spotlight and Brisbane-based maker Sophie Parslow (AKA Ada Spragg) to bring you this gorgeous woollen wall hanging: the perfect way to make a bold statement in your home, with no complicated crafting skills required!
Handmade, textured elements bring softness to a space, and help create a natural, earthy feel – plus they can also be super budget friendly and easy to make yourself! This striking, geometric piece has that handmade vibe while being oh-so-simple to construct – it’s easy to customise with your favourite colours, it doesn’t require any special crafting skills, and you can find all the materials you need at Spotlight! The hanging uses simple knots and beautiful textured yarn – and the best part is that it looks way more difficult than it actually is. Top tip: when selecting yarn, choose one that speaks to you: think of the textures and colours that will suit your living space, or even experiment by using a different hue for each layer. Happy making, friends!
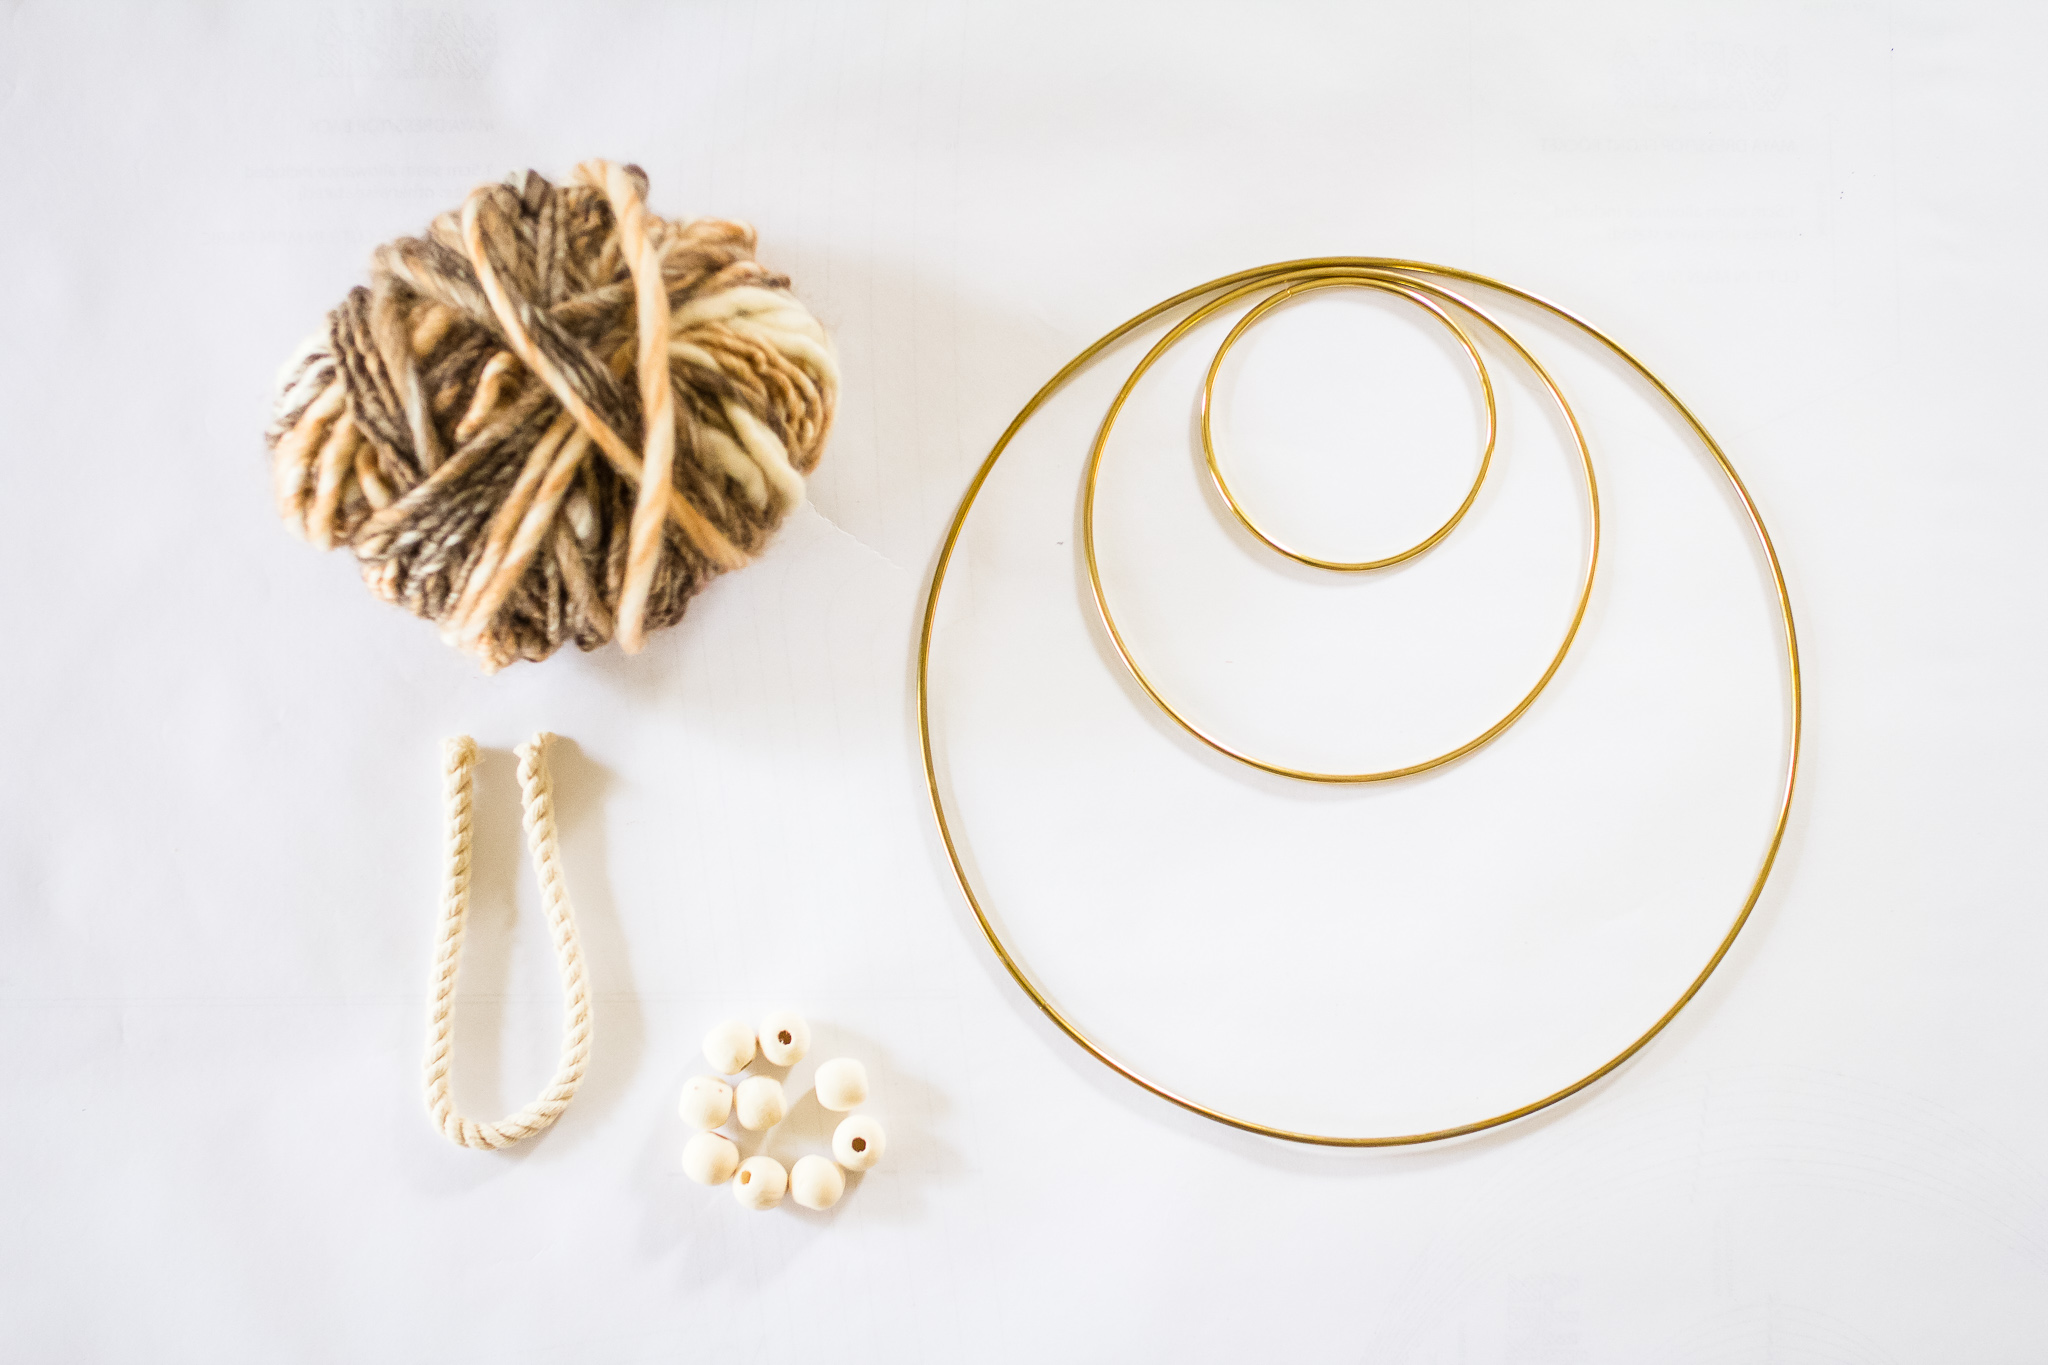
MATERIALS:
3 x gold crafting rings | 10cm, 17.5cm and 30cm
3 natural wood beads 1.8cm diameter
1-2 skeins textured wool yarn
50cm string or twine (we used macramé natural rope)
YOU WILL ALSO NEED:
Scissors
Sticky tape
Measuring tape
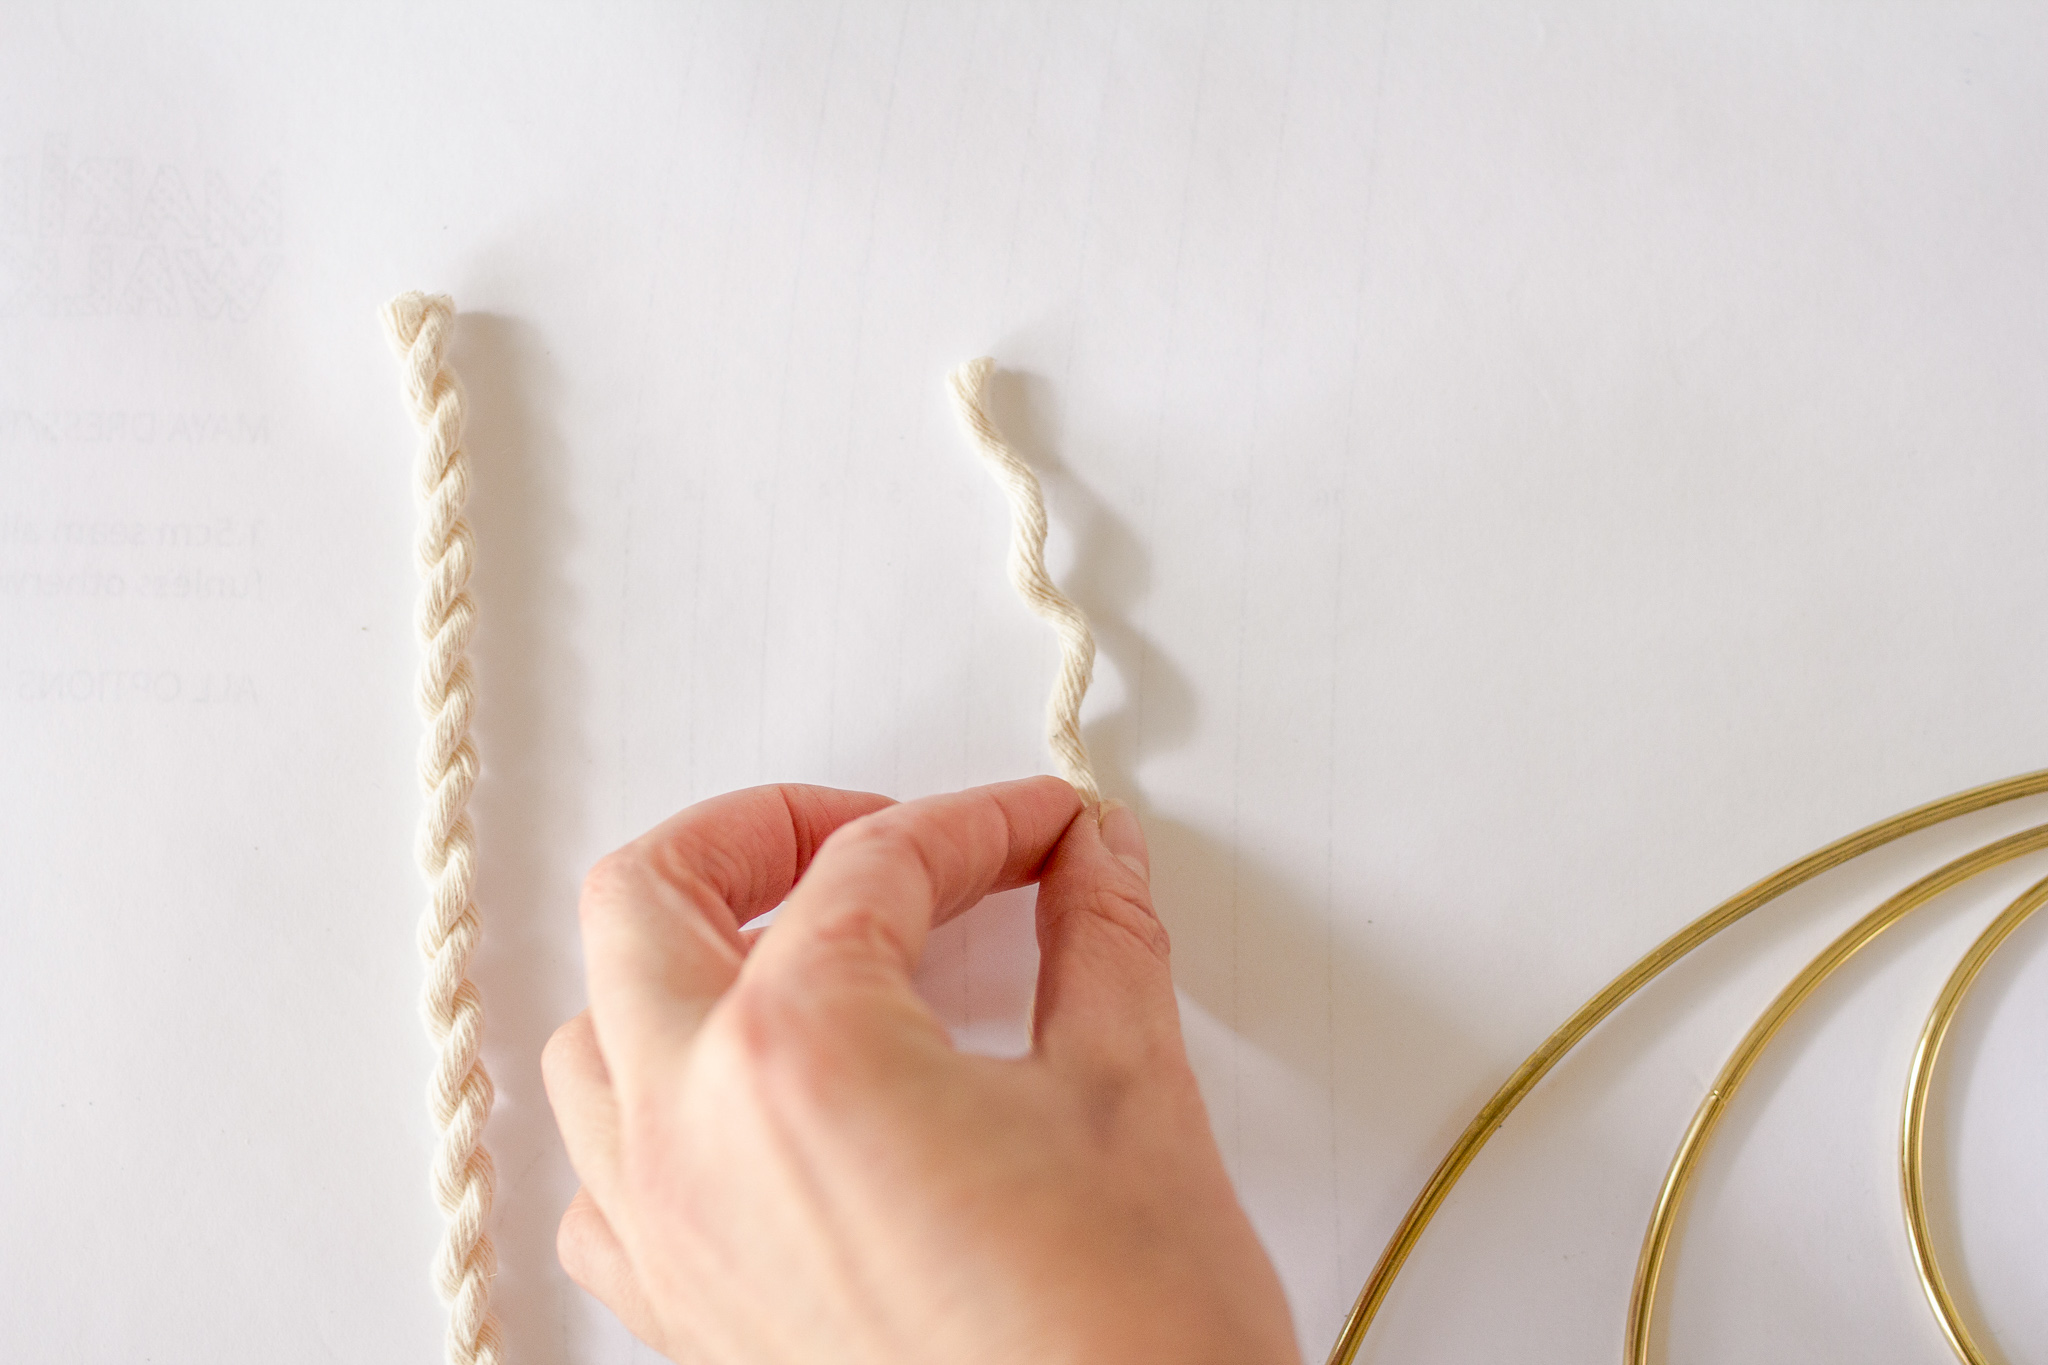
STEP 1 // Cut 32cm of string or twine. If using macramé rope, separate one section (there are three coiled together).
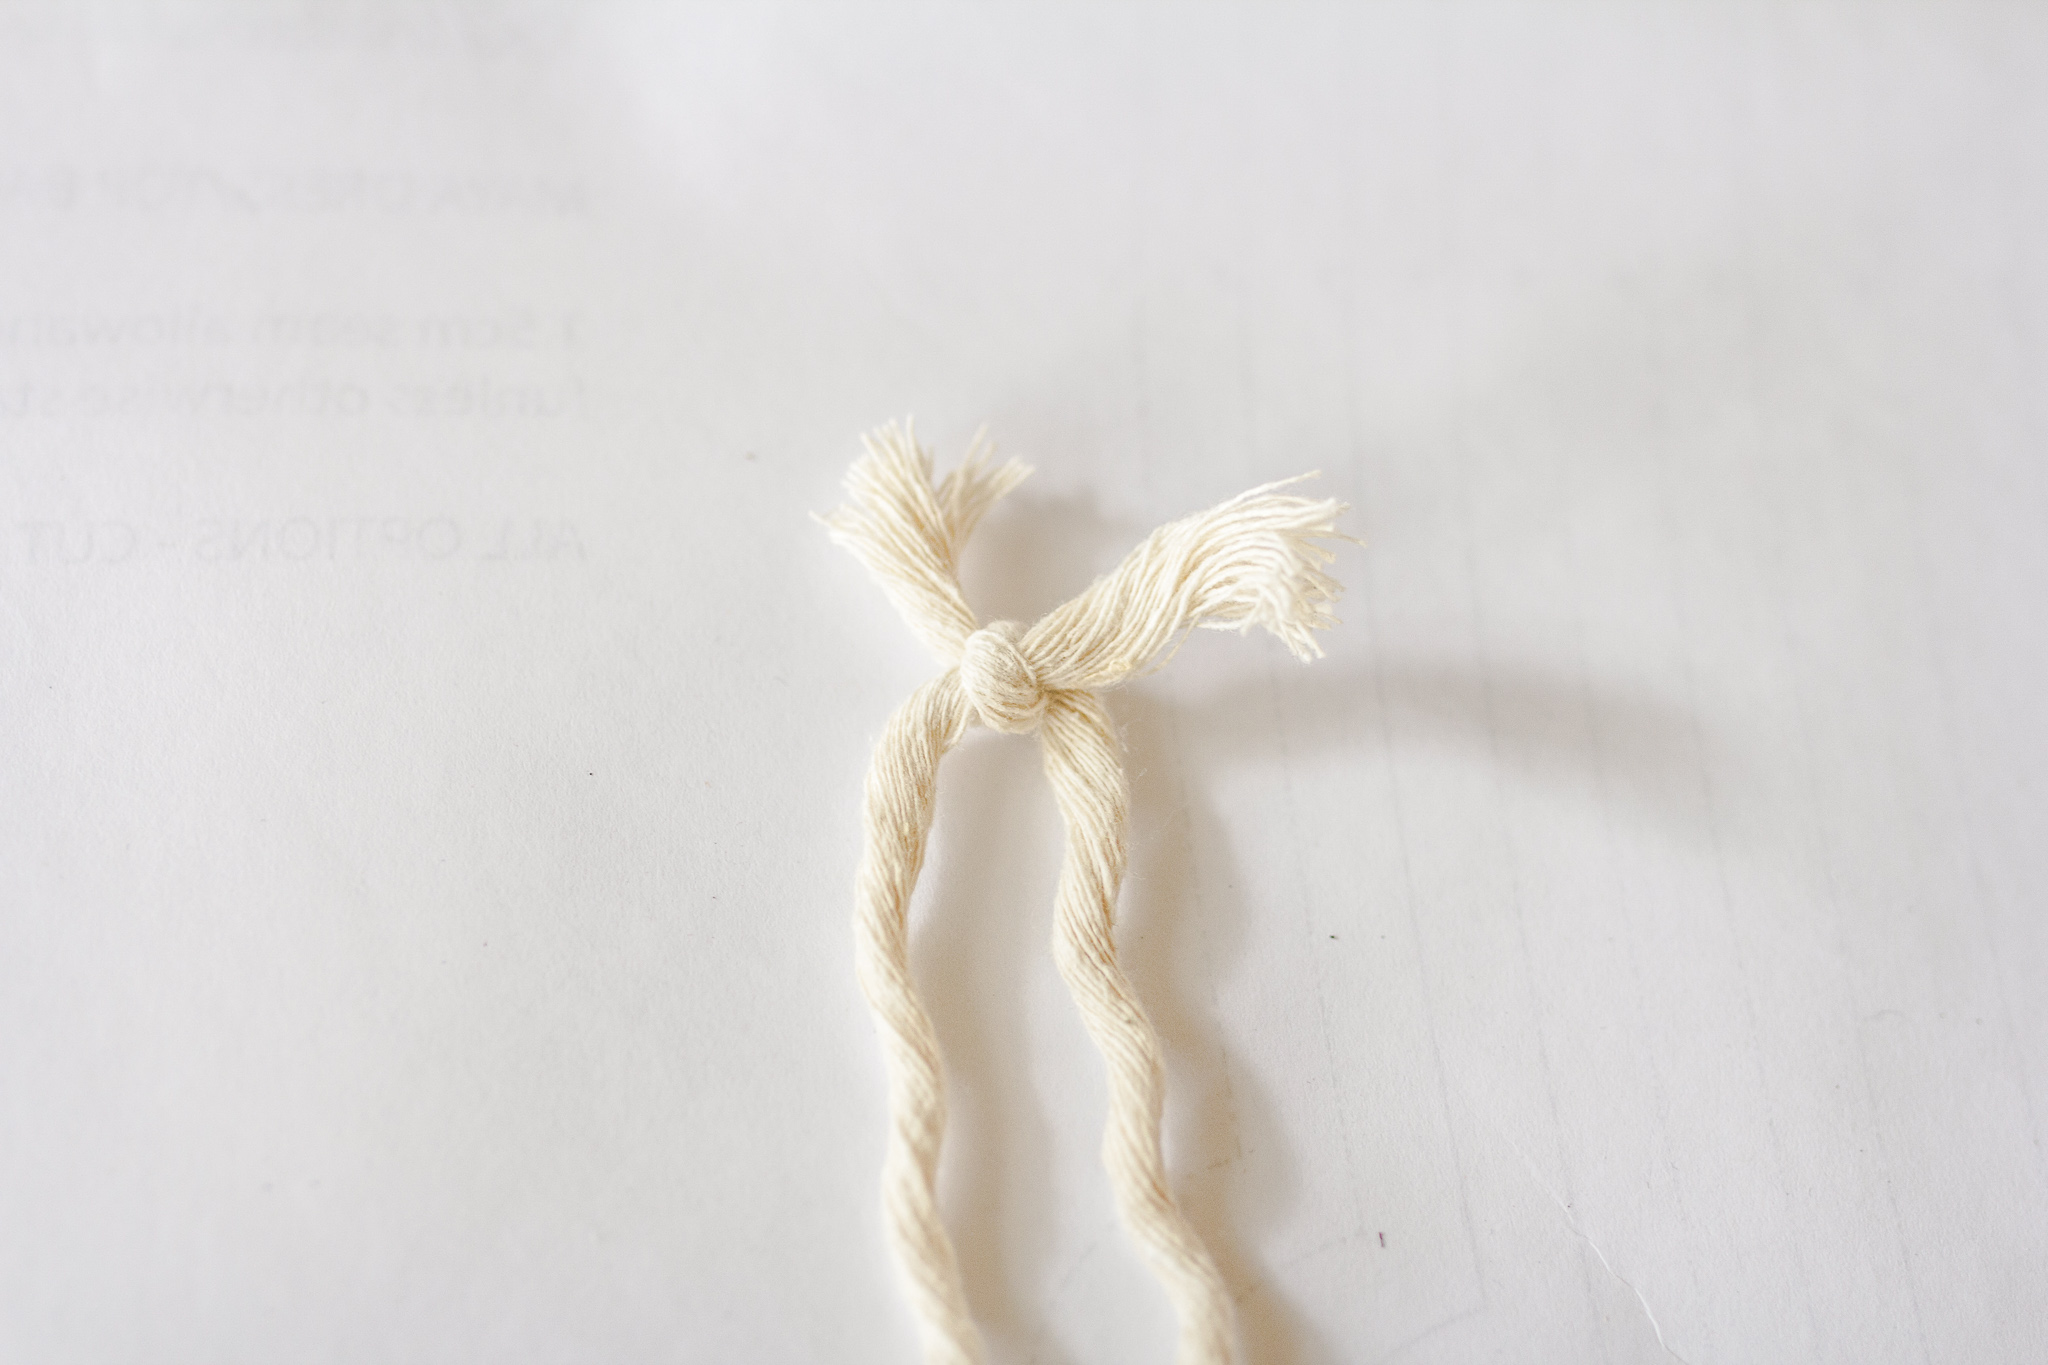
STEP 2 // Tie the two ends together in a firm double knot. Trim any excess string close to the knot.
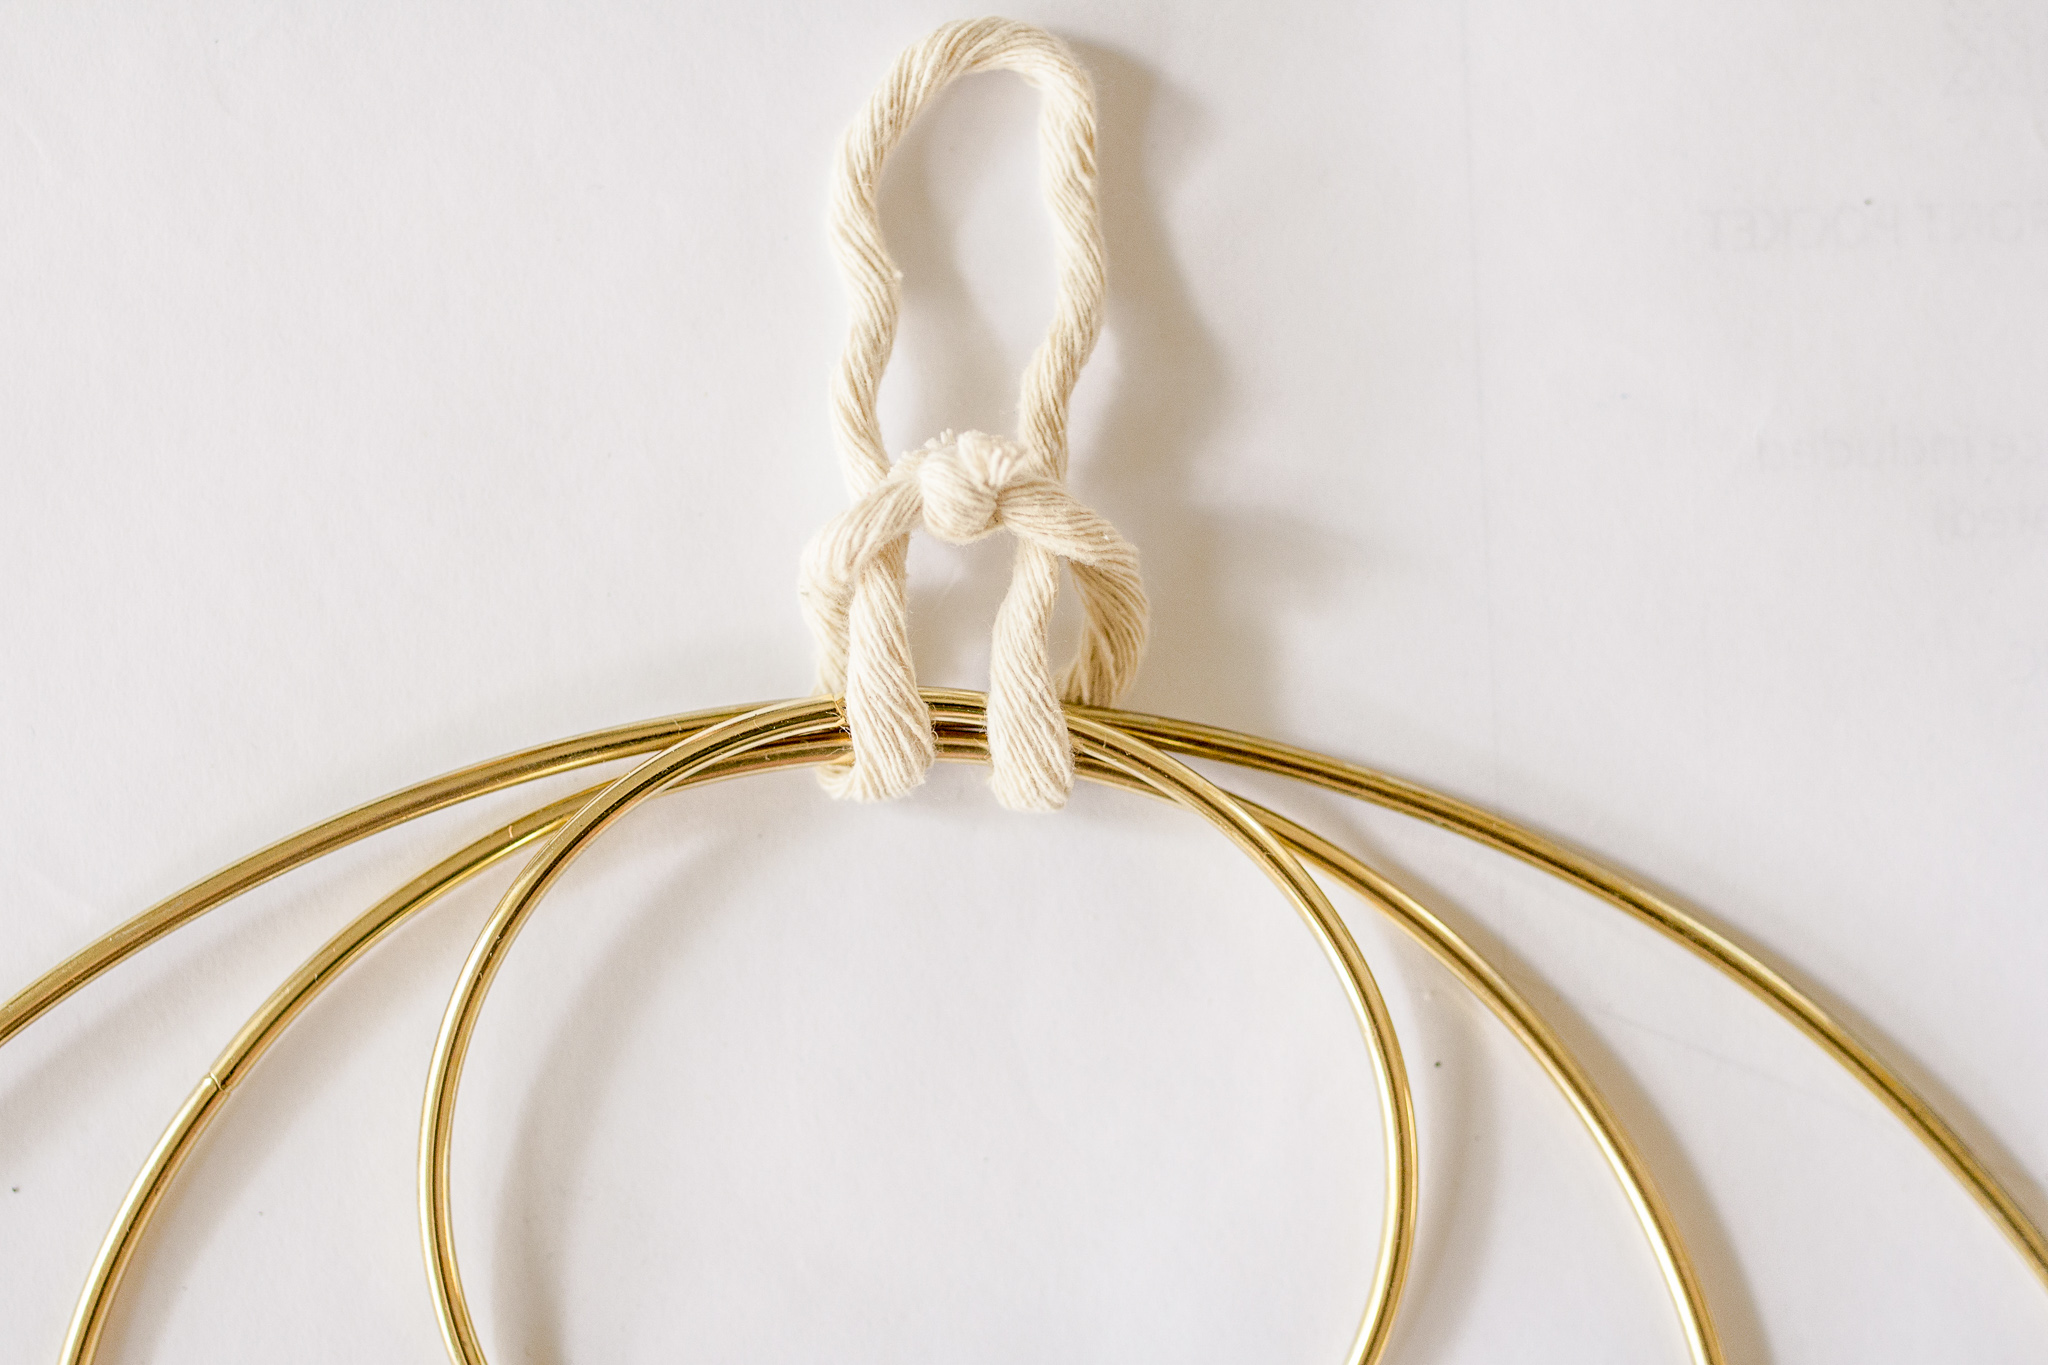
STEP 3 // Align the three crafting rings together and place the loop of string underneath with the knot at the top. Take the base of the string and thread through underneath the knotted end, pulling tight to secure (this is also known as a ‘lark’s head knot’).
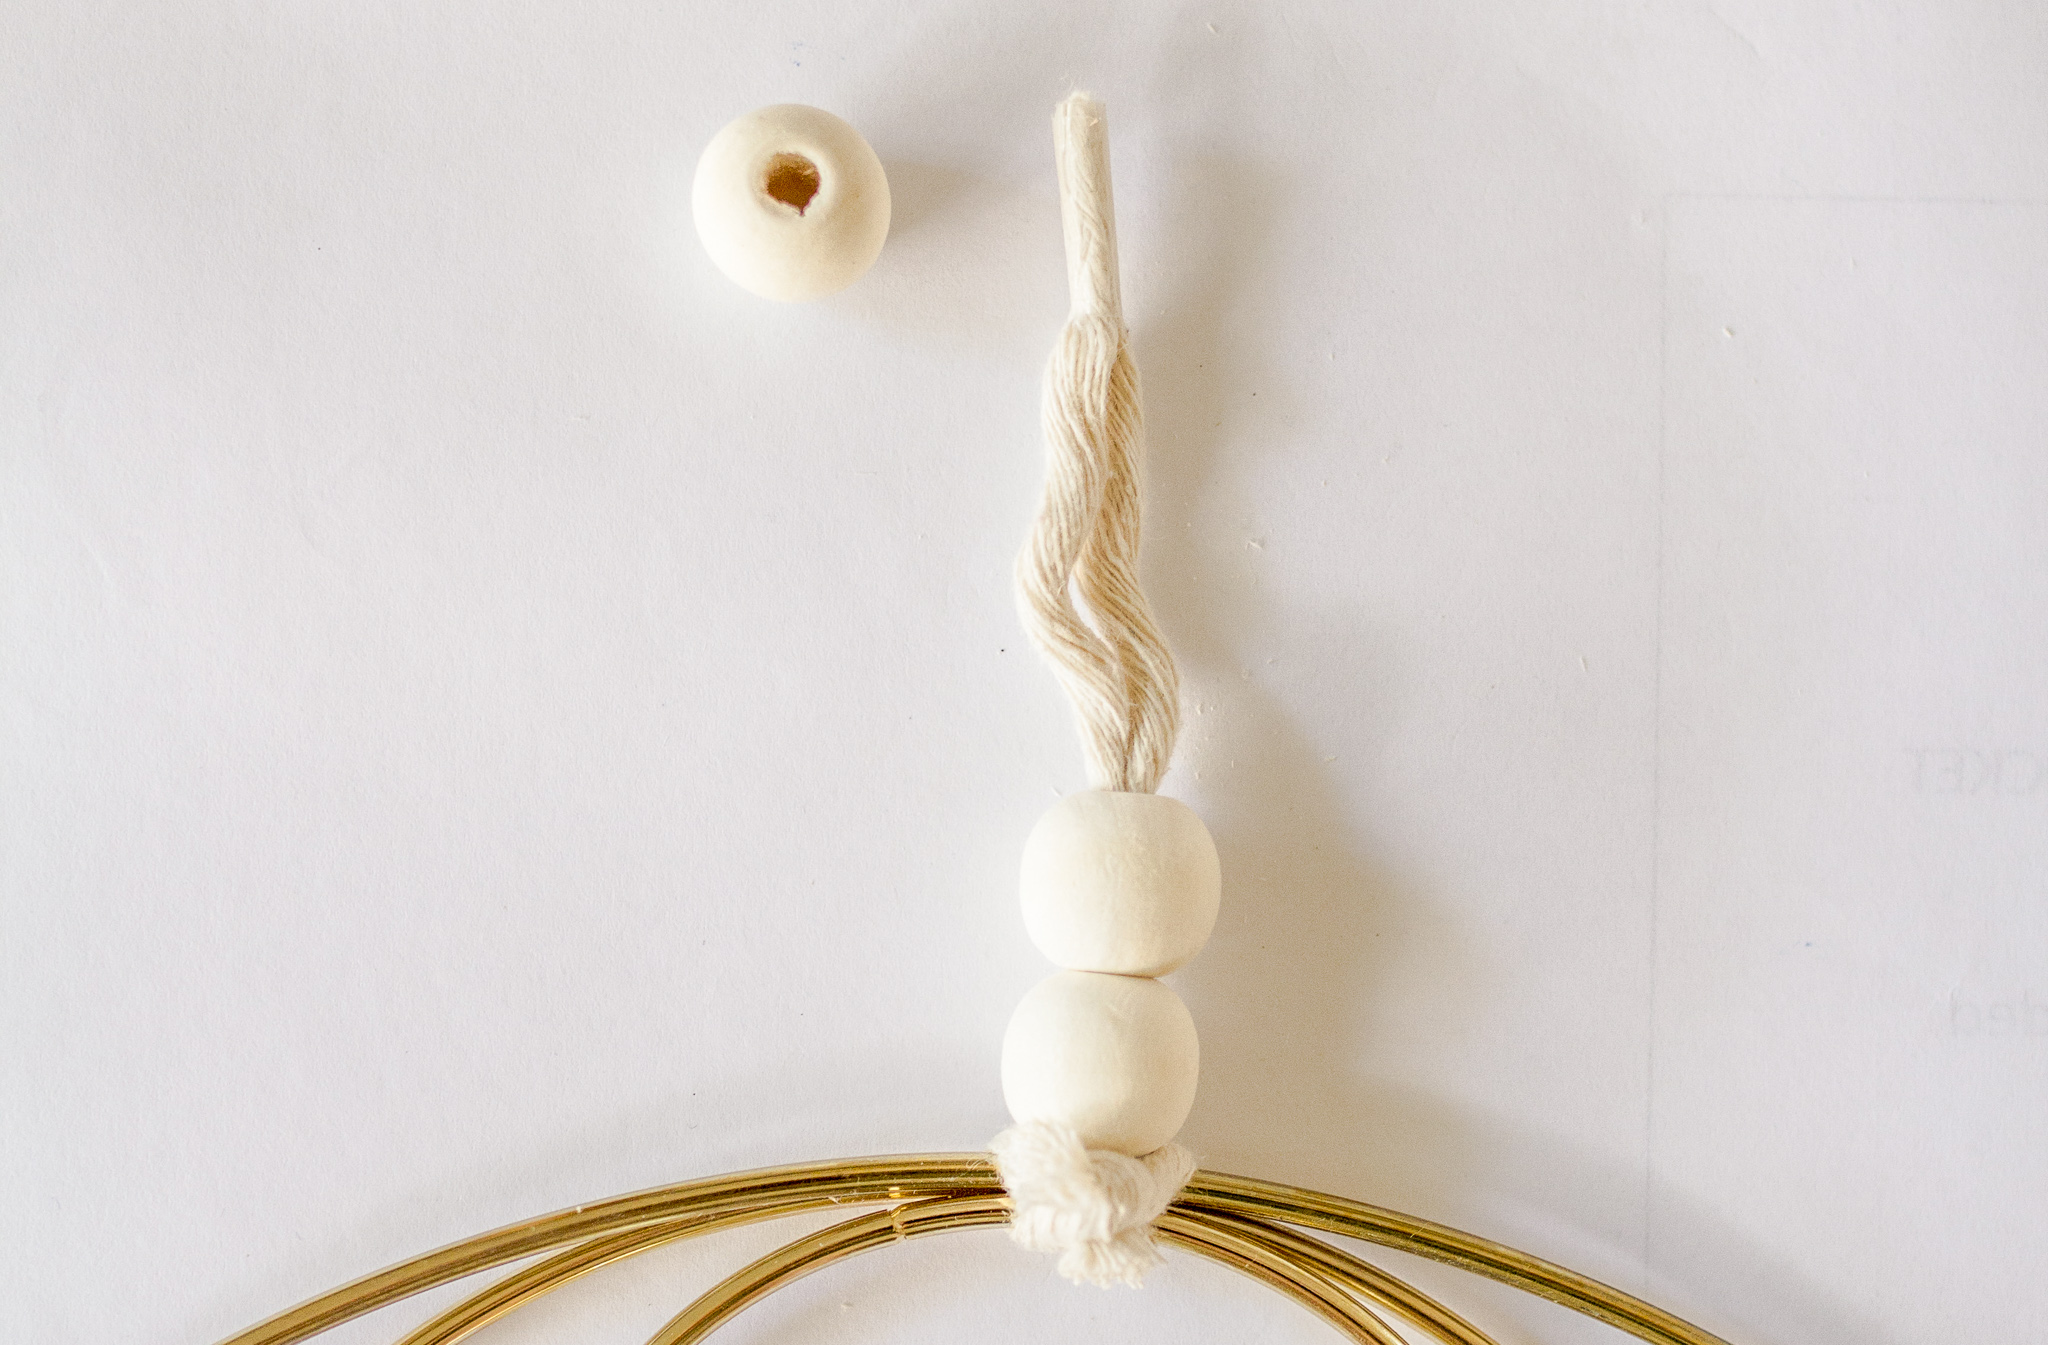
STEP 4 // Take a small piece of sticky tape and wind it tightly around the end of the string to make it easy to thread through the beads. Add the beads, and then gently pull off the tape. Flip the hoops so the raw edges of the knot face the back.
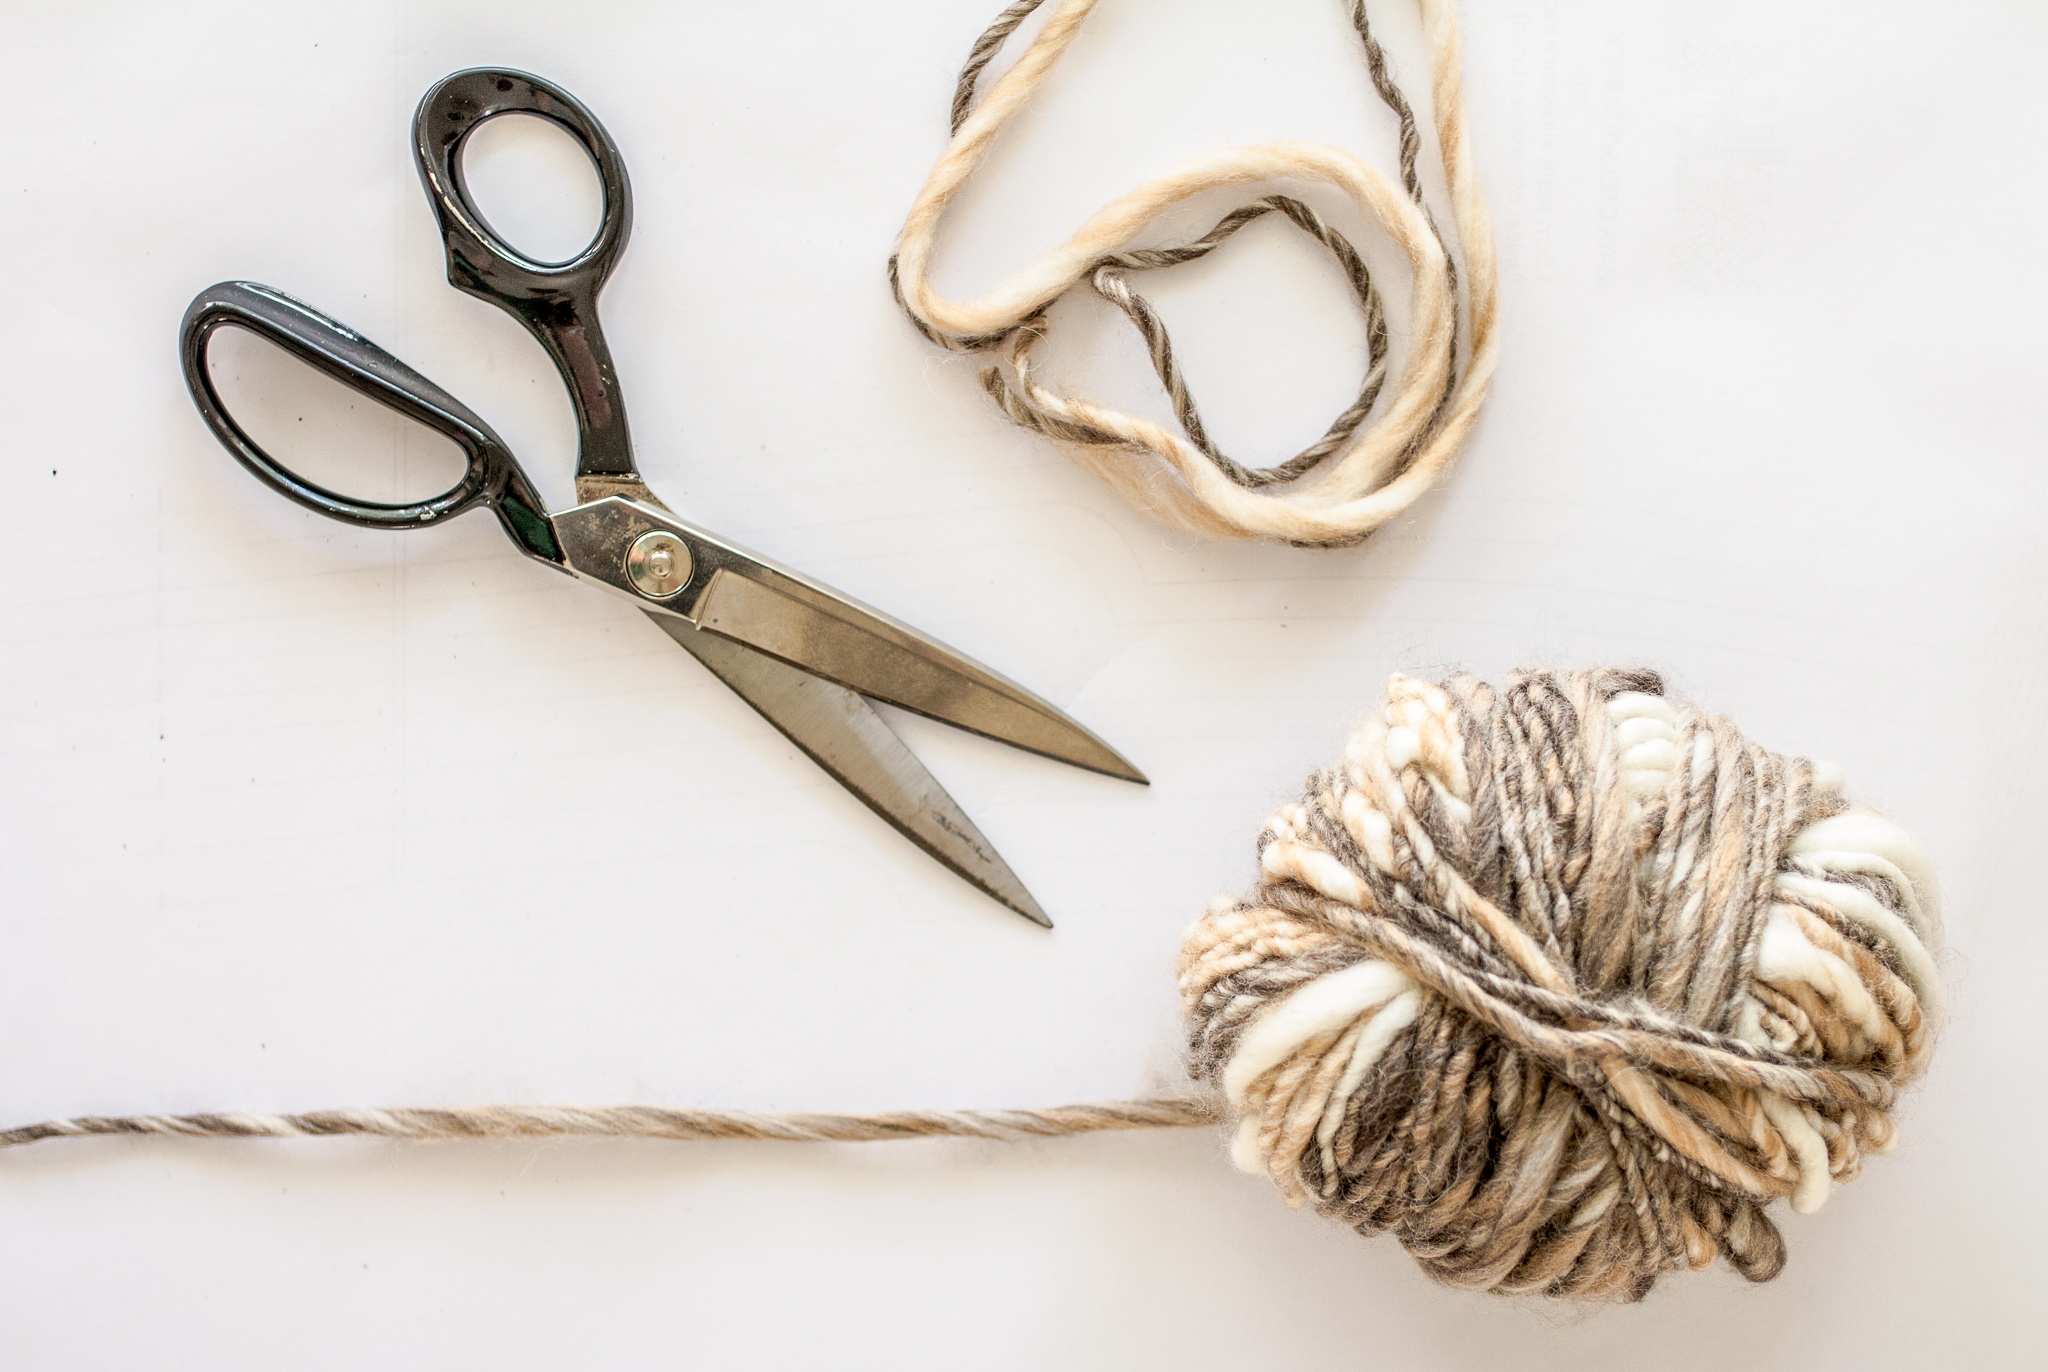
STEP 5 // CUT THE WOOL
The large ring is eight knots across, with each knot using five strands (or more if you’d prefer, depending on the thickness of your yarn and the desired effect). Use the measuring tape and cut off approx 40 lengths of yarn at 80cm. Separate them into eight groups of five strands ready to knot.
The medium ring is six knots across, so cut approx 30 lengths of yarn at 50cm and separate them into six groups of five strands.
The small ring is three knots across, so cut approx 15 lengths of yarn at 40cm and separate them into three groups of five strands.
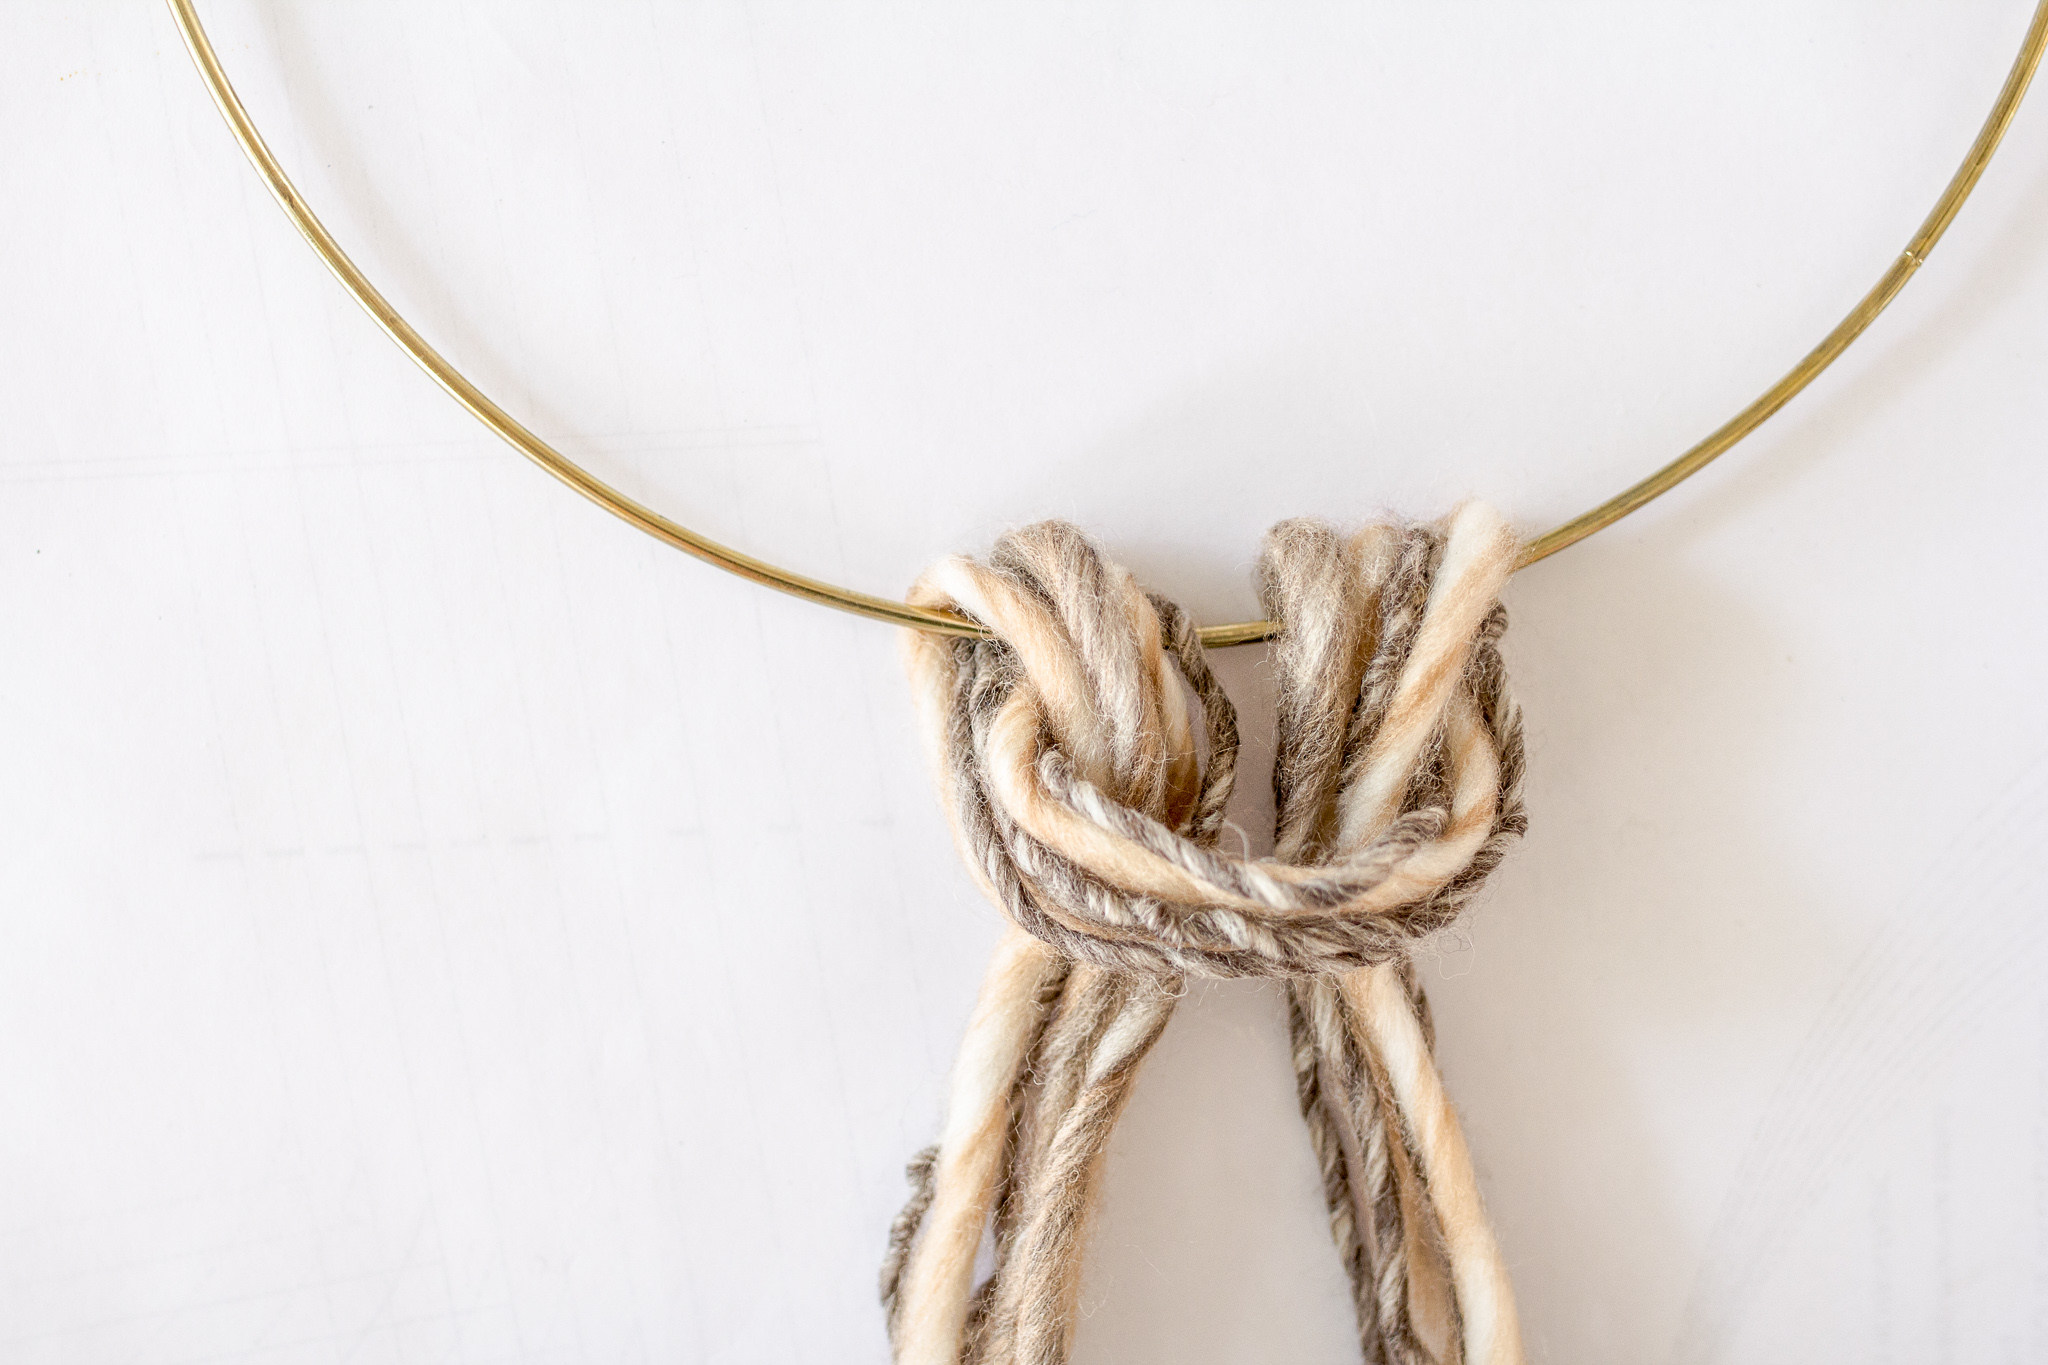
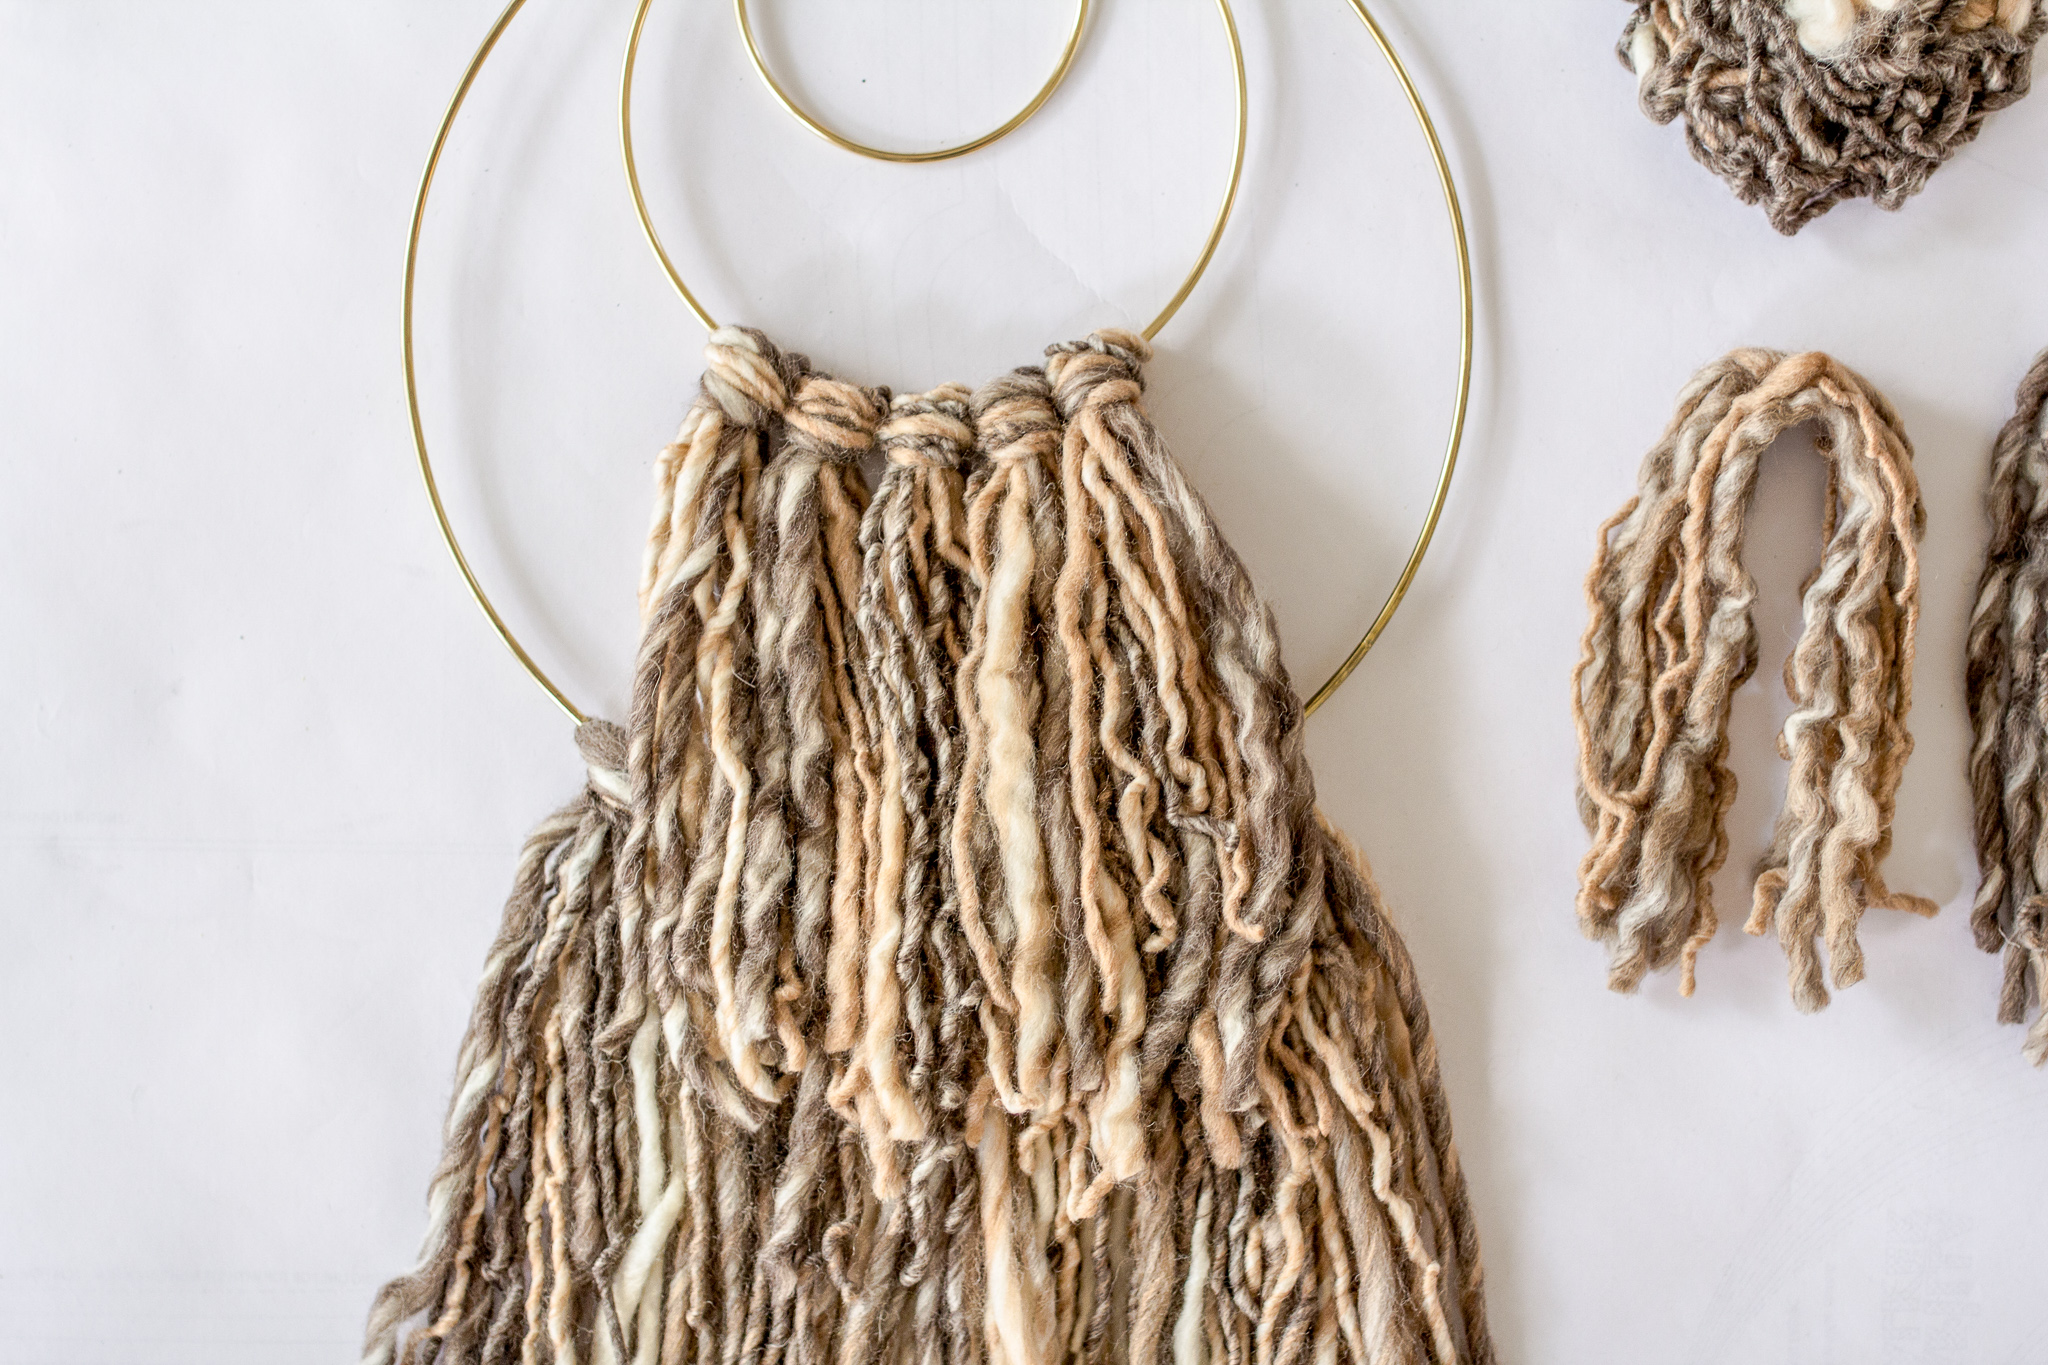
STEP 6 // TIE YOUR KNOTS
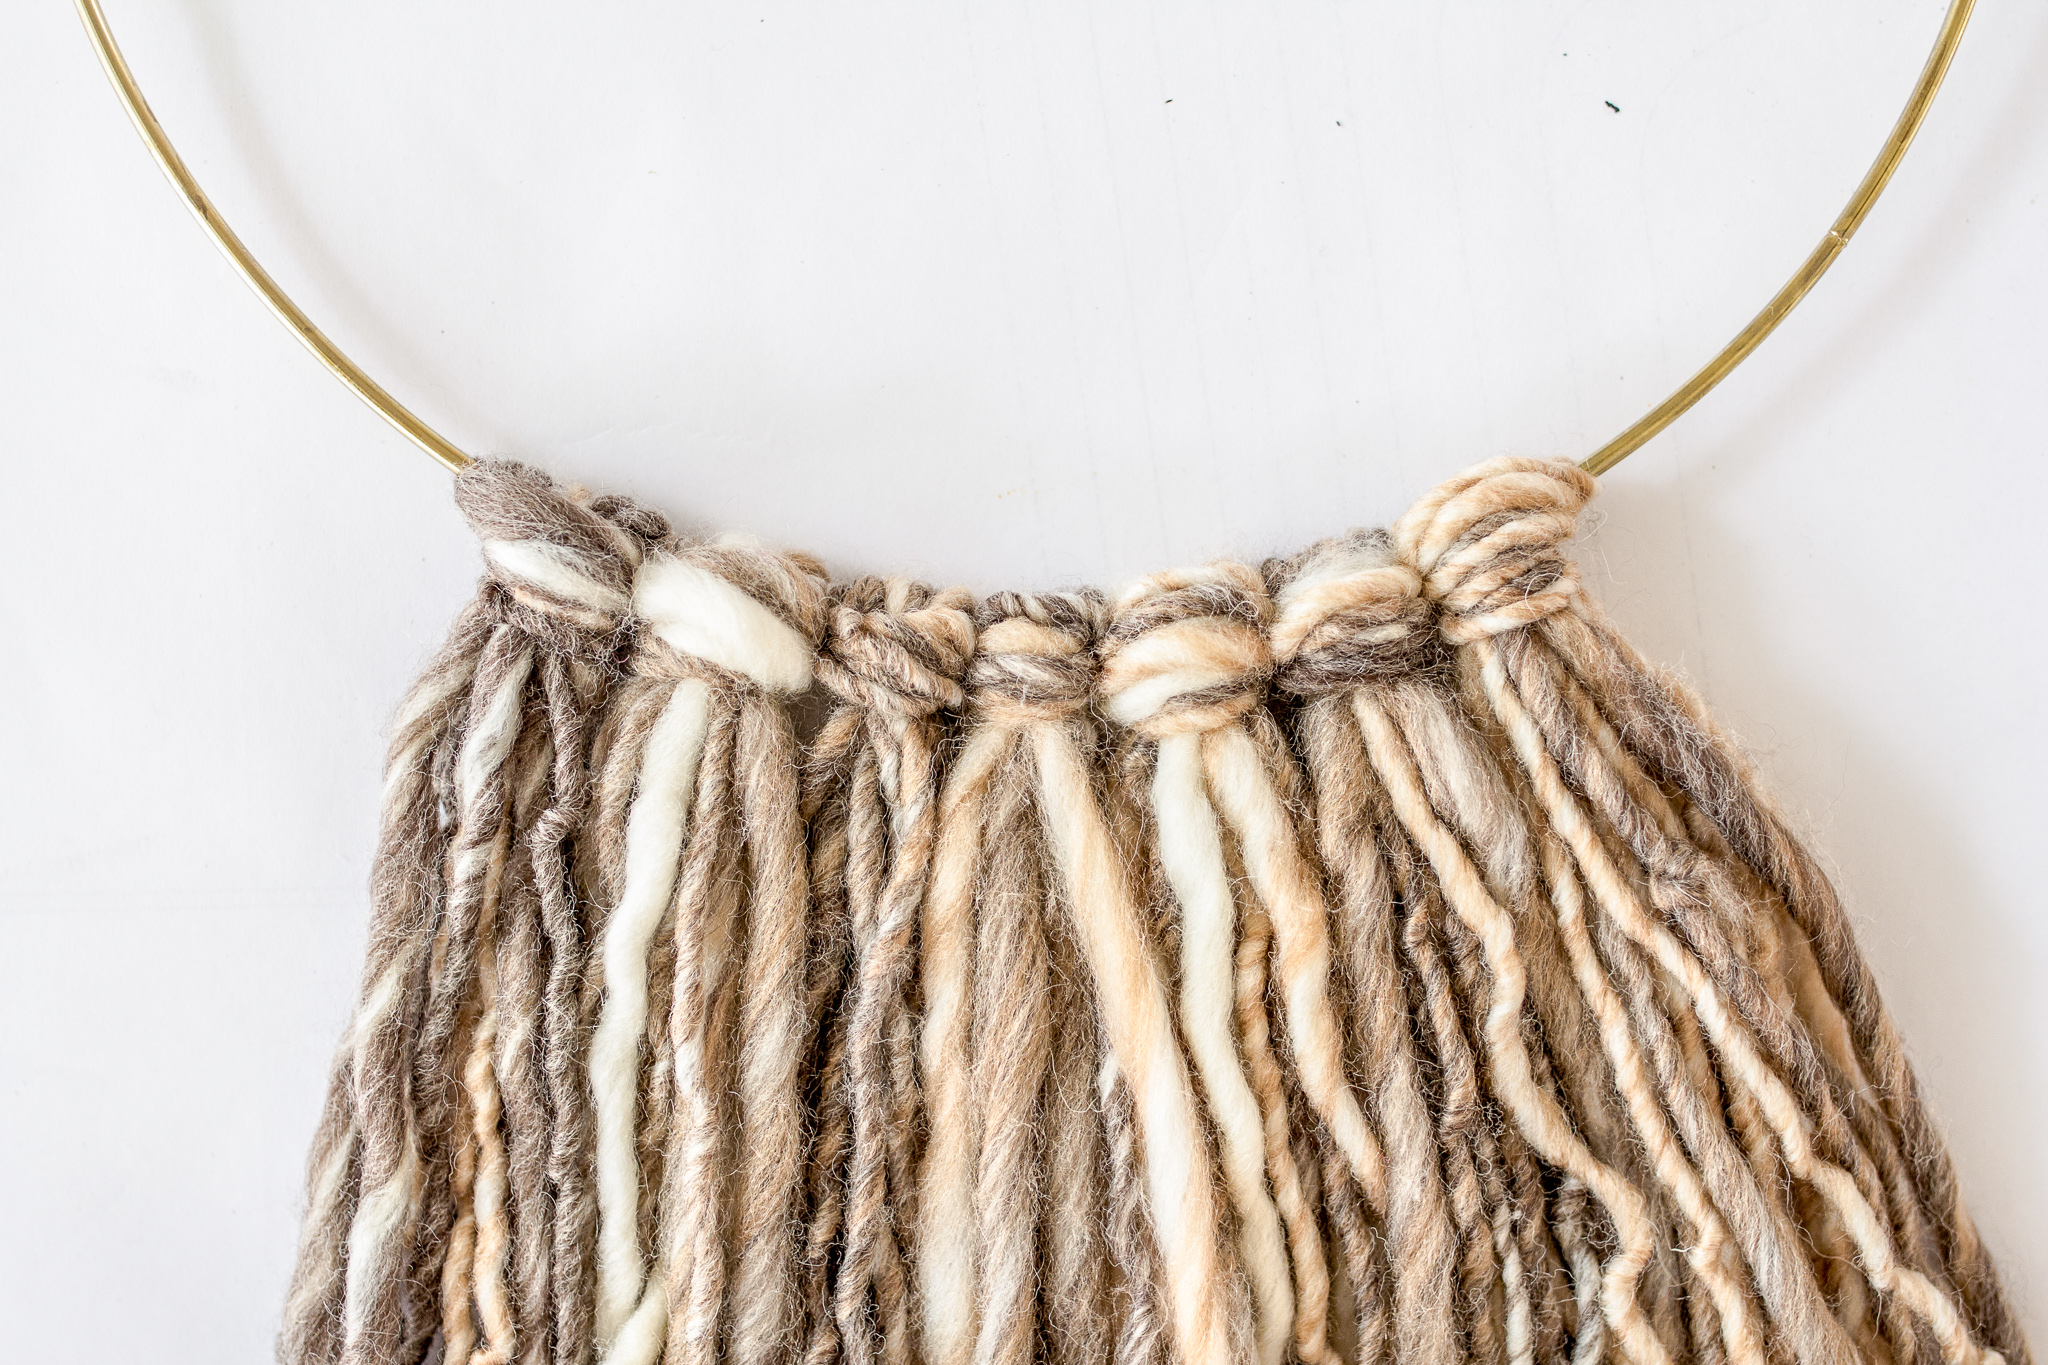
Take the large ring and one group of yarn (five strands of the 80cm lengths), fold in half and place the loop on top of the ring, then thread the raw ends underneath and through the loop (in a lark’s head knot). Pull firmly to secure. Repeat until you’ve created eight knots and the first ring is complete, and then repeat with the medium ring (six knots across) and the small ring (three knots across). Arrange the knots so they’re centred and you’re happy with their final position. Don’t worry if the lengths aren’t exactly even!
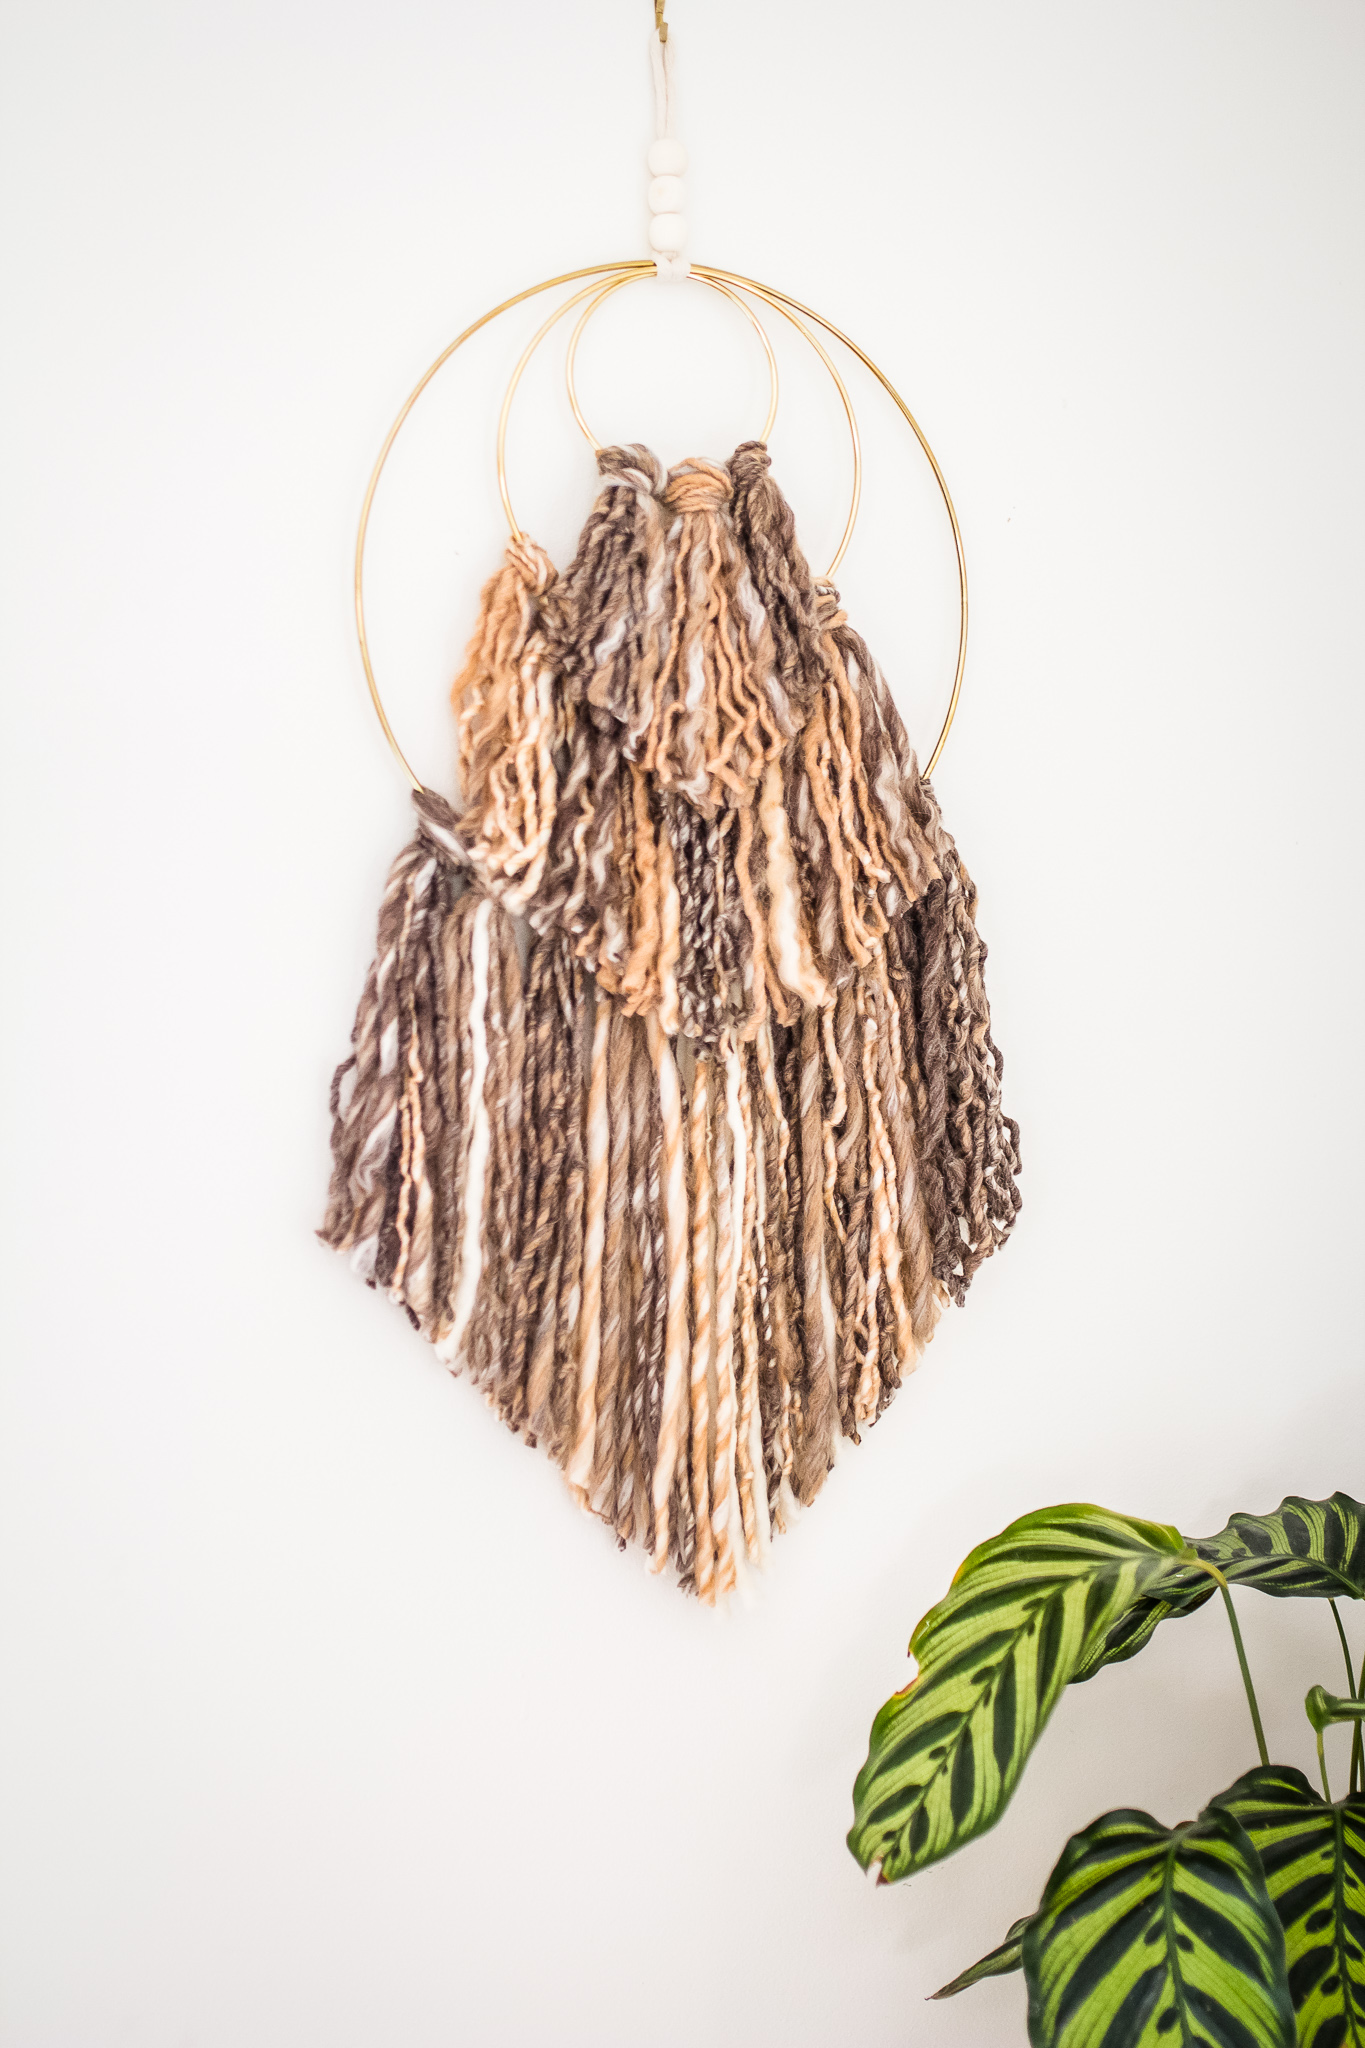
STEP 7 // To create the arrow effect, it’s easiest to trim once the piece is hanging: find the centre point for each layer and carefully cut away the corners into your desired shape or, alternatively, leave as is for a more natural look. And voila – enjoy gazing in wonderment at your very own #memade wall hanging!
Handmade, textured elements bring softness to a space, and help create a natural, earthy feel
PHOTOS AND PROJECT FOR PEPPERMINT AND SPOTLIGHT BY SOPHIE PARSLOW