words and photos LEEYONG SOO
If you’ve paid any attention to the fashion world lately, you’ll have seen that collars are big news. More specifically, it’s the detachable collar that seems to feature in every fashion spread at the moment. From the white Puritan-styles that cover nearly the entire shoulder area, to sweet, lace-edged Peter Pan collars and gingham with ruffle trims, the fashion set seems to be working overtime to ensure no neckline is left behind.
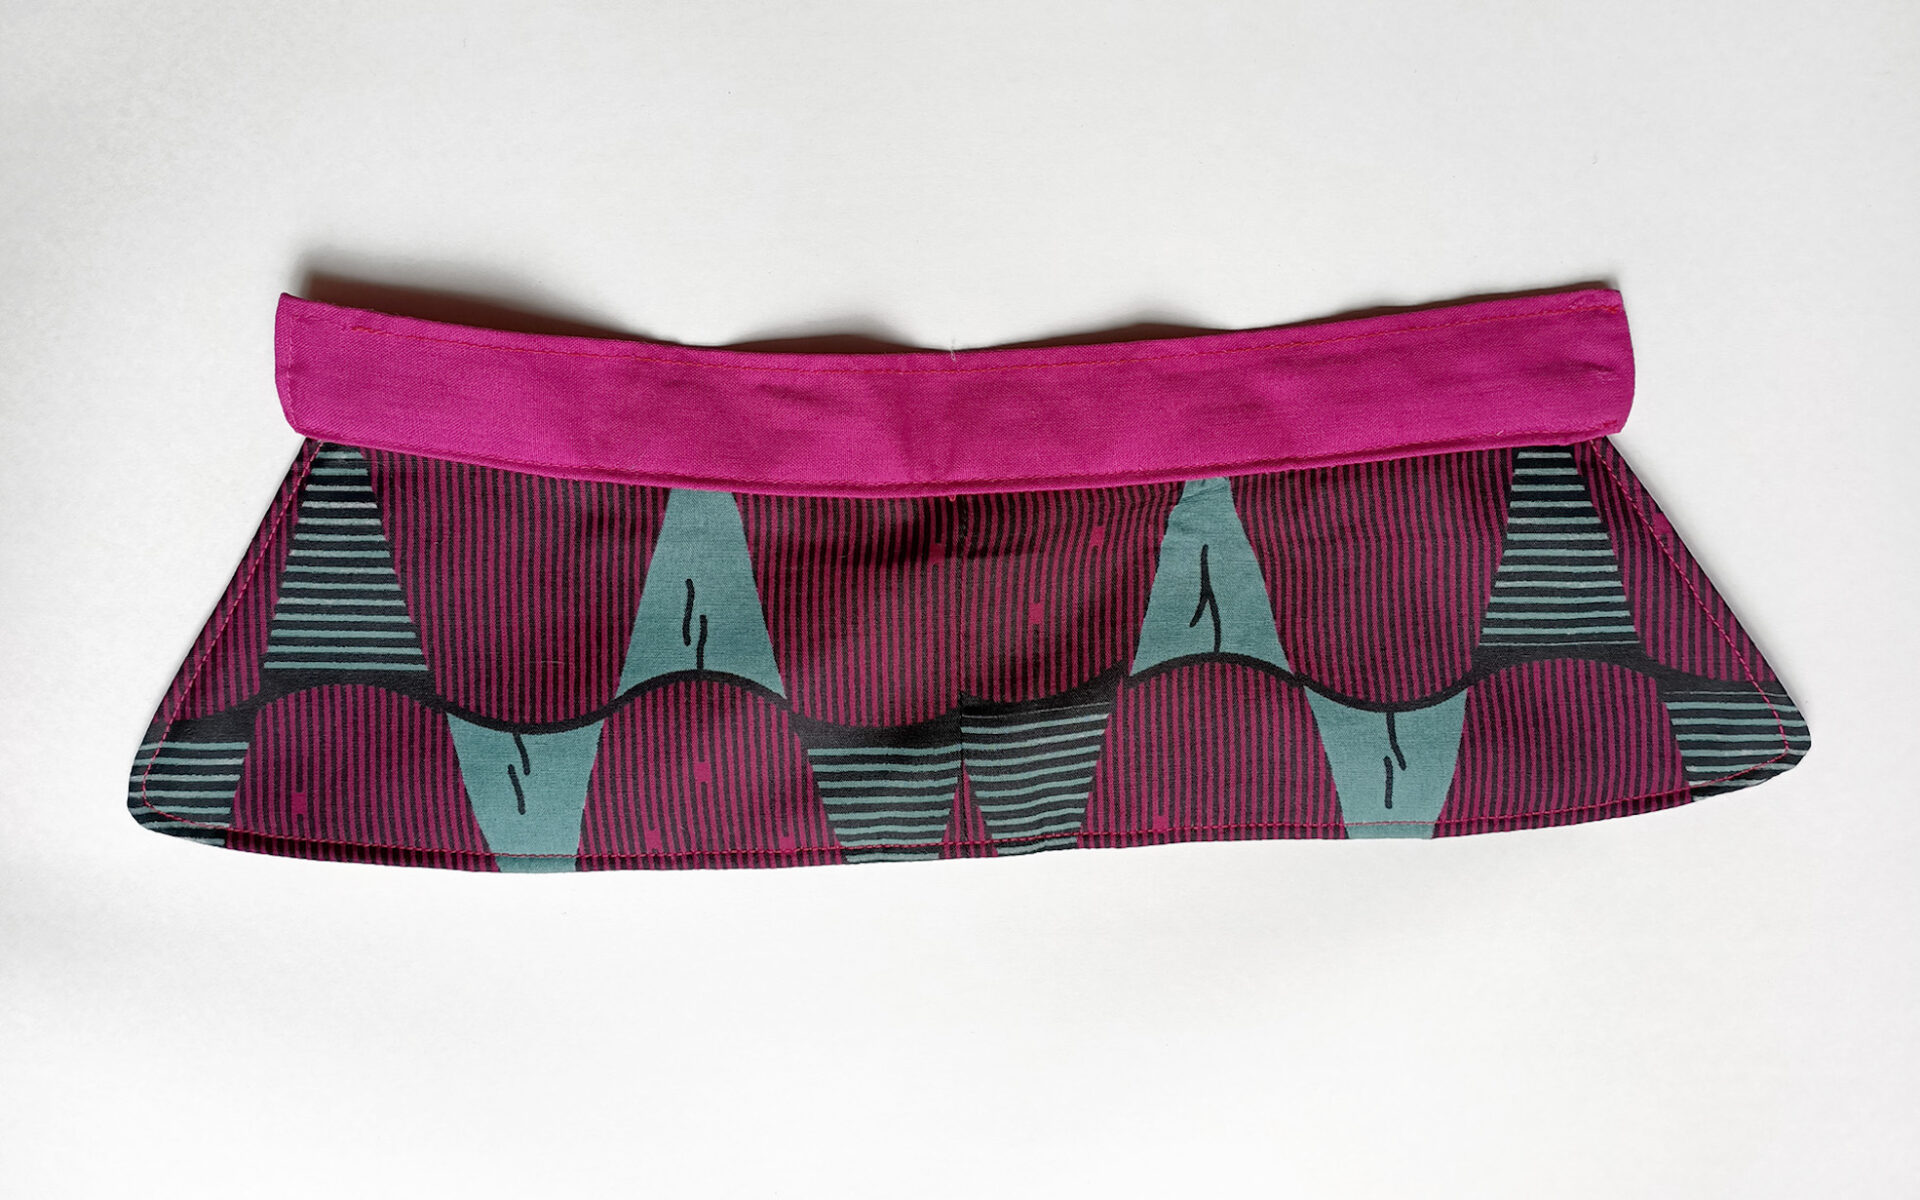
The good news, if you want to try this trend, is they’re relatively easy to make and don’t require much fabric, so if you have bits leftover after making something else, it’s likely you won’t need to buy anything to make your own! They can also be made to be reversible, so that you get two collars in one – or even more, depending on how you style them.
What you will need
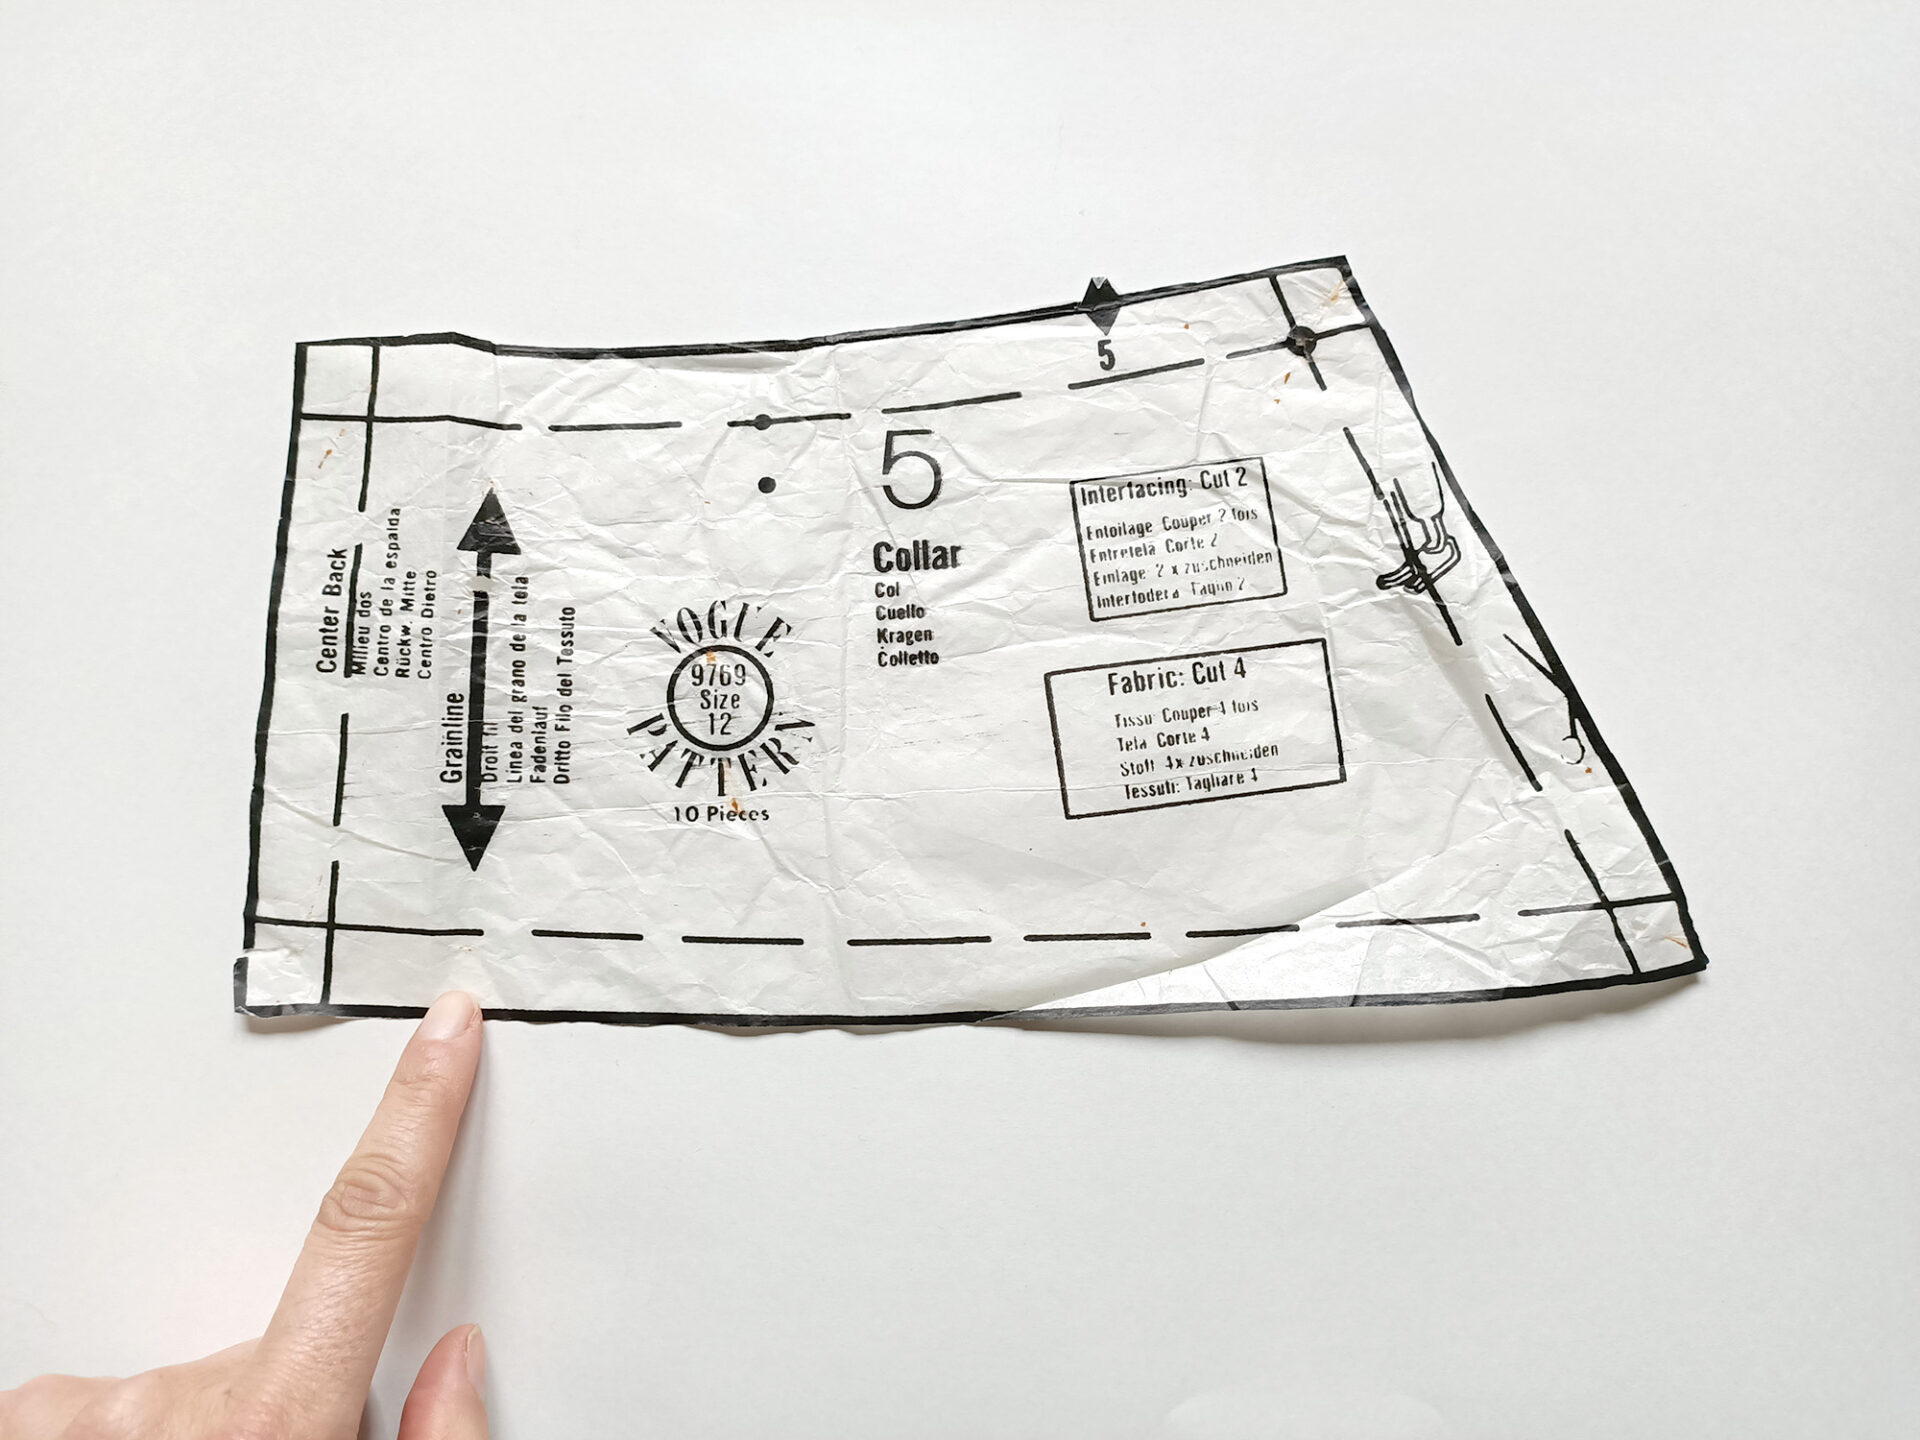
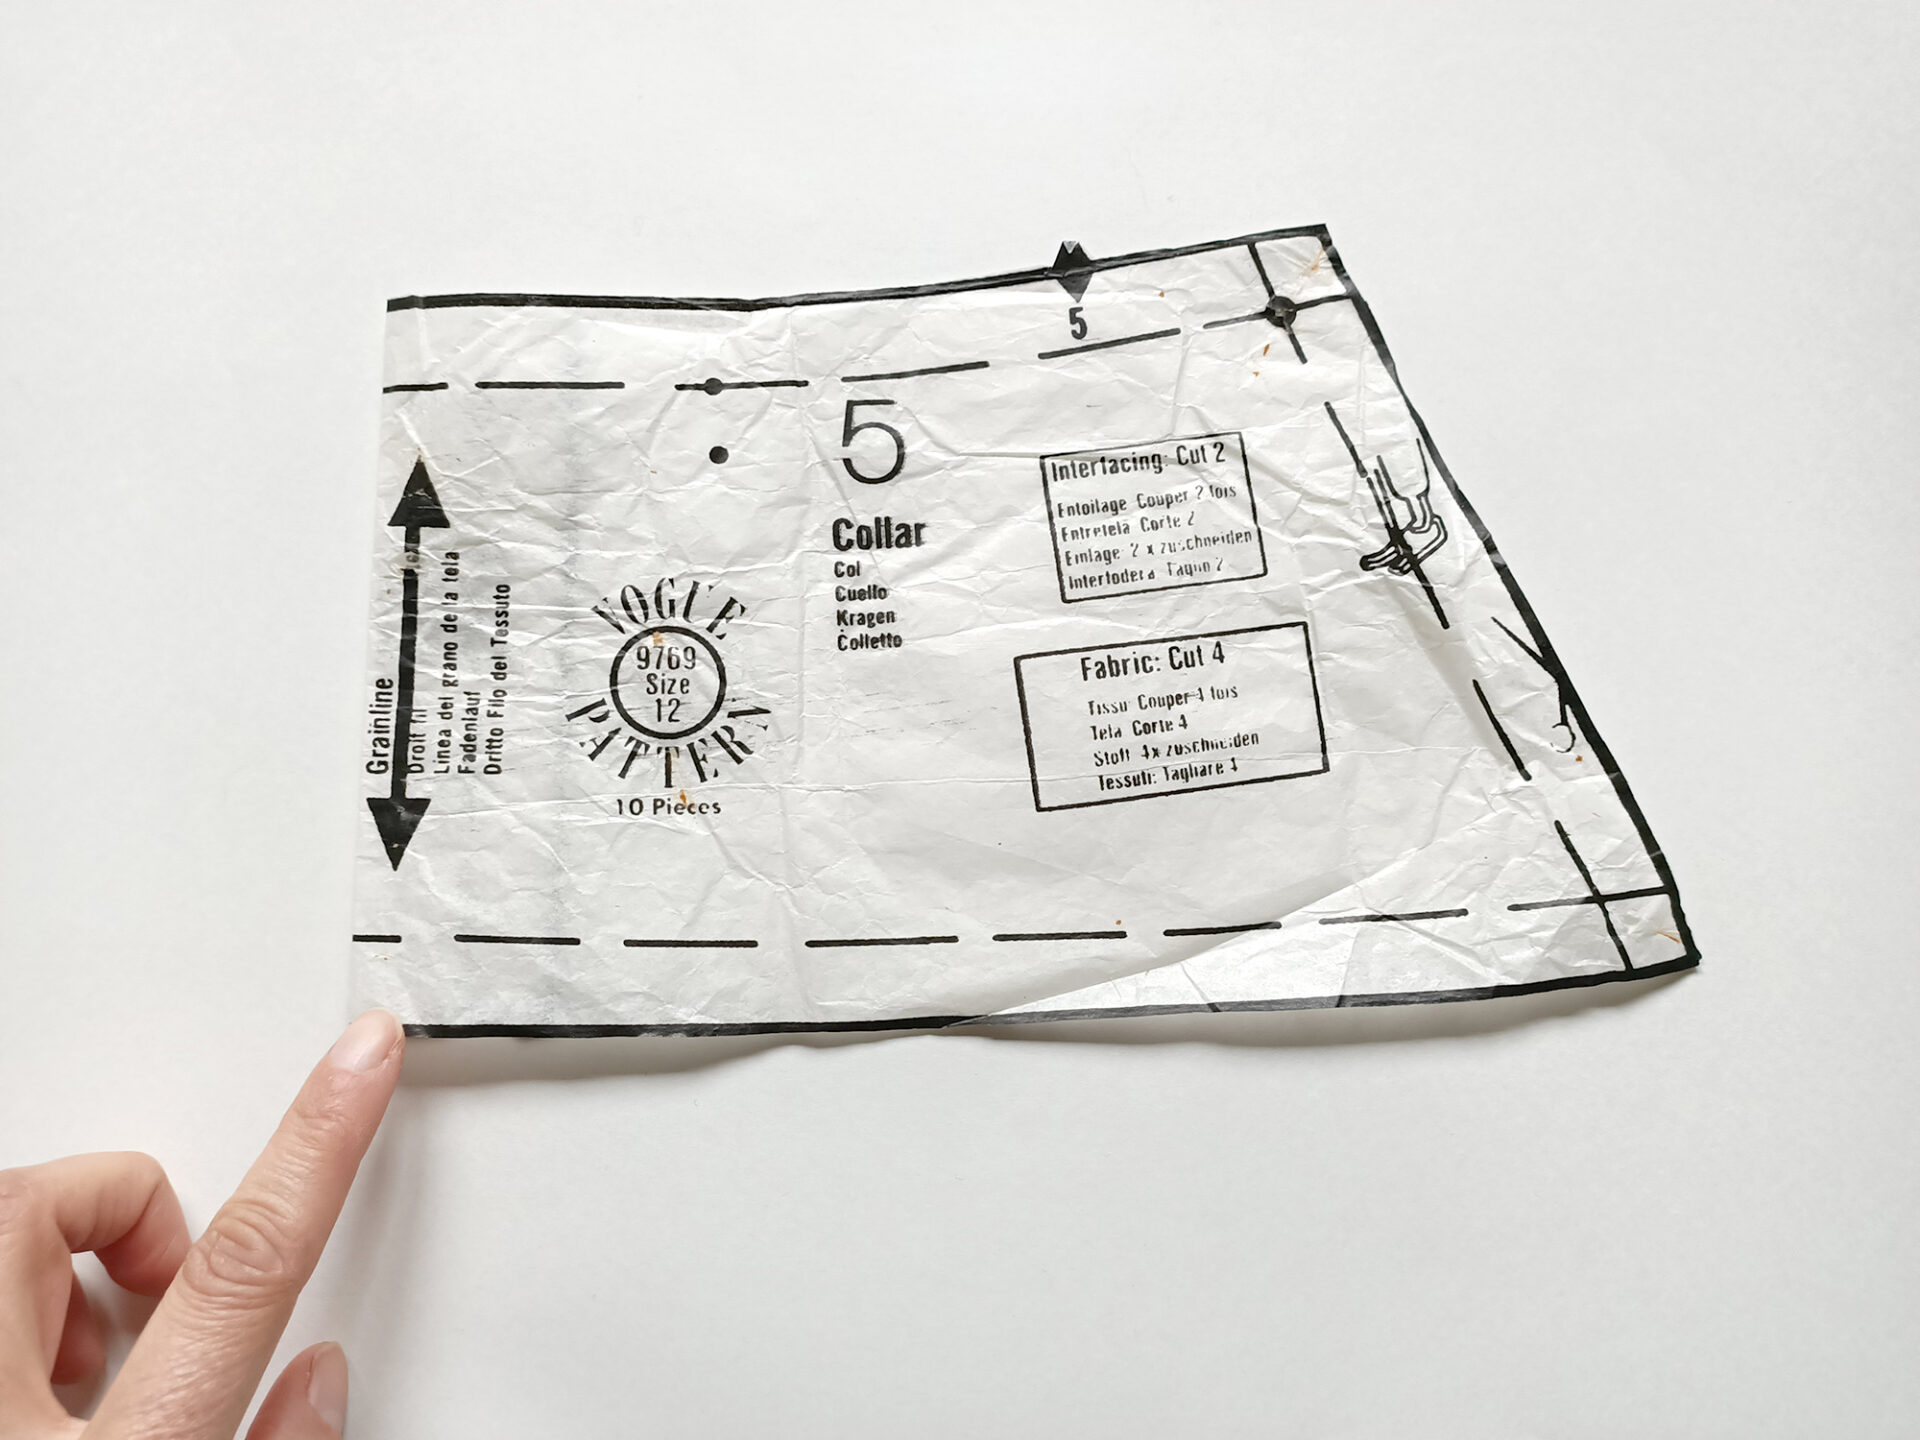
A sewing pattern for the collar. There’s no need to buy a brand new pattern specifically for this project as you can use the collar and neckband pieces from a pattern in your collection or find a pattern with a collar that you like in an op-shop. Alternatively, make your own pattern by opening out a collared shirt and tracing the shape of the collar and the neckband section (essentially an isosceles trapezium and a long rectangle!). Keep in mind that you will not be buttoning this collar to fasten it, so the ends of the neckband should not quite meet when you put it around your neck. This may mean you need to make both the collar and the band shorter than the pattern pieces. Taking about 3cm off the centre back of the pattern pieces should do the trick (that is, instead of cutting at the centre back line, cut 3cm in from there). It’s better for the finished collar to be too small than too big because the ribbon threaded through will bring the ends of the neckband together anyway. It’s also relatively simple to slightly alter the ends of the collar by making them rounded rather than sharply pointed, so cut according to your taste.
Fabric – two pieces roughly 50cm wide and 15cm long for the collar section and one piece roughly 10cm wide and 40cm long for the neckband section.
Interfacing – roughly the same amount as the fabric.
Thread in the same colours as the fabric, or in a contrasting shade if you prefer.
Scissors.
Pins.
Sewing machine (or needle, if making by hand).
Ribbon, leather thonging or a length of lightweight fabric to make the tie for the neck.
Let’s get making!
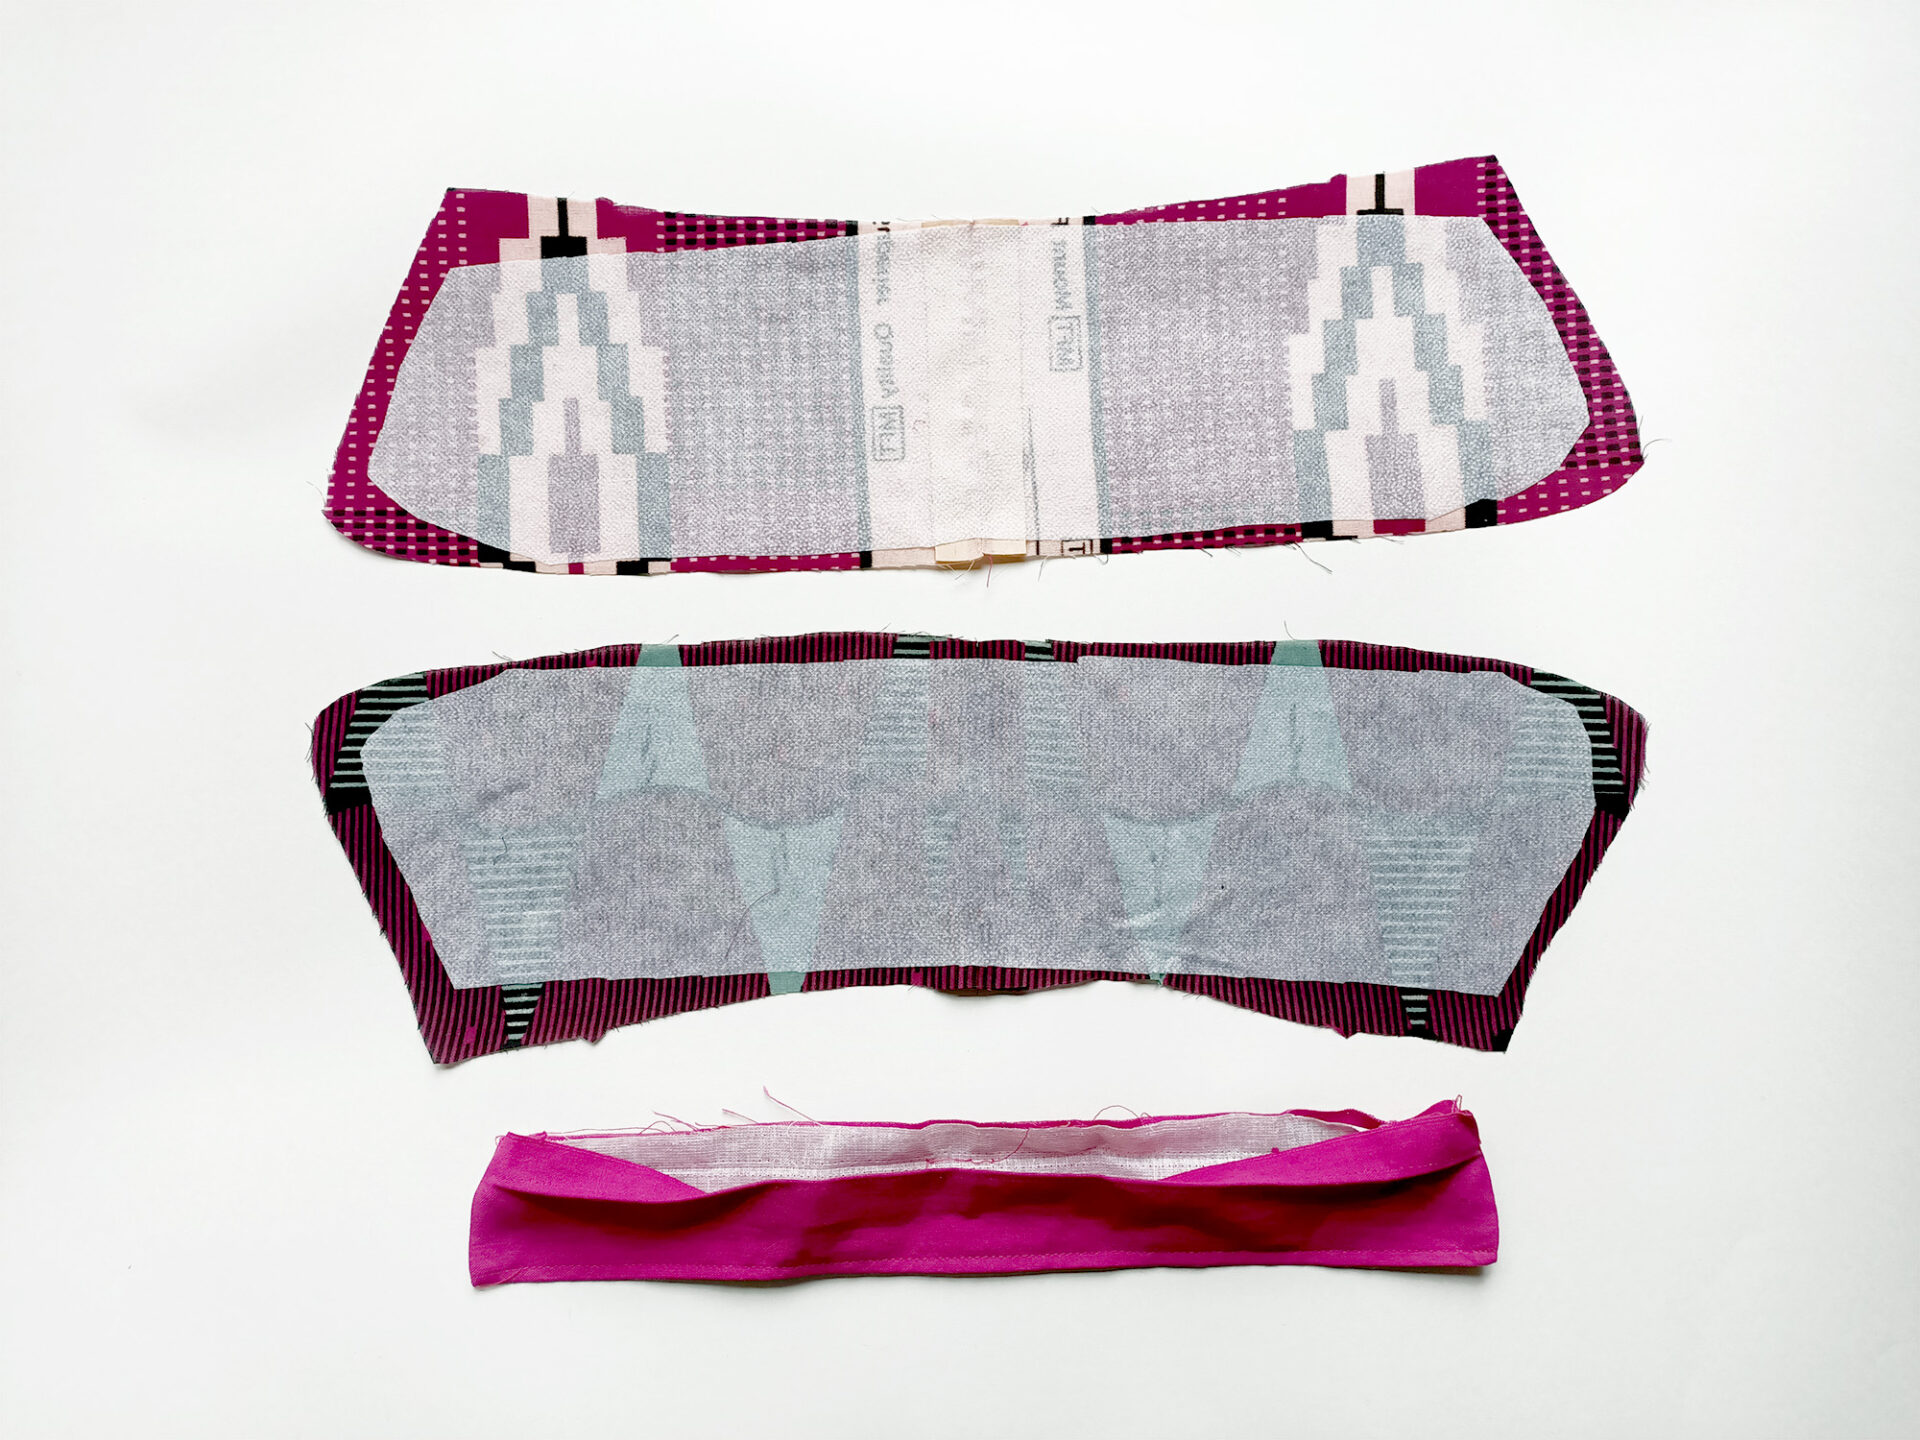
STEP ONE // Make the collar.
If using a commercial sewing pattern, follow the instructions given. Otherwise, cut out the two collar pieces from the fabric of your choice (if making a reversible collar, use two different fabrics) and apply interfacing to the wrong sides. Then place the pieces right sides together and sew all around the edges, leaving the short edge of the trapezium free. Turn the collar inside out and iron it. Sew around the outside edge.
It’s also possible to cheat a bit here by removing the neckband and collar section from a shirt and adapting it so it can be worn as a detachable collar. If you have a shirt that was destined for the rag bag, why not rescue the collar first?
STEP TWO // Make the neckband.
Follow the instructions in the sewing pattern, or simply apply interfacing to the wrong side of the fabric, then fold it in half so that the right sides are together. Sew all around the edges, leaving one long side free. Turn the stand inside out and iron it, pressing the edges of the open side under (inside the neckband) by 1cm.
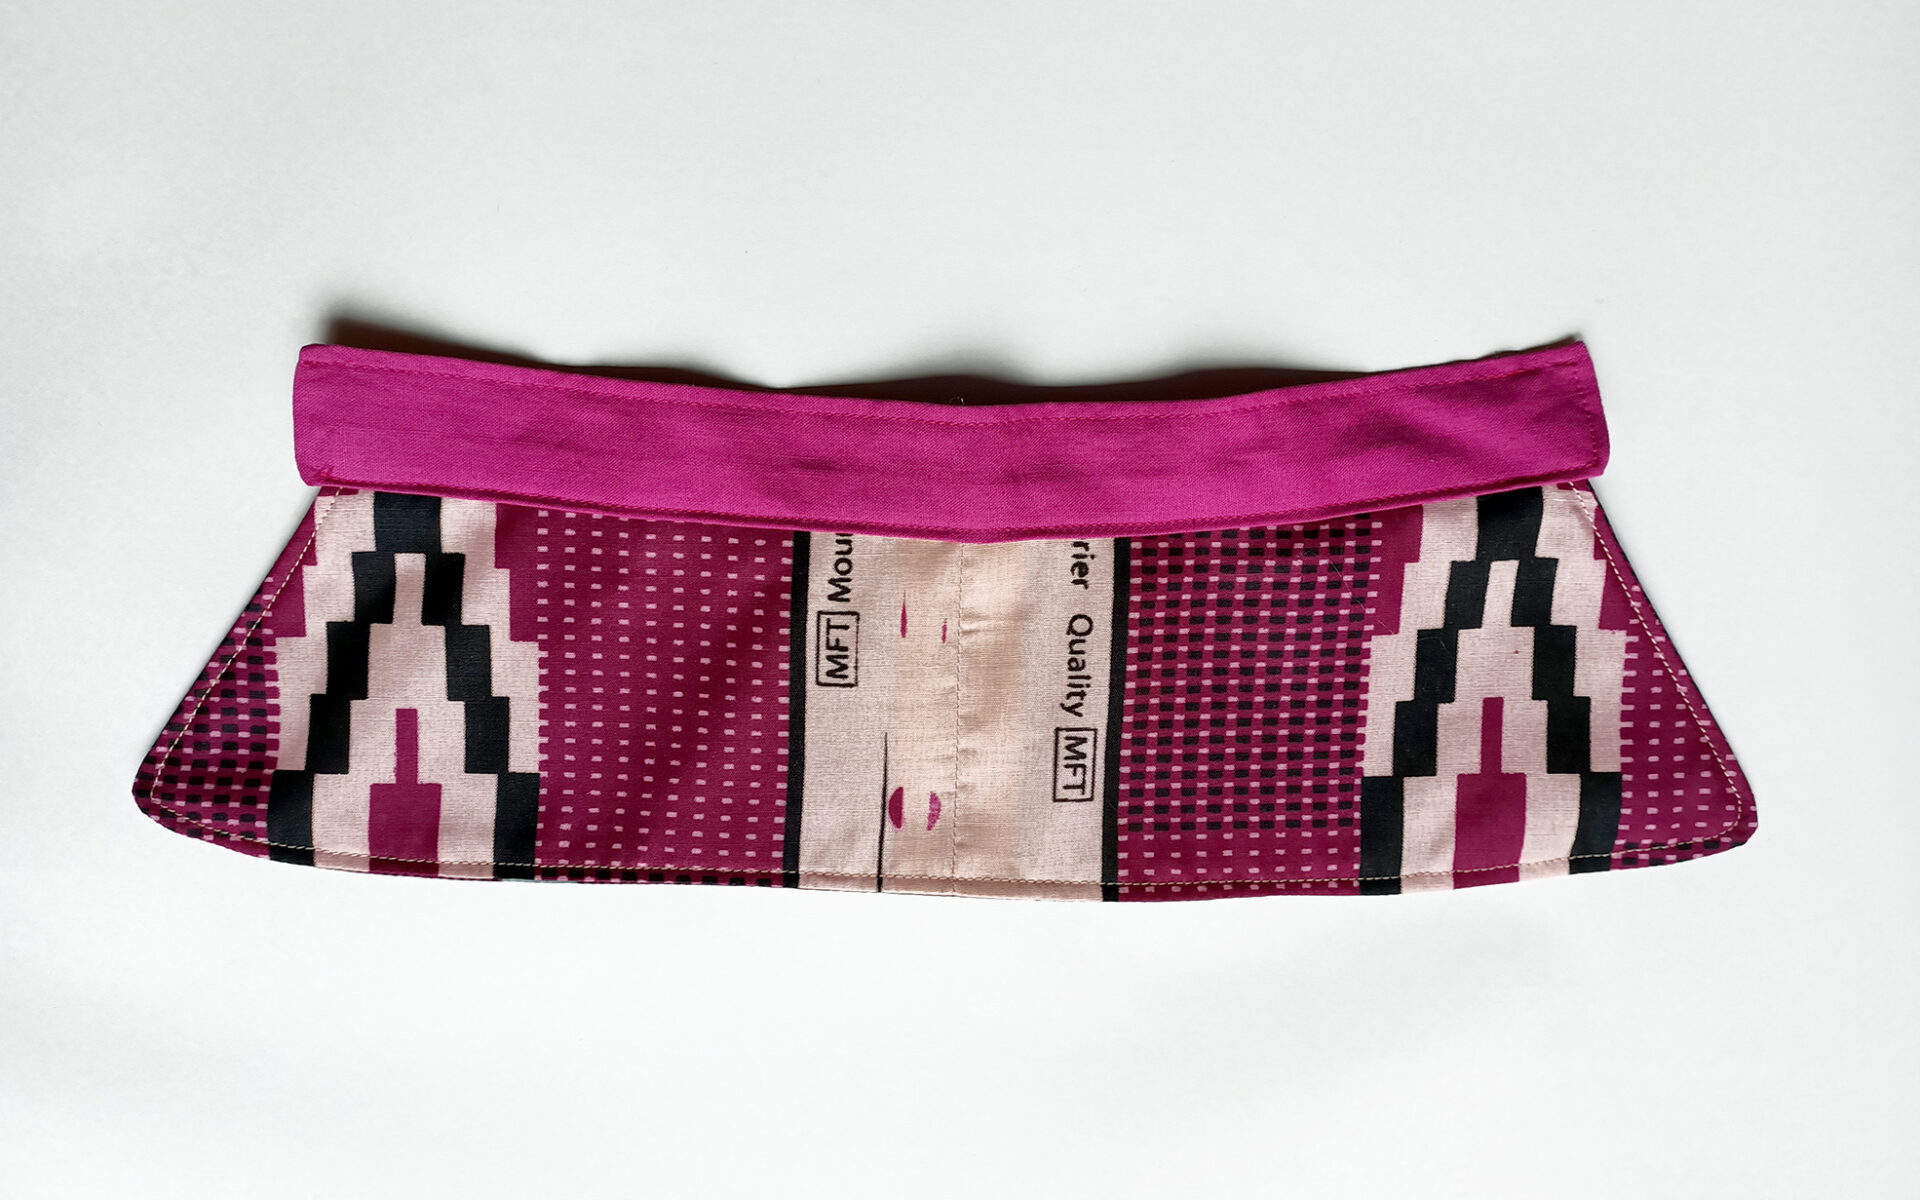
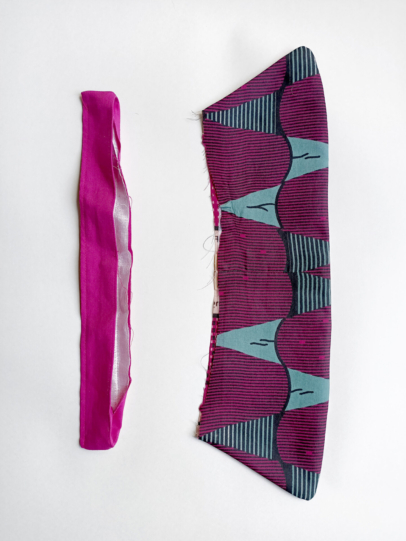
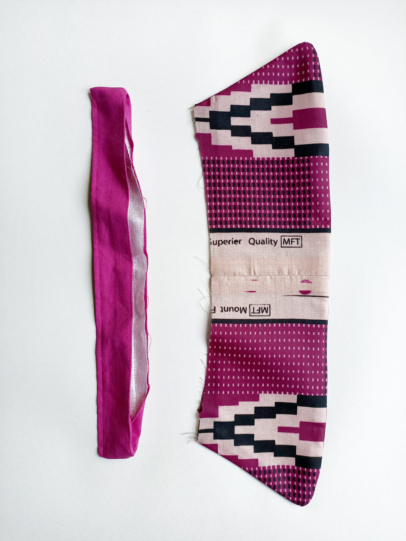
STEP THREE // Assemble the collar.
Insert the short edge of the collar into the open side of the neckband, matching the centres of the collar and band to make sure the pieces are distributed evenly. Sew along the edge of the stand to secure the collar, and around the entire stand if desired.
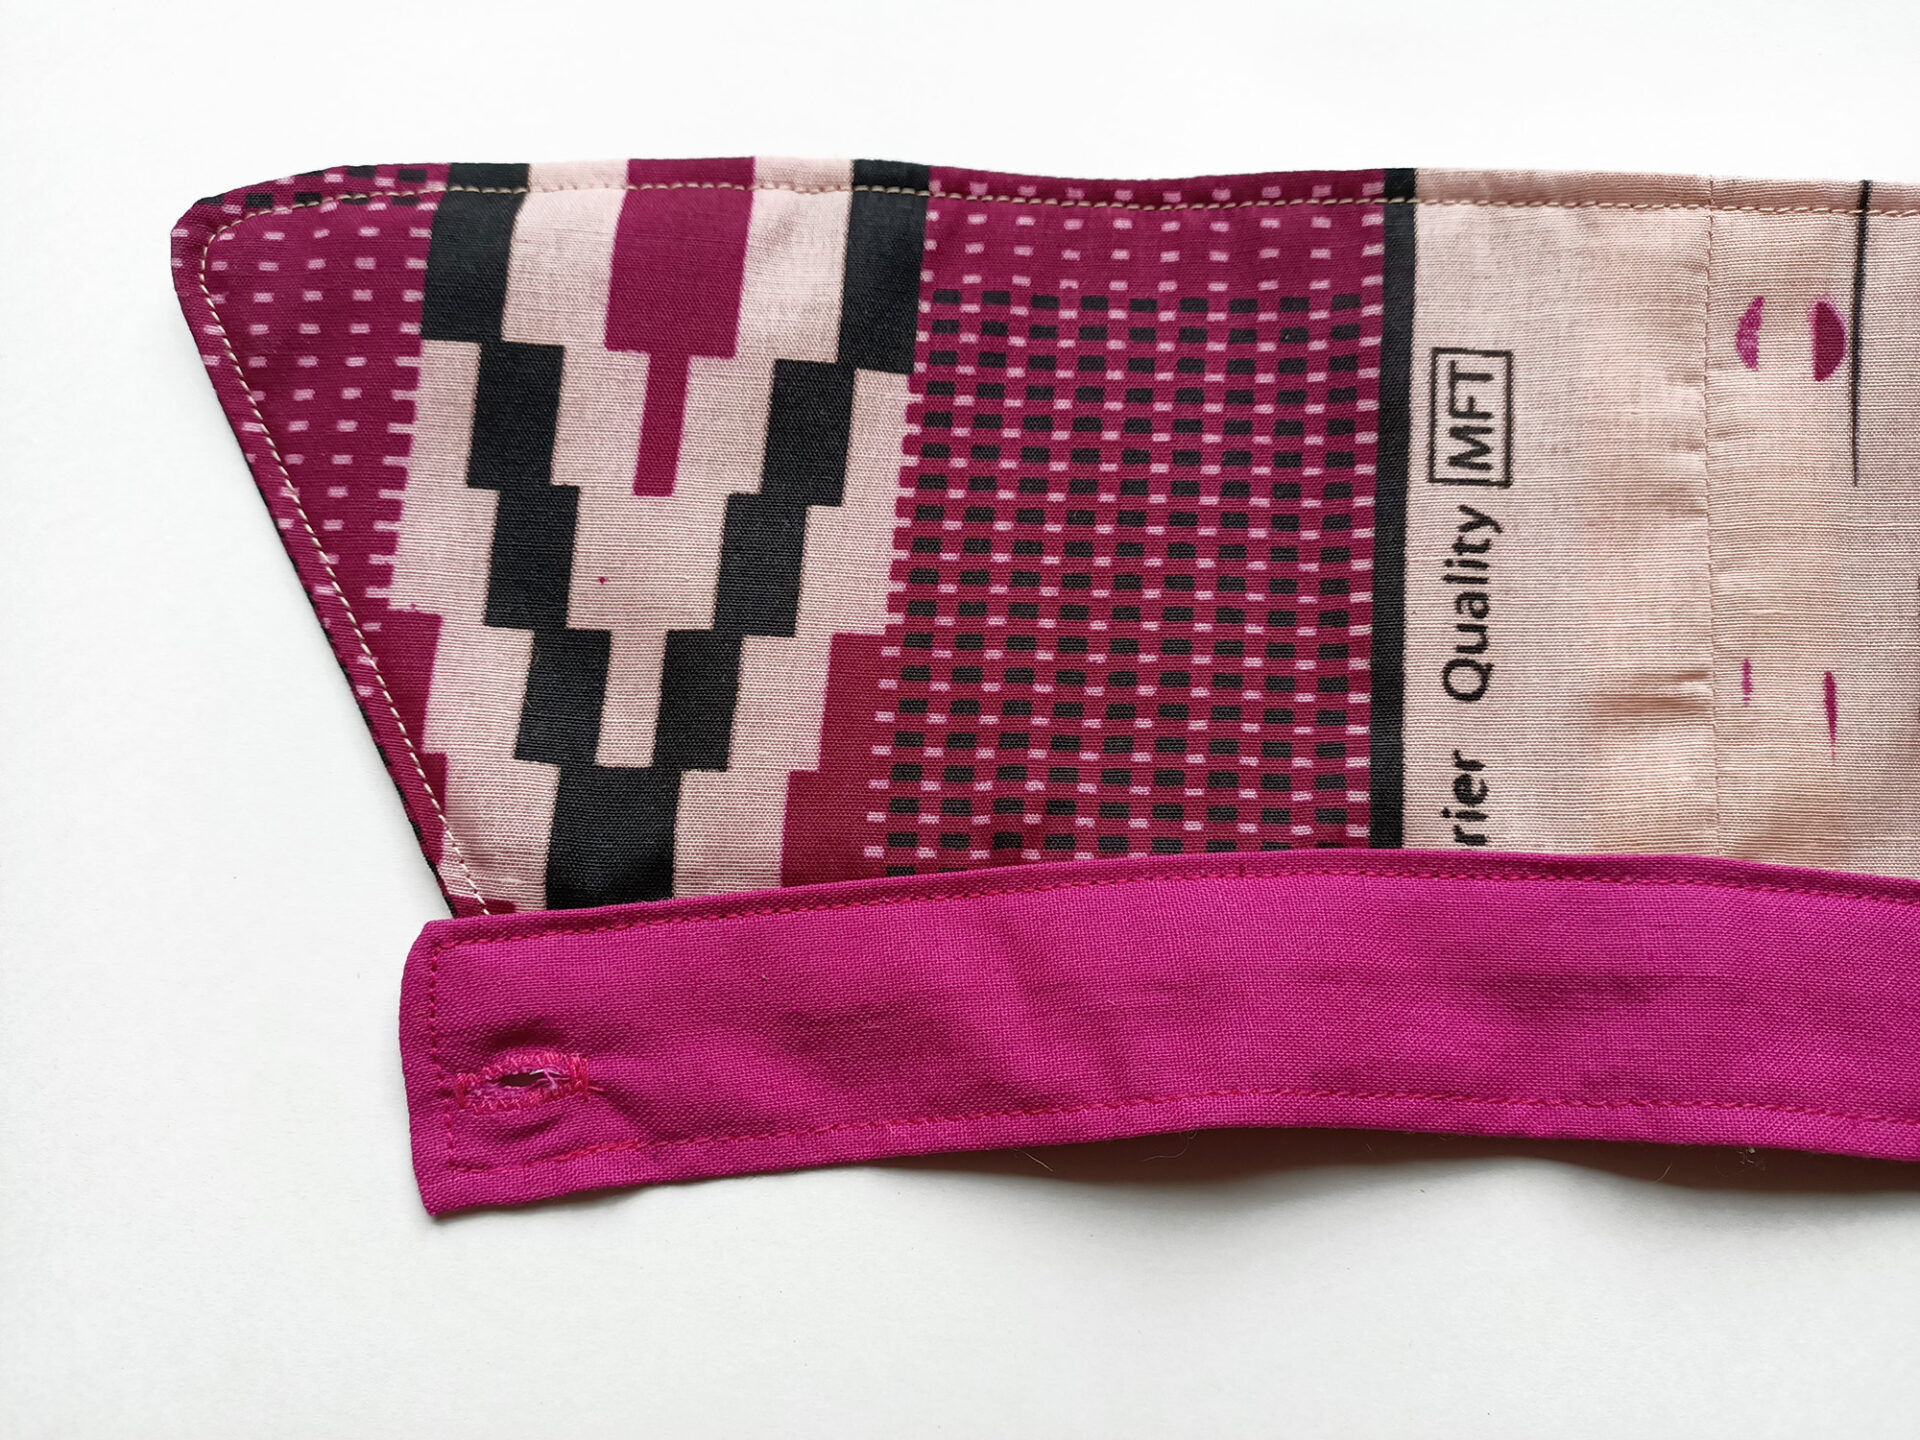
STEP FOUR // Make buttonholes in the band.
Mark 1.5cm lengths approximately 0.5-1cm from the edges of the neckband and sew buttonholes.
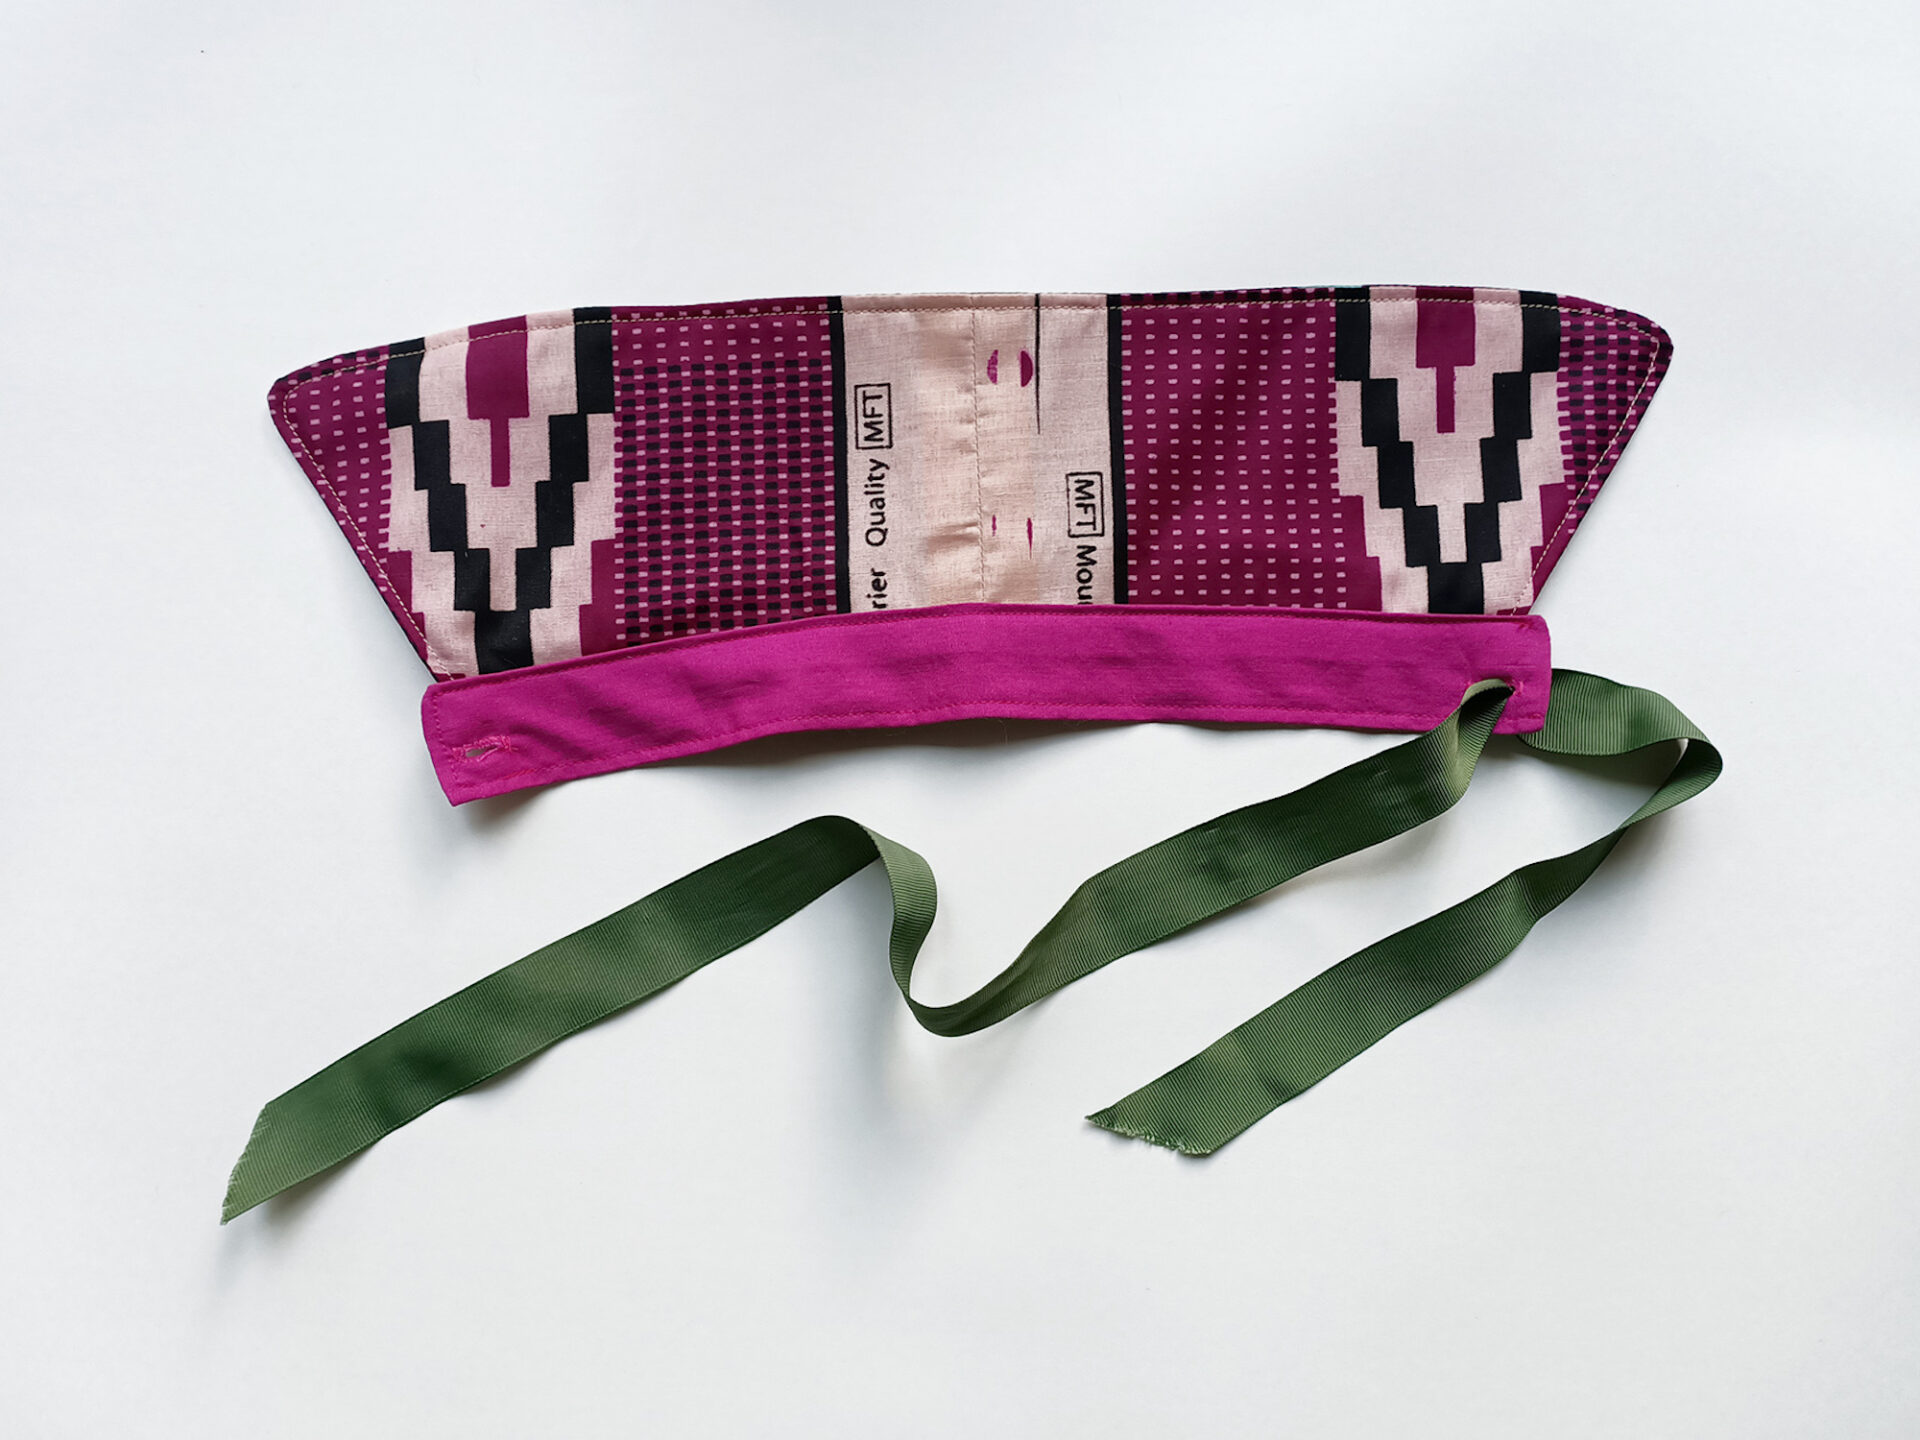
STEP FIVE // Thread ties through.
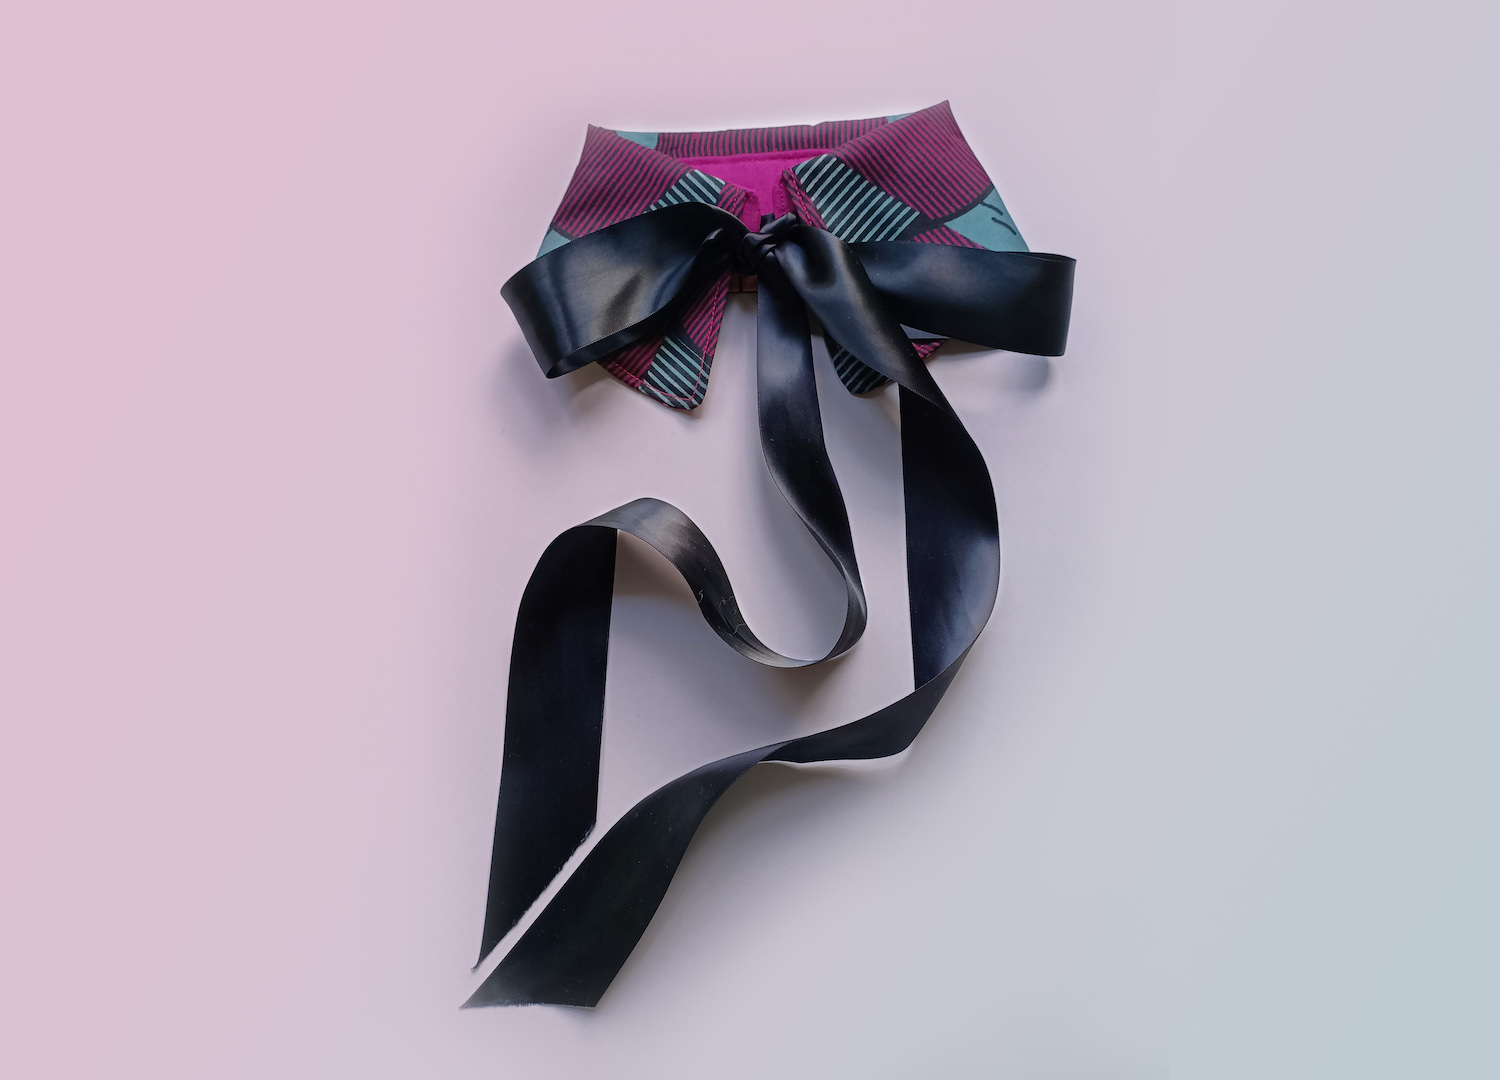
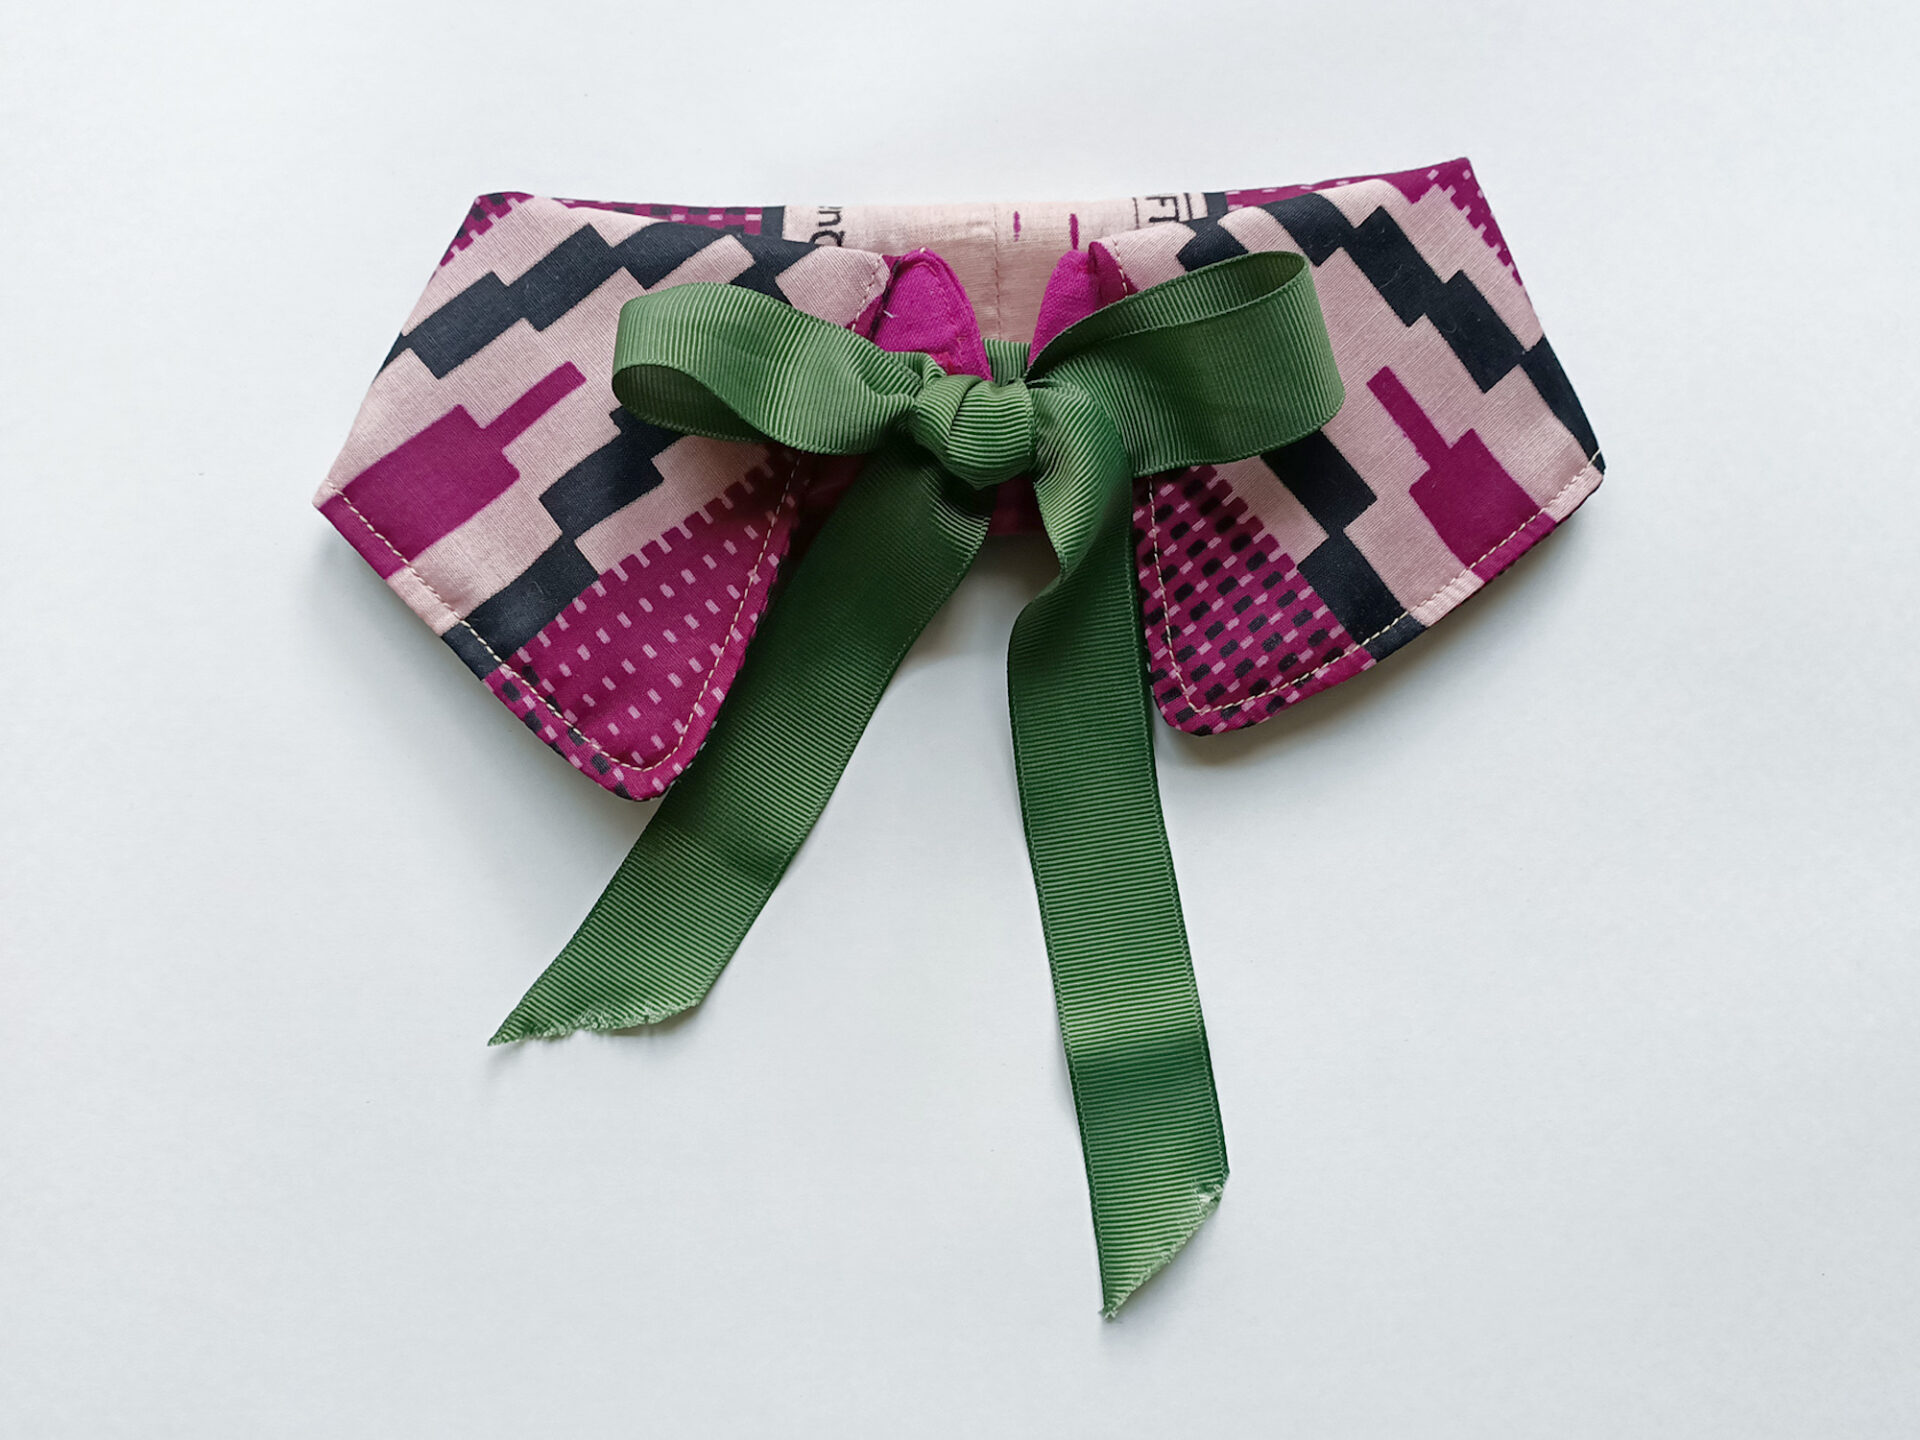
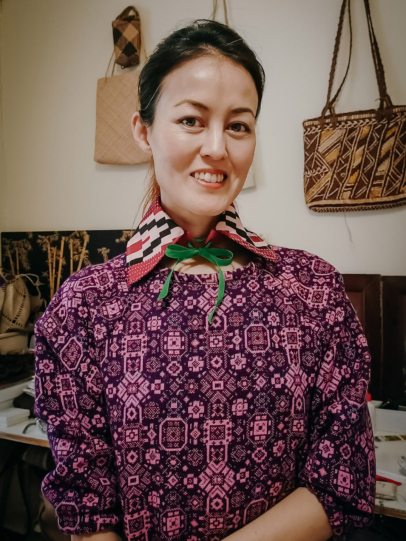
Thread the ribbon through the buttonholes and tie it in a bow or knot to fasten the collar at your neck, and you’re done!
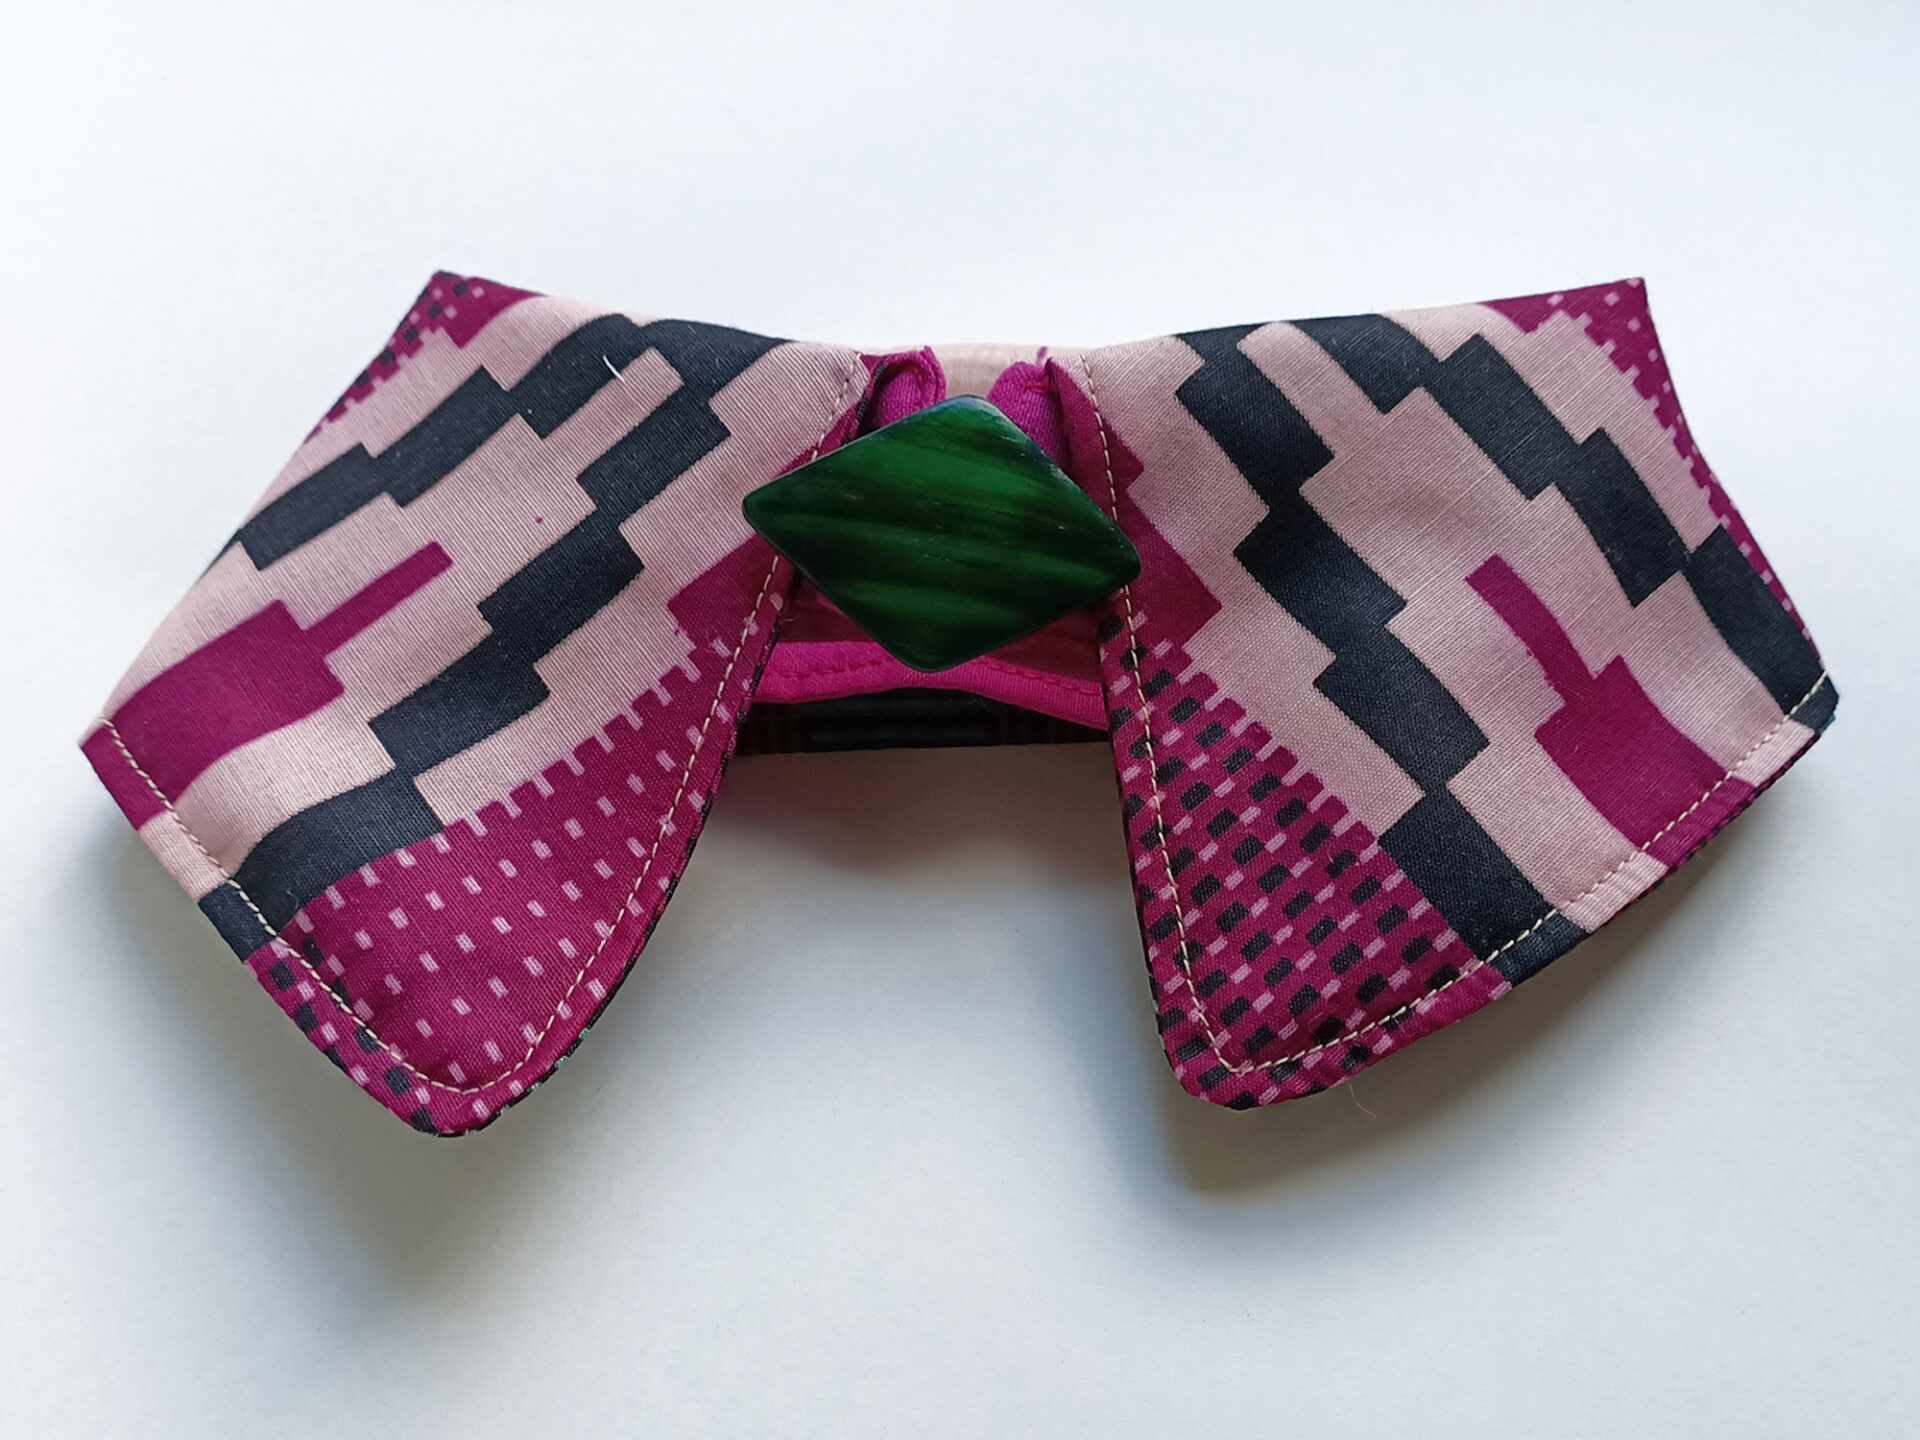
STEP SIX // Collar your world.
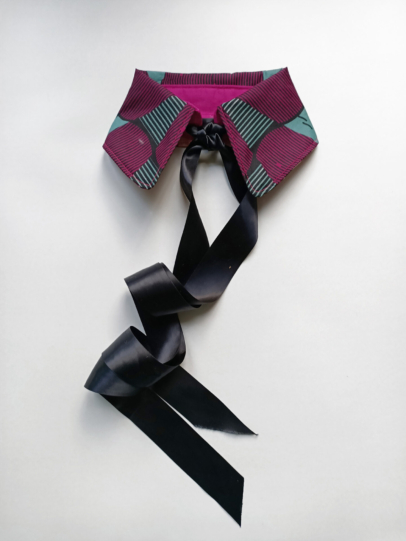
No doubt once you’ve made this, you’ll want to experiment with how to wear it. Not only is it reversible, but it takes on quite a different look depending on what is used to tie it. A long, wide satin ribbon makes for a big, glamorous bow with trailing ends, or try a colourful grosgrain ribbon in a shorter length for a neater effect. You could also experiment with threading leather thonging through for a Western-inspired look, using a light scarf to make a pussy bow, or taking things in an entirely different direction by fastening the collar with a kilt pin, brooch or large safety pins. It’s just one collar, but it opens up a world of styling possibilities.
FEELING CREATIVE? WHY NOT GET INSPIRED BY ALL OUR OTHER CRAFTY GOODNESS!