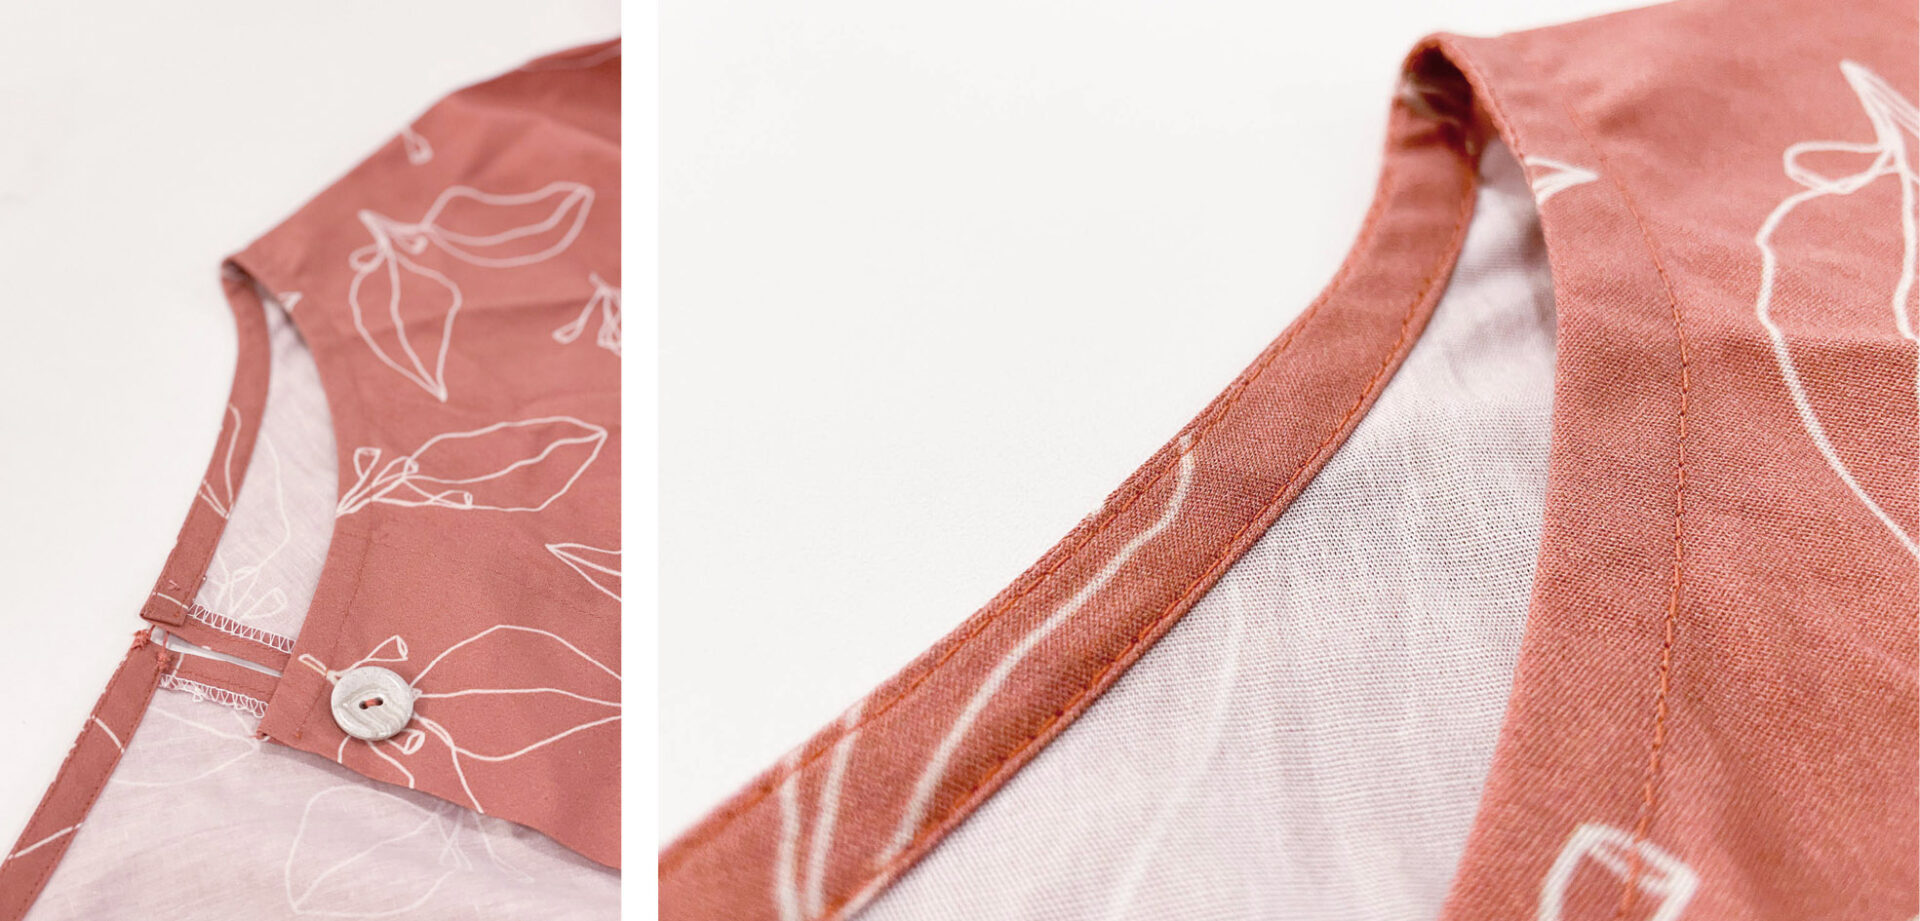
If you’ve printed our latest pattern release, the epic Valley Jumpsuit, you’ll have seen a step for adding bias binding to finish the neckline. And yes, while you can buy bias binding… why buy when you can DIY?!
Making your own bias binding is fun and easy, and once you’ve made the first batch, you’ll want to add bias to all of your hand-makes (which we totally think you should!). While you’re at it, why not invite a few DIY-inclined friends over for a bias-making crafternoon?
There are as many methods for making bias binding as there are applications for it. In this tutorial, the lovely Sophie Parslow is going to show you how to make continuous bias binding – it’s fast, low-waste and can be made with what you have on hand at home. No need for fancy tools: just a few items you’d ordinarily find in a sewing kit!
It might all look a little strange at first but trust the process – follow the steps and your handmade bias binding will come together in one magical, continuous strip. No sewing together fiddly pieces of fabric!
But first, what is bias?
Bias refers to the grainline that runs diagonally through fabric at a 45 degree angle. On any woven (non-stretch) piece of fabric there is the warp (runs parallel to the selvedge) and weft (runs across ‘horizontally’). If you pull in either direction, you’ll notice there’s no ‘give’ or stretch in the fabric. If you pull across this diagonal, the fabric will stretch. This is called the bias.
And binding? When would I use it?
Binding is a strip of fabric used to bind a raw edge of fabric. Bias binding uses the bias of the fabric and the stretch makes it pliable and easy to manoeuvre around curved sections, like a neckline. Bias binding can also be used to finish any seam in the same way that zig-zag or overlock stitching stops the edges of fabric from fraying – it adds strength and longevity to your clothing.
What fabric should I use?
The best part of making homemade bias binding? It’s a scrap-buster so you can give new life to those small pieces of fabric that might otherwise get thrown away and extend the life of your handmakes at the same time!
There’s no rules when it comes to style. Mismatched bias binding is some of the best and, just quietly, walking around with a surprise pop of gingham or neon on the insides of your clothes is a fun secret.
For best results, choose a natural fibre which presses flat easily – think linen, cottons and cotton blends. Ideally the fabric will be slightly lighter in weight than the main fabric of your garment, and definitely not heavier.
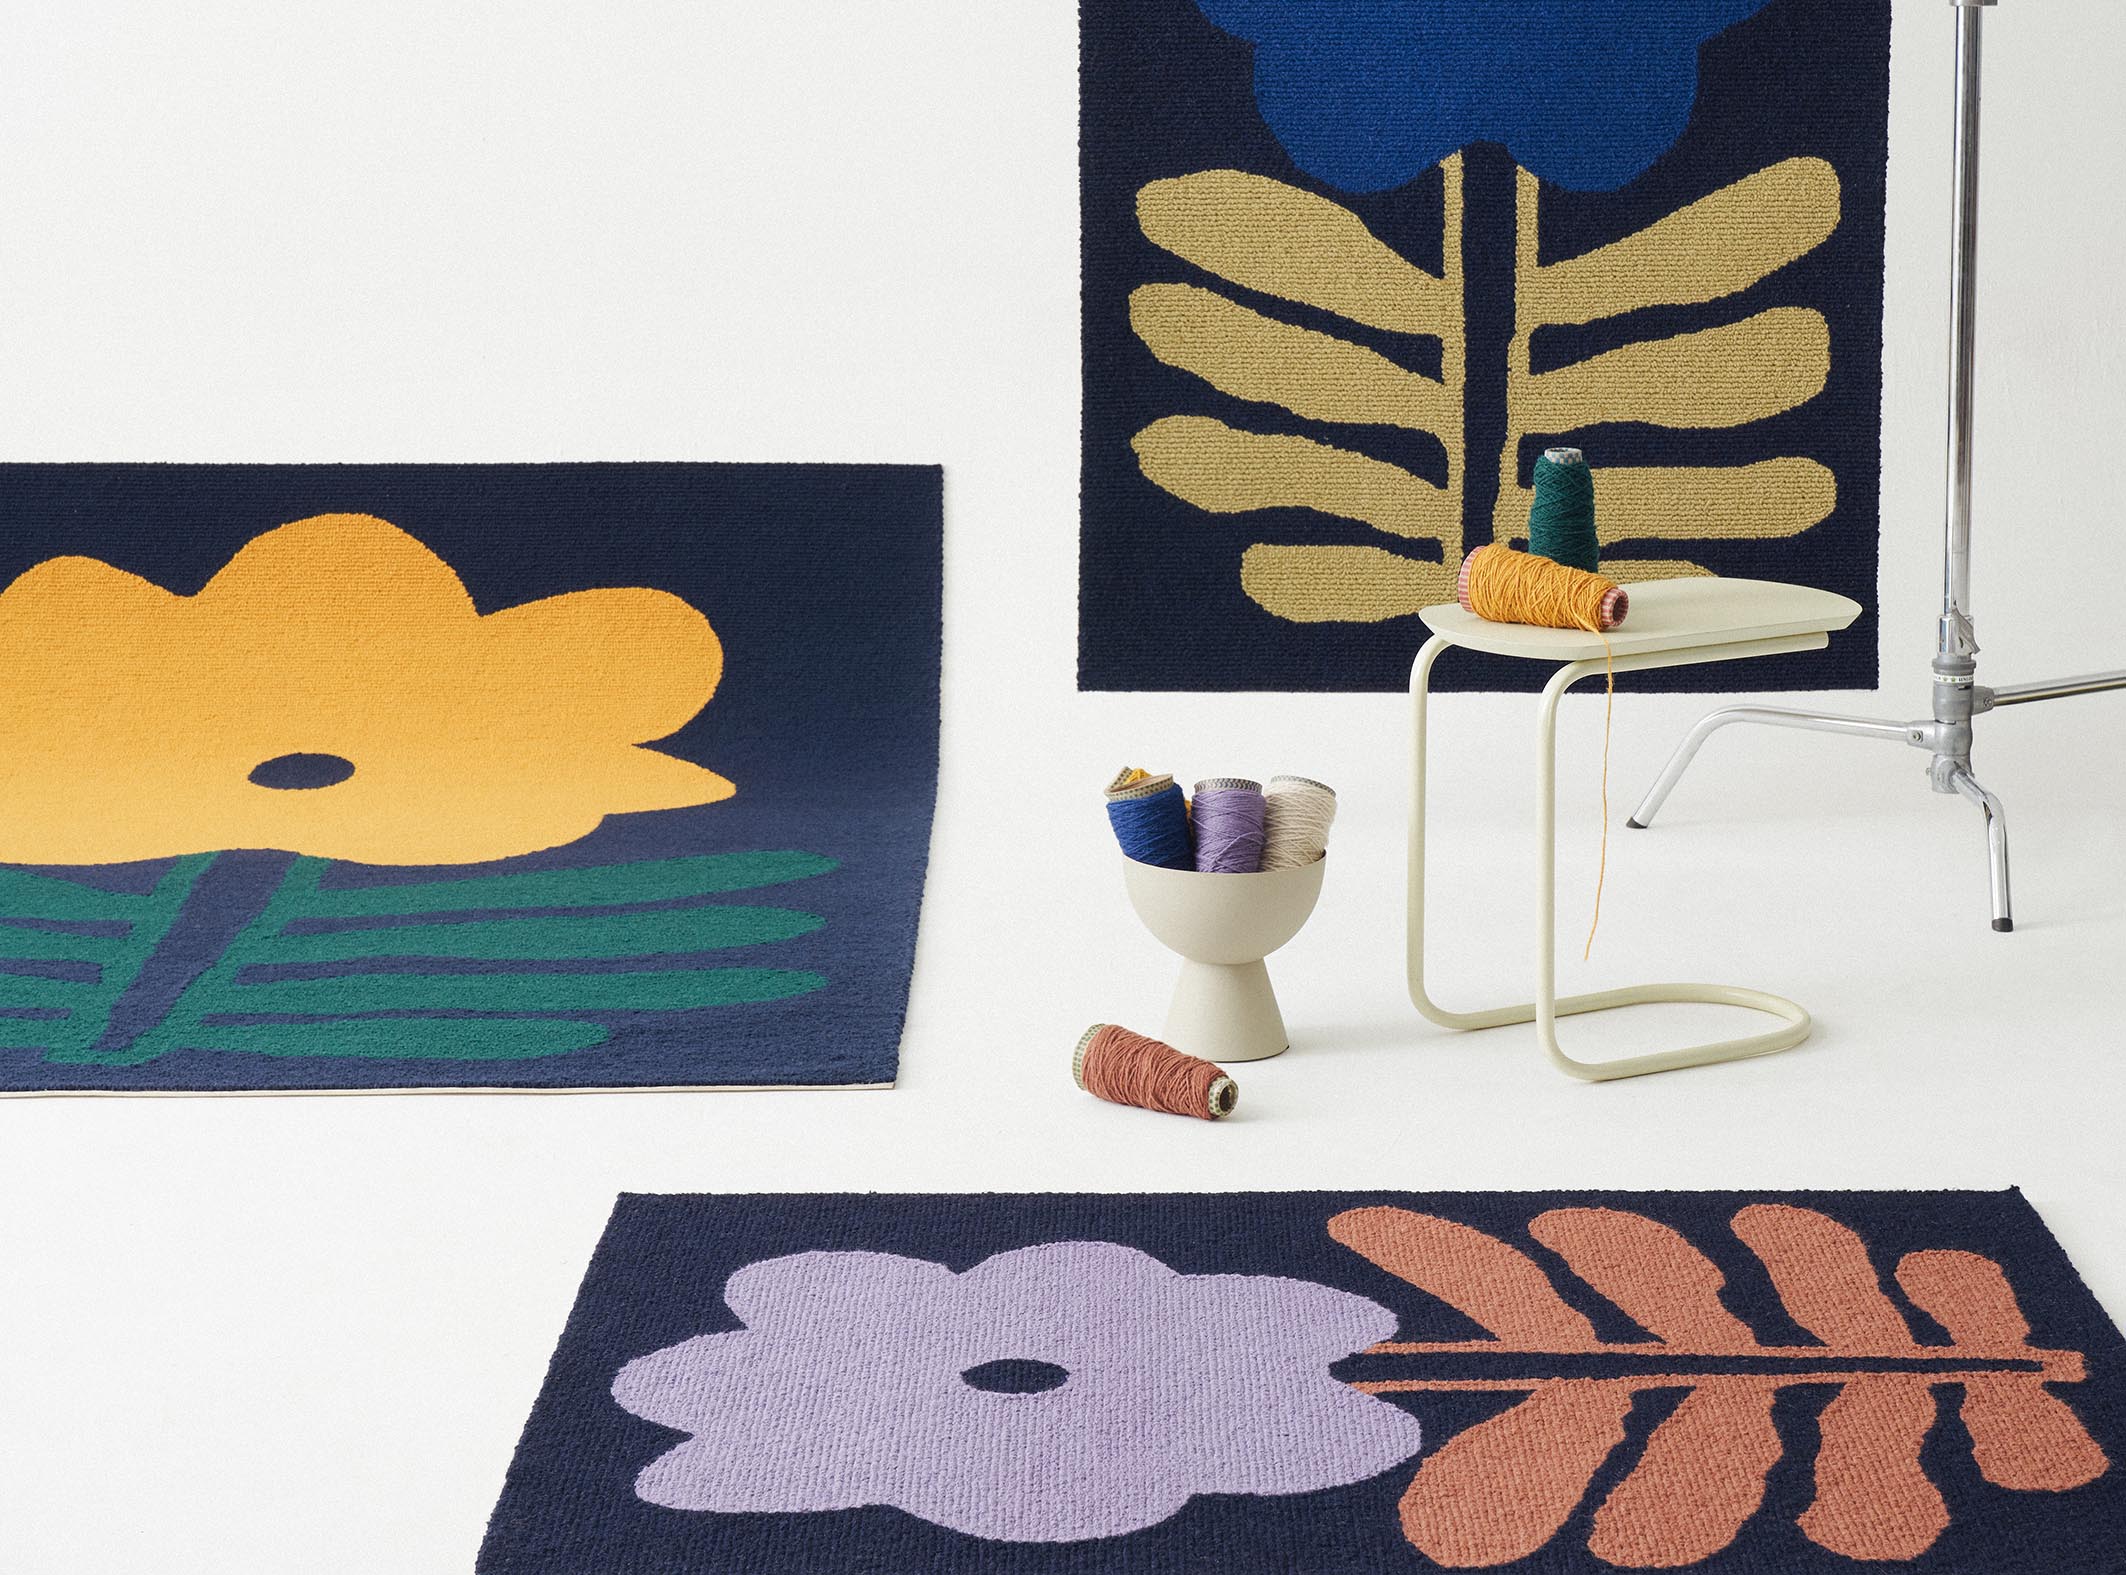
For this tutorial we used the Cotton Poplin from Spoonflower to match our jumpsuit, printed with a eucalyptus line drawing by Australian surface pattern designer Erin Kendal.
How do I add bias binding to my makes?
There are as many methods for attaching bias binding as there are applications. Depending on the desired finish and whether the bias will be hidden on the inside (in the case of a neckline) or feature on the outside, refer to the instructions given in each sewing pattern, or follow along with an online tutorial like this one from Oliver and S.
How to store bias binding?
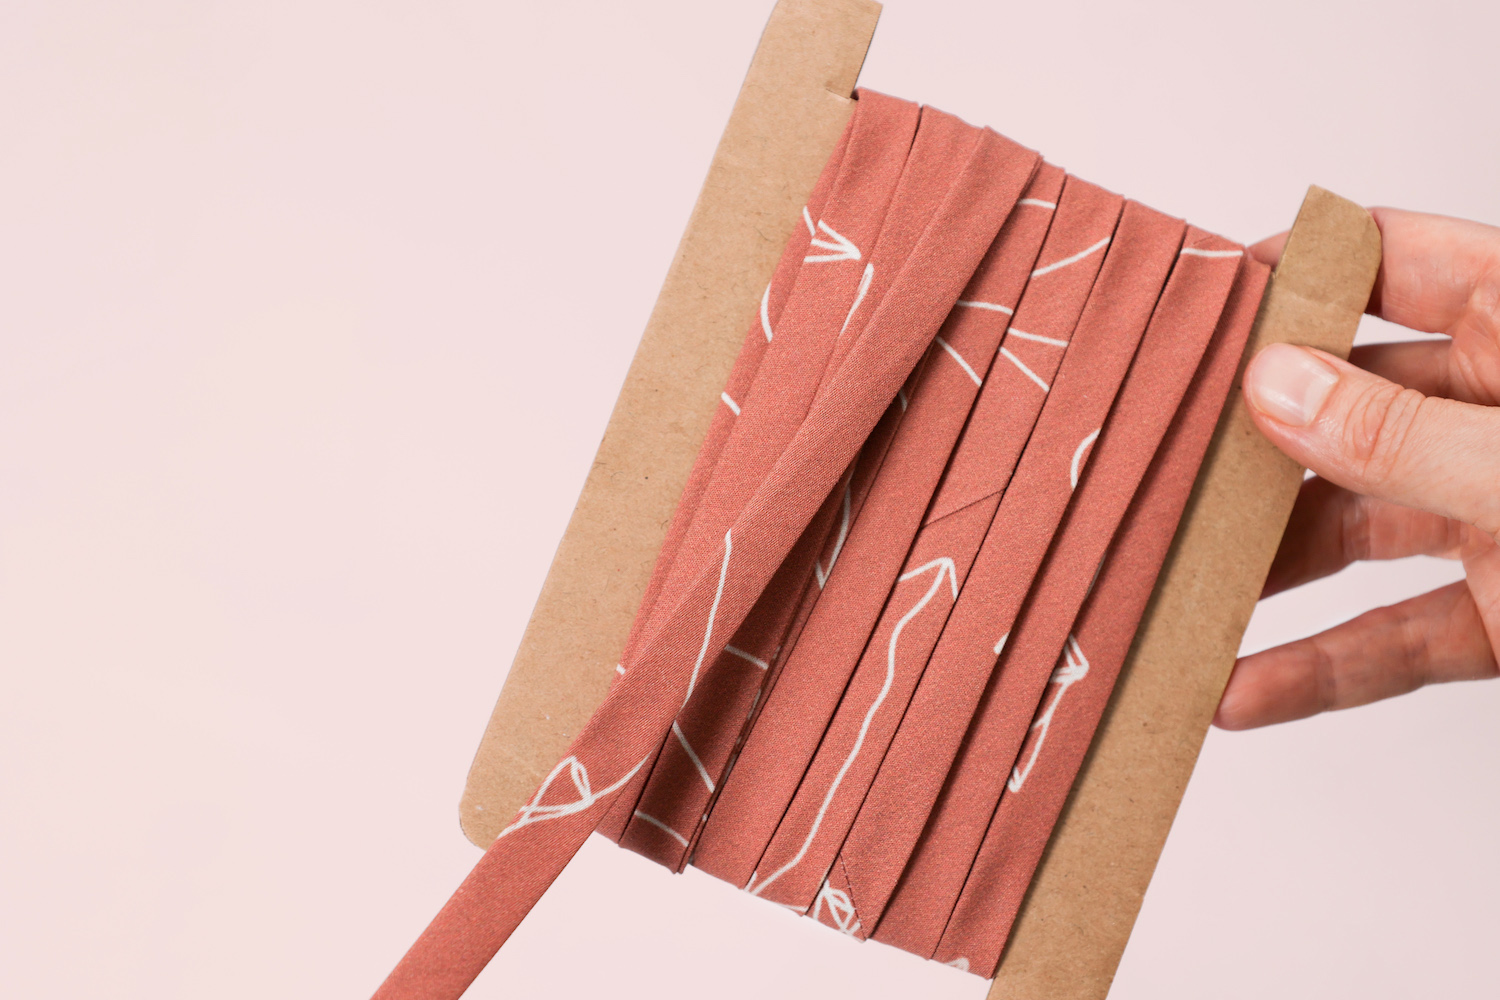
We recommend storing your bias binding on a stiff piece of scrap cardboard – why not repurpose a fruit and veggie box? Cut into a rectangle and wrap the binding, tucking the end under or securing with a pin.
What you will need
Fabric 50cm x 50cm = 5 metres of bias binding (to make larger or smaller quantities, adjust the size of your starting square)
Scissors
Household ruler
Pins
Pen
Iron and flat surface to iron on
Sewing machine
Let’s get making!
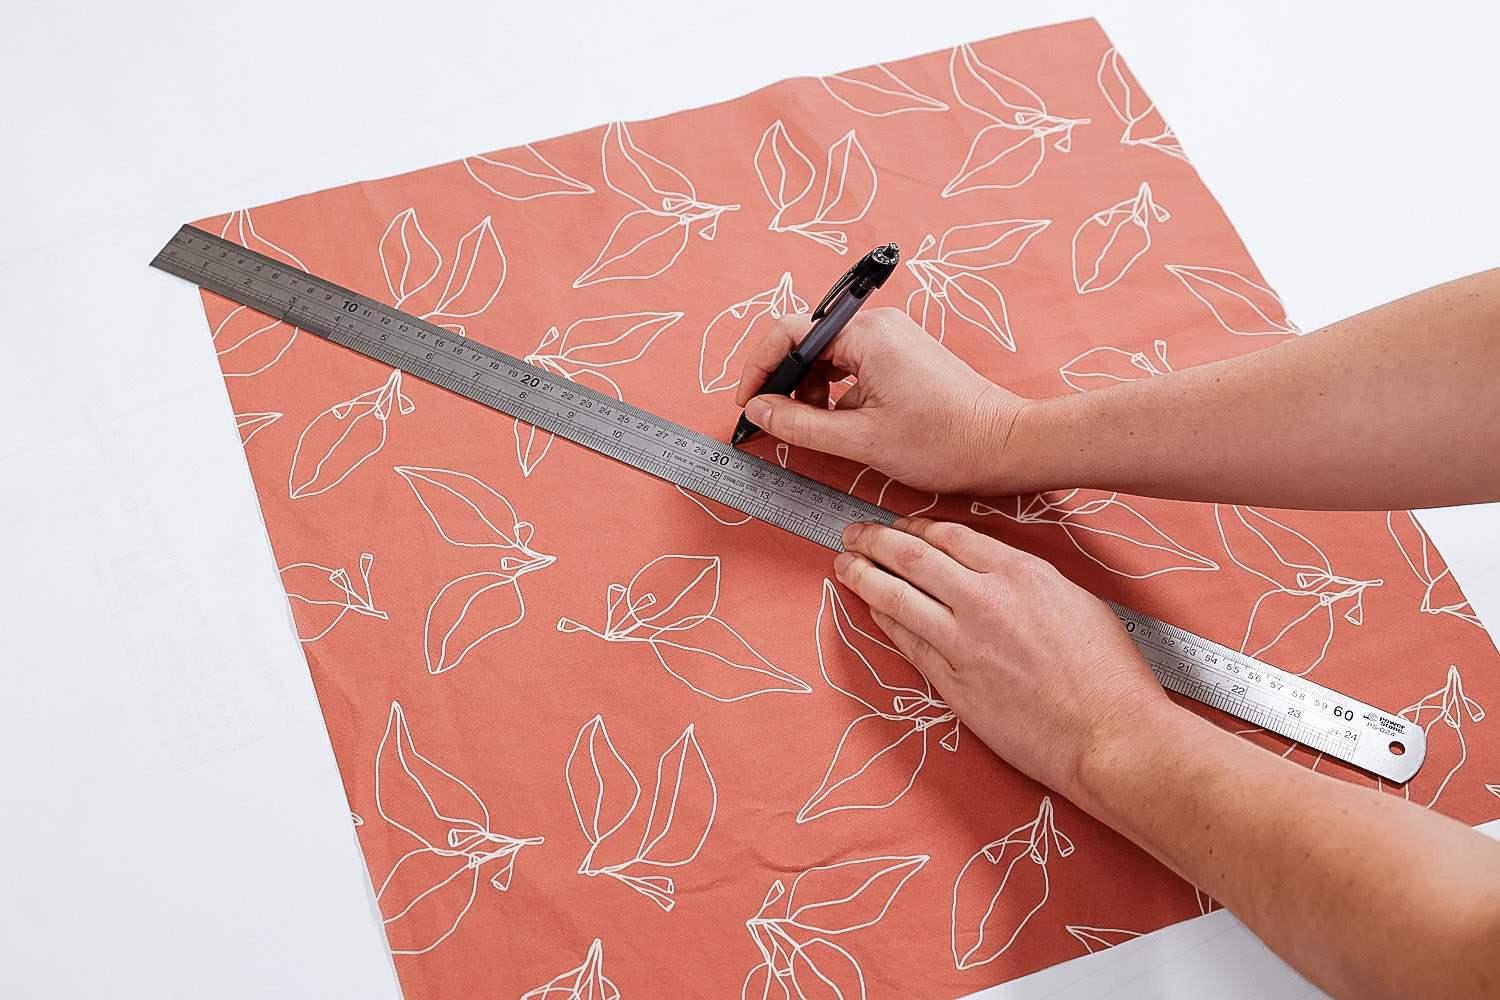
STEP ONE // Start by measuring out a 50cm x 50cm square of fabric. Check for accurate right angles using a spare piece of paper as a guide.
STEP TWO // Draw a diagonal line across the fabric from one corner to the other.
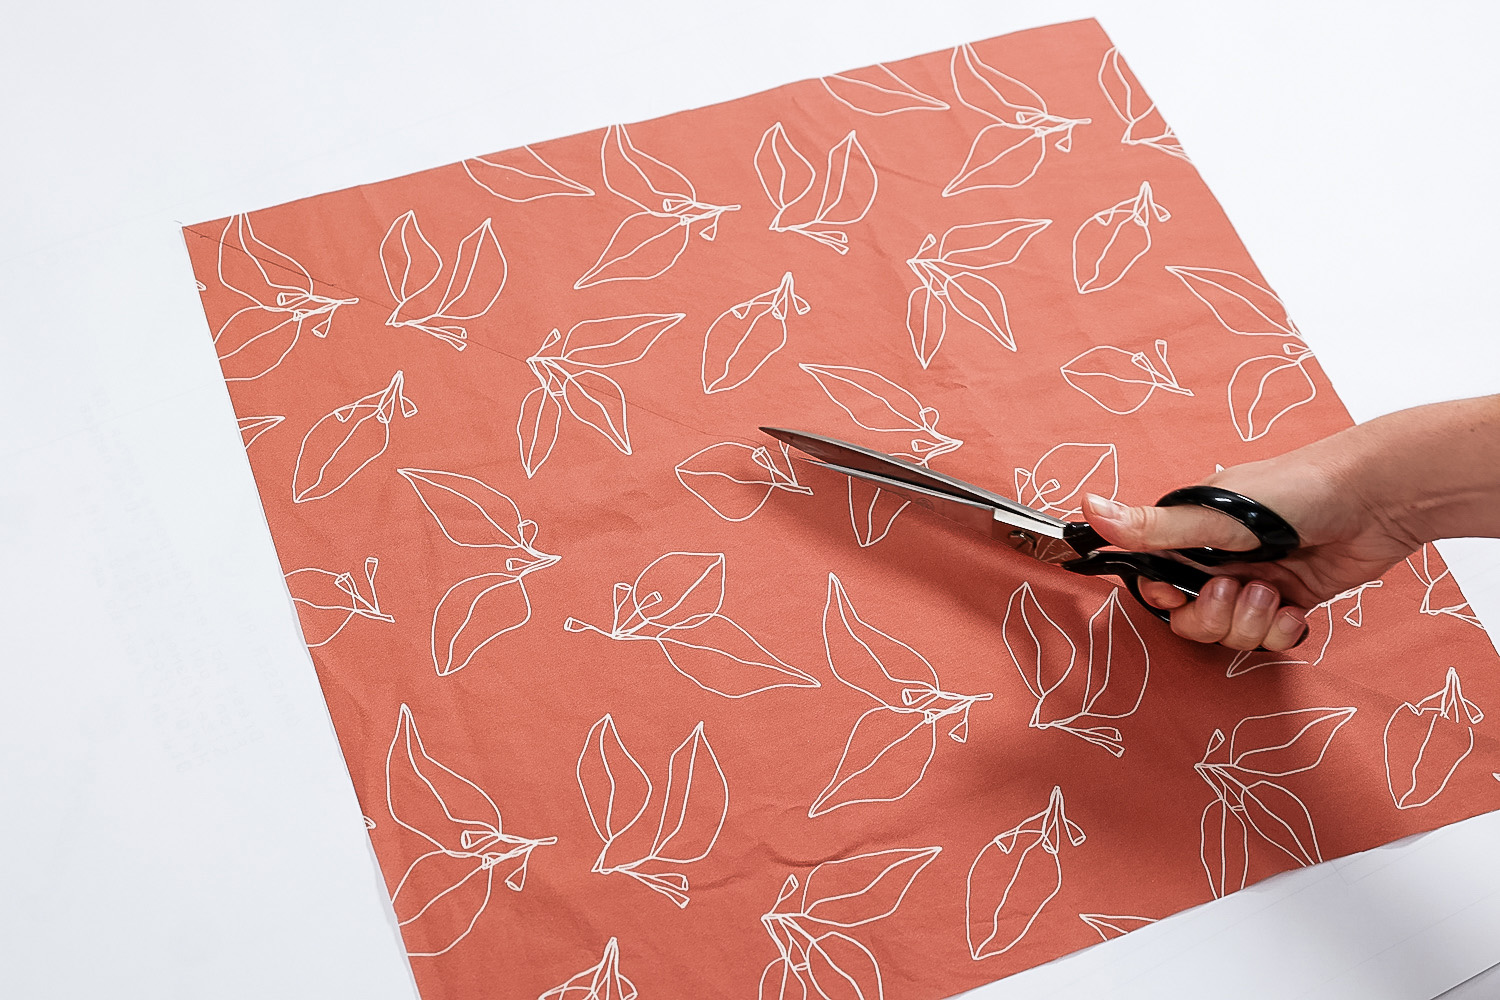
STEP THREE // Cut along the line to create two triangles.
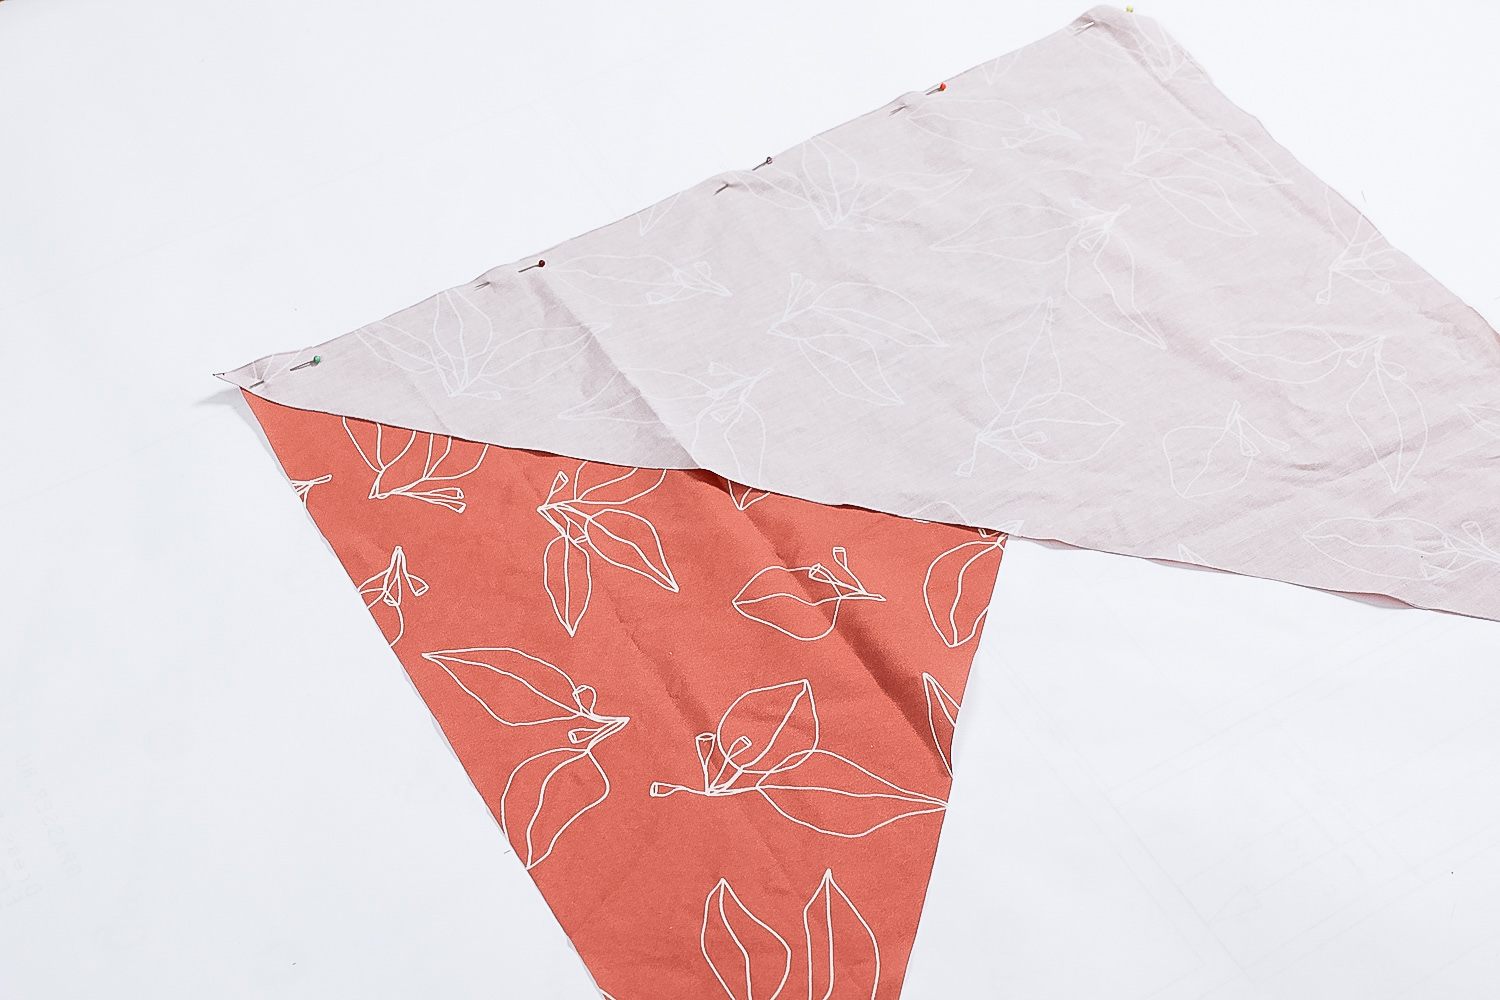
STEP FOUR // Place the triangles right sides together, matching up one of each of the short edges to create an X or flag shape. Pin in place.
STEP FIVE // Sew together with a 6mm seam allowance. Press the seam open.
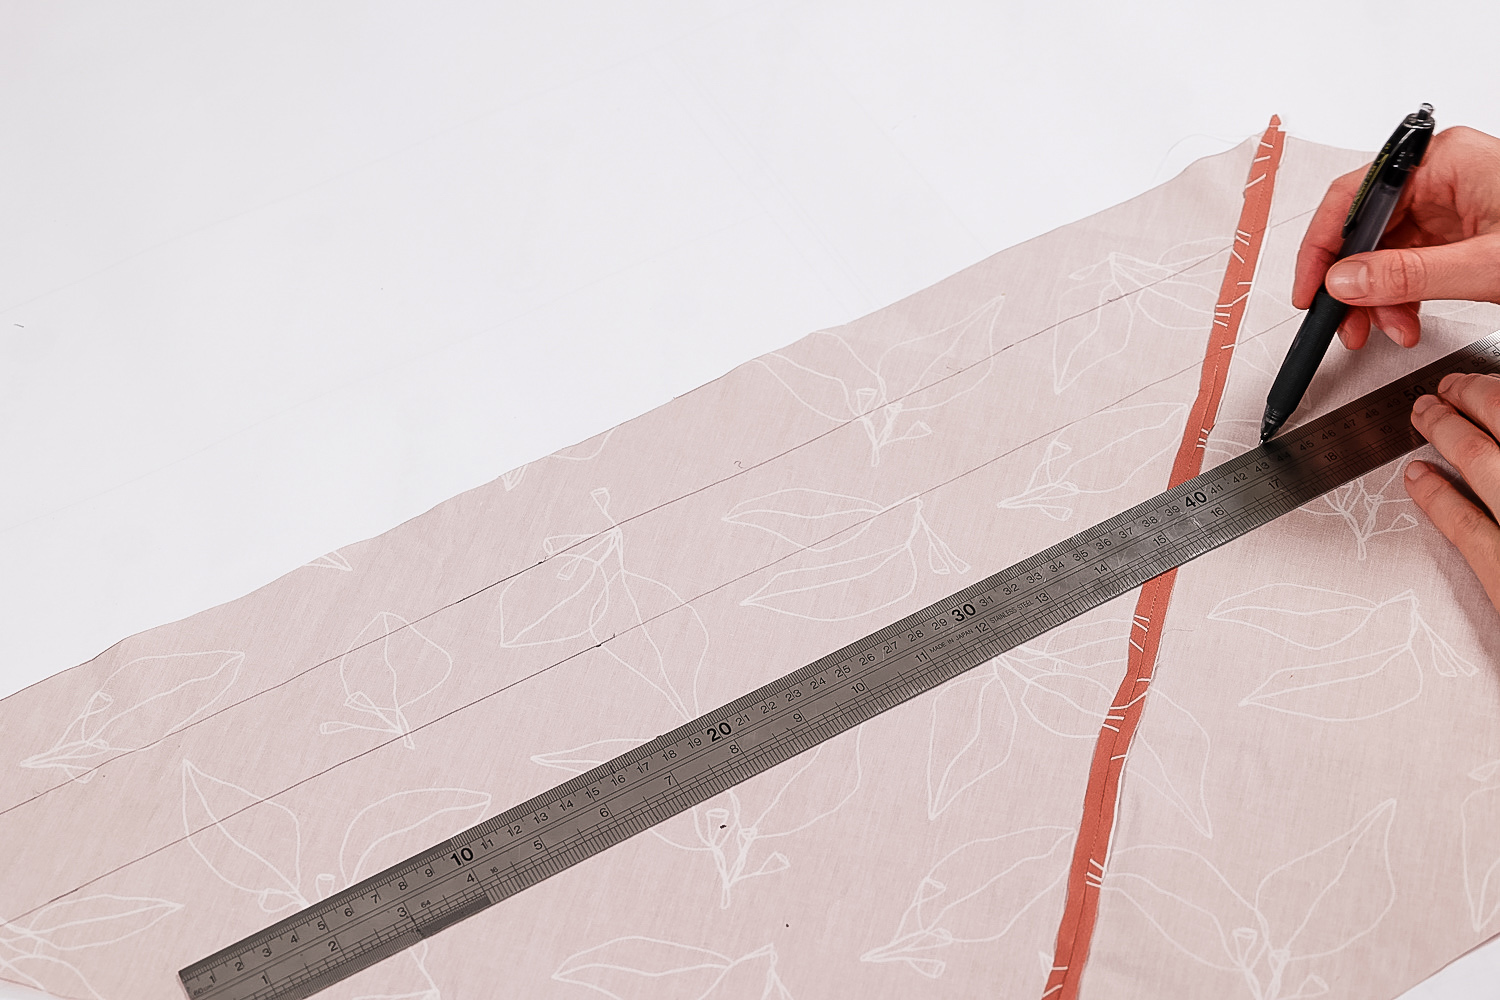
STEP SIX // Working parallel to the long edge and from the wrong side of the fabric, mark horizontal lines measuring 4.5cm apart. You may end up with some extra fabric at the end. Trim this off.

STEP SEVEN // Rotate the fabric so that the sewn seam is vertical and draw a line across the top and bottom, 1cm in from the edge.
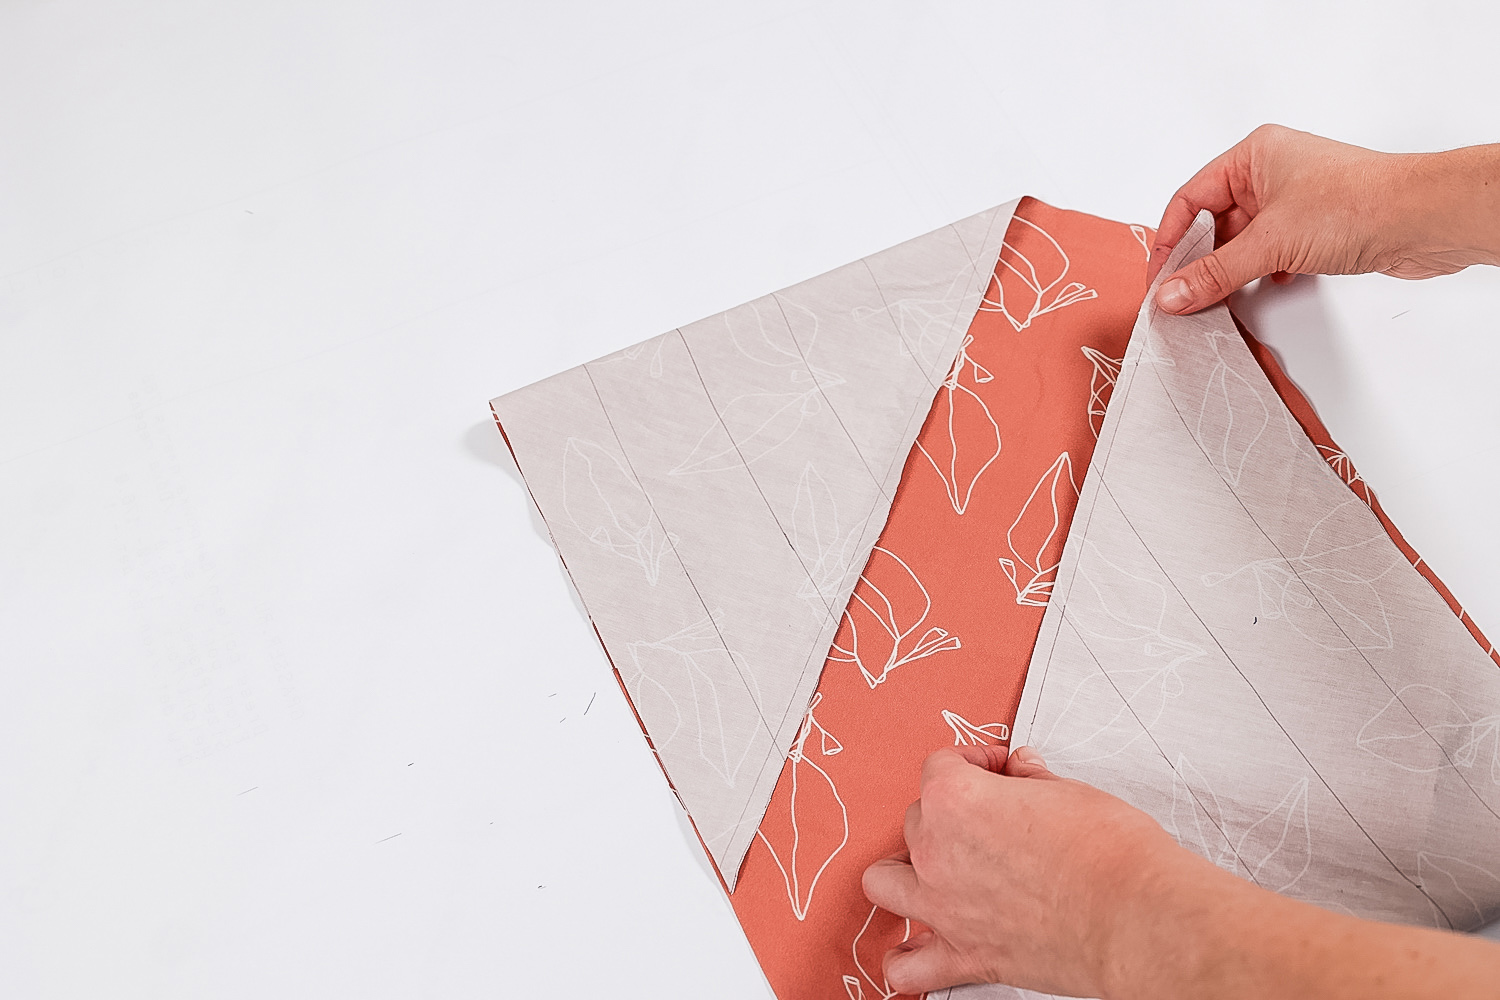
STEP EIGHT // Now for the part that looks tricky: we are going to sew the fabric into a ‘tube’ but offset by one line. If we were to fold it directly in half, you’d end up with a tube that cannot be cut into bias strips. Place the fabric right side up.
STEP NINE // In your left hand, take the point where the far left line meets the 1cm-top-row-line and in your right hand take the point where the left edge edge of the fabric meets the 1cm-top-row-line.
STEP TEN // Place a pin directly through this point of intersection starting at the back and poking through the point you’ve matched up on the front (for the first point, the pin is lining up with the edge of the fabric, so there will be no fabric to poke through at the front.

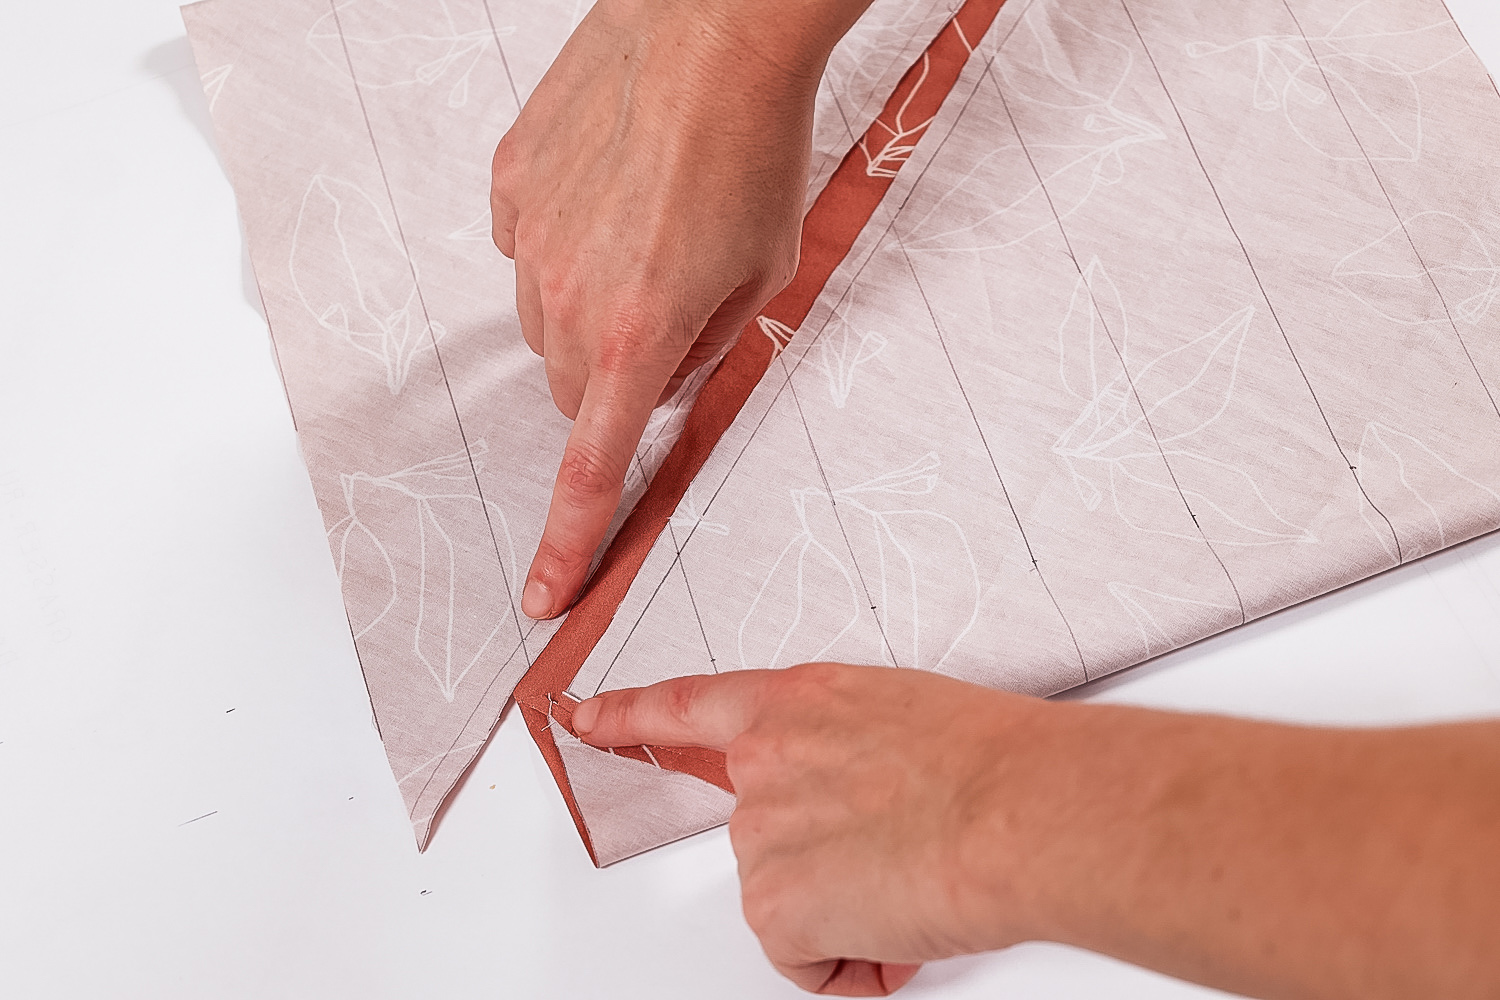
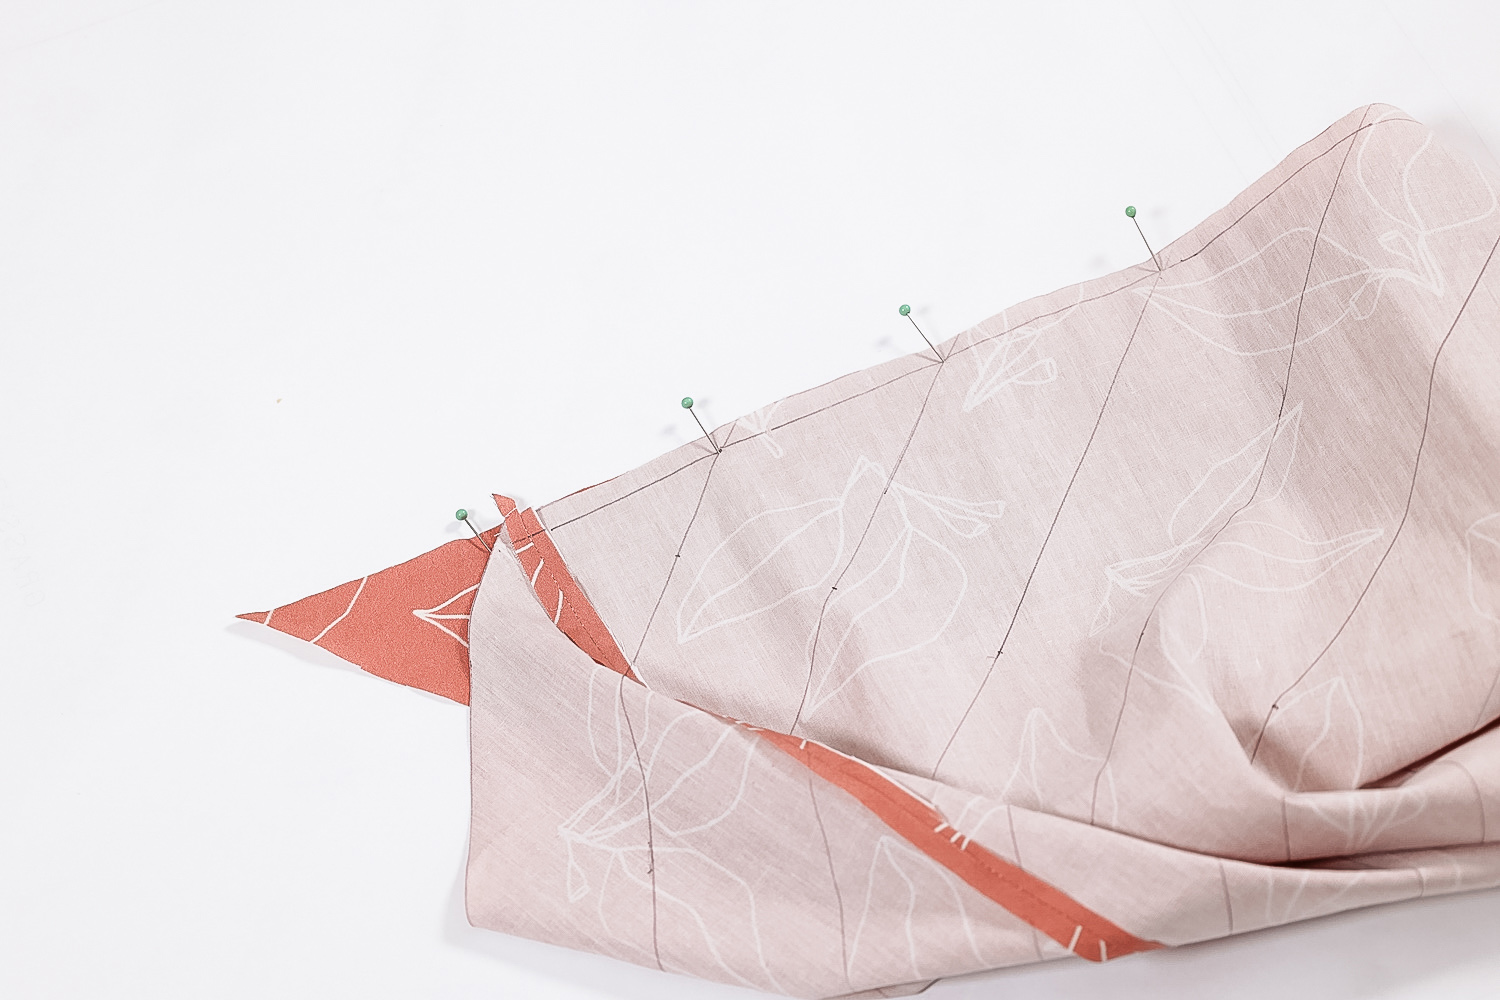
STEP ELEVEN // You will notice there is excess fabric on the left and right. This is exactly how it should look. Align the remaining corresponding points and pin in place.
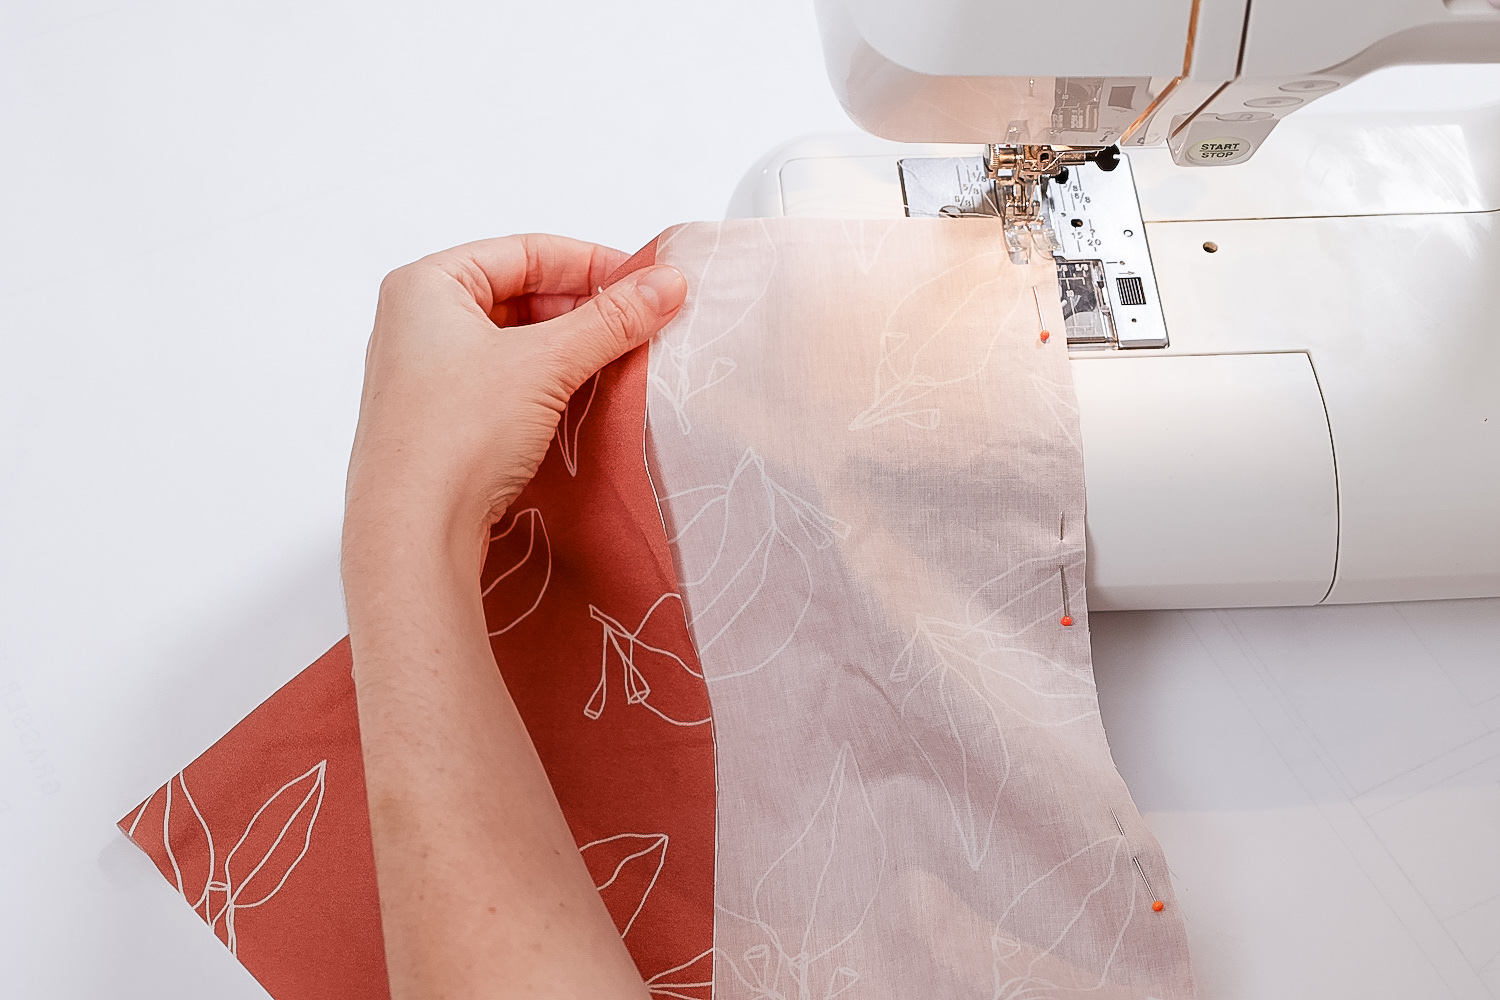
STEP TWELVE // Sew together with a 1cm seam and press open.
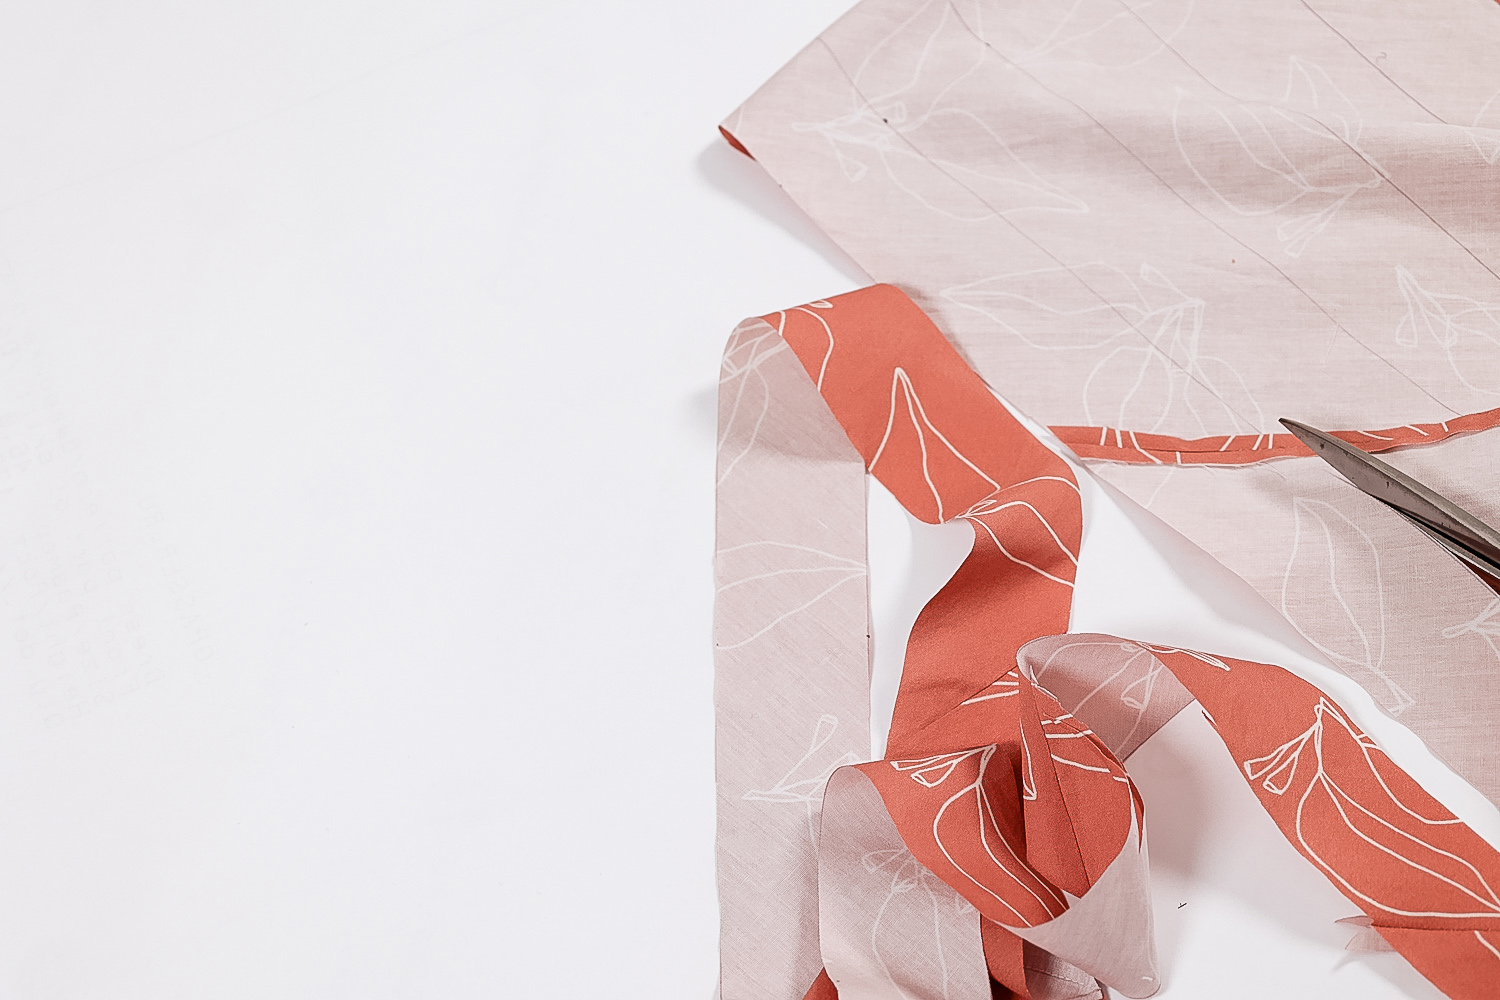
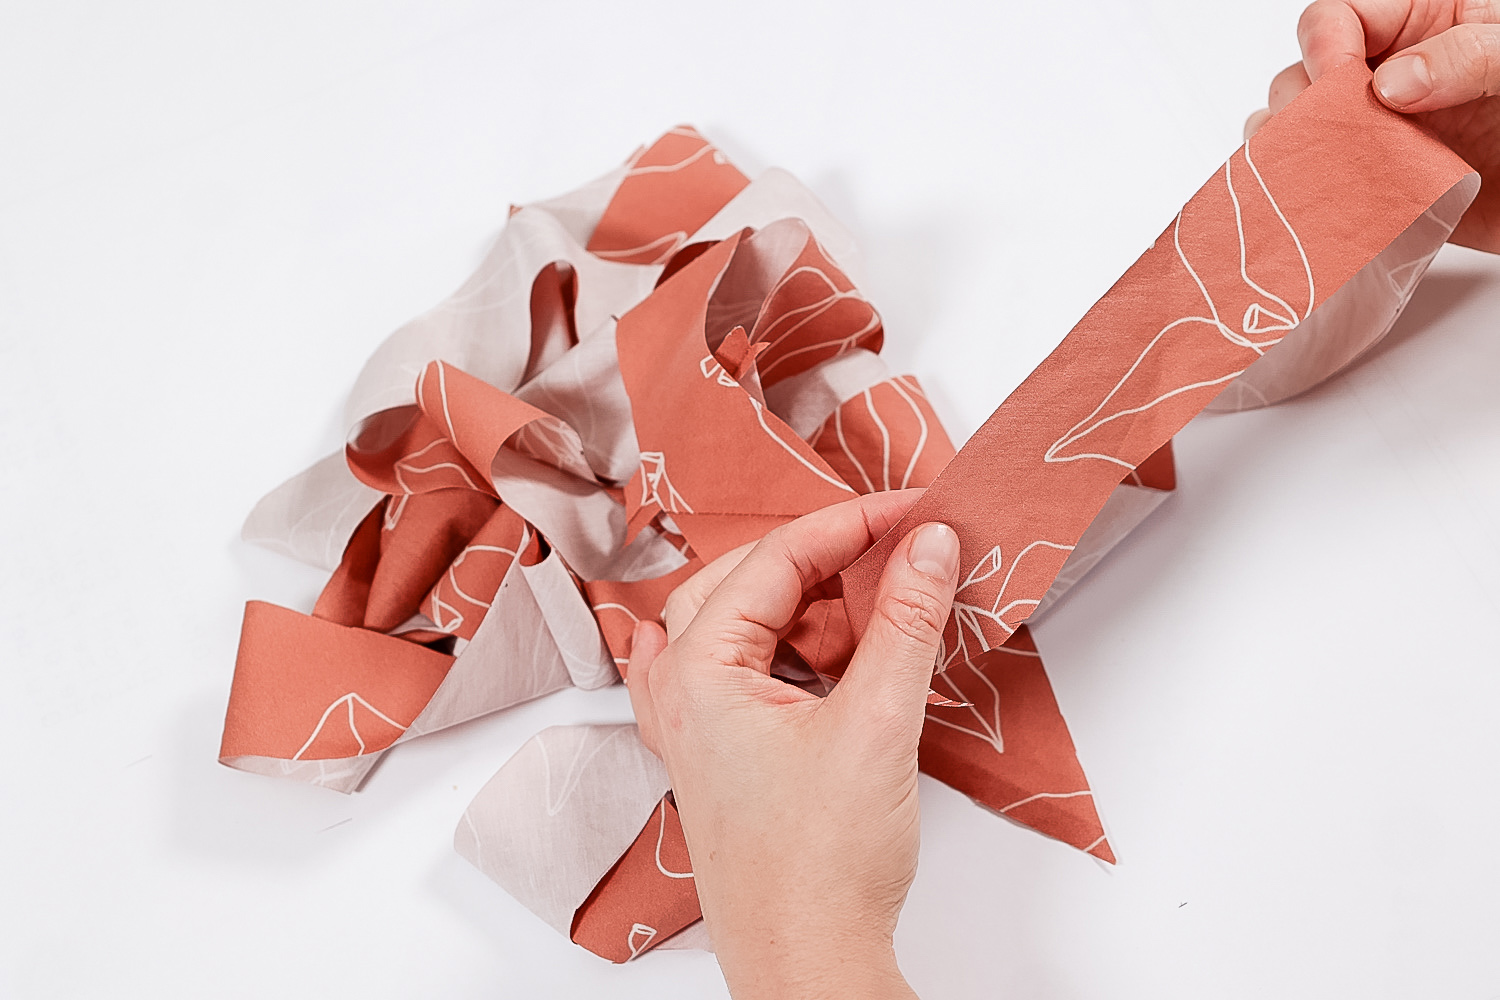
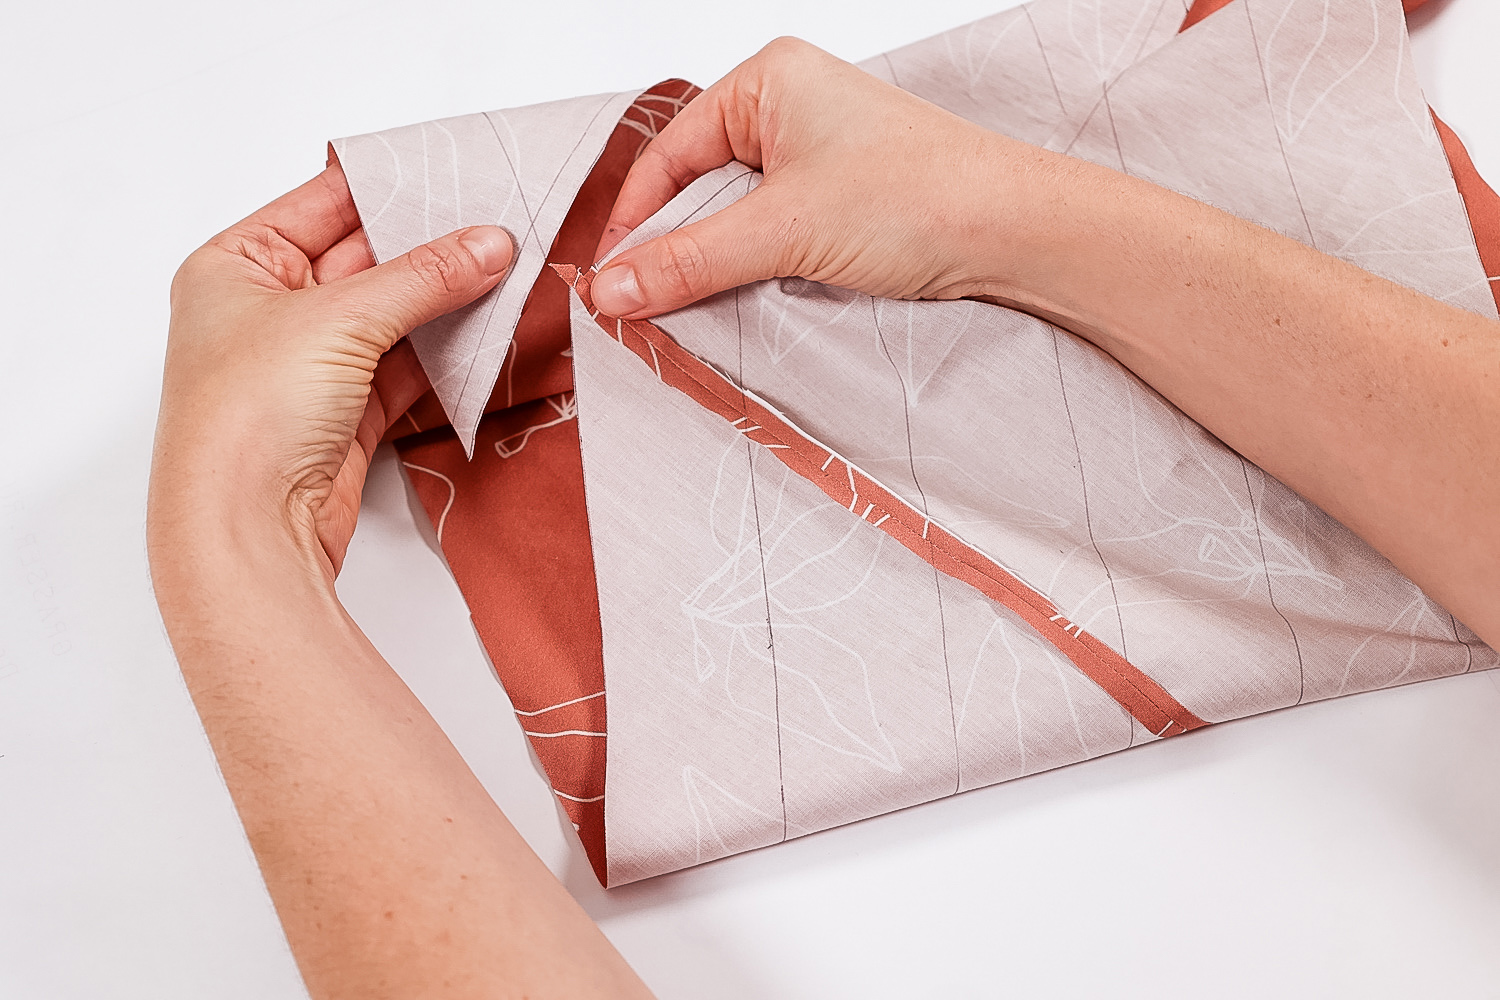
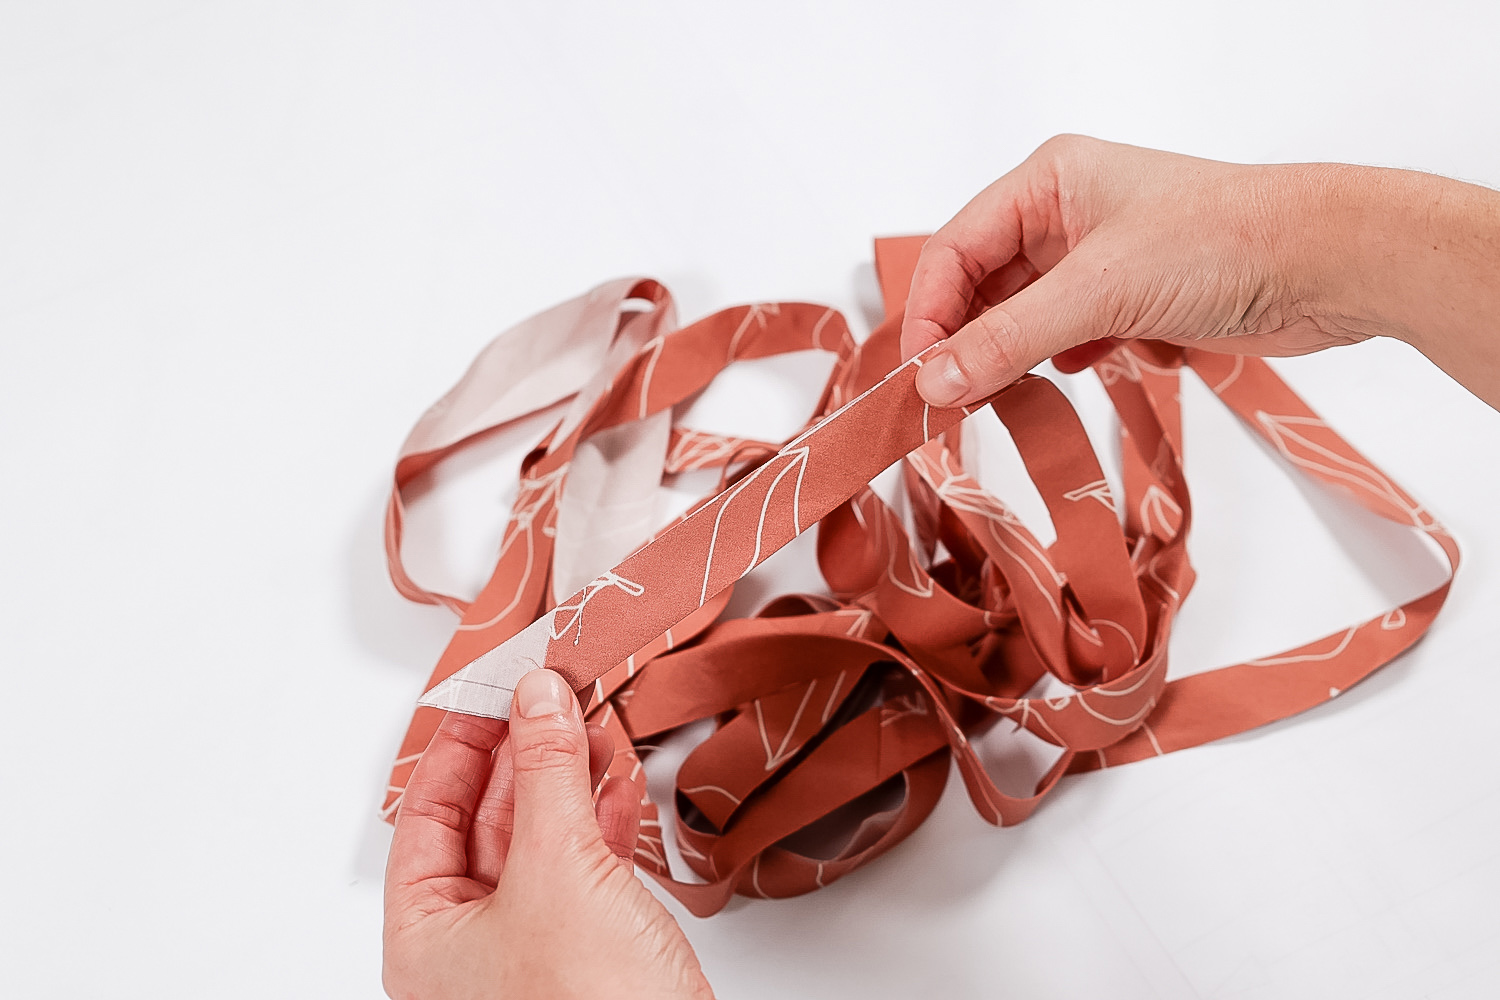
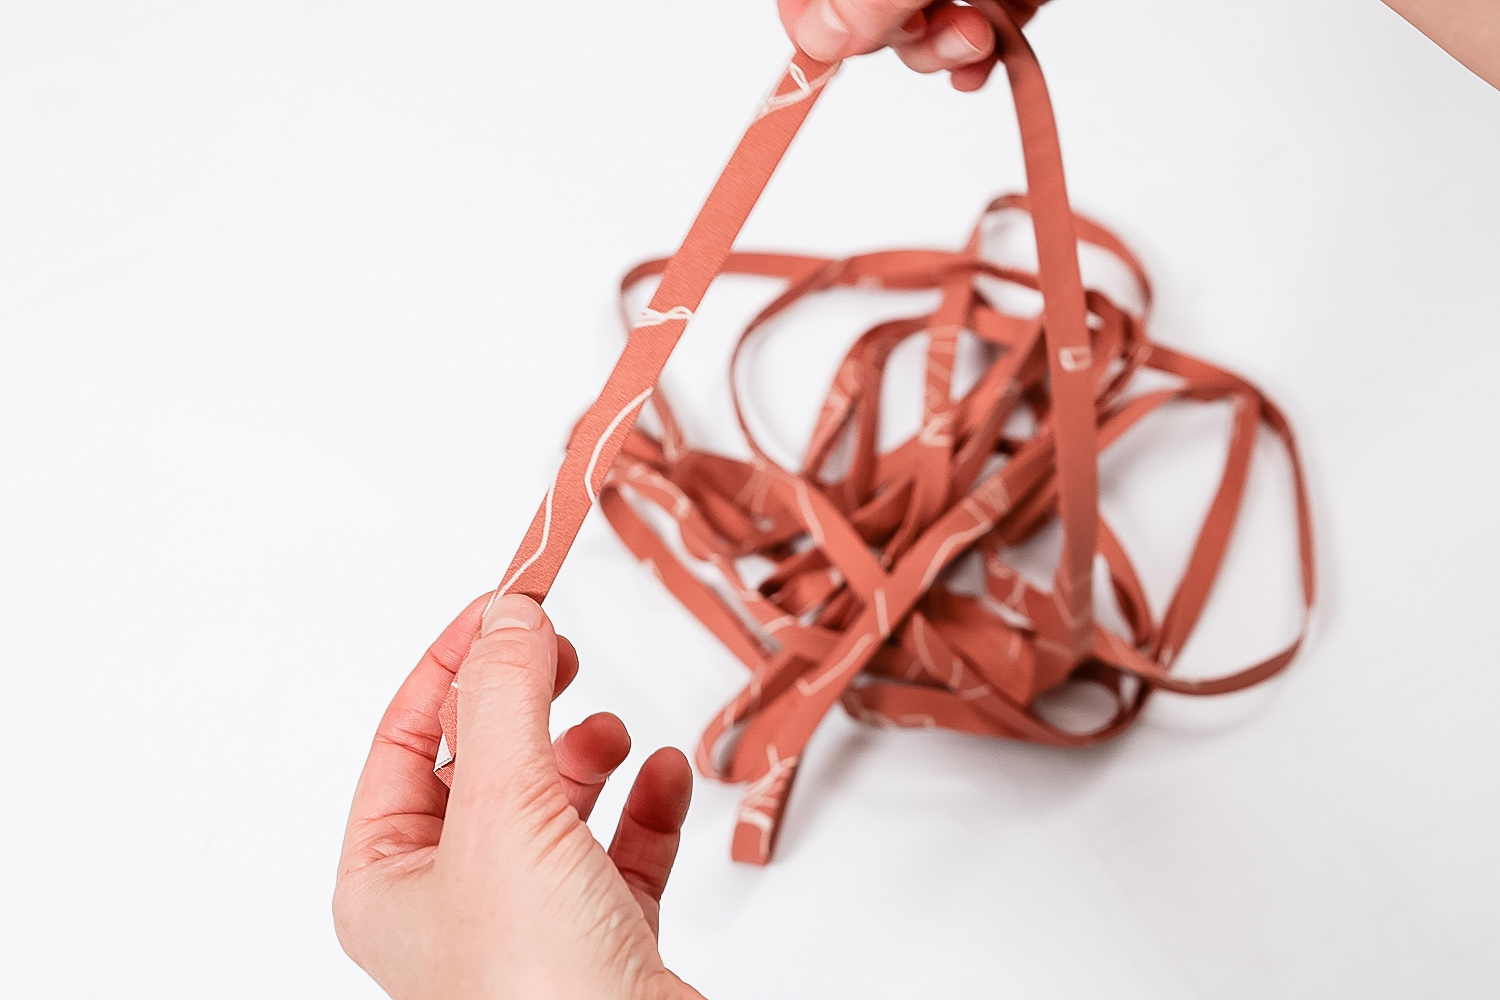
STEP THIRTEEN // Now for the fun part: starting on the left hand side, cut along the marked line until you end up with one long continuous strip of fabric.
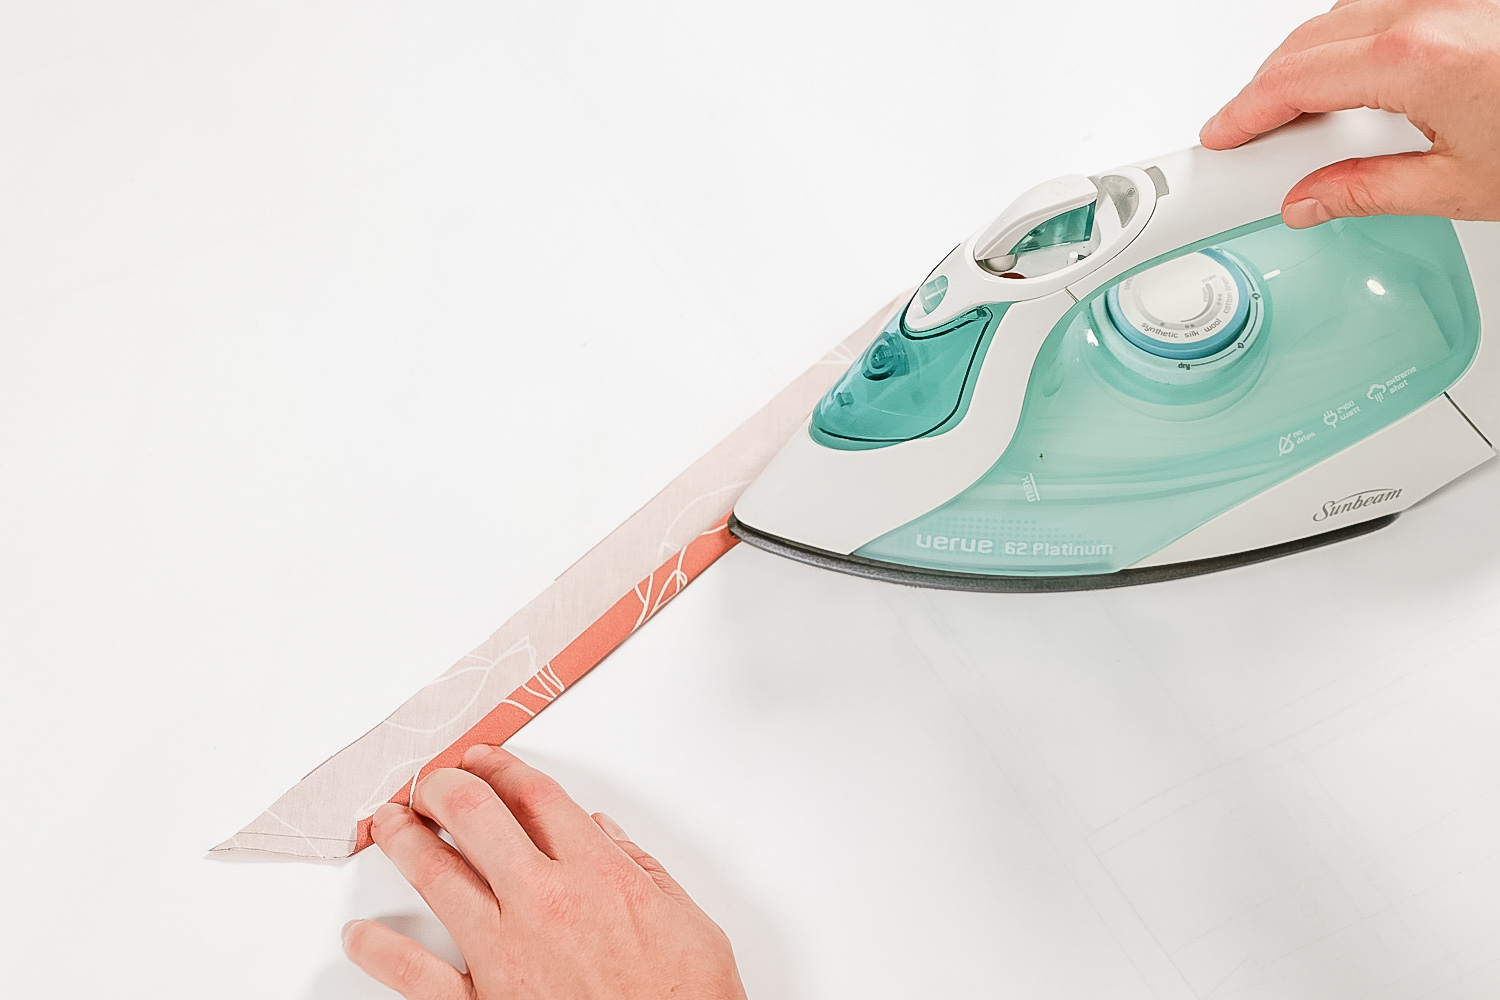
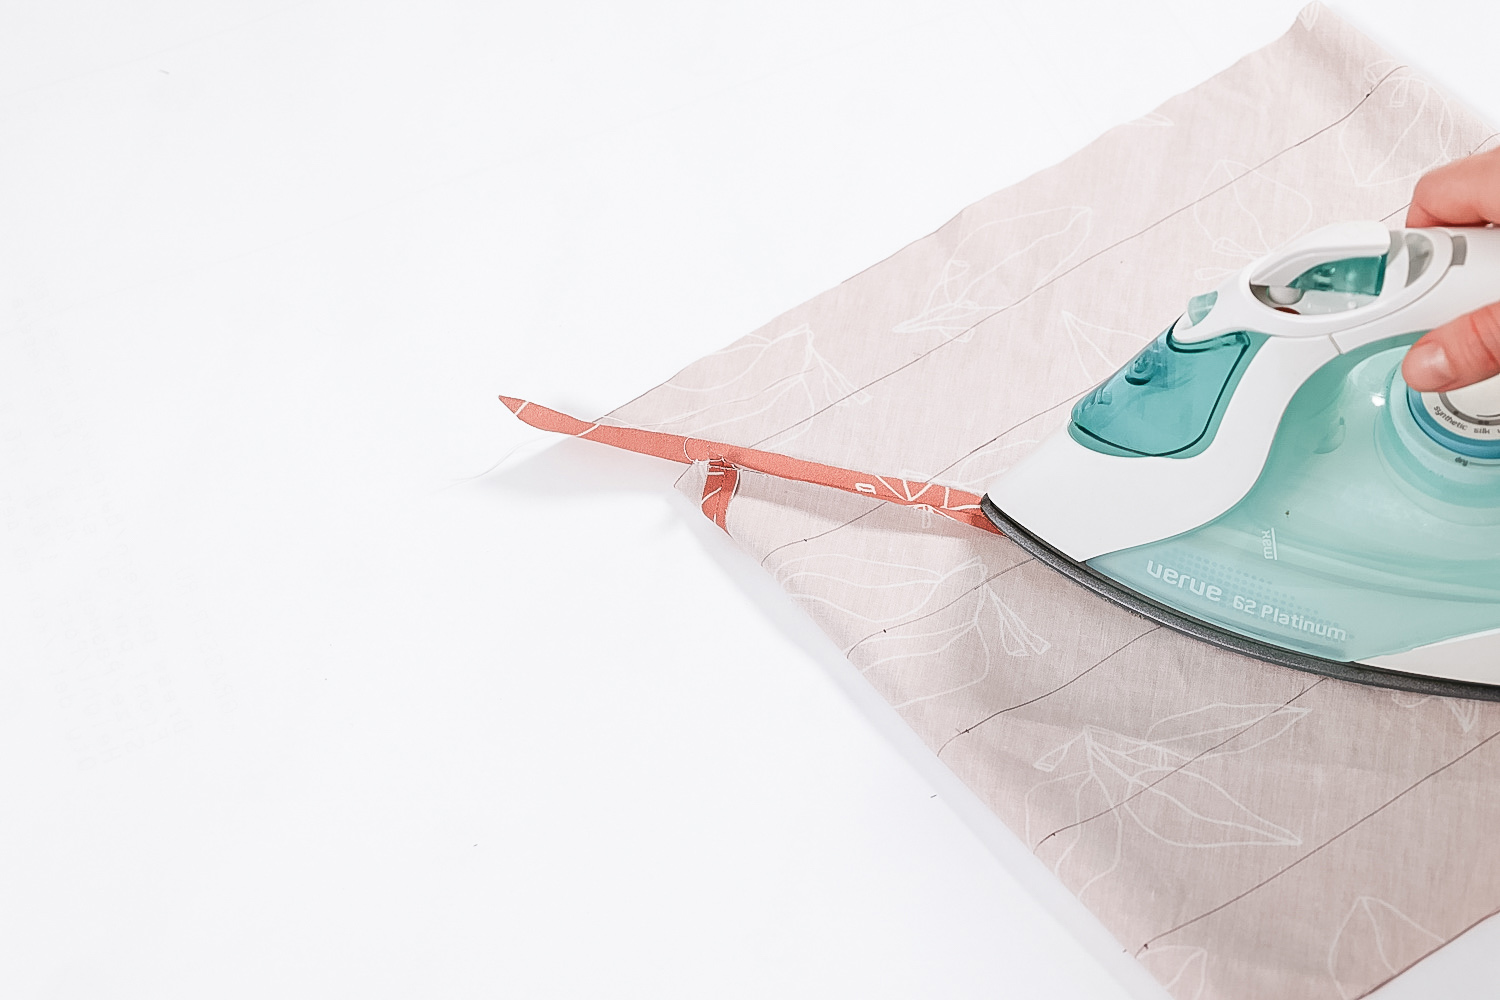
STEP FOURTEEN // To make the double fold: press in half lengthwise with the right side of the fabric facing out. Now press the outside edges inwards to meet this centre line.
STEP FIFTEEN // Final step: press the bias binding in half down the centre line to measure a final width of 1cm wide.
Ta-da! You’ve just made continuous bias binding! We’d love to know how you got on – show us your ‘insides’ and tag us at @peppermintmagazine and #peppermintpatterns.
PHOTOS AND WORDS: SOPHIE PARSLOW FOR PEPPERMINT