words and process shots LEEYONG SOO
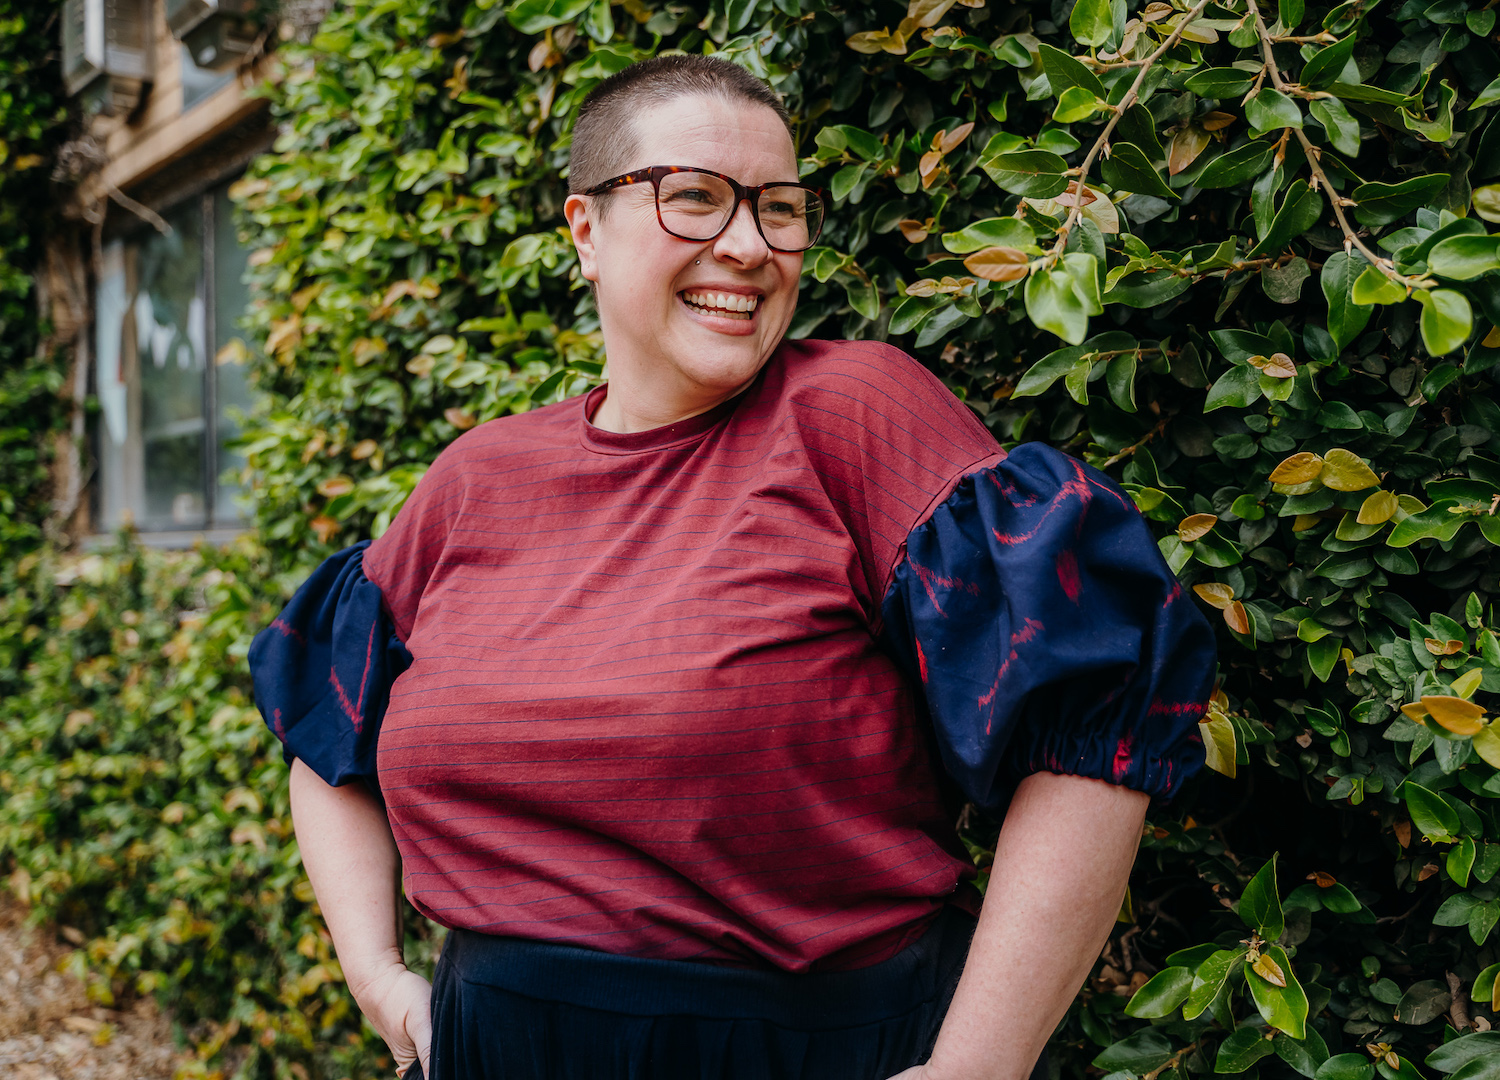
T-shirts have defined casual dressing for decades, which perhaps explains why our wardrobes are so often overflowing with them. We have classic white t-shirts that “go with everything”; tees printed with logos, political slogans or embarrassing sight gags; tour merch from when our favourite bands played; and stripy types for that chic, vaguely French feel.
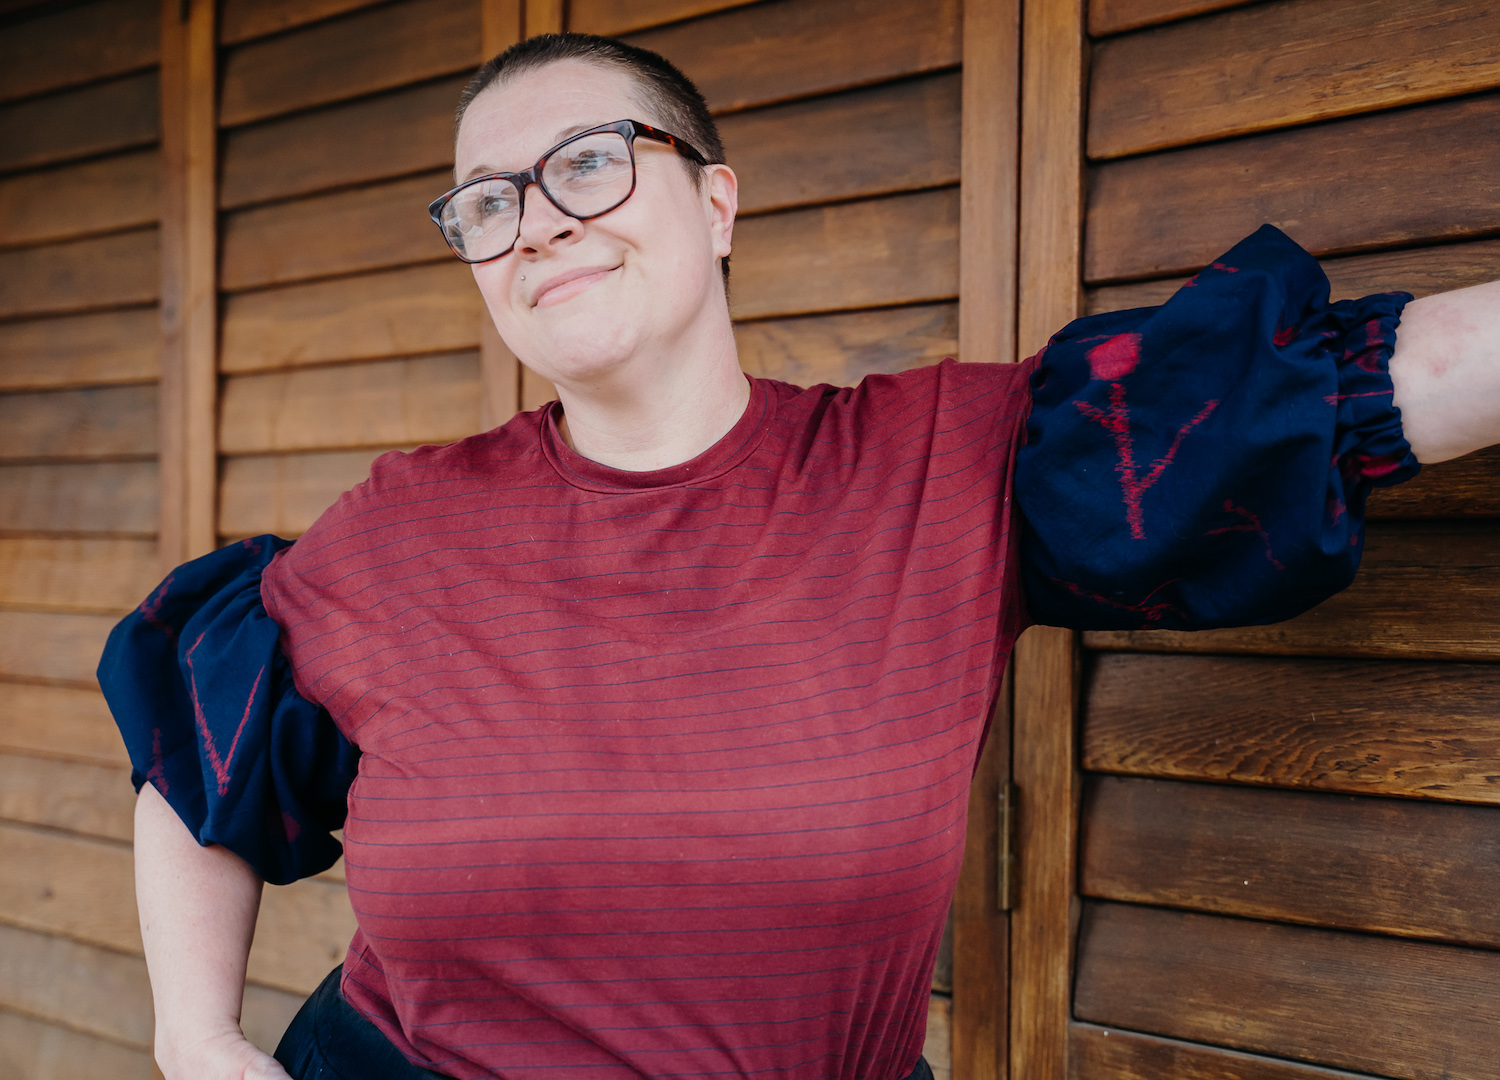
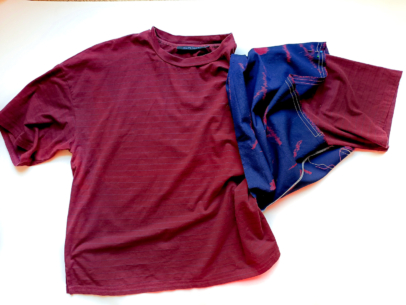
While the focal point of a t-shirt is usually the print or decoration across the chest, that’s no reason to ignore the arms. This project will show you how to amp up the interest and upcycle an old shirt by adding high-volume sleeves in your favourite fabric.
What you will need
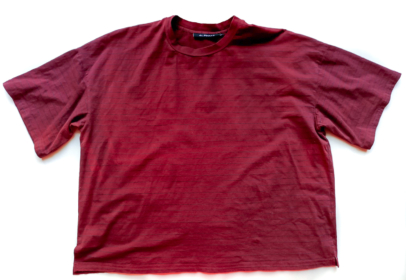
A t-shirt!
Fabric for the sleeves:
Type of fabric – You can use any kind of light to medium weight fabric. Weight-wise, chambray, cotton lawn, taffeta and broderie anglaise are just some of the fabrics suitable for this project, or you could try upcycling old sheets or even souvenir tea towels or headscarves (use one for each sleeve).
Length of fabric – This will depend on how long you want the sleeves to be. Put the t-shirt on and measure from the armhole seam at the shoulder down your arm until you reach the desired length. Remember you will also need an extra 2-3cm to form the casing for the elastic in the cuff.
Width of fabric – The width is also up to you, but keep in mind for a voluminous look, you’ll want at least two-and-a-half times your sleeve circumference.

Sewing machine (or needle, if making by hand)
Thread (in a colour similar to the t-shirt and/or sleeve fabric, plus a completely different colour if possible, for making the gathering threads)
Scissors
Pins (and, ideally, someone to help you with pinning!)
Seam ripper/unpicker
Tape measure
Let’s get making!
STEP ONE // Make the sleeves.
Use an overlocker or zig-zag stitch on the sewing machine to neaten the long edges (the width) of the fabric.
With right sides together, fold the fabric in half so that the length edges meet. Sew the length edges together and overlock or zig-zag to neaten them. This forms the underarm seam.
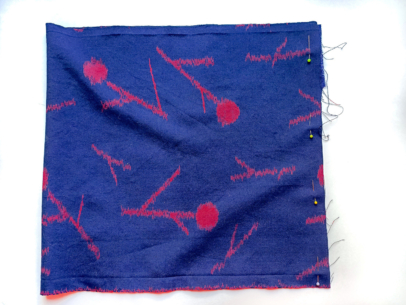
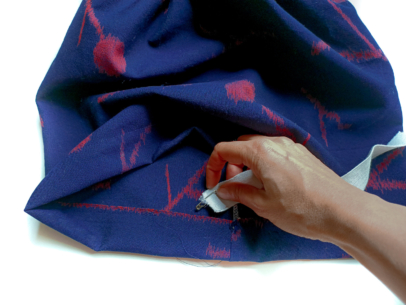
STEP TWO // Make gathering stitches in sleeves.
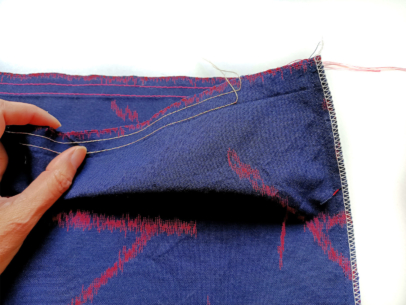
Make gathering stitches at the tops of the sleeves. To do this, use the longest stitch on the sewing machine and make two parallel lines of stitching about 1.5cm from the edge of each sleeve. Start a few centimetres from the underarm seam and finish a few centimetres on the other side of the underarm seam. When you’re wearing the garment, this will ensure the fabric doesn’t bunch up too much in the armpit.
Note: When making gathering stitches, it’s handy to use a bobbin thread that is a different colour from the needle thread. This helps you to remember which set of threads to pull. If you start by pulling the set of threads on one side of the fabric and accidentally try to pull the other set later, the threads may snap or the fabric may bunch up.
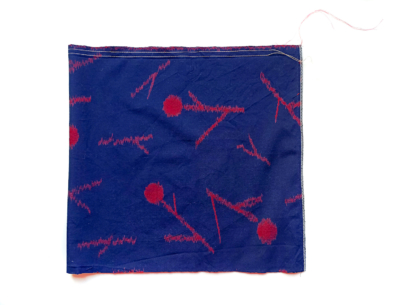
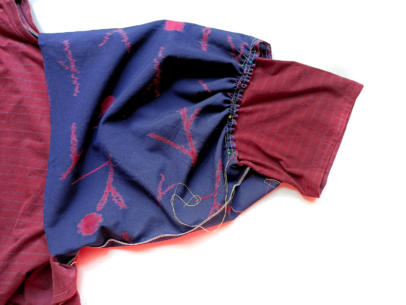
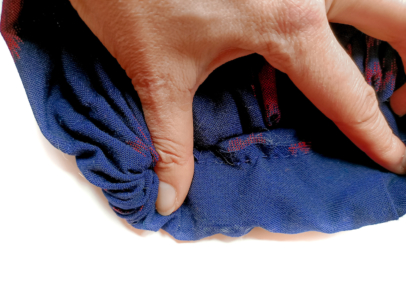
STEP THREE // Gather the sleeves as you pin them to the t-shirt.
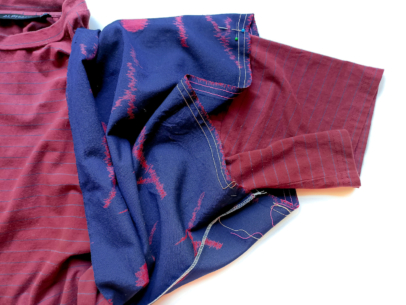
With the wrong side of the fabric sleeve facing out, slide the fabric sleeve over the t-shirt sleeve. Roughly match the middle of the fabric sleeve with the middle of the t-shirt sleeve and pin them together.
Pin the underarm seam of the fabric sleeve to the underarm seam of the t-shirt sleeve. Note that attaching the sleeve right on the shoulder seam will place many layers of fabric atop each other, which may be difficult to sew through and possibly uncomfortable to wear. Depending on the thickness of the fabrics you are using you may find it easier to offset the new sleeves from the existing seam. In this instance you can attach the sleeves about 1.5m below the t-shirt’s shoulder seam.
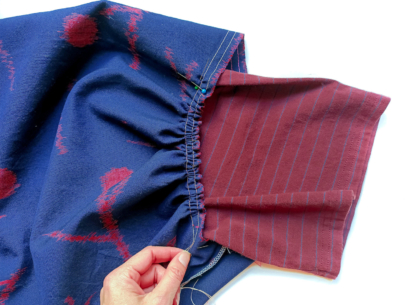
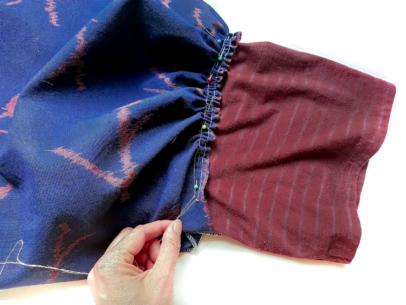
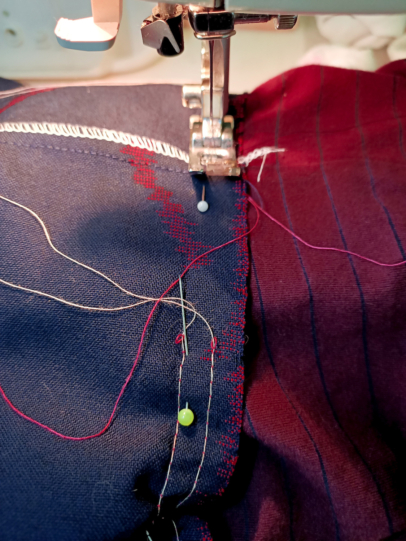
Now that the fabric sleeve is roughly secured to the t-shirt in two places, pull the gathering stitches to fit the fabric sleeve to the t-shirt sleeve. To do this, lightly hold the fabric a few centimetres from the start of the gathering stitches with one hand and use the other hand to gently pull one set of threads (here, the bobbin thread stitches are pink and the needle thread stitches on the other side are cream; it is the needle threads that are being pulled). Move the fabric along the threads (as if pushing a curtain along a rail) and keep pulling up the threads until the fabric is gathered to around the same size as the t-shirt sleeve. You can pull the needle threads from the other end too, to ensure the fabric is distributed evenly. Pin the gathered fabric to the t-shirt sleeve as you go, working your way around. Repeat for the other sleeve.
STEP FOUR // Sew the sleeves on.
If your t-shirt is tight-fitting and the fabric is quite stretchy, use a zig-zag stitch to sew through the gathered fabric and t-shirt sleeve. Zig-zag stitches have “give” in them, whereas regular straight stitches may break if the fabric is pulled more tightly than when it was sewed (when you put the t-shirt on, for example).
Once the sleeves are stitched to the t-shirt, use the seam ripper to pull out the gathering stitches. (If you’re careful and patient, it’s sometimes possible to pull out the lengths of thread in one go and reuse them for hand stitching. Recycler level: SUPERSTAR!)
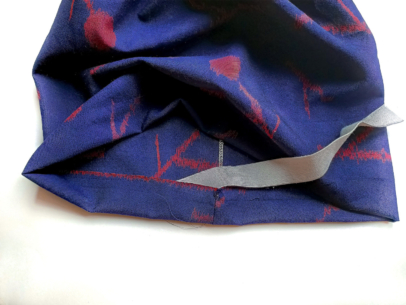
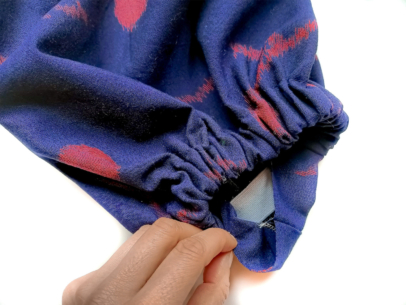
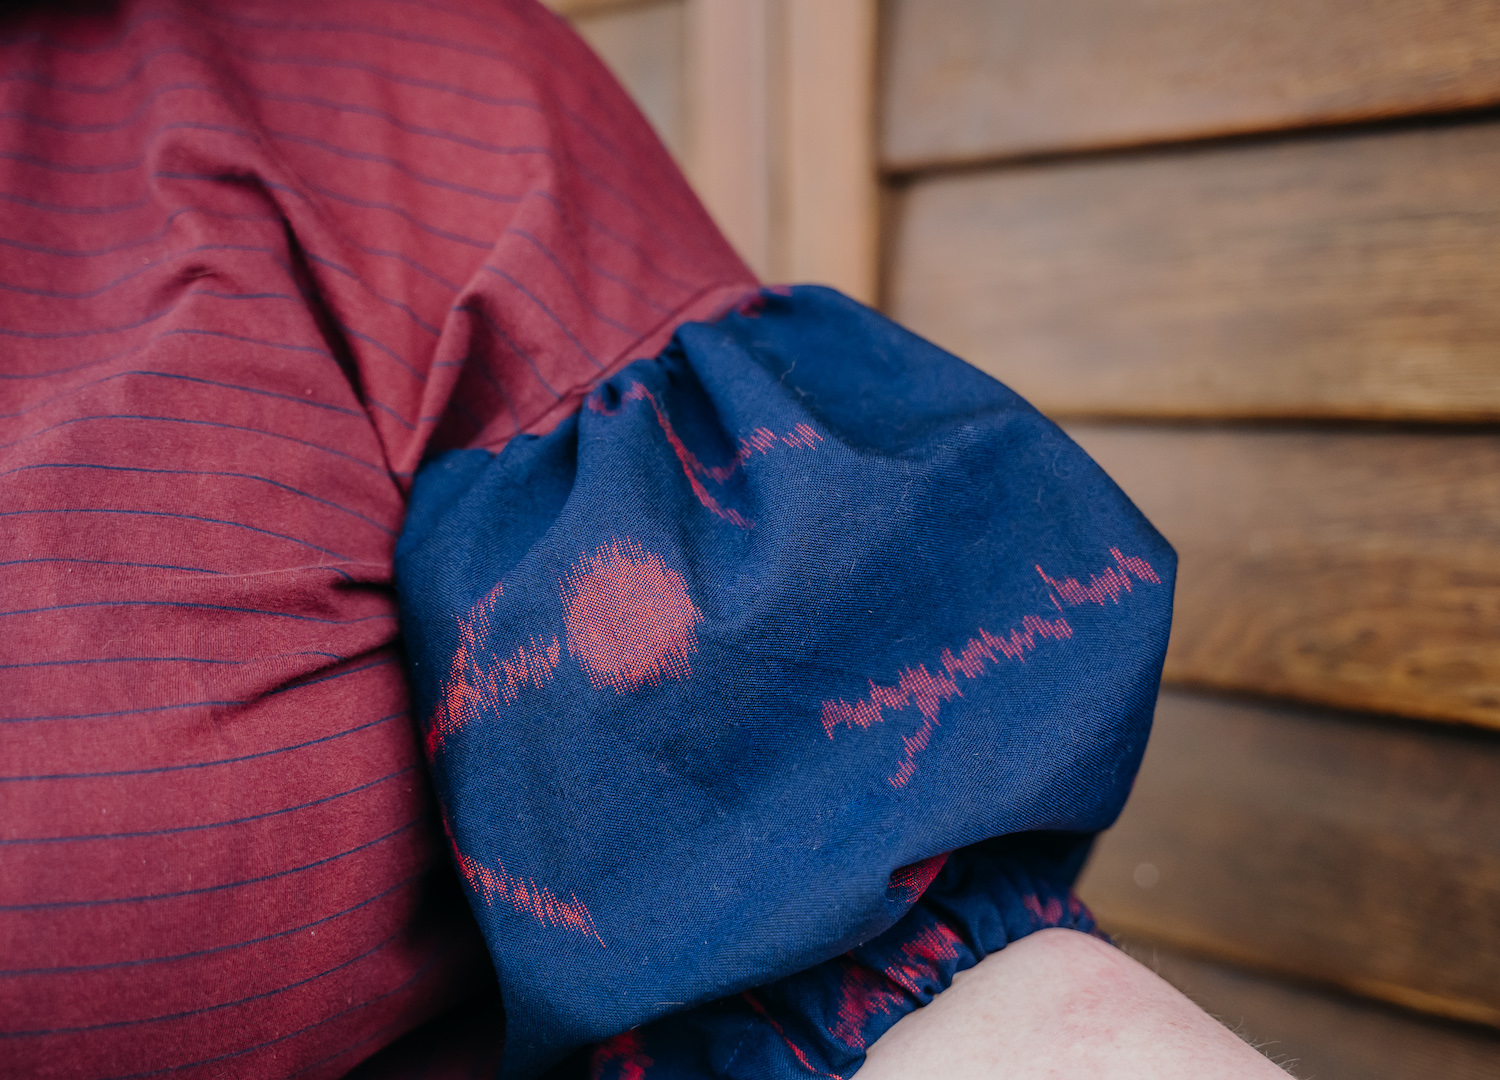
STEP FIVE // Finish off the cuffs.
Make a casing and insert elastic. Turn the cuff edge back inside the sleeve by about 3cm and stitch, leaving the underarm seam section open.
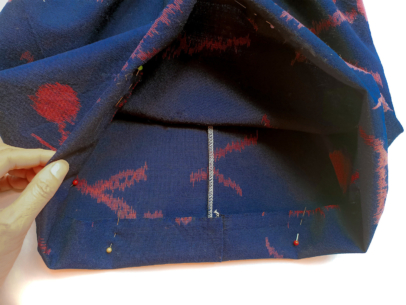
Thread a length of elastic onto a safety pin, push through the casing and sew the ends together, then sew the casing closed.
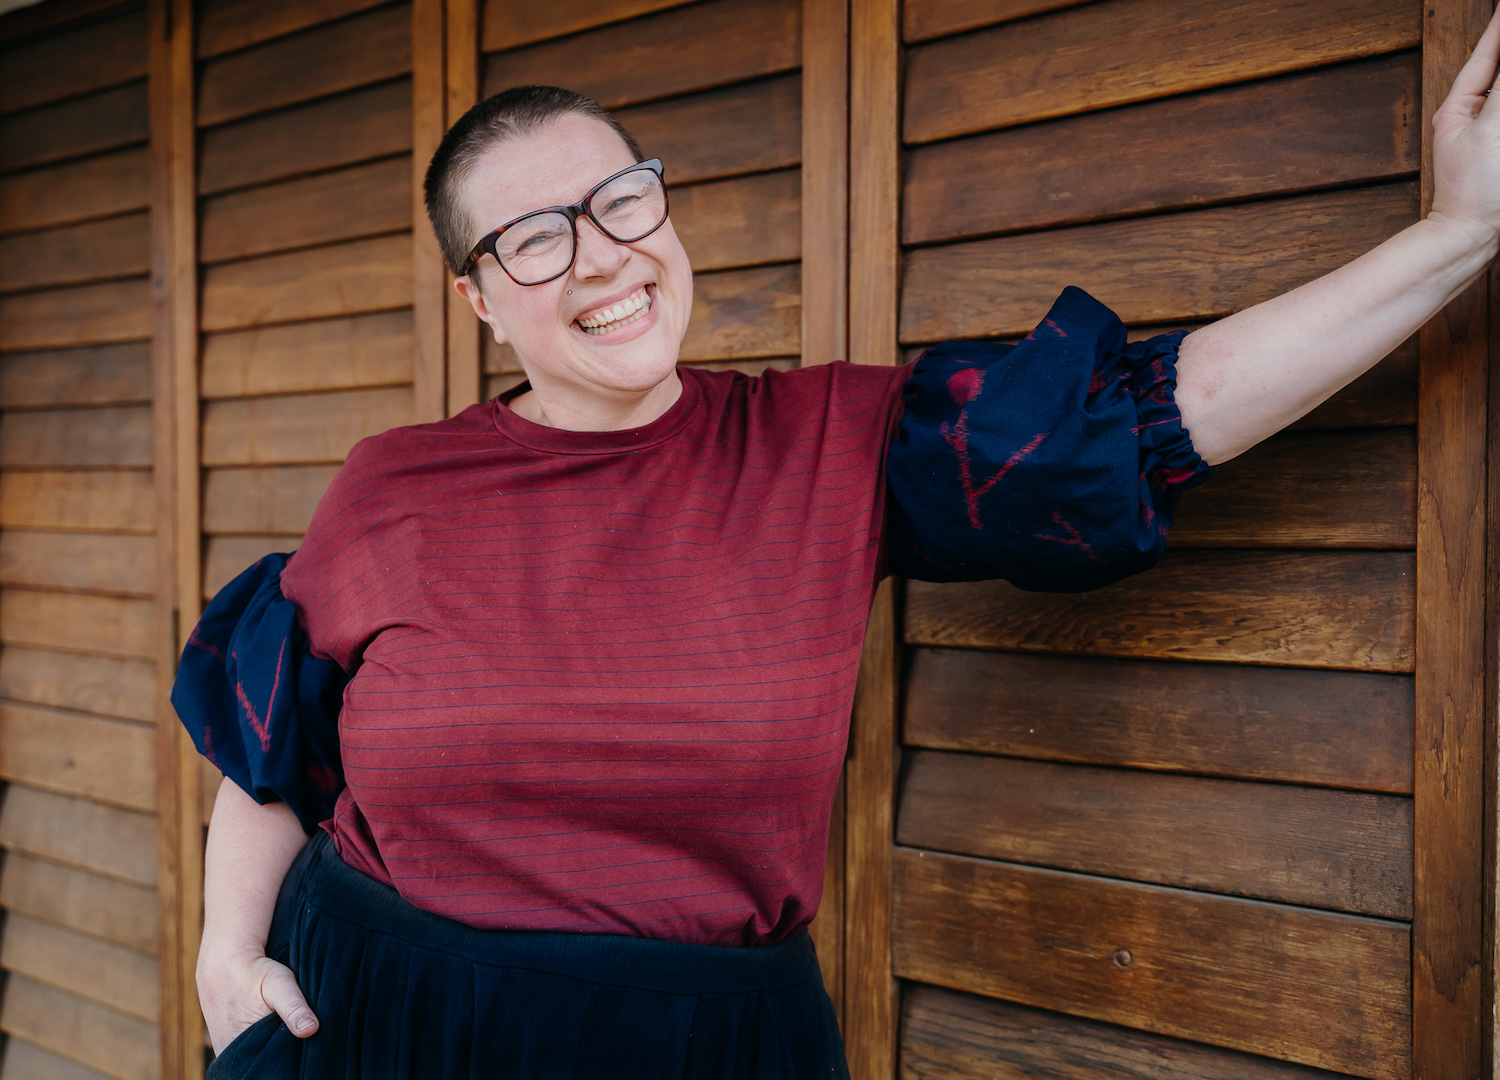
STEP SIX // Admire your work!
Put the t-shirt on and admire your new look!
WANT MORE SEWING AND DIY CONTENT? RIGHT THIS WAY!


Between 2000 to 2015, global clothing production doubled... while the duration of garment use decreased by 36%.
We are throwing away clothing at a faster rate than ever before. How can we tackle this problem?
✨️ WEAR
Be an outfit repeater - wear your items of clothing as long as possible. Learn to style your garments in various ways. Loved clothing lasts.
✨️ SHARE
If you really need to move it along, share the love with friends - hold a clothing exchange night! Or organise a timeshare with a friend where you swap a few favourite pieces of fashion. If you really can`t find a new home for it, then donate to an op shop or charity.
✨️ CARE
The care of your clothing – washing, drying and ironing – can account for approx 30% of a garment`s total carbon footprint. Hand wash, line dry, wash in cold water, and only wash when necessary.
✨️ REPAIR
Mending – and making – slows down fast fashion buying habits. Repairing used to be common practice, until disposable fashion took over. Extending the life of clothing by just nine months can reduce carbon, water, and waste footprints by 20–30%. Fixing doesn`t need to just be utilitarian – get creative with visible mending!
*Fact from The United Nations Environment Programme
#PeppermintMagazine #WearShareCareRepair #SustainableFashion

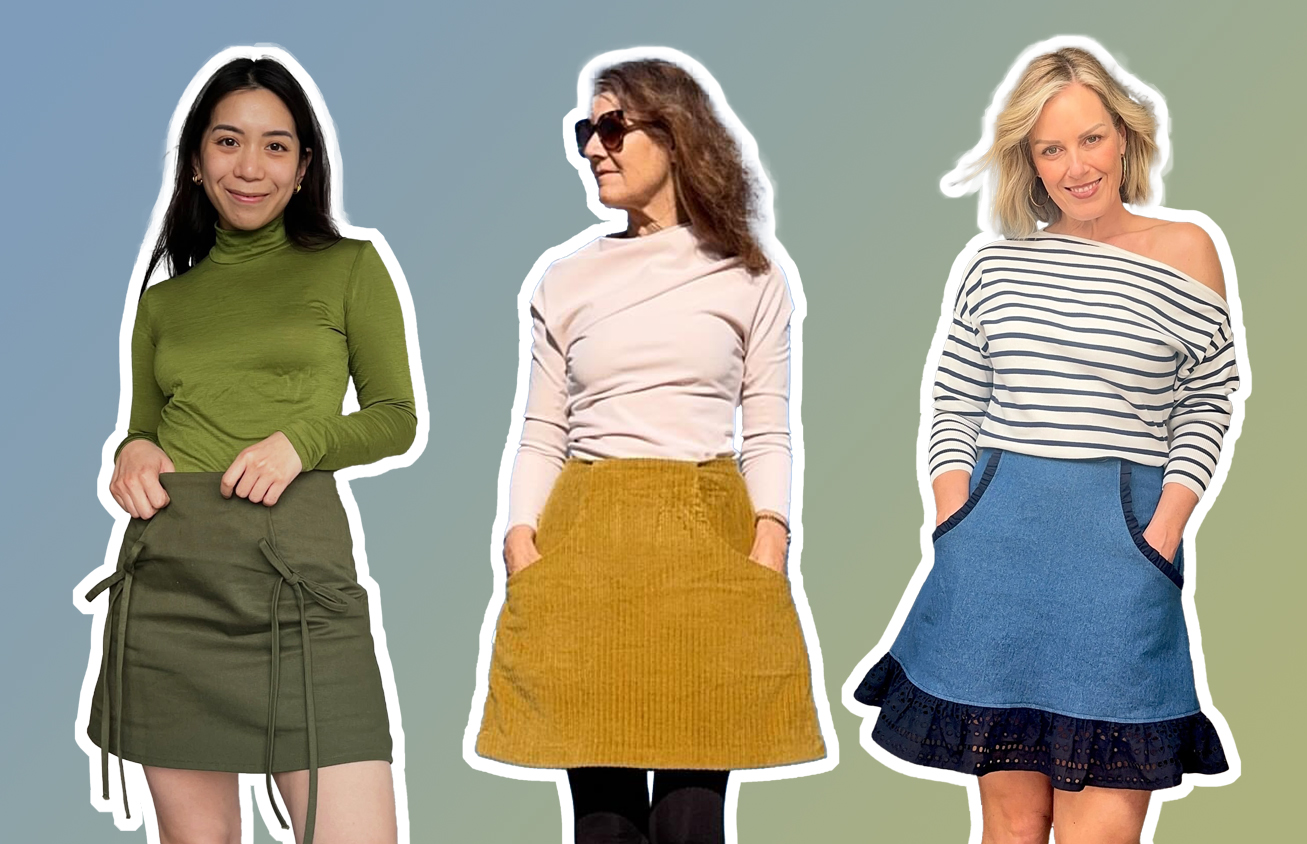
Have you whipped up the Acacia A-Line Skirt yet? 🪡
Accessible to beginner and experienced sewists alike, its classic style makes this skirt a wardrobe staple and a pattern you can happily play on repeat. Curved front pockets and the fun exposed-zip detail at the centre back make this style pop! The Acacia is a blank canvas, awaiting inspiration – add contrast top stitching, trim the pockets with bias binding or even change the length. We’ve chosen the smooth, clean lines that come from facing the waist, with back darts to ensure a neat fit on the hip. *chef’s kiss*
This pattern was made with the support of the lovely folk at @WeftAndWarpFabrics 🫶🏼 The team at Weft and Warp graciously sent three sewists the fabric of their choice to whip up their own Acacia A-Line – the results are super sweet!
Head to our website to see the makes from @The.Sewcialite @HandmadeByCarolyn and @You_CanSew - link in bio!
#PeppermintAcaciaAlineSkirt #PeppermintPatterns #WeftAndWarpFabrics #MeMade
Polka dots for days…
We love this Tansey Top by @_Rubys_Threads_ - the ultimate simple but stylish top you need in your rotation now!
Pattern: #PeppermintTanseyTop
Fabric: Japanese cotton @RawFibre
#MeMade #PeppermintPatterns
How`s your long weekend going? Working hard on your PhD? 🪡✂️🧵
Image from JoellsLeatherWorks on @Etsy
#ProjectsHalfDone #SewingPile #ProjectPile
In case no-one has told you lately, Emma Giacalone says you`re a good egg. (And we happen to agree).
This incredible mini egg embroidered 3D artwork was created by @Emma_Giacalone_Textiles, a textile artist in Gloucestershire, UK.
"When we buy an item of clothing, a label is attached telling us how to look after it to keep it at its very best. My mission is to create little care instructions to help to remind us to lead our happiest life."
INGREDIENTS: Freehand machine embroidered onto 100% cotton, using Egyptian cotton thread, and wool felt backing.
#EasterArt #GoodEgg #TextileArt
No ordinary wrap dress! 💃
Wrap dress wardrobe malfunction? Not with the Peppermint Waratah Wrap Dress pattern! We designed the Waratah to make sure this never happens.
Enjoy a few BTS videos from this super fun shoot. Maybe some inspo for Easter weekend sewing?
MODELS/SEWISTS: @Melt.Stitches, @KatieMakesADress @Tricky.Pockets @Laura_The_Maker
Head to the link in bio for the #PeppermintWaratahWrapDress 🪡
#PeppermintPatterns #SewingPattern #MeMade #WrapDress