Easy as Dye: How to Use Ice (Yes, Ice) to Refashion a Thrifted Dress
- Words by Peppermint
words and photos ROMY-KRYSTAL CUTLER
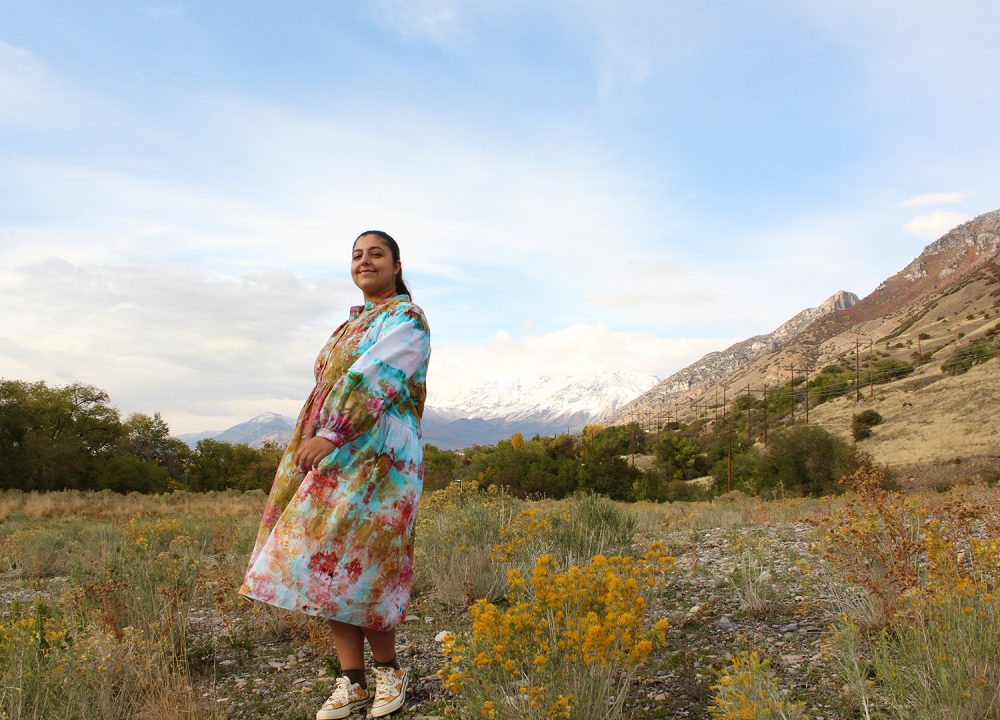
Alright stop, collaborate and listen. Ice is back with a brand new DIY as Romy-Krystal Cutler, from Sew Like Romy, teaches us how to ice dye textiles.
Both fun and economical, thrifting has risen in popularity lately due, in part, to the overwhelming amount of tutorials that show you how to take your pre-loved treasures to a whole new level.
The latest trend in the DIY world is ice dyeing – fast becoming the first choice when it comes to home-dyeing clothes. It’s easy and the results are a total surprise. The best part is the process is virtually foolproof… the hardest part is thrifting your garment! When thrifting, it’s always a lottery: are you going to get lucky or are you going to leave empty handed? Well, ice dyeing knows no bounds – t-shirts, skirts, pants and dresses, if you can wear it you can dye it! You can do it with any coloured fabric, but for the most dramatic colour results, I recommend white or cream and natural fibres. In this case I snatched up a brand new cotton dress that someone clearly didn’t vibe with.
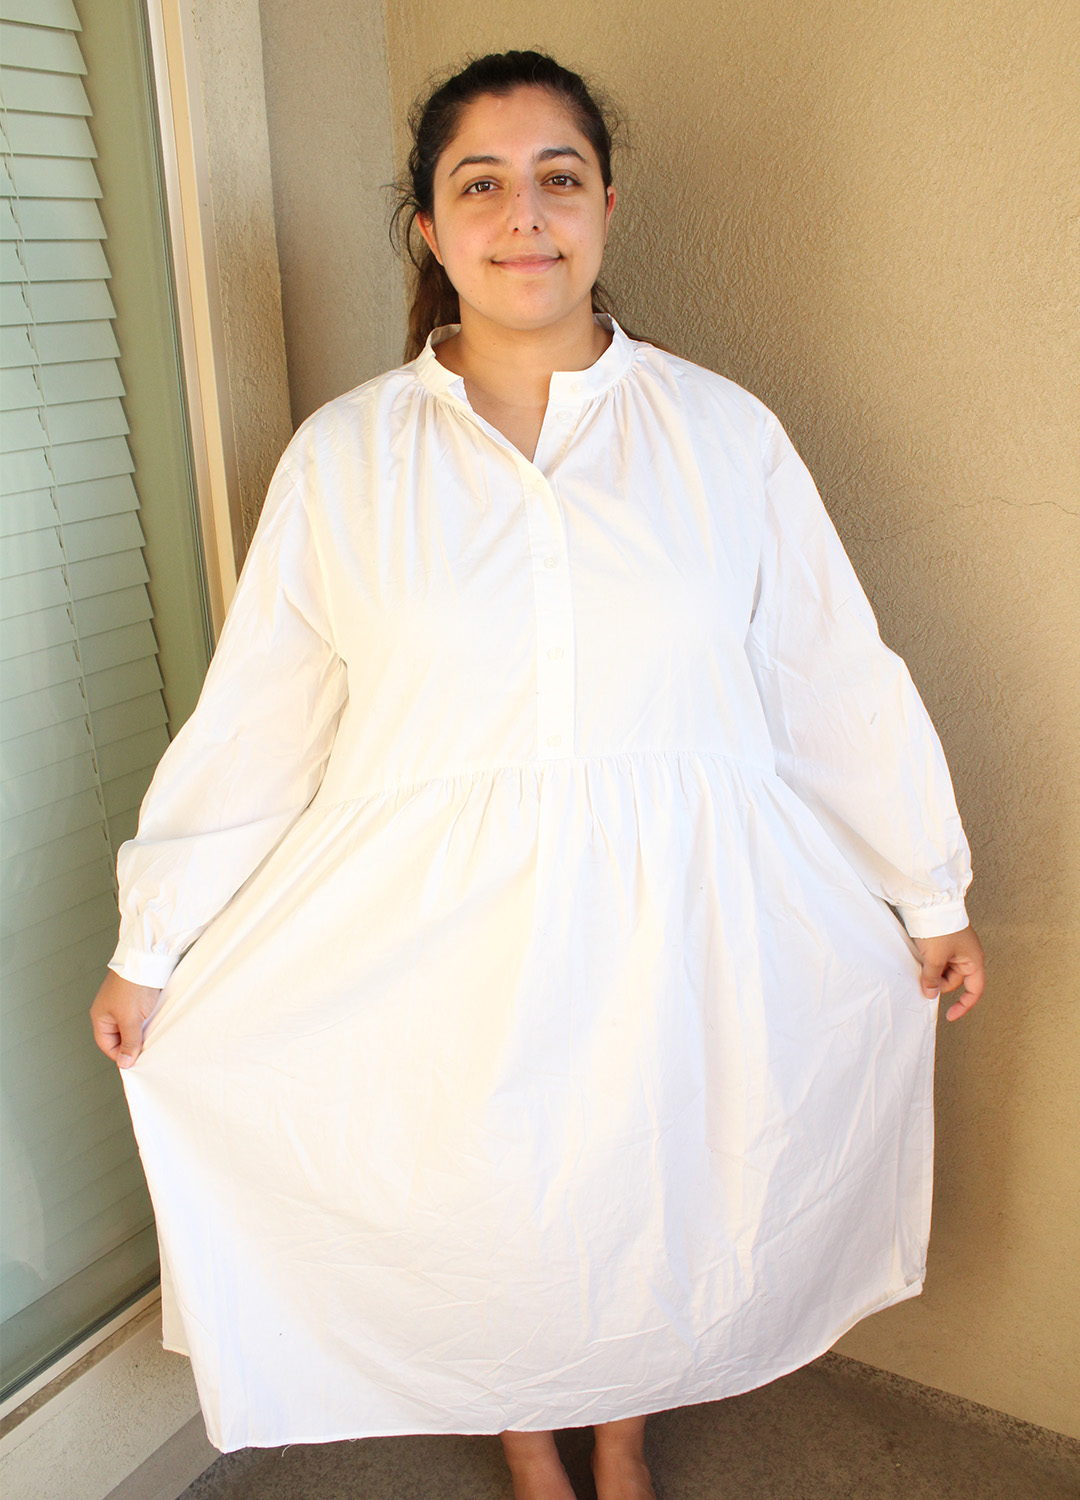
Next, let’s talk science. Unlike traditional tie dye, ice dye uses powder not liquid. Liquid dyes come in one colour whereas powder dyes are made up of multiple coloured pigments to make a single hue. So when that powder joins forces with ice and that ice then melts, the multi-coloured pigments bleed out and that’s where the magic happens.
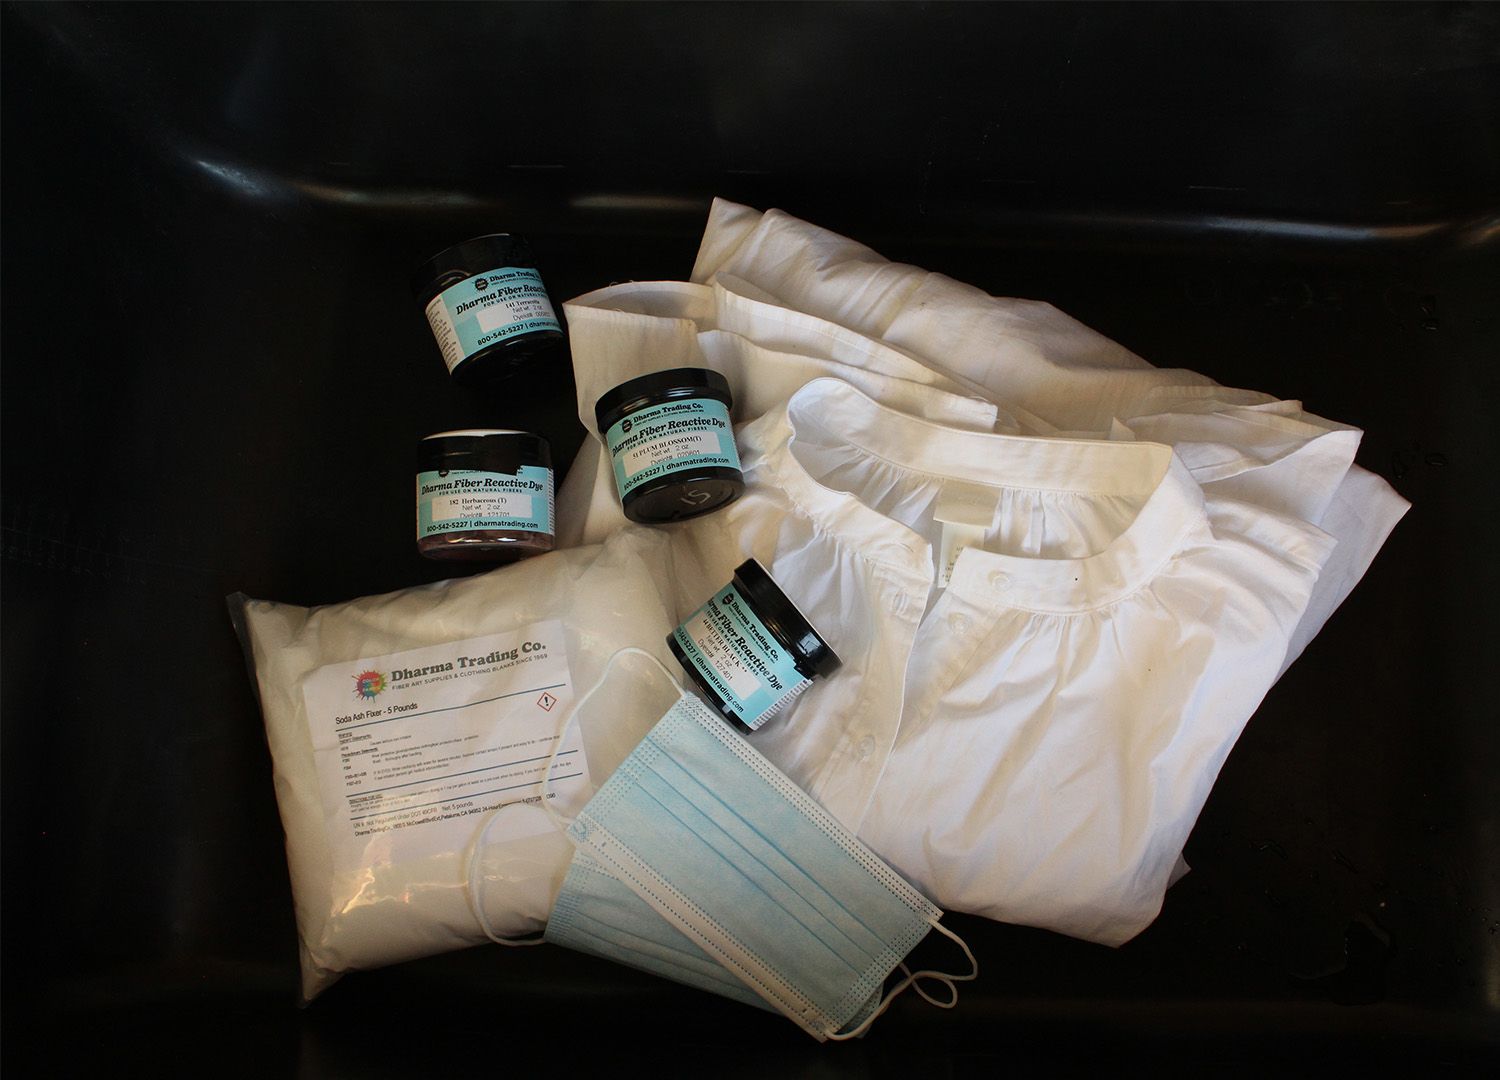
What You Will Need
Fibre Reactive Procion Dye
Face mask
Soda ash fixer
Rubber gloves
Cooling racks (that you would use for cooking, or some other type of elevated grate)
Ice cubes
A large tub or two (I used a concrete mixing tub from a hardware store, but a storage tub would work just as well)
Spoons
Mild detergent
Your thrift find!
Let’s Get Making!
STEP ONE // Prewash your thrift find with mild detergent.
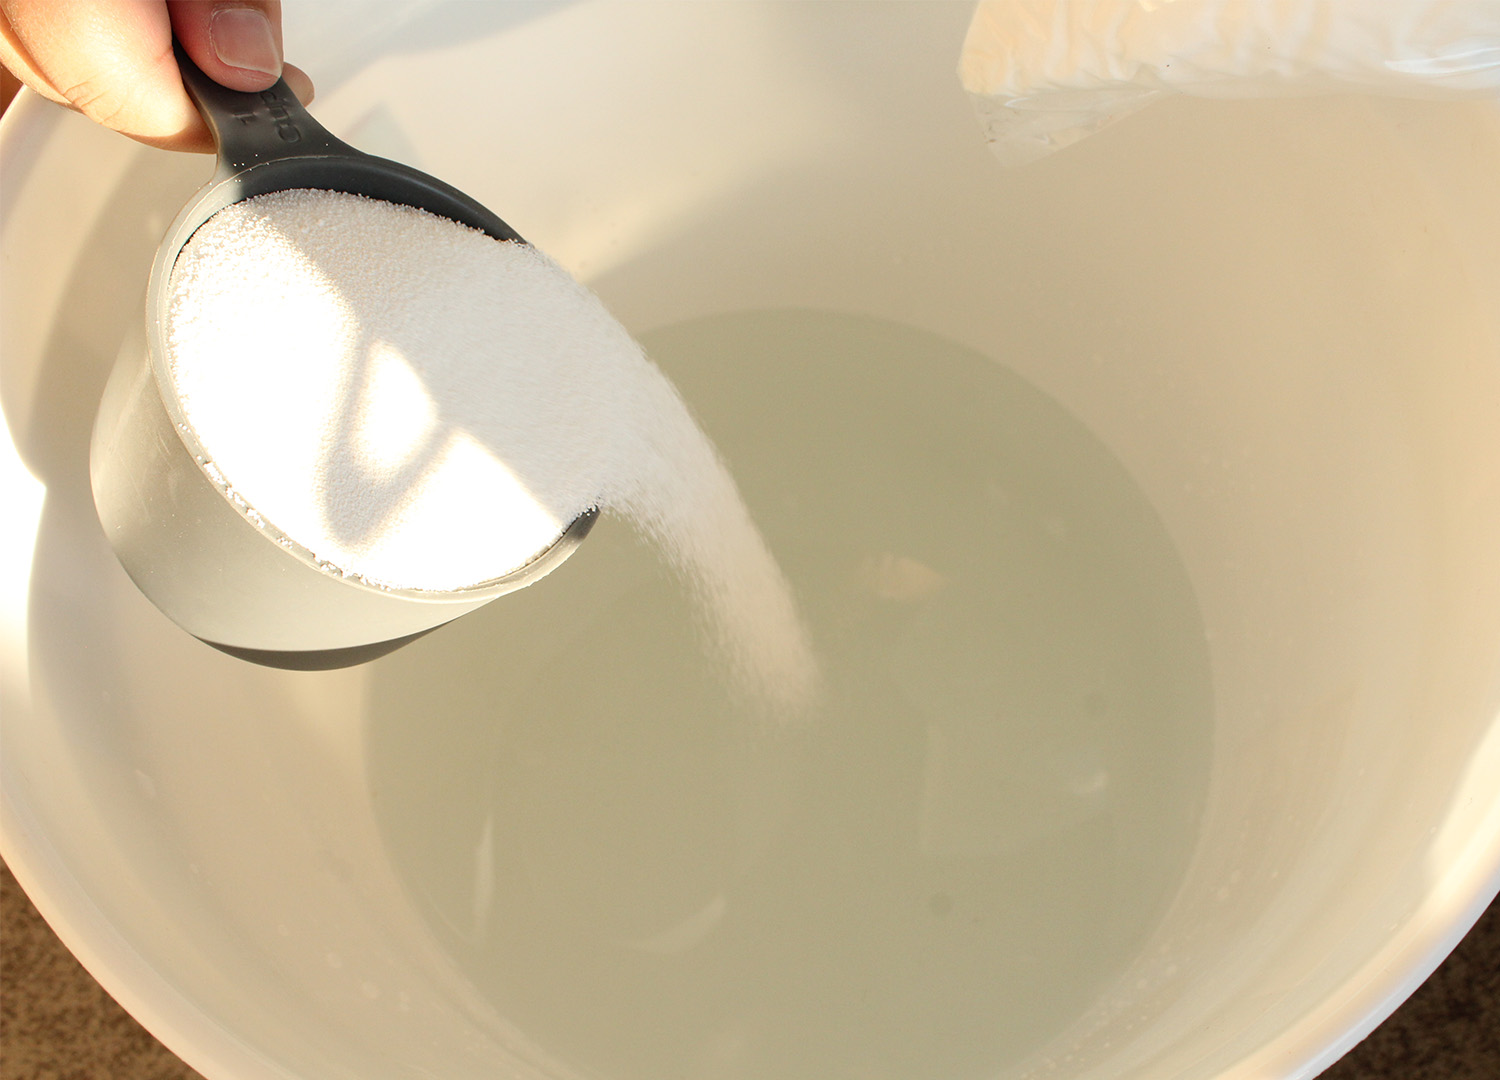
STEP TWO // Grab a tub large enough to submerge your garment. Mix up your soda ash and water. General rule of thumb here is 2 cups of soda ash per 3.75 litres of water.
STEP THREE // Add your garment to the soda ash water and leave for 15 minutes.
STEP FOUR // Prepare another large tub with your cooling racks inside.
STEP FIVE // Pull out your garment after 15 minutes using your gloves and ring it out, then place on the cooling racks you prepared in step four.
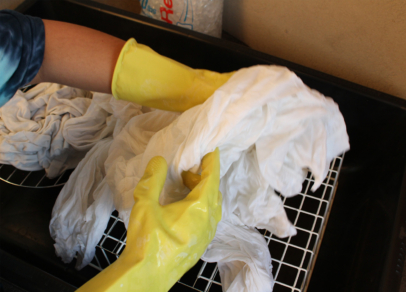
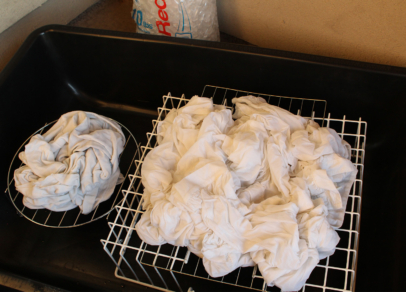
STEP SIX // Scrunch up your garment on the cooling racks. This part is where you can get creative! Scrunching is common but you can pleat your garment or add rubber bands. In this case, we’re scrunching.
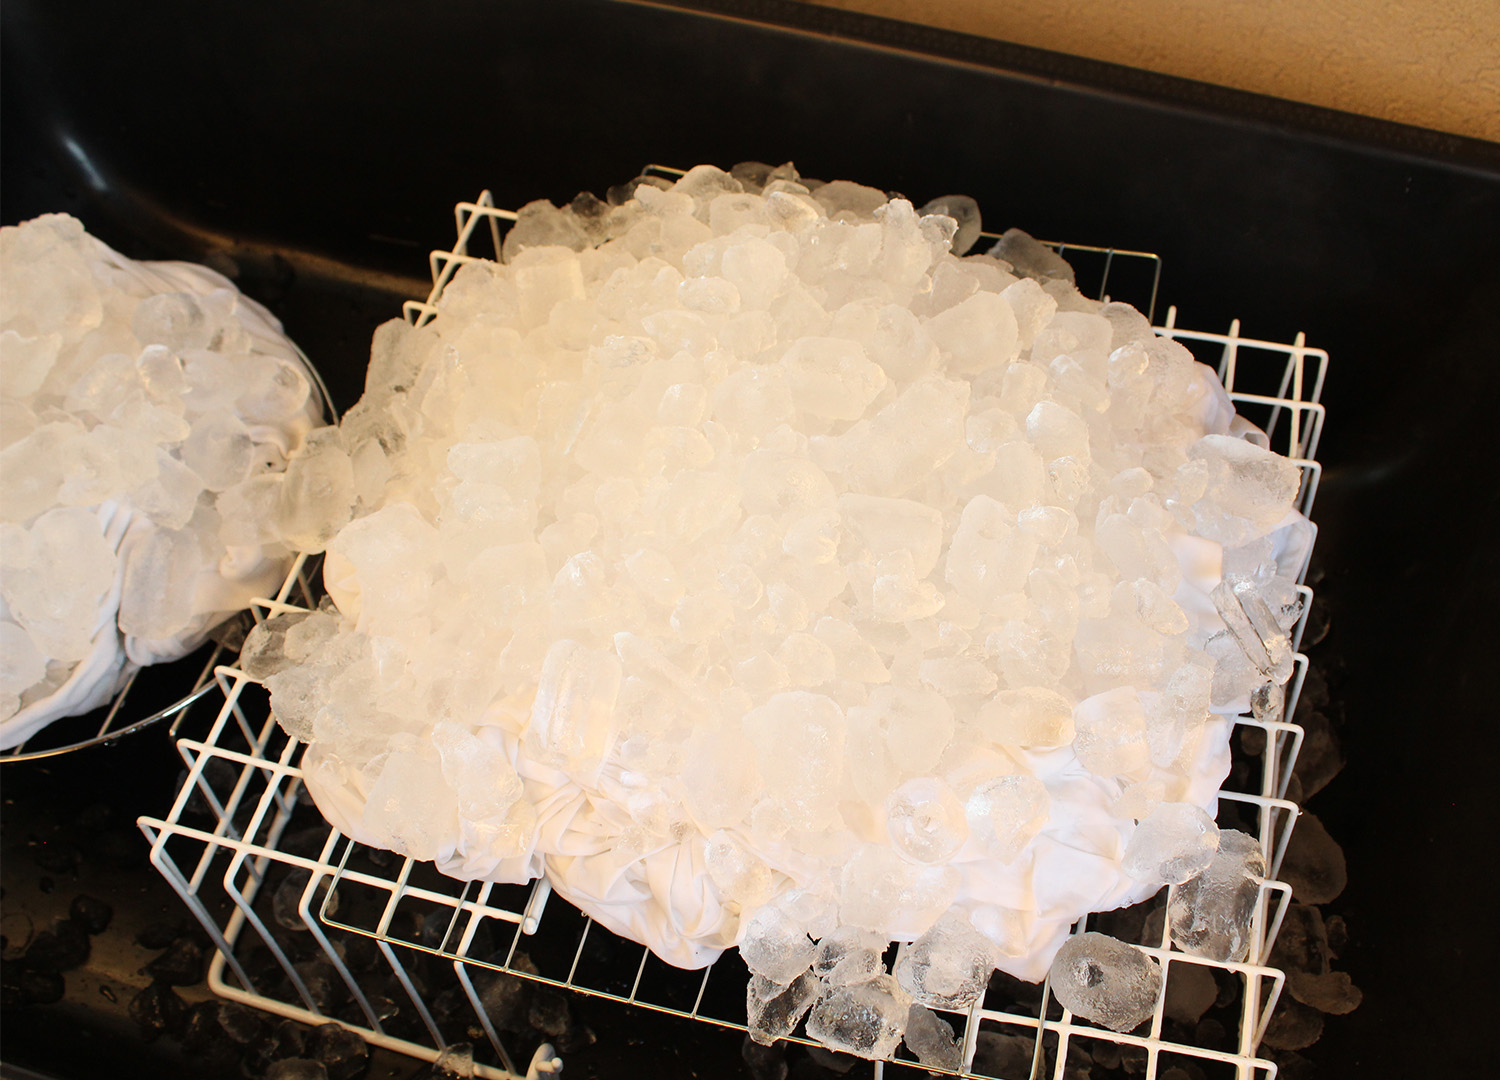
STEP SEVEN // Cover your garment in ice. A lot of ice. Cover the whole thing. The more ice the better. Remember, if there’s a part with no ice there’s a high likelihood that section will stay the original colour of the garment (which isn’t always a bad thing).
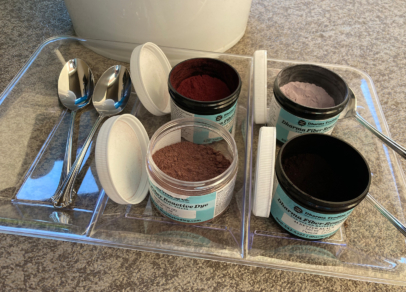
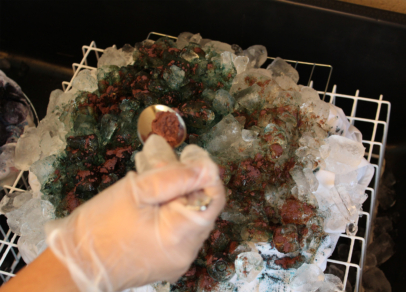
STEP EIGHT // Put on your face mask and grab your powder dye and spoons. You can use one dye or multiple (I used four here). Sprinkle as much or as little as you like. Be intentional or go completely random. (Obviously, the more dye you use, the more intense the colour will be, but you don’t need much for amazing results)
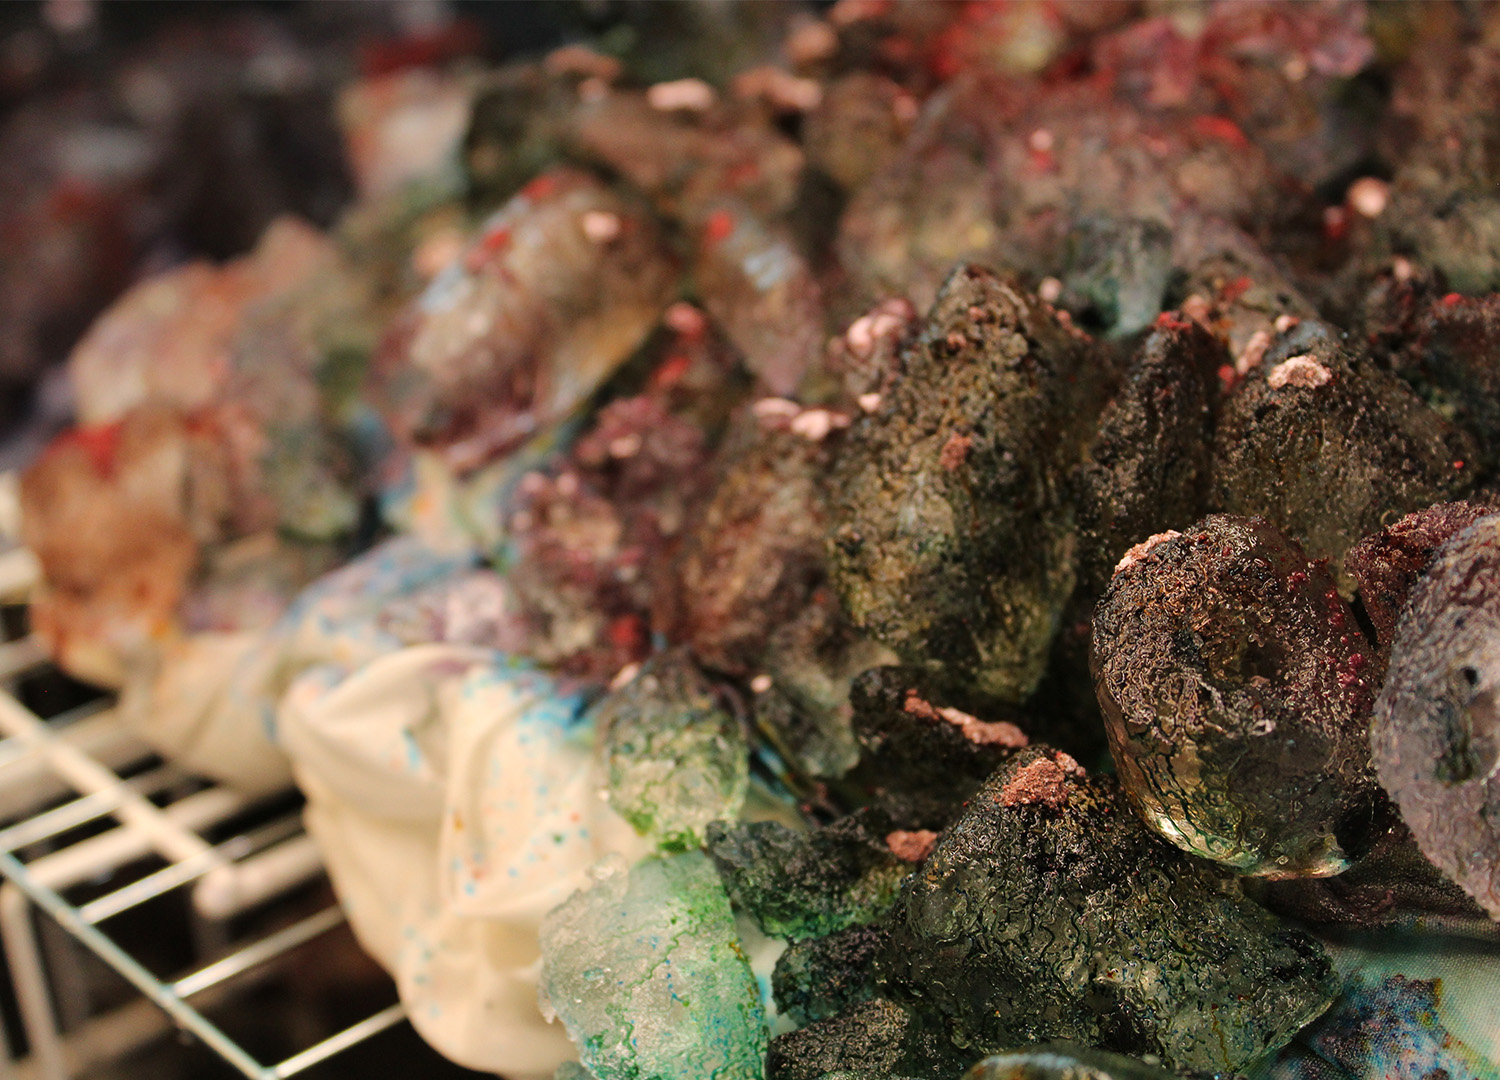
STEP NINE // Once you’re happy with it, cover the tub and leave for 24 hours.
STEP TEN // Uncover your tub and rinse your garment in COLD water until the water runs clear.
STEP ELEVEN // Put your garment back in the washing machine with detergent and wash on hot.
STEP TWELVE // Dry your garment and admire your results!
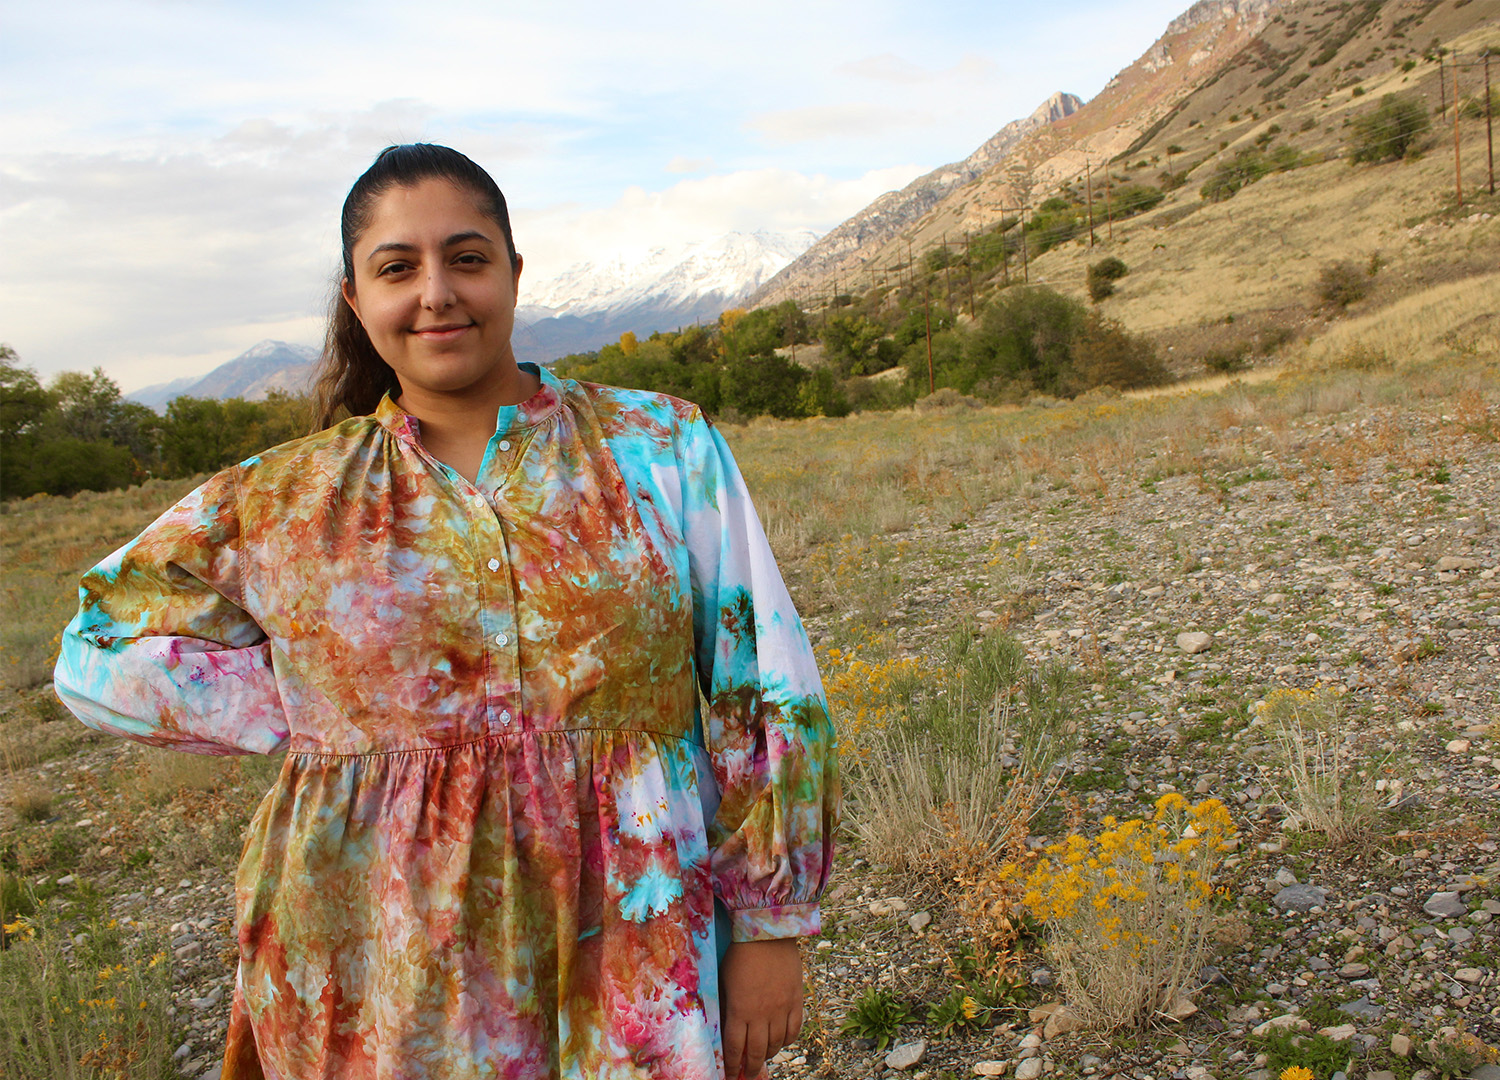
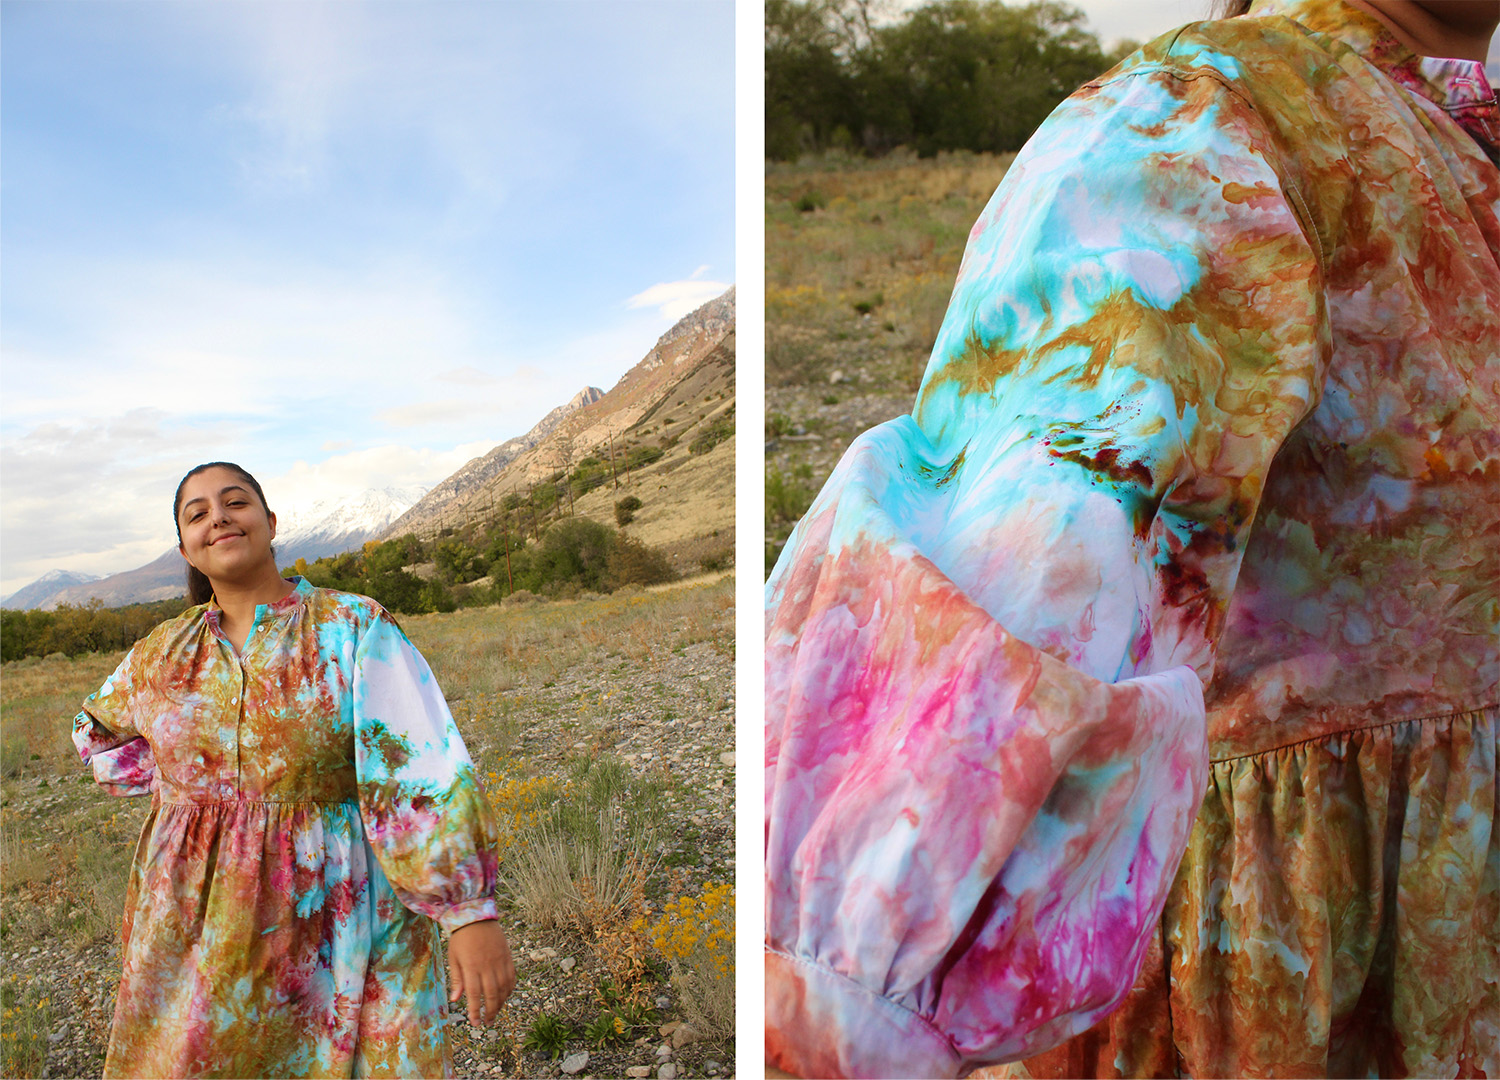
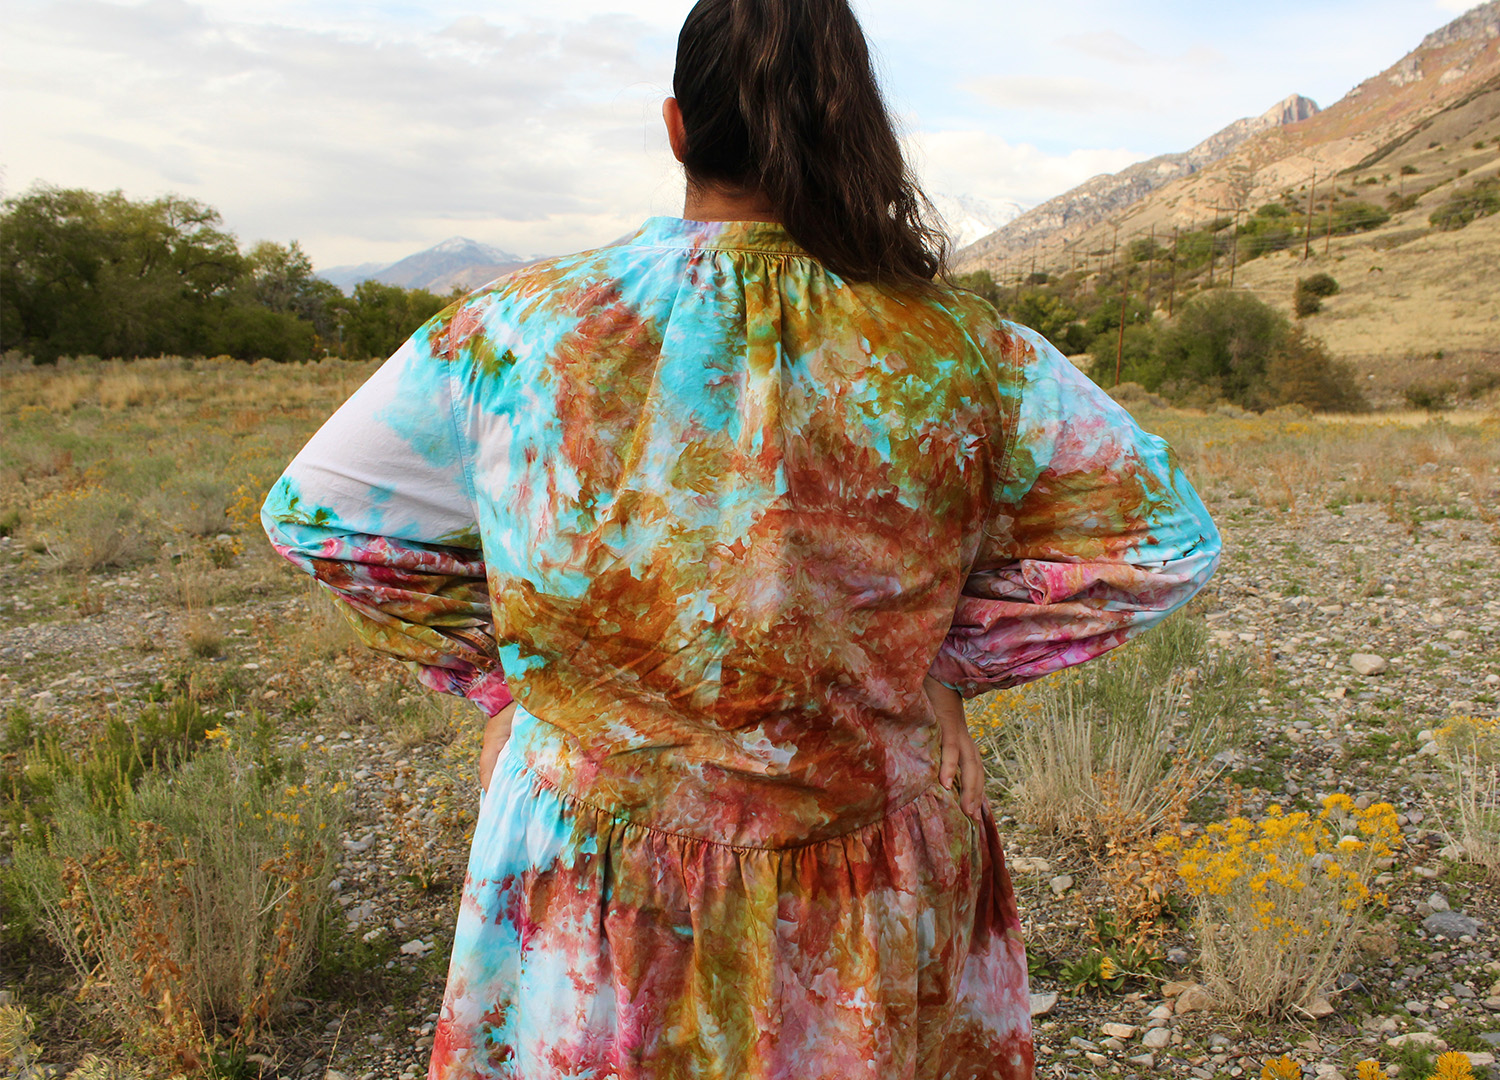
WANT MORE SEWING AND DIY CONTENT? RIGHT THIS WAY!
JOIN OUR MAILING LIST
Brighten up your inbox with our not-too-frequent emails featuring Peppermint-related news, events, competitions and more!
explore
More articles
Look, I don’t want to make anyone panic but IT’S DECEMBER!!! If you’re planning to give homemade gifts, you’re going to have to act fast. …
Hang out with us on Instagram
🌻 The Paddington 🌻
This is a much-loved staple, created for Issue 50 in 2021. We love seeing the #PeppermintPaddingtonTop continually popping up in our feeds!
How stunning is our model Elon MelaninGoddessEfon – she told us it was one of the first times she had been asked to come to a shoot with her natural hair. 🌻
We worked with South African patternmaker Sarah Steenkamp of @FrenchNavyNow_ to create this wardrobe essential – the perfect puff-sleeve blouse. Raglan sleeves make it the ultimate beginner sew, plus the gorgeous back buttons let you add your own personal twist.
Pattern via the link in bio! 🪡
Photos: @KelleySheenan
Fabric: @Spoonflower
Model: MelaninGoddessEfon

“In the 1940’s, Norwegians made and wore red pointed hats with a tassel as a form of visual protest against Nazi occupation of their country. Within two years, the Nazis made these protest hats illegal and punishable by law to wear, make, or distribute. As purveyors of traditional craft, we felt it appropriate to revisit this design.”
Crafters have often been at the heart of many protest movements, often serving as a powerful means of political expression. @NeedleAndSkein, a yarn store in Minnesota, are helping to mobilise the craftivists of the world with a ‘Melt The Ice’ knitting pattern created by @Yarn_Cult (with a crochet pattern too), as a way of peaceful protest.
The proceeds from the $5 pattern will go to local immigrant aid organisations – or you can donate without buying the pattern.
Raise those needles, folks – art and craft can change the world. 🧶
Link in bio for the pattern.
Images: @Gather_Fiber @NeedleAndSkein @a2ina2 @KyraGiggles Sandi.204 @WhatTracyMakes AllieKnitsAway Auntabwi2
#MeltTheIce #Craftivism #Knitting #CraftForChange

TWO WEEKS TO GO! 🤩
"The most important shift is moving from volume-led buying to value-led curation – choosing fewer, better products with strong ethics, considered production and meaningful stories. Retailers have real influence here: what you buy signals what you stand for. At Life Instyle, this means using the event to discover and invest in small-scale, planet-considerate brands that align with your values and your customer’s conscience. Consumers don’t need more things; they need better things, and retailers play a key role in selecting, contextualising, and championing why those products matter."
Only two more weeks until @Life_Instyle – Australia`s leading boutique retail trade show. If you own a store, don`t miss this event! Connect with designers, source exquisite – and mindful – products, and see firsthand why this is Australia’s go-to trade show for creatives and retailers alike. And it`s free! ✨️
Life Instyle – Sydney/Eora Country
14-17 February 2026
ICC, Darling Harbour
Photos: @Samsette
#LifeInstyle #SustainableShopping #SustainableShop #RetailTradeEvent

Calling all sewists! 📞
Have you made the Peppermint Waratah Wrap Dress yet? Call *1800 I NEED THIS NOW to get making!
This gorgeous green number was modelled (and made) by the fabulous Lisa of @Tricky.Pockets 🙌🏼
If you need a nudge, @ePrintOnline are offering Peppermint sewists a huge 🌟 30% off ALL A0 printing 🌟 when you purchase the Special Release Waratah Wrap Dress pattern – how generous is that?!
Head to the link in bio now 📞
*Not a real number in case that wasn`t clear 😂
#PeppermintWaratahWrapDress #PeppermintPatterns #SewingPattern #WrapDress #WrapDressPattern

8 Things to Know About January 26 - from @ClothingTheGaps:
Before you celebrate, take the time to learn the truth. January 26 is not a day of unity it’s a Day of Mourning and Survival for Aboriginal and Torres Strait Islander peoples.
It marks the beginning of invasion, dispossession, and ongoing colonial violence. It’s time for truth-telling, not whitewashed history.
Stand in solidarity. Learn. Reflect. Act.
✊🏽 Blog written by Yorta Yorta woman Taneshia Atkinson.
🔗 Link in bio of @ClothingTheGaps to read the full blog
#ChangeTheDate #InvasionDay #SurvivalDay #AlwaysWasAlwaysWillBe #ClothingTheGaps

As the world careens towards AI seeping into our feeds, finds and even friend-zones, it`s becoming increasingly hard to ignore.
We just wanted to say that here at Peppermint, we are choosing to not print or publish AI-generated art, photos, words, videos or content.
Merriam-Webster’s human editors chose `slop` as the 2025 Word of the Year – they define it as “digital content of low quality that is produced usually in quantity by means of artificial intelligence.” The problem is, as AI increases in quality, it`s becoming more and more difficult to ascertain what`s real and what`s not.
Let`s be clear here, AI absolutely has its place in science, in climate modelling, in medical breakthroughs, in many places... but not in replacing the work of artists, writers and creatives.
Can we guarantee that everything we publish is AI-free? Honestly, not really. We know we are not using it to create content, but we are also relying on the artists, makers and contributors we work with, as well as our advertisers, to supply imagery, artwork or words created by humans. AI features are also creeping into programs and apps too, making it difficult to navigate. But we will do our best to avoid it and make a stand for the artists and creatives who have had their work stolen and used to train AI machines, and those who are now losing work as they are replaced by this energy-sapping, environment-destroying magic wand.
Could using it help our productivity and bottom line? Sure. And as a small business in a difficult landscape, that`s a hard one to turn down. We know other publishers who use AI to write stories, create recipes, produce photo shoots... but this one is important to us.
`Touch grass` was also a Merriam-Webster Word of the Year. We`ll happily stick with that as a theme, thanks very much. 🌿


